Showing posts with label Shannon Fabrics. Show all posts

Wednesday, December 28, 2016

Making Luxury Cuddle Throw Blankets


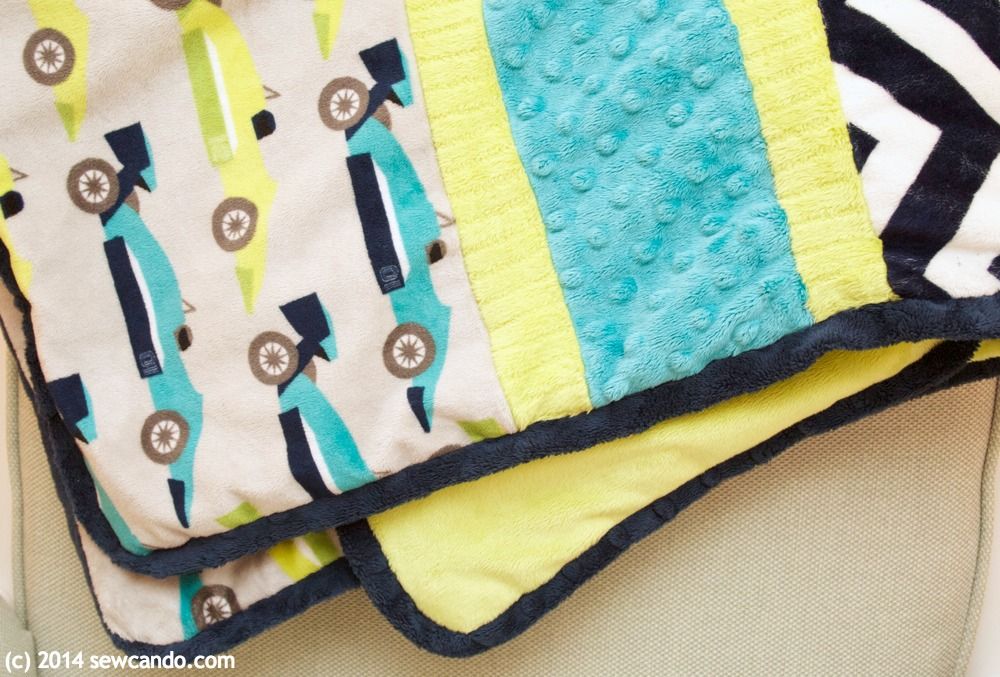
If 2016 has taught me anything about sewing, it's been that simple projects are often the most enjoyable.  While I've had a few complicated sews that I've loved, they've involved more stress than relaxation.  I want to sew because I like to, not to feel like a workhorse. Ironically, some of the things I made that were the simplest, have gotten the most use & compliments, like today's project: Luxury Cuddle Throws


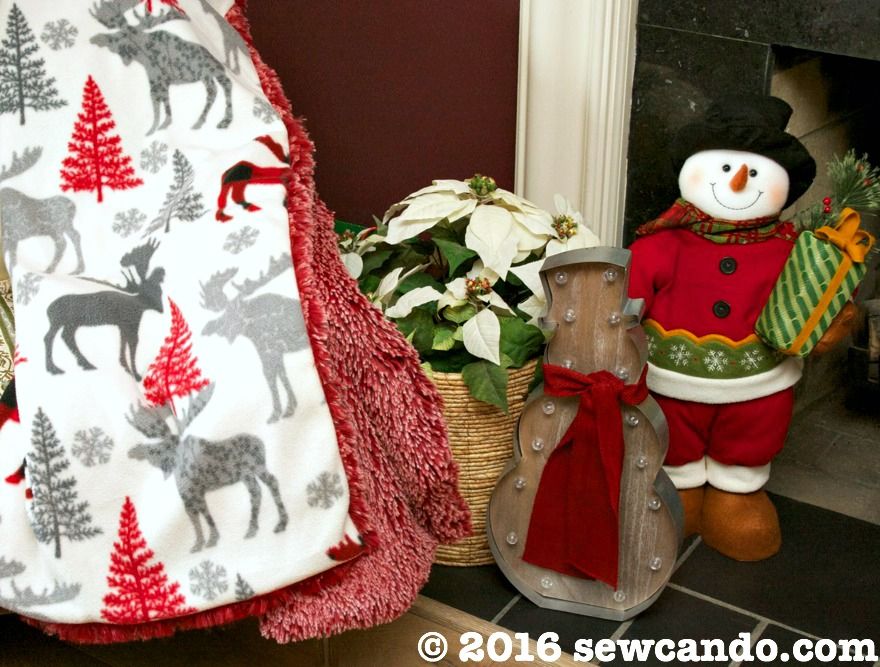
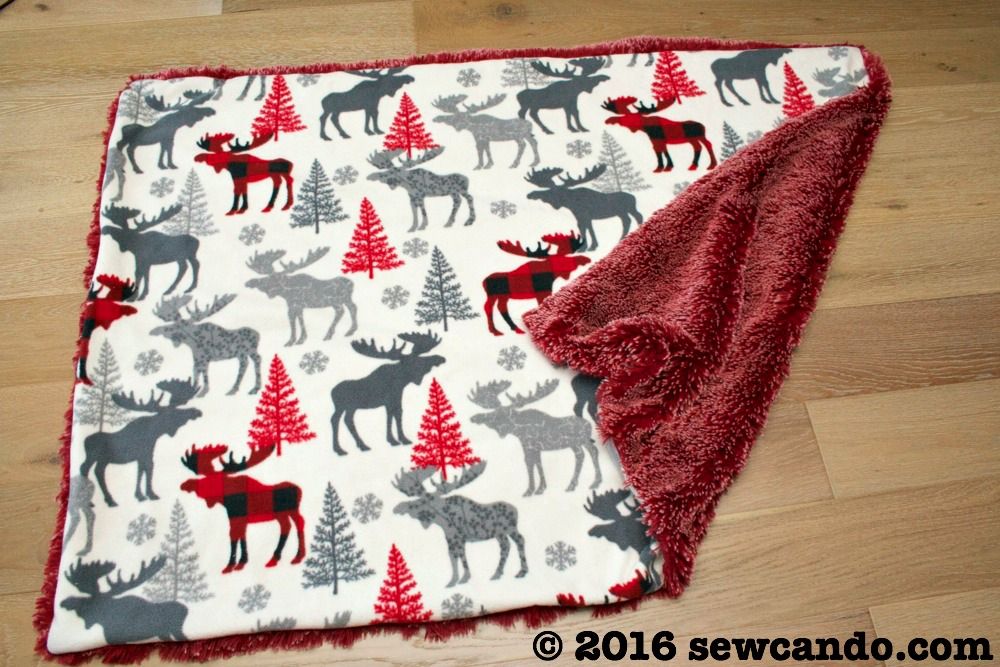
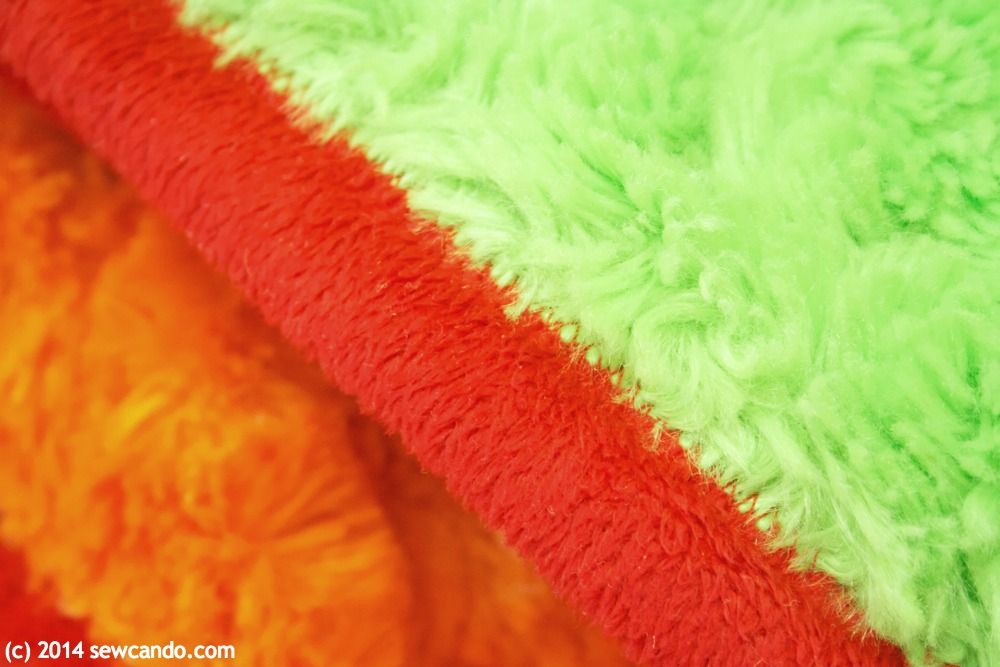
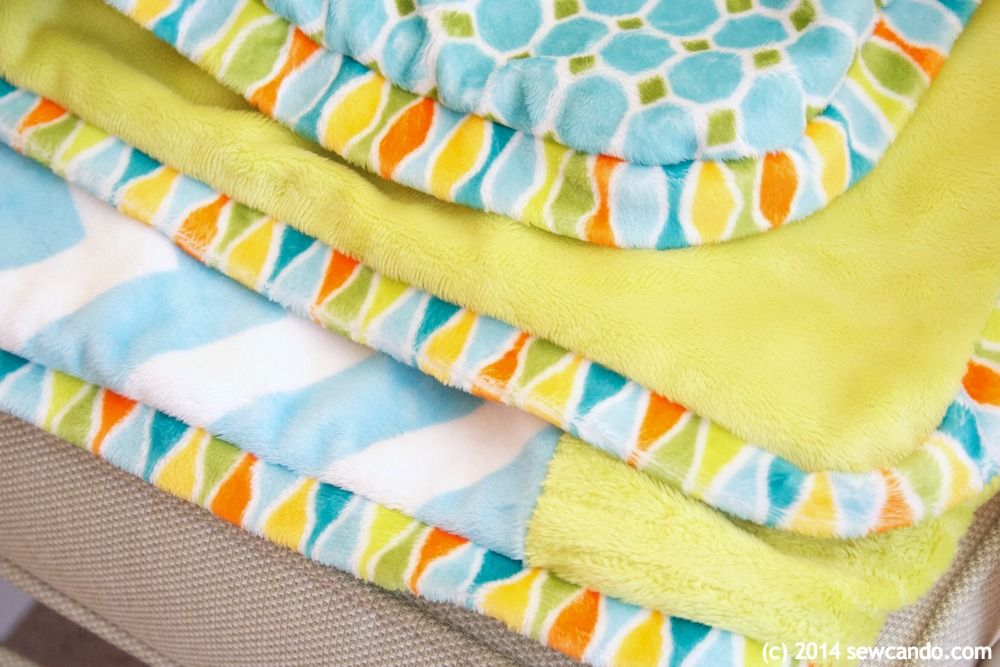
In reality, it's just a basic blanket, but what kicks it up to look and feel high-end is the amazing shaggy cuddle backing fabric.


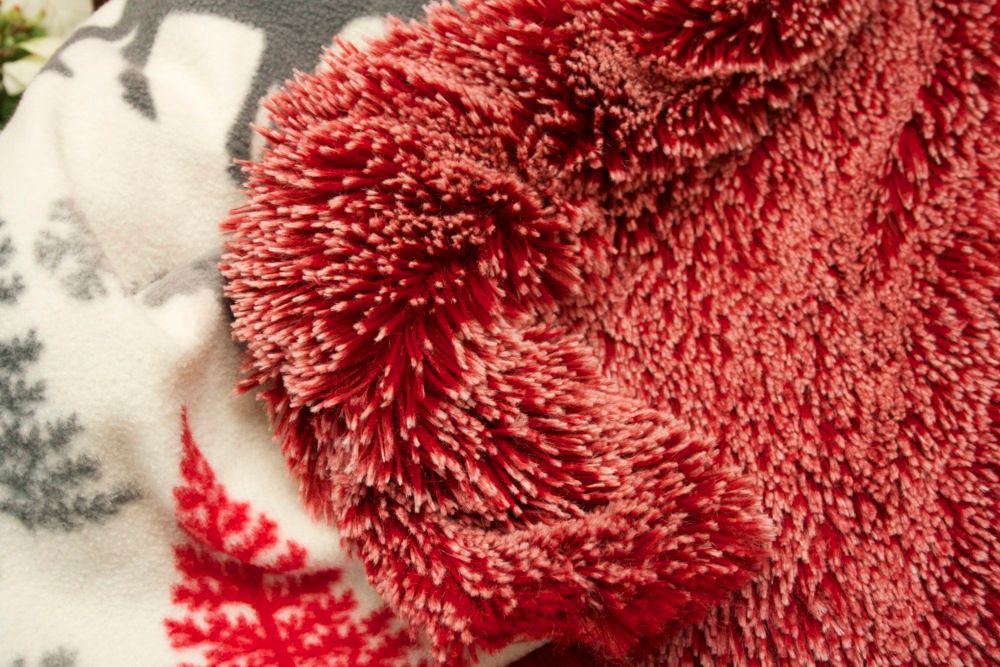
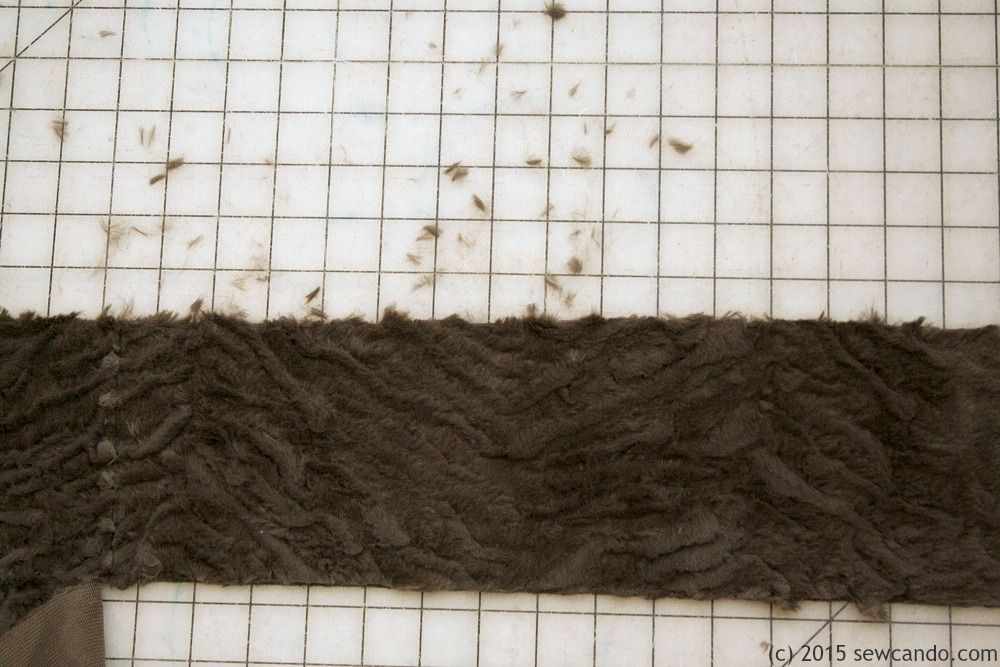
This stuff is marshmallow soft, so it is ideal for a cozy throw.  It's deep pile is over an 1inch long, which makes it perfect for keeping warm on winter nights and that long pile adds a built-in border around the edges to make a basic blanket look fancier.


I love how you can literally sink into it:


What is Shag Cuddle ?  Also known as Long Pile Minky, Shaggy Snuggle or Luxe Cuddle, it's a higher end, higher quality fabric with a long, silky pile and slight stretch.  It's just perfect for throws like these.  I bought some with a frosted look, but they're also available in solids.  It's easier to find them online or in smaller stores that carry specialty fabrics rather than the enormous chains.  If you use coupon codes you can score some for a very good price and by using a fun print anti-pill fleece as the front, it keeps the total cost down, but still has the ideal cuddly feel.  

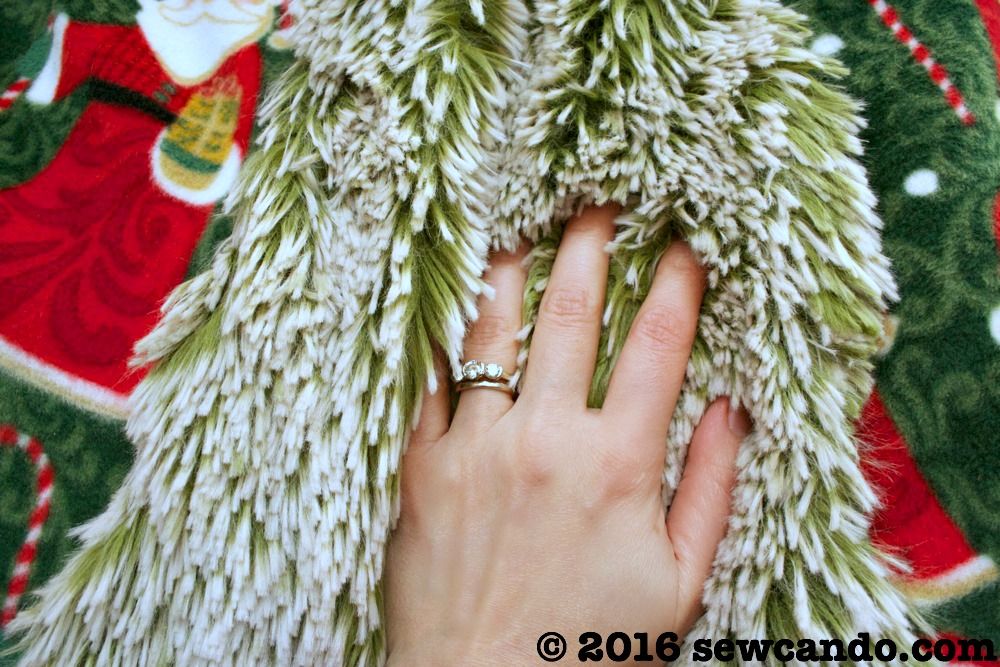
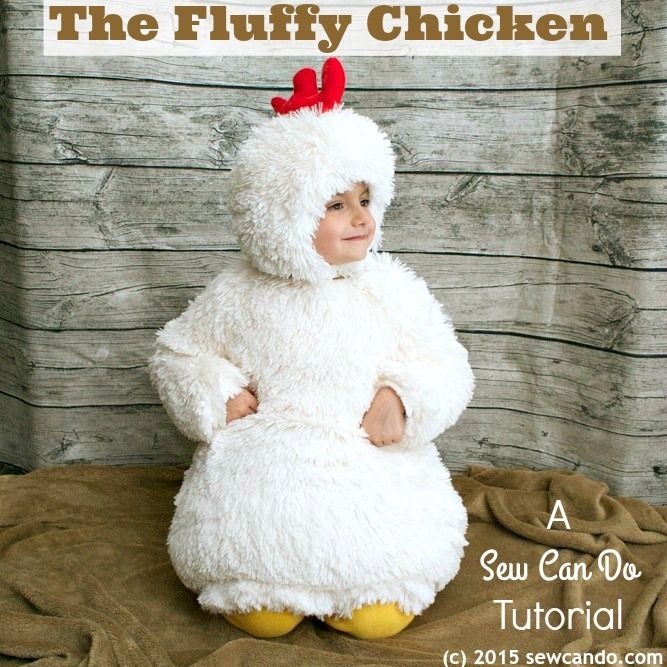
You may remember this fabric from my previous projects, the Fluffy Chicken Costume:


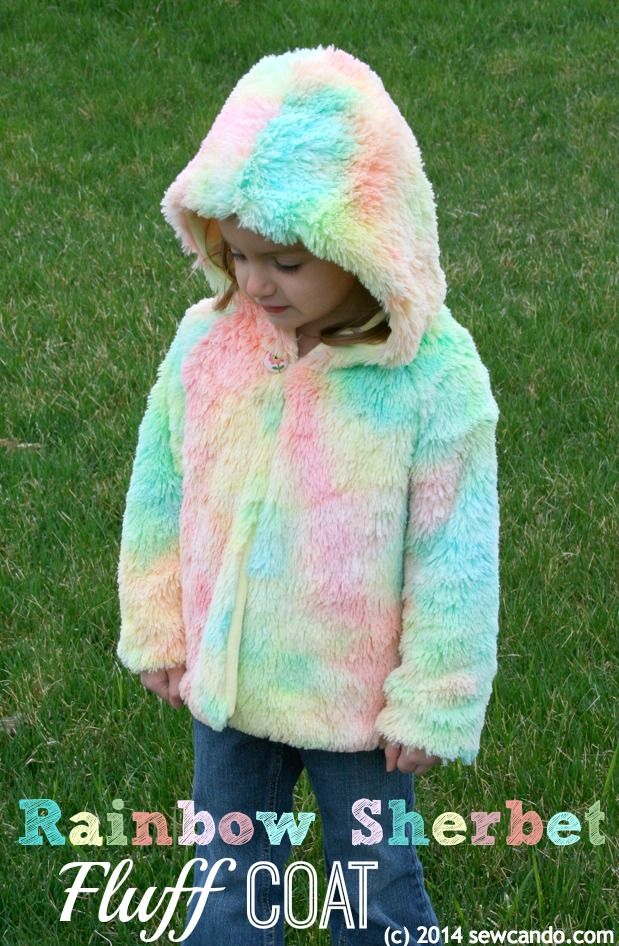
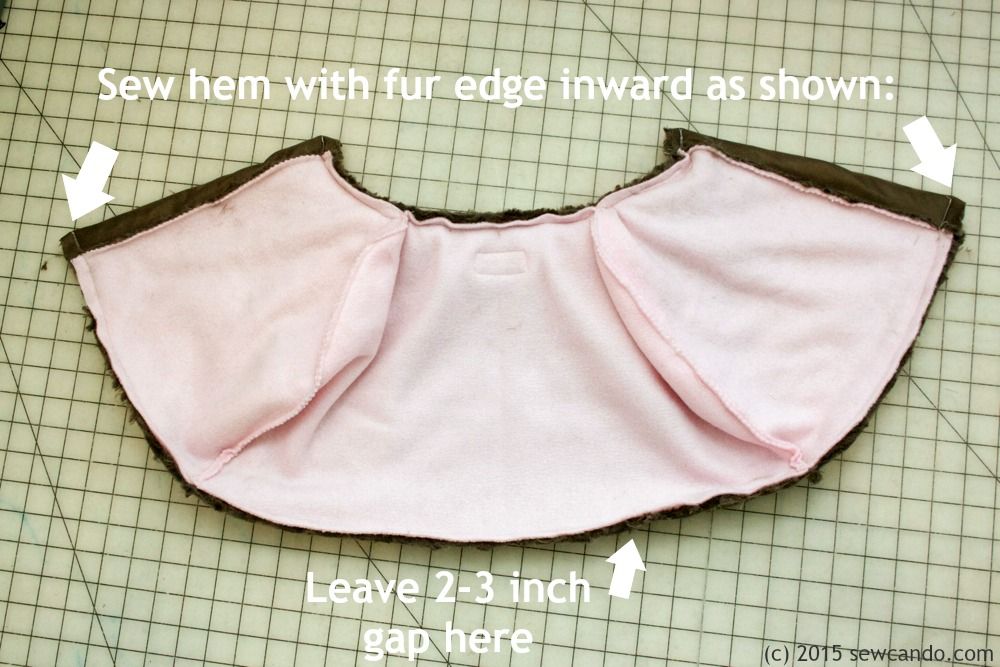
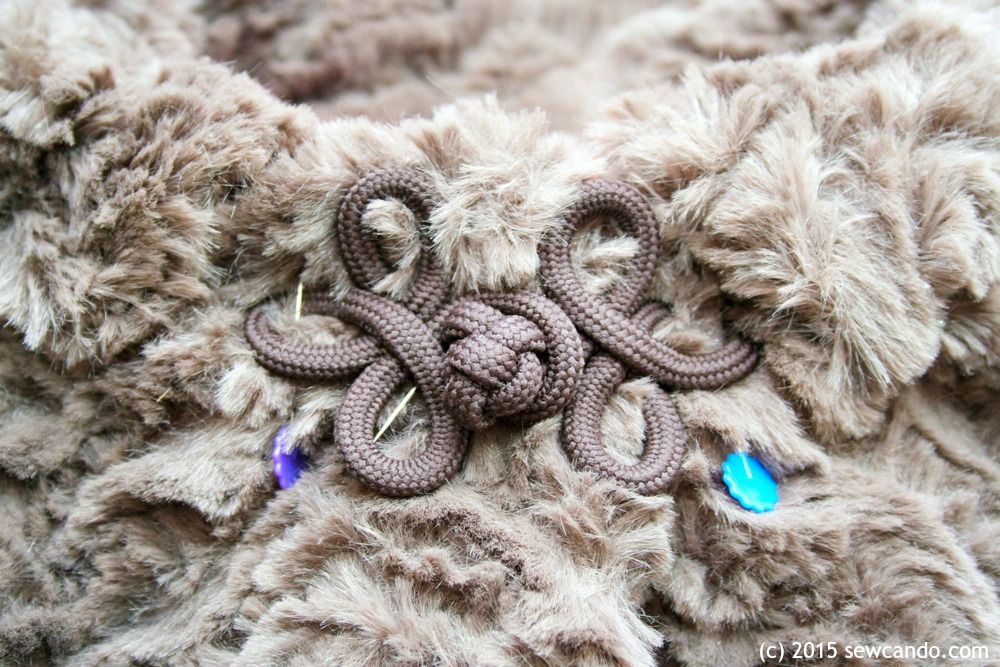
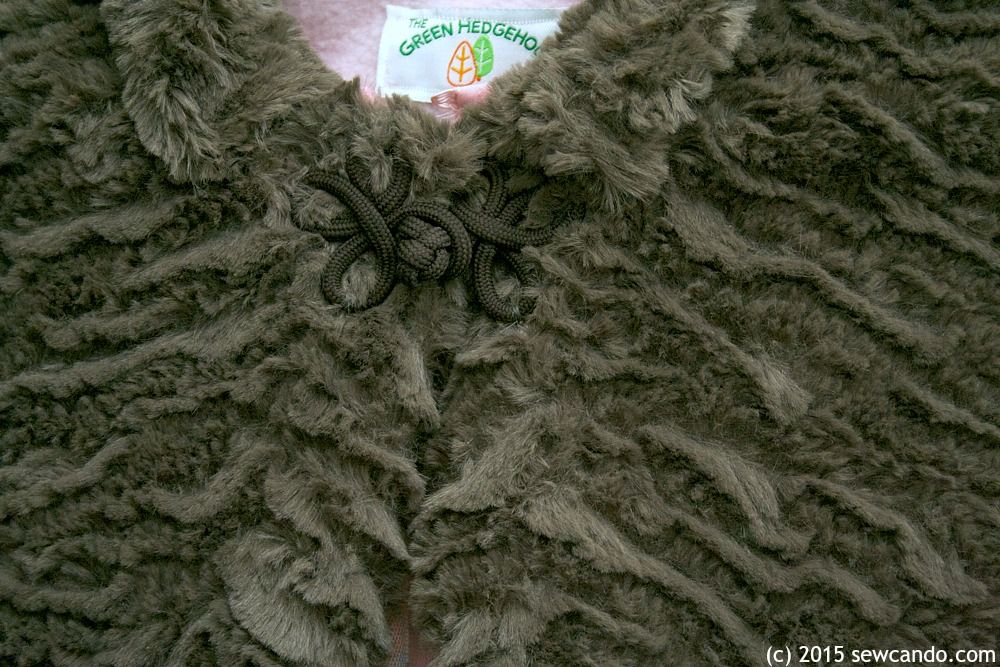
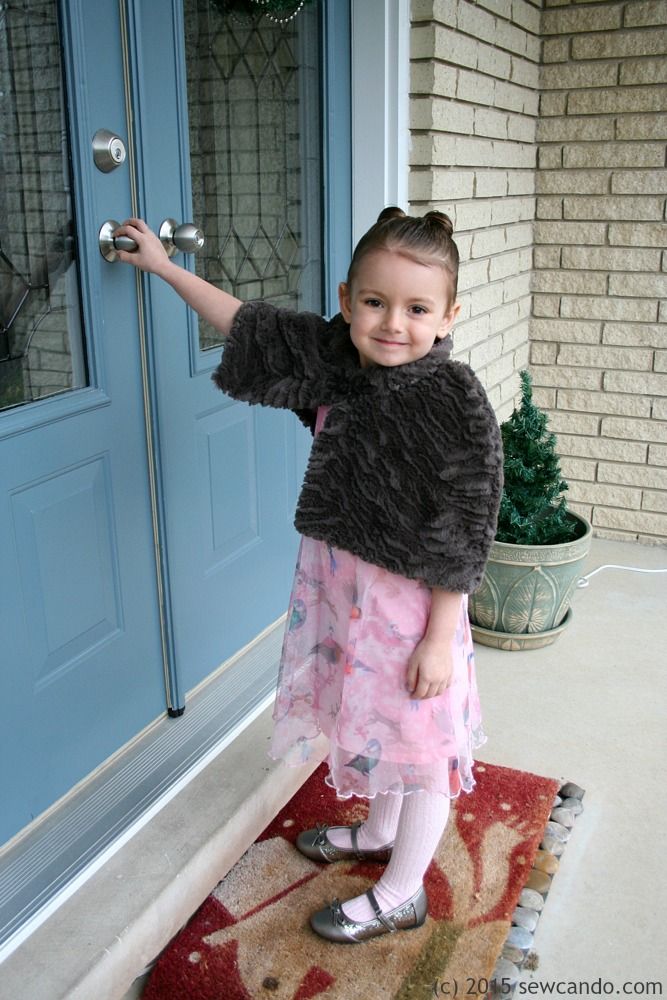
and my Rainbow Sherbet Fluff Coat:


Recently, I've seen plain solid color throws made with this kind of fabric in catalogs going for $60+, but I'm going to show how to make one for about $30 and use your favorite fleece prints for a more fun & custom look. 

Materials:
- 1 1/2 yds Shag Cuddle 
- 1 1/2 yds Anti-pill Fleece
- Pins (lots of them!!)
- Vacuum & lint roller
- Optional: seam ripper

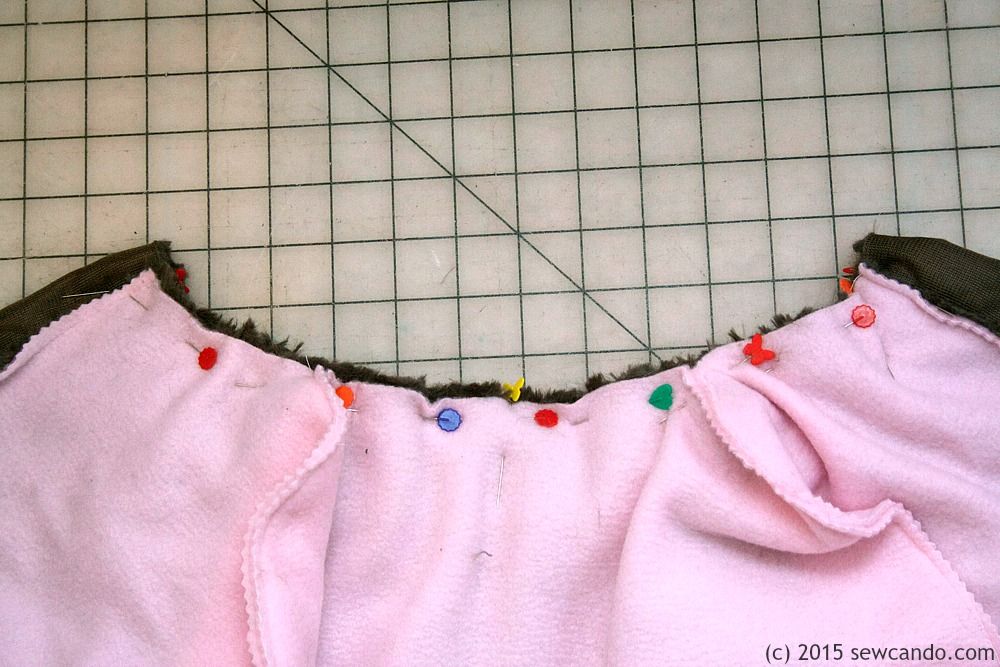
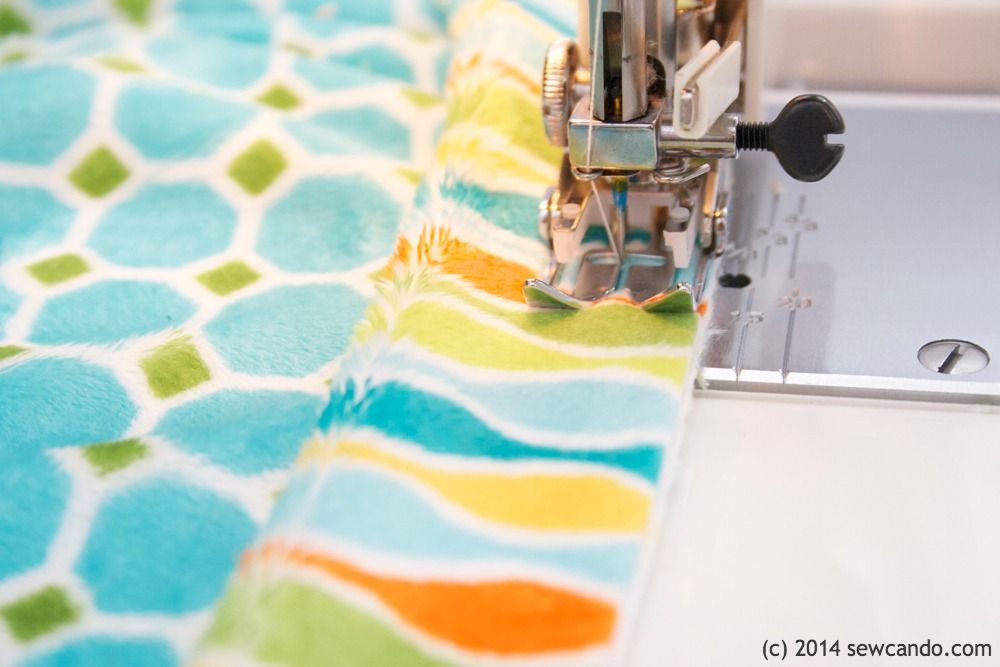
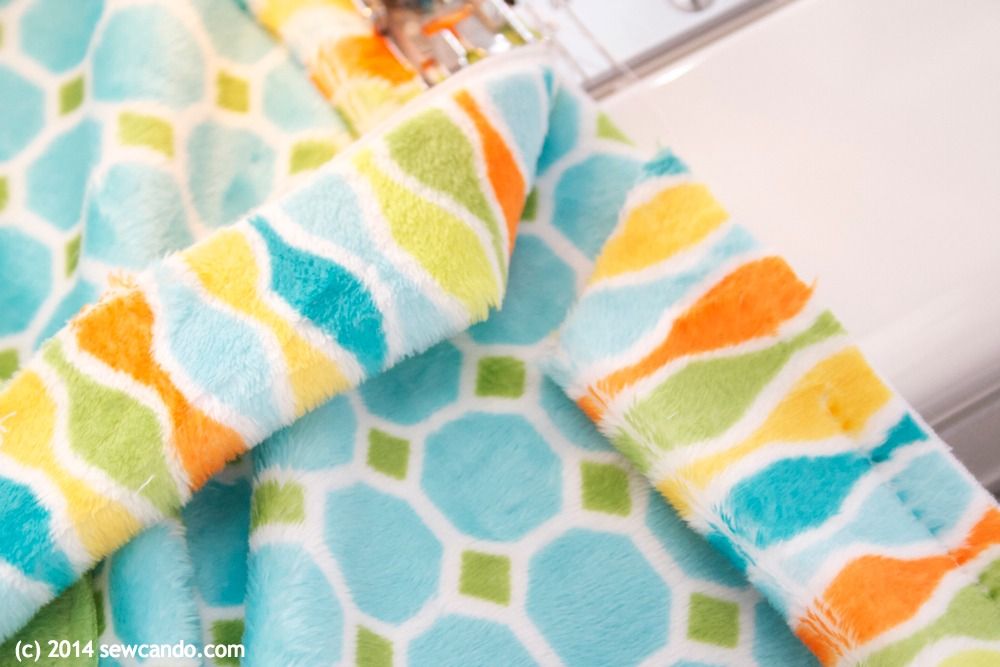
Making the throw is pretty easy.  With right sides facing (and the shag pile going downward), pin together the cuddle and fleece all the way around.  I'm careful to tuck in any floppy bits of cuddle along the sides and bottom.


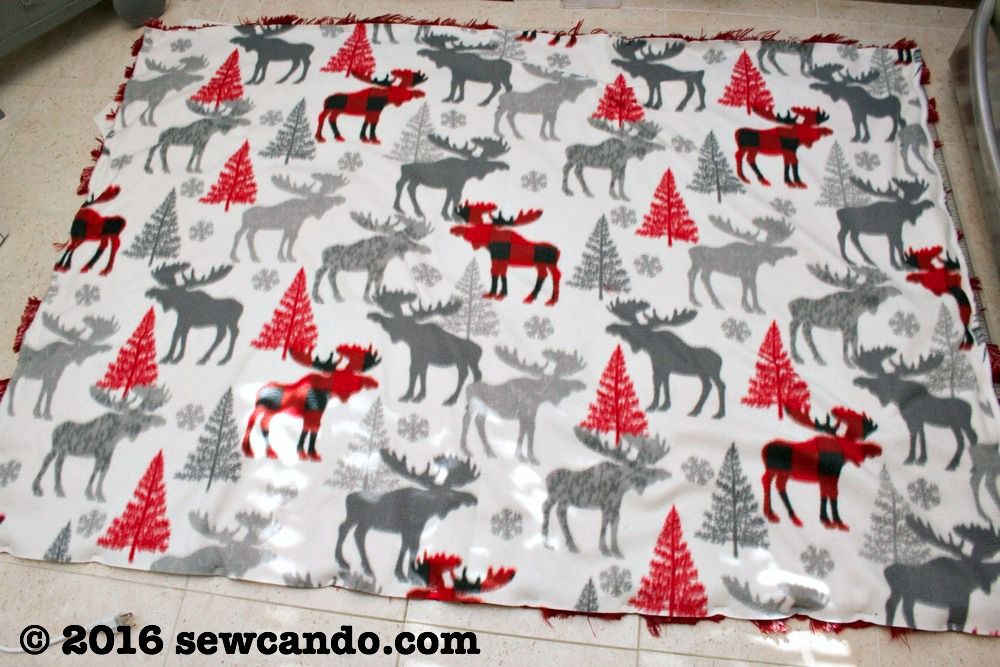
Stitch all the way around with a 1/2 inch seam allowance.  I like to use a walking foot to keep the fabrics from slipping (since they both have stretch).  Leave a 3 inch gap at the bottom for turning.  I then trim down the corners and then turn everything right side out and slip stitch the gap closed.


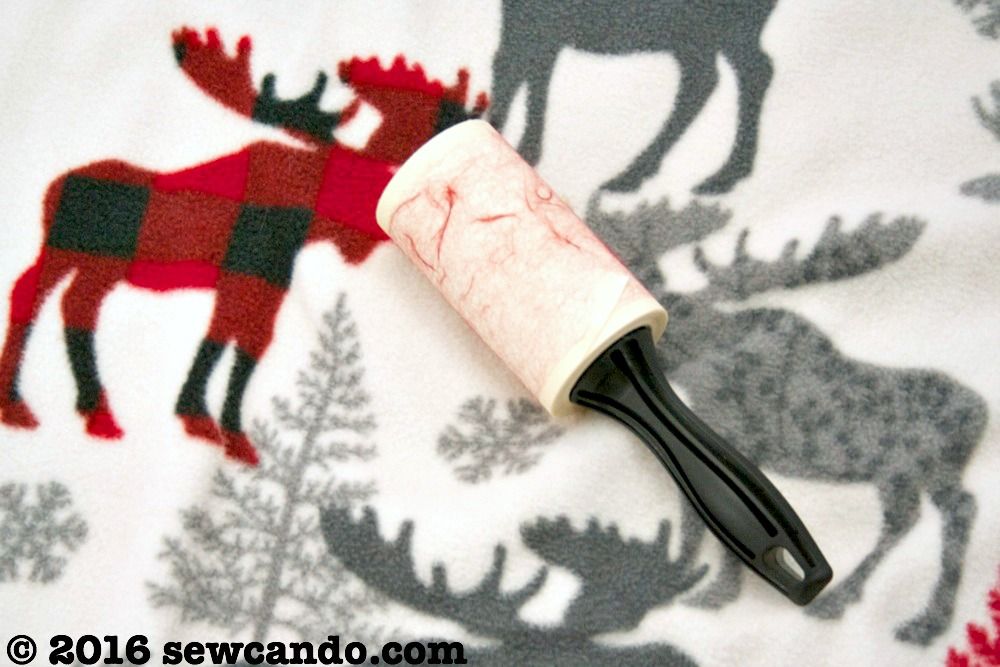
Cuddle does shed like crazy when cut, so I keep my vacuum hose on standby to clean up the mess and give each throw a good going over with the lint roller to remove any stray bits. If there are any bits of cuddle looped at the seams, I gently pull them out with a seam ripper.


That's literally it.  I made two in an afternoon and everyone who's seen them can't help but wrap themselves up in them.  
   

I made these two blankets for the holidays, but I'm planning to make a few more to use as everyday throws all year long.  My sister has already heavily hinted (as in flat out stated) that she wants one, so making more of these is on the horizon.  Now to decide on what pretty prints to use....

Wednesday, January 28, 2015

Dainty Elegance: Making A Faux Fur Capelet


Today's project was one of those things that was a last minute idea & ended up better than I'd hoped: a Faux Fur Capelet.  It worked out so well, I can't believe I didn't do this sooner!


A capelet is the perfect layering item to work with the clothing underneath, not cover it up.  I feel like she looks like a little Old Hollywood movie star with it on.


I made it with some lovely faux fur-style cuddle fabric and anti-pill fleece lining so it's lightweight, but still nice and warm.  Plus the soft cuddle is easier to work with than typical faux fur because 1.) it has a little stretch and 2.) it doesn't have that heavy, carpet-y backing that's a pain to sew through.


I wanted it to have a tailored look, so my design has the lining being smaller and the faux fur folding inward at the hem and front.  


This way the contrasting lining doesn't ever roll out at the edges.


It also has a little collar and fanciful frog closure front for a classic look.


You may be asking why a capelet? Well, it was kinda out of necessity. I ordered a cute, inexpensive dress for my daughter to wear for the holidays.  I thought "Great! Christmas attire sorted!".  Then things hit a snag when it arrived.  Despite it's wintery print, it was totally un-wintery fabric - super thin knit with a thin mesh overlay + short sleeves.  We live in Michigan where 30 degrees is considered balmy this time of year.  Doh!


I didn't want to spend more money on a new outfit or have to totally cover-up the dress to keep her warm, so I sifted through my stash and realized I had some cuddle fur & fleece in the perfect matching colors.  It was just enough to do a little cape or basic coat, so I wouldn't need to get a pattern either. After asking for opinions on coat vs. capelet on the Sew Can Do FB page, everyone said go capelet.  So I did:


Now you can too!  Here's how I made ours....

Materials:
- Faux Fur Soft Cuddle Fabric (I used Bengal in Pewter by Shannon Fabrics)*
- Anti-pill fleece 
- Frog closure
- Top to trace, paper & pencil
- Shears/rotary cutter, pins, hand sewing needle
- Optional: Design ruler 

First step is to use a shirt or coat in the desired size to trace around for the neckline and shoulder slope for a single back piece and for each of the front sides.  I used my design ruler to get really nice, even curves.  Add a seam allowance of 1/2 inch around all sides.  For length I went to my daughter's natural waist.  For the rectangular collar piece, I measured the total neckline area (back + both front pieces) for the length and made it 4.5 inches high.


Since I wanted my outer fabric to wrap inward at the front and the bottom I cut the cuddle fur one inch longer at the bottom of each piece and added an extra 2 inches more to each of the front sides than each the fleece pieces. 


FYI - Cutting cuddle fabric can be a messy job.  The fluff comes off like crazy when you cut it and can get everywhere! I like to have my vacuum's crevice tool ready to suck the bits up and also run my hands over the raw edges of each piece into a garbage can to keep it to a minimum.


I began the assembly by sewing the front halves to the sides of the back at the shoulders and down the sides for the lining and trimmed down the seam allowance.  Then repeated with the cuddle fur:


With right sides together I stitched the front seams of the lining and cuddle fur together:


For the collar I folded the collar down with right sides together and stitched along the short sides, trimmed the seam allowances, then turned right side out.  I also basted the long open side so the edges would stay in place when attaching it to the capelet.


I inserted the collar in-between the lining and fur, lining up the raw edges so each ends of the collar matched each end of the lining.  This made the cuddle fur overlap on either end so it will wrap inwards.  Then I pinned & stitched the layers together:


Then it was time to do the bottom hem and leave a few inch gap in the middle for turning it right side out.  I pulled it right side out and slip stitched the opening closed.  


For the last step, I laid the frog closure onto the front, making sure each side was evenly spaced and pinned it to the cuddle fur.  


Then I hand stitched it into place around the loops, careful to only stitch through the cuddle fur, so the stitching wouldn't show through on the inside.  I also tacked down the corners of the collar so it would lay nicely.


By adding some cable knit tights for the lower half, I was able to turn a filmy, lightweight dress into a cosy, winter ensemble.  Now we now have the perfect layering alternative to sweaters and it's fun for playing dress-up in too:)  


Wednesday, January 7, 2015

My Like A Dream Reversible Wrap Jacket in Stitch Magazine


Looking for something to sew that is cuddly, comfy and guaranteed to keep you warm? Check out my Like A Dream Reversible Wrap Jacket in the current Winter issue of Stitch Magazine! 


This pillowy soft wrap jacket is perfect for the boudoir and chilly days & nights. Wear over pajamas, use as a robe or as a toasty top layer with leggings or lounge pants.  It's like wearing cuddly throw, but still having a stylish outfit on!  By using plush Cuddle fabrics, it's ultra luxurious and comfortable - the feel is cloud soft.  This is my go-to wearable for winter's chilly days.  

I used this dreamy Embossed Paisley Cuddle by Shannon Fabrics for mine.

The jacket is fully reversible, and has the option to wear with the hood up for an ultra-snuggly effect or folded down as a cozy cowl.  


It also has side pockets (inside & out) and an easy to wear cross-front design to work with a variety of body shapes.  My 5'0" petite self wore the one shown, as did the magazine model and my very obliging, not slightly built, 5'9" husband, plus several other women of varying size, so its one size really does fit just about everyone.


If you want to make your own, just get a copy of Stitch Magazine's Winter issue off your local newsstand or in craft stores, through the end of January. Or just shop the Interweave website here.  


FYI - You can find the downloadable pattern pieces on the Sew Daily site for free here, but you'll need the magazine for my full instructions and materials info for all the details to make one.


Wednesday, April 9, 2014

Faux Binding for Quilts & Cuddle Quilting Tips


Ever try to bind a quilt or blanket?  Whether you're new to sewing or an old pro, binding can be tricky.  Today I'm going to share my way to fake a pretty binding edge that will give the same look as traditional binding, but without any of the hassle!


Usual Binding Methods:
Traditional binding involves stitching a strip to the edge of the blanket and then wrapping it around the raw edges and topstitching into place, much like using bias tape.  Last summer I won a Cuddle 8 quilt kit from Shannon Fabrics (the leading distributor of plush fabrics) and made it into a super snuggly comforter for my middle son. While the quilt body came together fast, I struggled a bit binding it. Sometimes it doesn't fold around evenly and it's easy to end up with some gaps where stitching doesn't quite hold it when working with such a big area. The backing, binding & thread were all the same color so my imperfections don't show much, but I wanted to do a better job the next time around.


Self binding, the usual alternative, (aka using a larger back piece that folds over to the front) only works if you have a much larger backing, like on this traditional cotton quilt I did a few years ago:


I recently got two new Cuddle Quilt Kits from Shannon Fabrics, a cute Leo the Lion applique set & The Derby race car themed kit for my oldest son.  Both had a fun mix of textures & coordinating prints and were beyond snuggly soft.  Self-binding from the back wasn't an option because the fabrics were cut width-wise (so back & front were the same size). I really wanted a perfect finish for the binding, so I went with my faux method instead and it worked great.  


Tips on using Cuddle Fabric:
- If you're using a kit or multiple types of Cuddle fabric (like dimple, embossed, rose, etc.), like I was, the first piece of advice I have is to make sure they are all the same width before you start sewing them together.  While they'll all be the same height, they may be different widths - anywhere between 56-60 inches.  

- Cuddle (aka Minky) gives off a lot of fluff when cut, so have a vacuum & sticky roller on standby!

- Cuddle fabrics can also have slightly different amounts of stretch as well (dimple stretches A LOT more than smoother Spa or Cuddle 3), so I always cut my backing piece after I've stitched together my front, because there's usually some edge trimming required to the front when it is done. 


Bonus Tip:
The biggest sanity saver when quilting, or sewing with plush or slippery fabrics like these, is to use a walking foot.  It provides even pressure to feed multiple fabric layers at the same speed, so they won't shift or stretch while you stitch.  Most machines don't come with them, but believe me, it's worth the investment and your work will look so much nicer!


Get the quilt front all completed first.  The Leo the Lion Cuddle Quilt also came with extra fabric & pattern pieces to do the lion applique.  I sewed those on as soon as the front strips were sewn together.  Once the quilt front is ready to go it's time for the faux binding.  You can do this with any type of fabric, but it's ideal with cozy plush fabrics like Cuddle.  


Here's How To Do It:

Take the fabric for the binding, but instead of cutting it in 2 inch wide strips, make them 2.5 inches wide:


Sew the strips together to make one long binding. Take two strips, with right sides facing & edges perpendicular, sew together on the diagonal.   Trim down and repeat with remaining strips to make one piece.  Make sure there's at least a few inches more than you need to go around the quilt - this will be key for finishing the binding edges.


Fold the giant binding strip with wrong sides together and place on top of the quilt front, matching up the raw edges.  Baste together using a .5 inch seam allowance.  


Start the basting a few inches from the beginning so there will be a loose tail. This will be needed to finish it smoothly, without a bulky overlap where the binding ends meet. Do this all the way around, stopping a few inches before the starting point.  For the corners, I simply rounded them, since that's simpler and I like the look.


Now open and cut the starting edge of the binding on the diagonal:


Lay the tail of the binding against the quilt and open.  Place starting edge on top of the tail and trace a line on the tail along the starting edge.


Draw a second line .25 inch above the first - this will be the sewing line to stitch them together.  Cut along the lower line.  


Place the binding ends together, right sides facing and stitch together with a .25 inch seam allowance and trim.


It will end up looking like this:


Fold binding and baste into place along quilt edge to finish.


Place the quilt top over the backing, right sides facing, pin all around. Sew together, stitching over the basting with a stitch width of 2.5.  Leave a 4-5 inch gap at the bottom for turning. Pull right side out and hand stitch gap closed.


I'm really pleased with how they both turned out:


 And my faux binding looks nice & even without me even breaking a sweat:


I'm also sharing this project with my FAVE LINK PARTIES.
Click HERE to check them out!


I received the quilt kits pictured from Shannon Fabrics to use as I desired, with no financial compensation.  The opinions are completely my own based on my experiences.  

LinkWithin

Related Posts with Thumbnails