Showing posts with label Sewing Techniques. Show all posts

Friday, June 2, 2017

How To Sew With Knits On A Sewing Machine


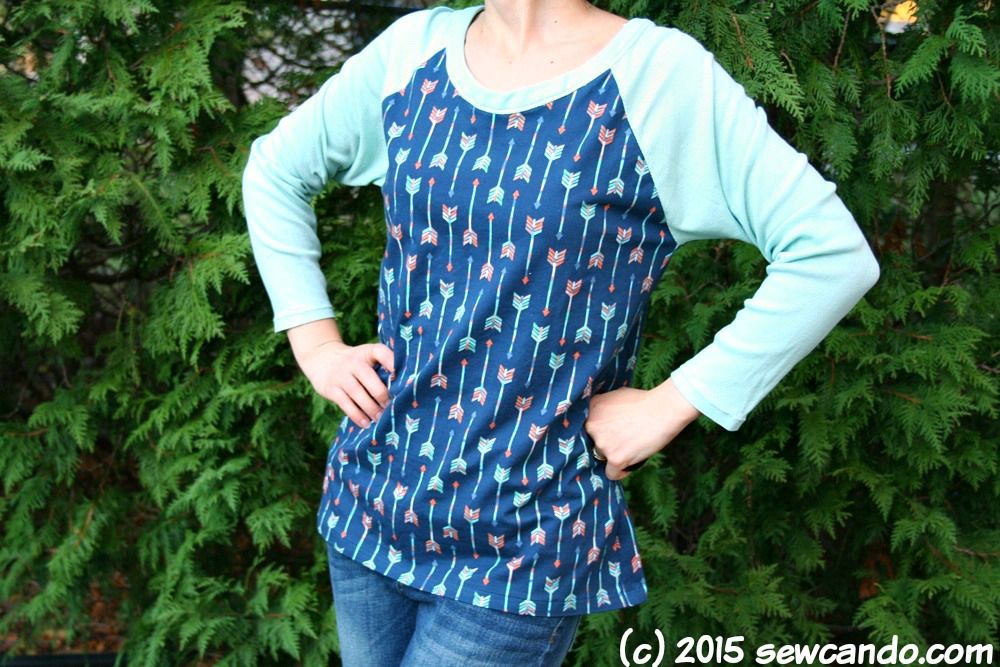
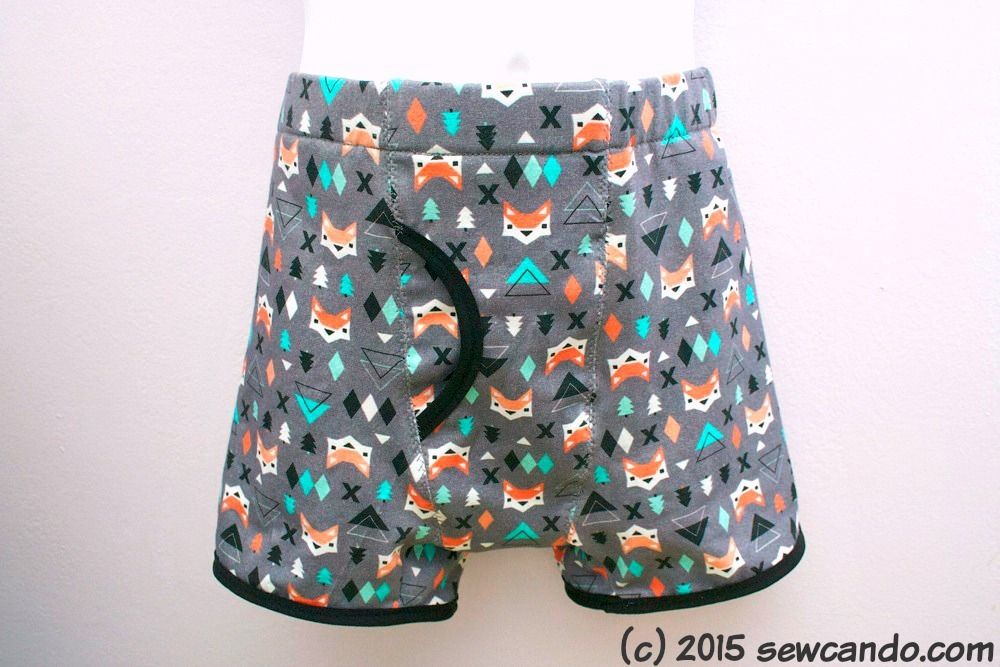
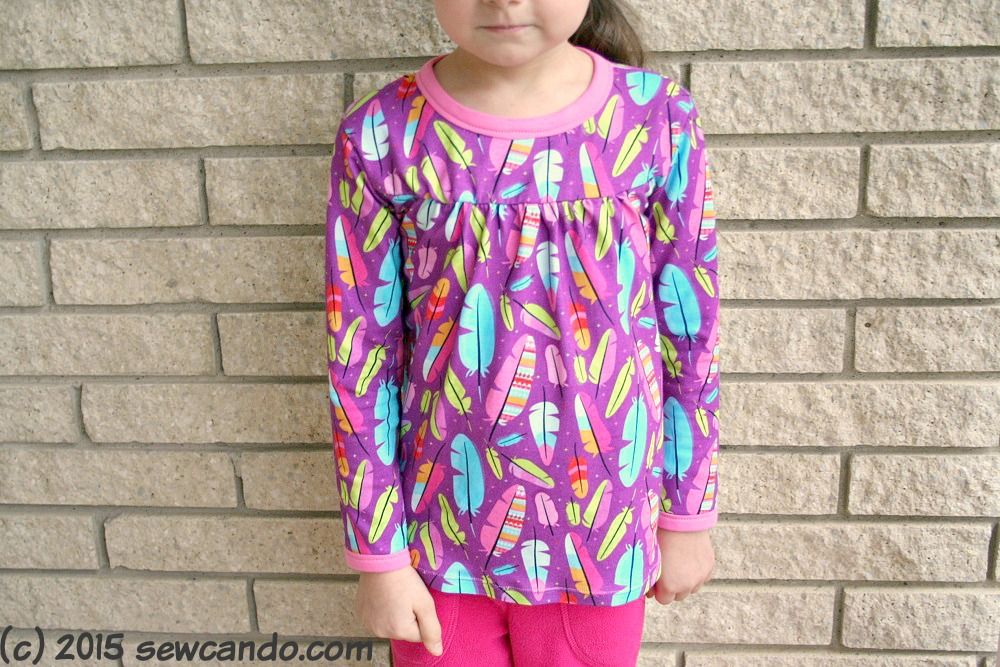
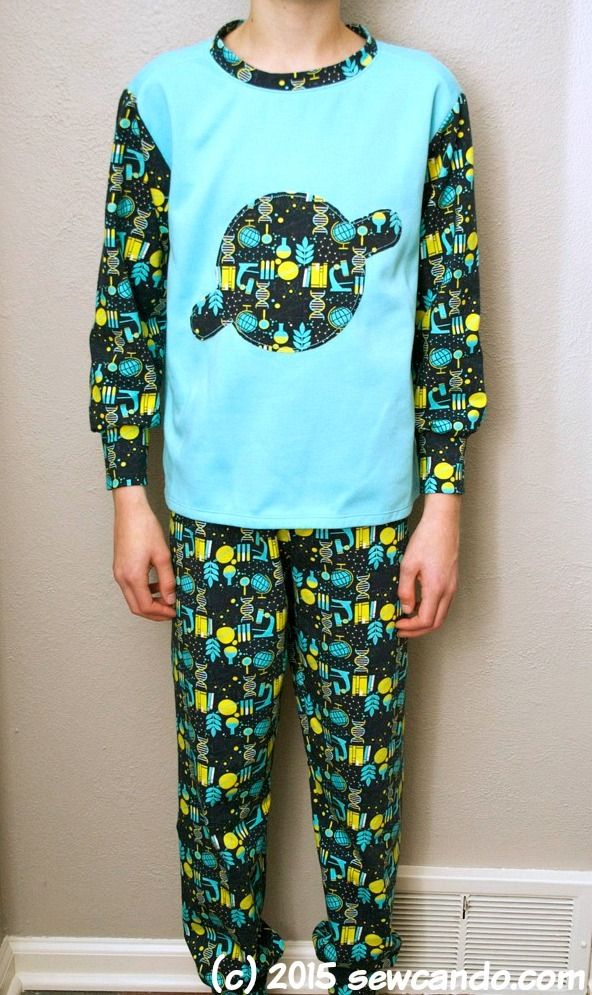
Sewing with knits is not as hard as most people imagine. It doesn't involve major sewing skills and you do not need a serger.  A basic sewing machine, a little knowledge and few key notions are all it takes.  Really!  You truly can start sewing up your own pjs, t-shirts, dresses leggings & undies in no time!  Today I'm sharing just how easy it is and offering up a chance to win a bundle of awesome knit fabric too.


Getting Started Sewing With Knits: 

Use the right notions!  If you're new to sewing or have mainly sewn with woven fabric, sewing knits may seem tricky or frustrating, but by following a few key tips, stretchy, smooth seams are simple. 

Ball point needles - these are necessary for sewing knits because they pass through the fabric threads by separating them, rather than poke holes through them.  There are a variety of sizes to coordinate with various knit fabric thicknesses.  


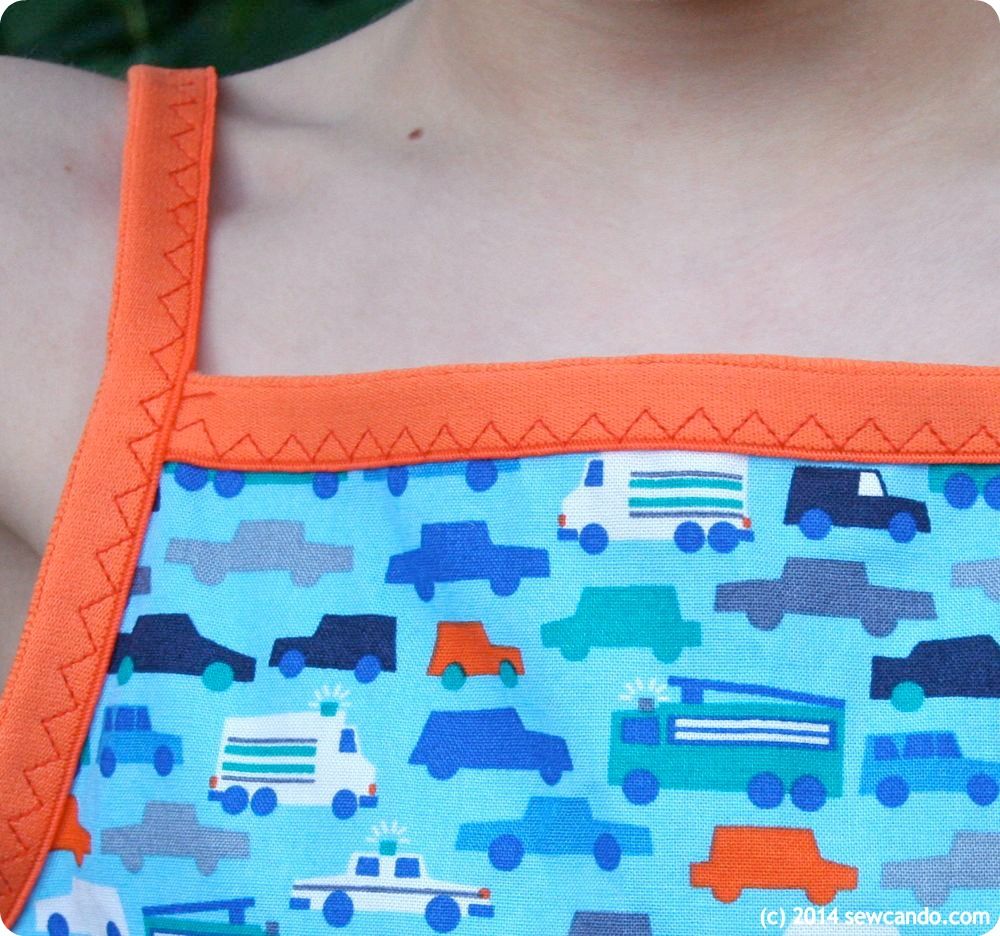
Stretchy stitches - this is the other key element to sewing knits.  Basic zig-zag, triple stitch, triple zig-zag, overcasting/knit stitch all work great, as do a few others.  Unlike normal straight stitches, these provide give and strength which are key when sewing with knit fabric.  Sewing straight stitches means the fabric can't stretch without breaking the thread.  No one wants that!  

It is totally worth the time to dig out your machine's manual and see what stretch-friendly stitches you have.  Even the most basic machines have several.  Usually the manual will also tell you what each stitch is suited for too, so you probably have more options than you expect.  Here are just a few:


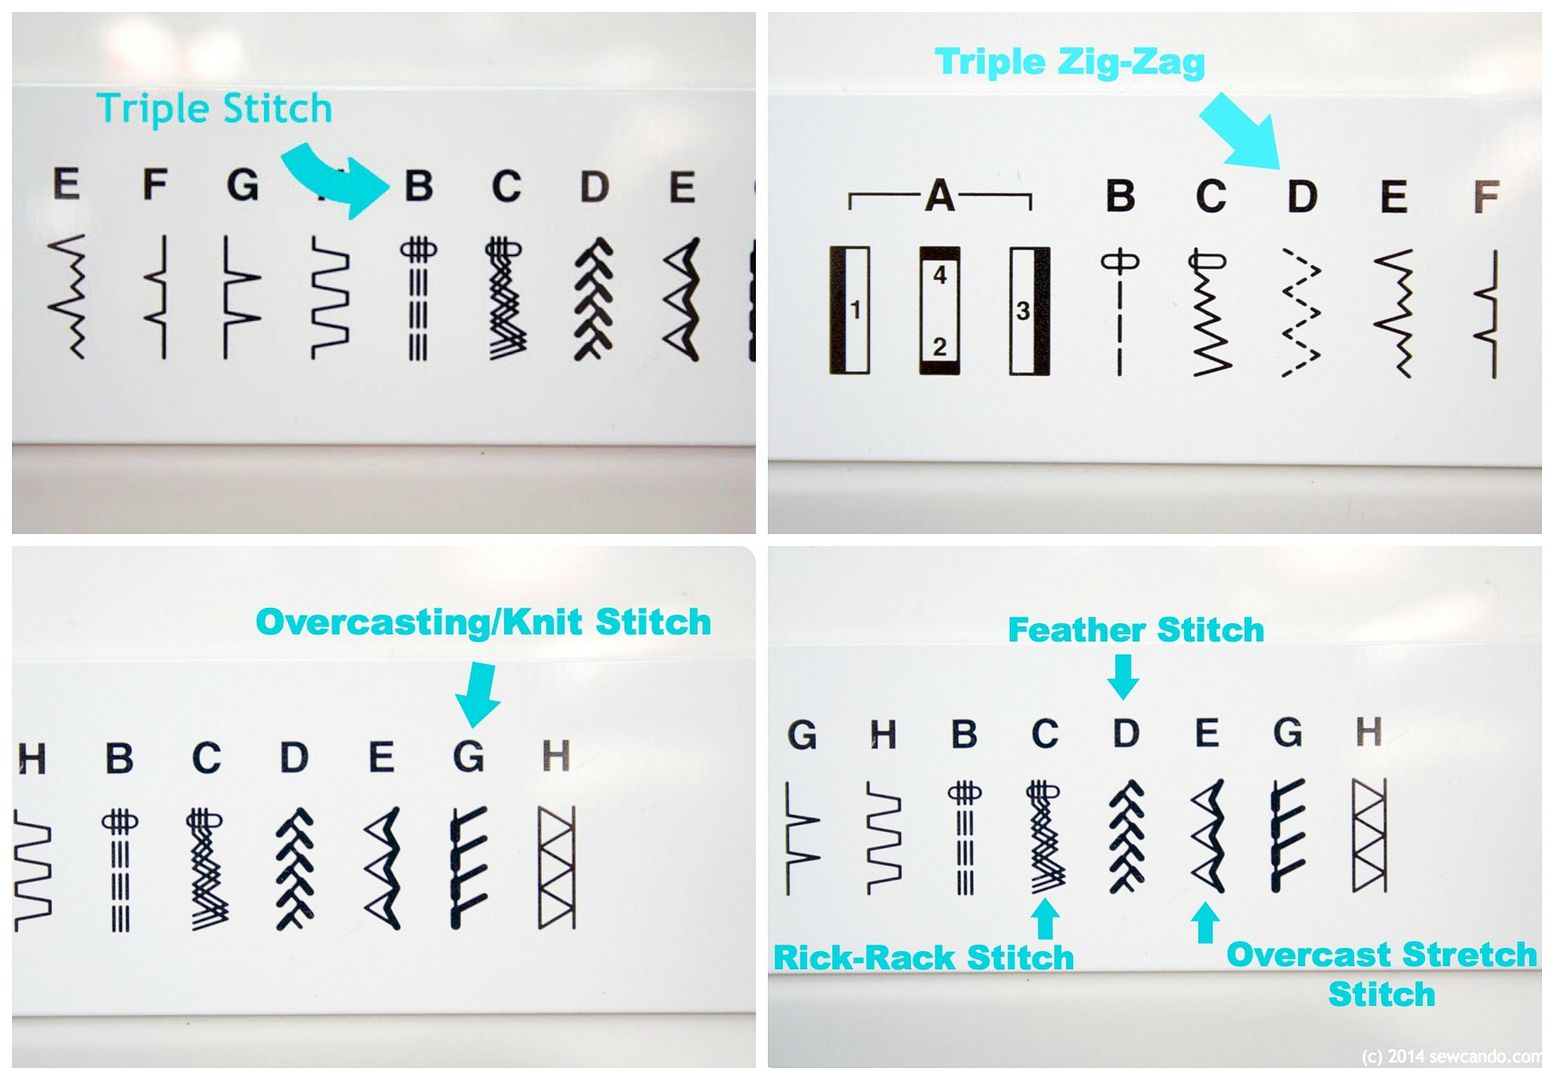
For more details on what these particular stitches look like and best applications, you can check out my past post on Ways to Sew Knits Without A Serger.

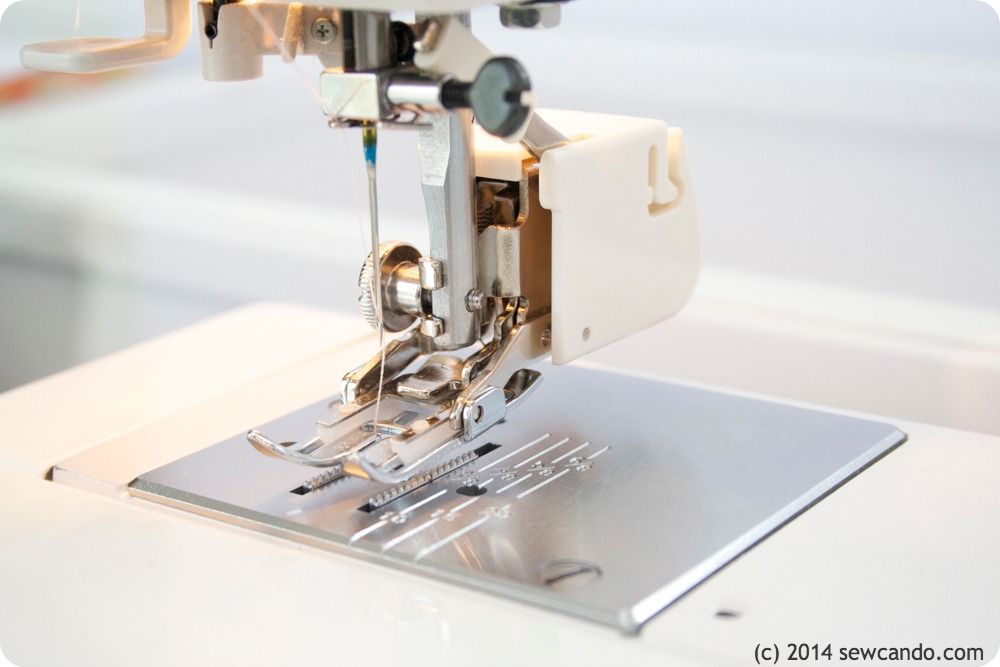
Walking foot - This specialty presser foot grips fabric from the top (instead of just the feed dogs underneath), so the even hold keeps layers from creeping or stretching while you sew. Unfortunately, most machines do not come with one.  It makes a big difference when sewing knits, so it's worth getting one and they are not very expensive.  Added bonus: it's great for quilting & woven sewing too!


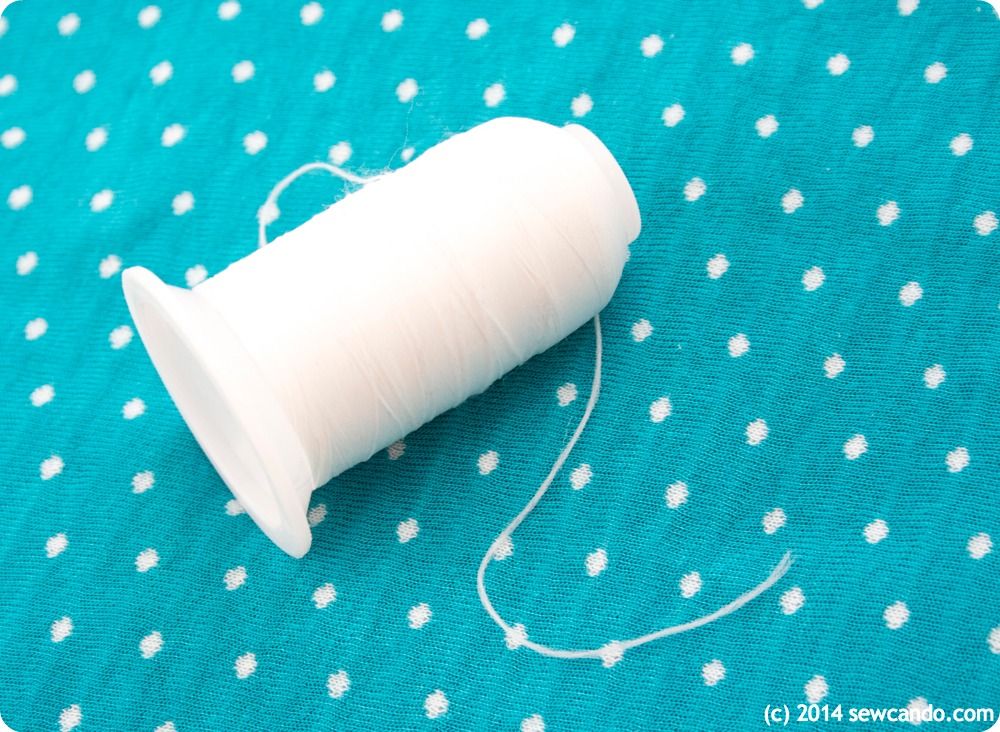
Nylon thread - this is optional, but can be handy.  This wooly looking thread is what I use in my bobbin whenever I sew things like kid's clothing. Regular polyester thread on top, this stuff in the bobbin.  It adds a little extra stretch for seams that will be pulled a lot, like neck or leg holes. And a cone of it will last forever.


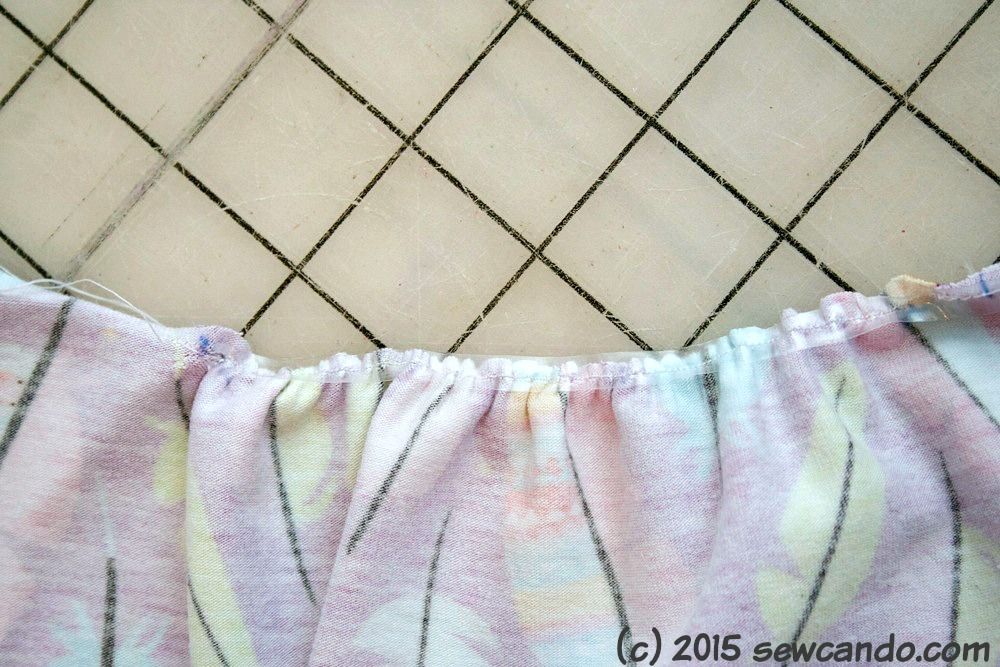
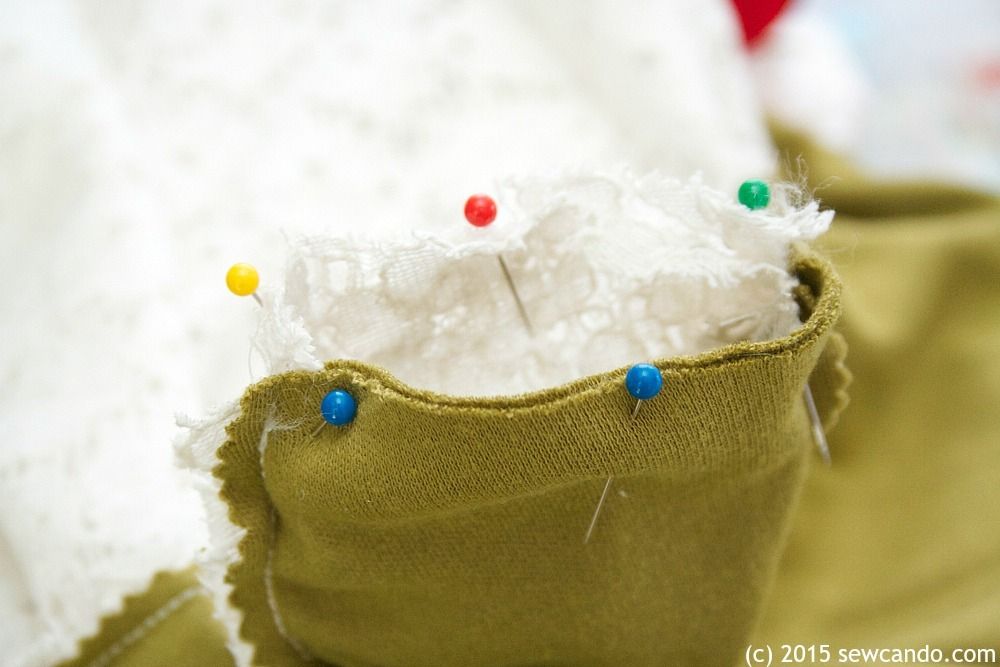
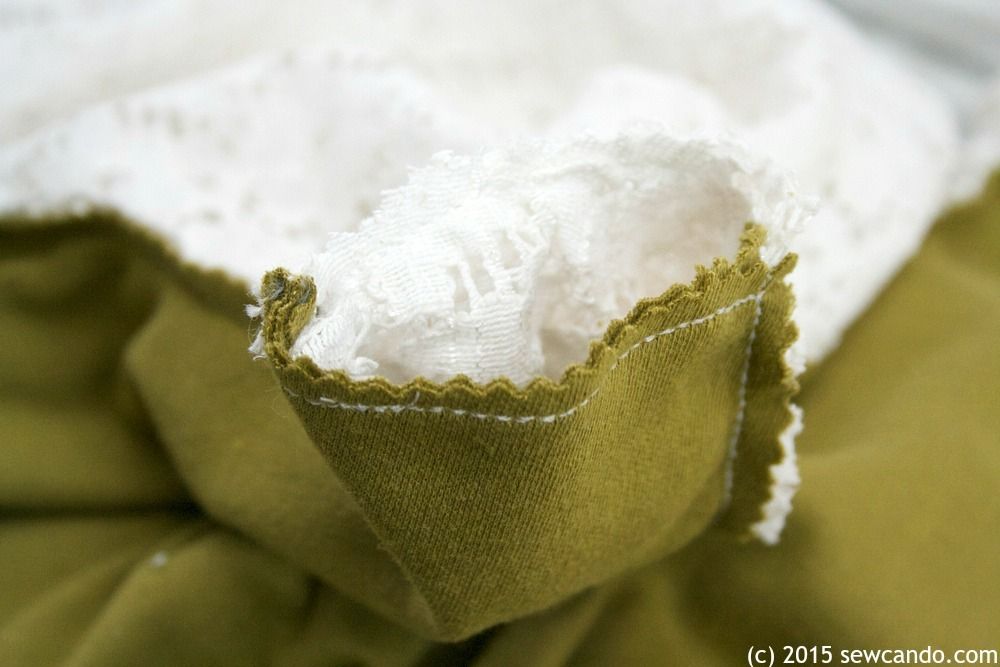
Lastin - a clear elastic is also great for stabilizing seams and for gathering knits since it's also stretchy, just stretch it as you sew to make perfectly even gathers:


What about edges & finishing?

There are many ways to handle hems, cuffs and openings that will rival a store-bought look. None are super complicated.  

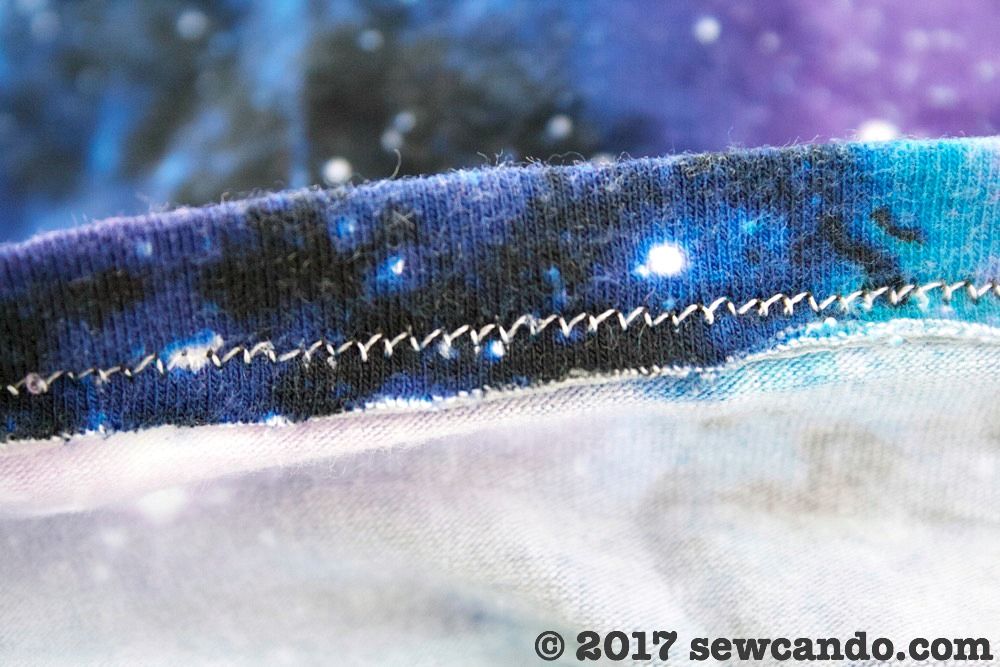
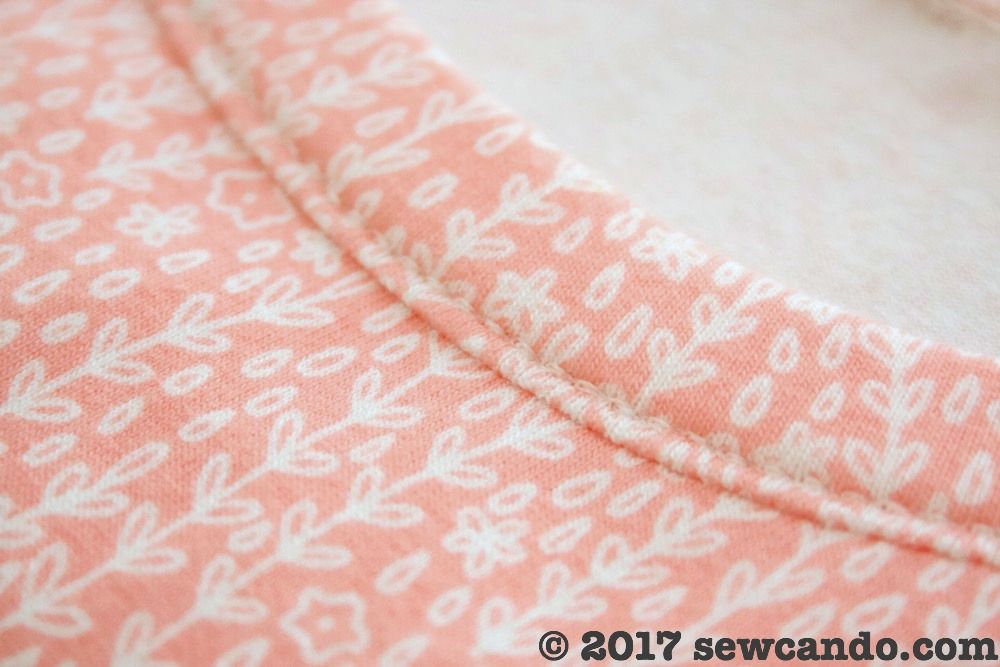
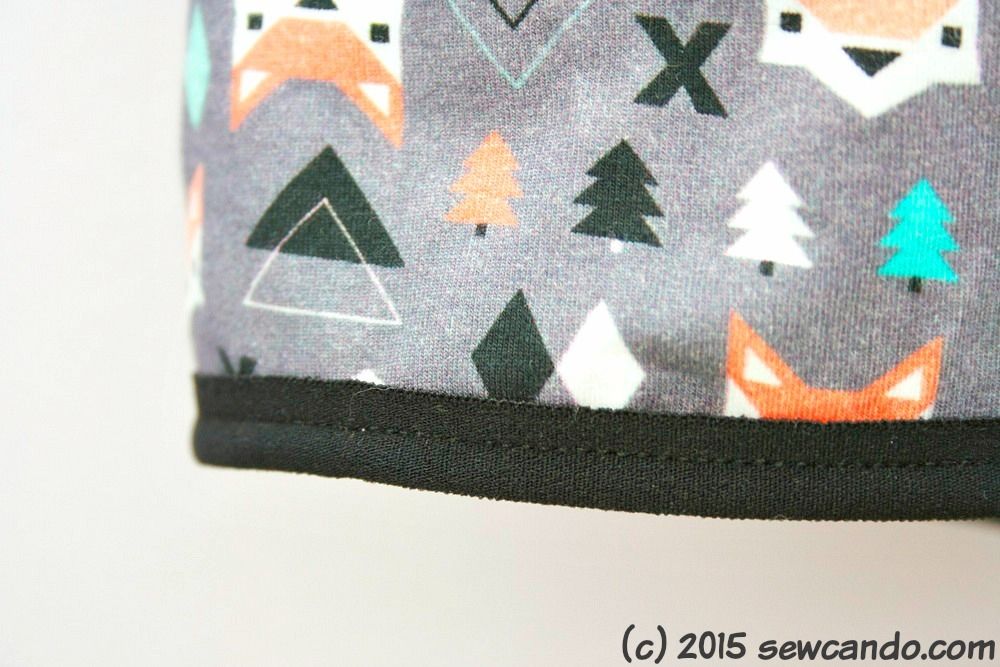
Stretch twin needles - these are great for a professional finish on hems & necklines and have that all important stretch too.  Two even rows of stitches on the front: 


And a zig-zag bobbin thread connecting them underneath:


Not all twin needles are the same though.  Many chain stores sell them, but it's the stretch variety that's needed for knits.  I've had to order those online or get them at local sewing stores, but they work better because they're meant for knits.  


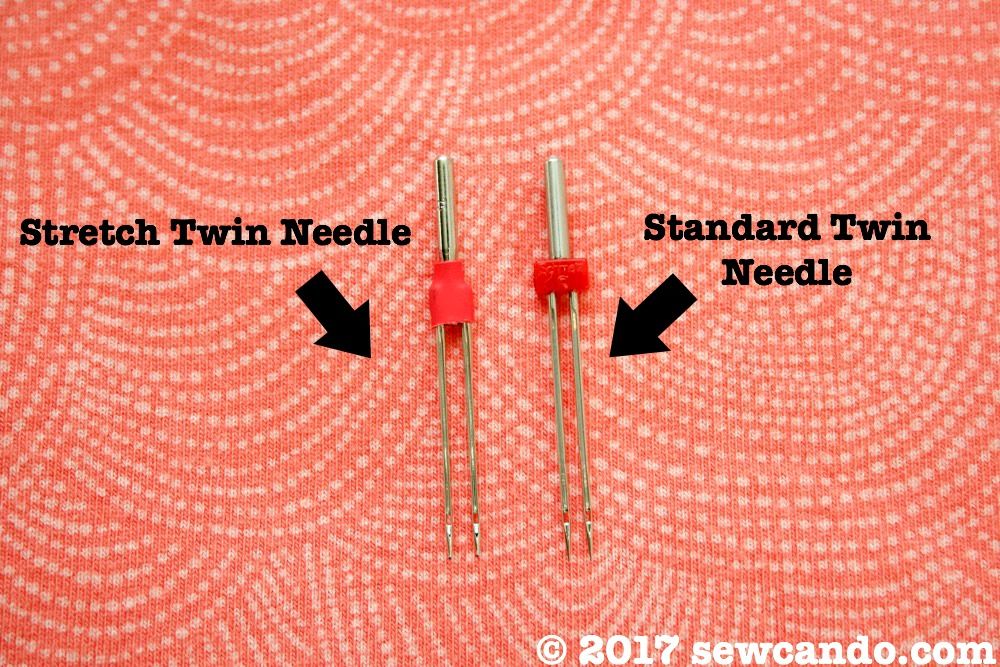
I've also had greater success with narrower twin needles to avoid the fabric sticking up between the rows and creating a "tunneling" effect.  Using pressure-sensitive fusible tape also helps prevent that.

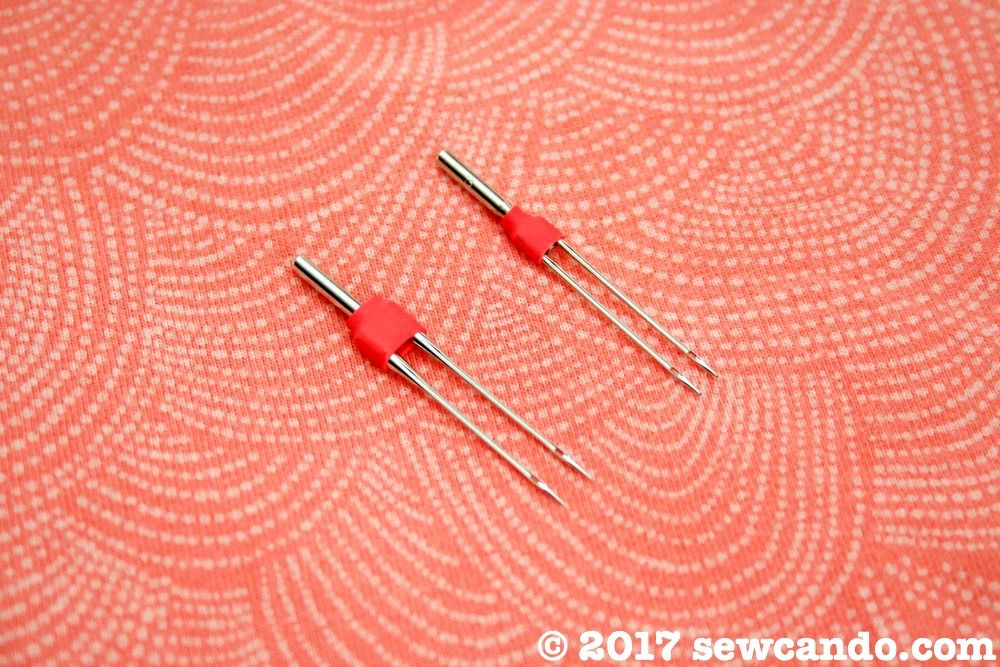
Two of the width options for stretch twin needles

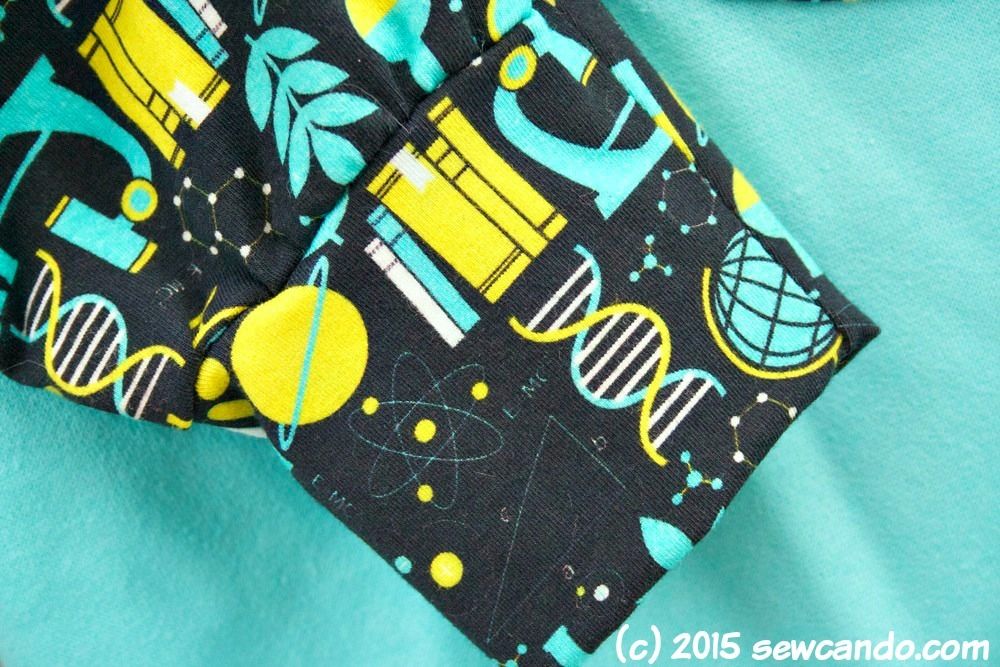
Pressure Sensitive Fusible Tape - this stuff is my go-to for finishing sleeves and hems. There are many brands and names for it but it's basically a paper-packed fusible that comes on a roll.  Some varieties are adhesive, some are iron-on.  It comes in a variety of widths too.


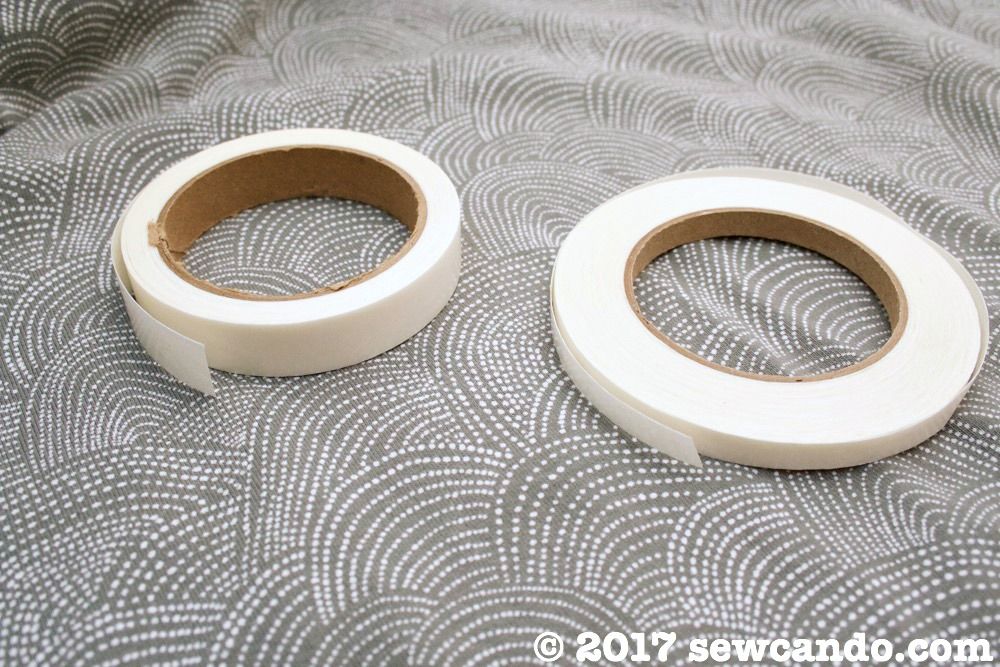
You apply it to the wrong side along the fabric edge and then peel away the paper, fold it over so the sticky side presses against the fabric, then sew.  It stabilizes the fabric so it won't pull or stretch while sewing and means you don't need to pin it either and it means you'll measure a perfect edge without having to whip out a sewing gauge or ruler.  I've found it to be a lifesaver and use it any time I'm folding knit edge under to hem.


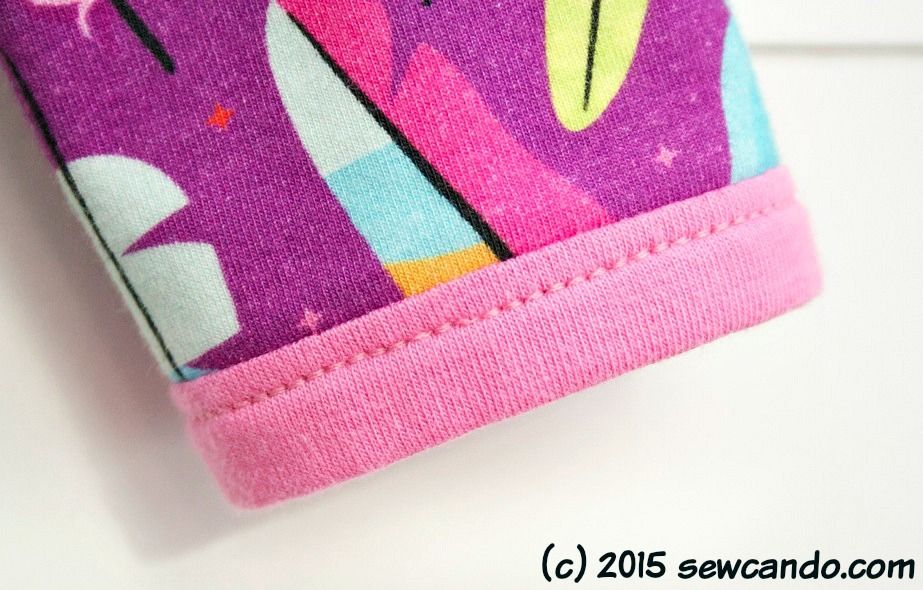
Elastic Binding and Fold-Over-Elastic (FOE) - are great for flexible binding on things like sleeve edges, waistbands and legholes.  These work just like bias tape to encase the raw edge of knit fabric and when sewn with one of the aforementioned stitches, they offer full stretch with the fabric.  


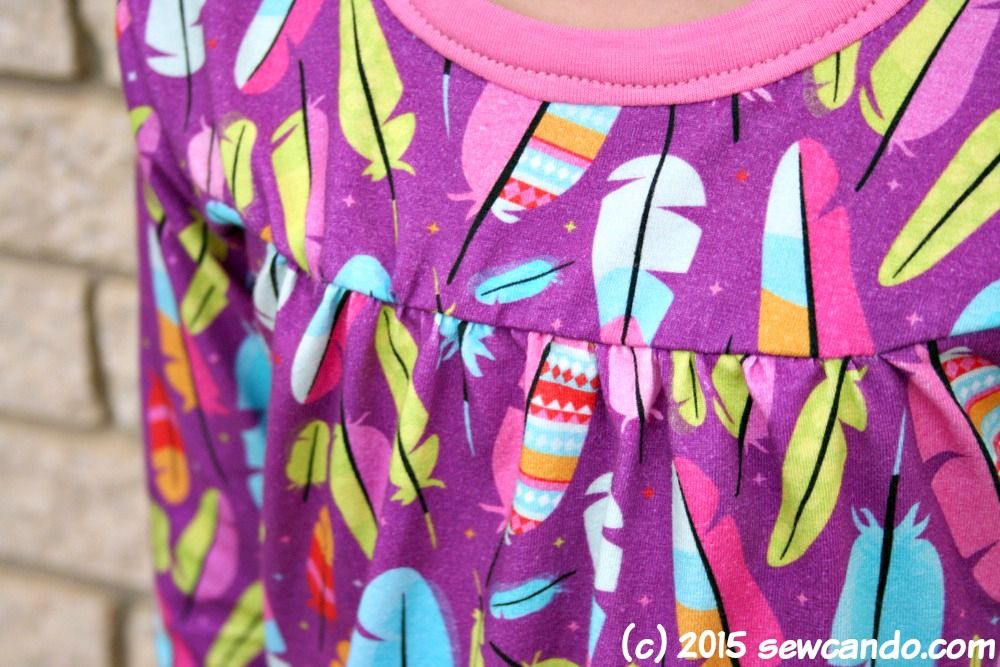
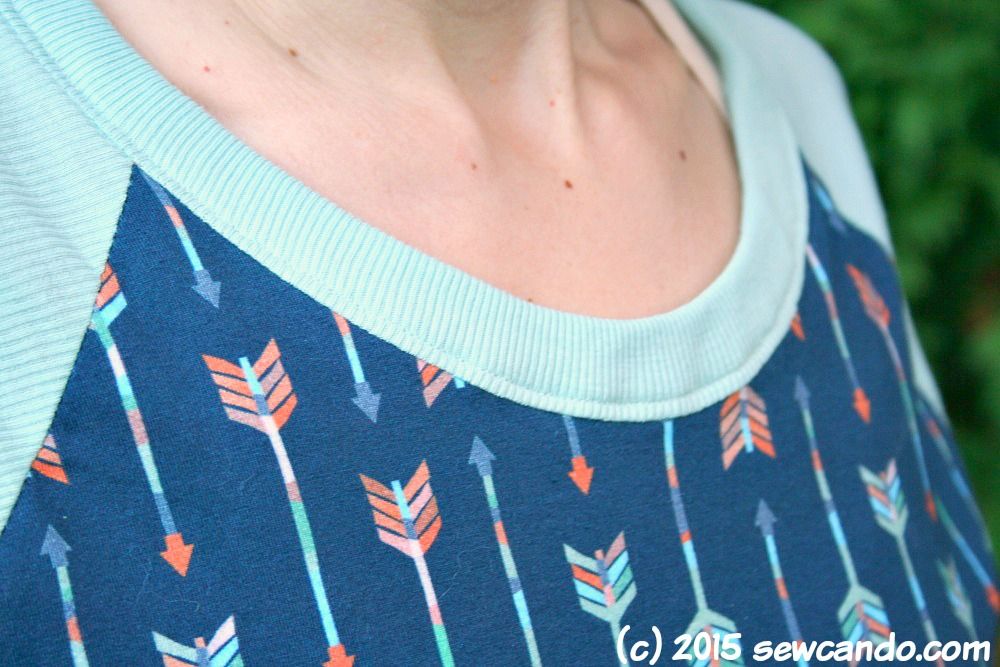
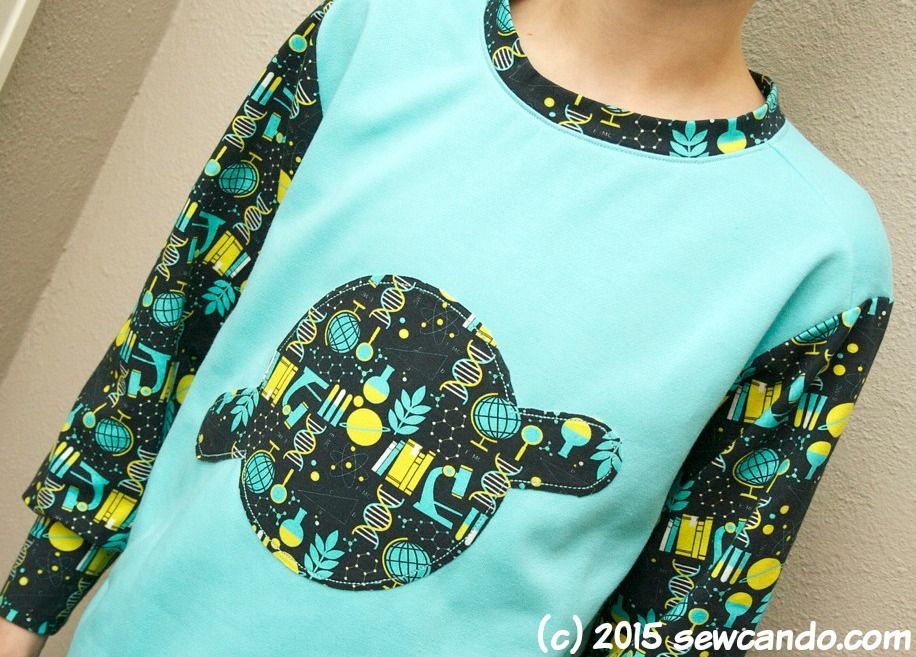
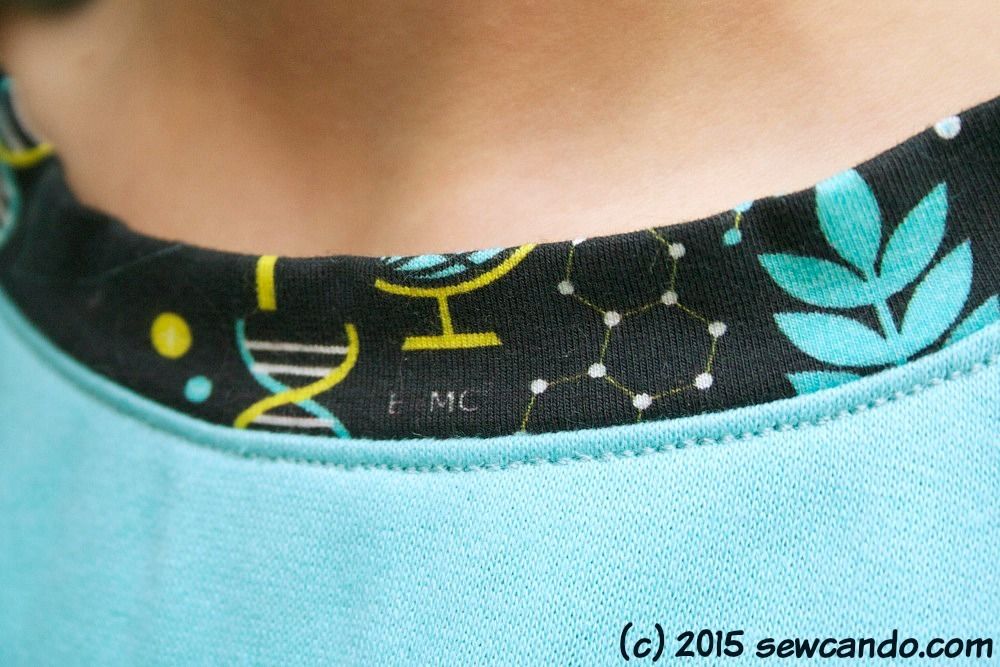
Rib knit - is also useful for doing cuffs and neck banding.  It tends to have more stretch than most knits, so it helps to keep openings like necklines and sleeve holes to lie flat against the body instead of gaping or sticking out awkwardly. 


Good Knit Fabric - the most important thing is to use good quality, knit fabric. The cheap chain store stuff is what puckers, bunches and causes knit frustration while sewing or won't lie right when done.  It also tends to be more see through or have minimal stretch (which means any imperfection really shows).  Knits that are 95% cotton, 5% spandex are the most versatile and, I find, easiest to sew.  They usually have a medium weight, and ideally, a 4 way stretch that's between 30-50%.    


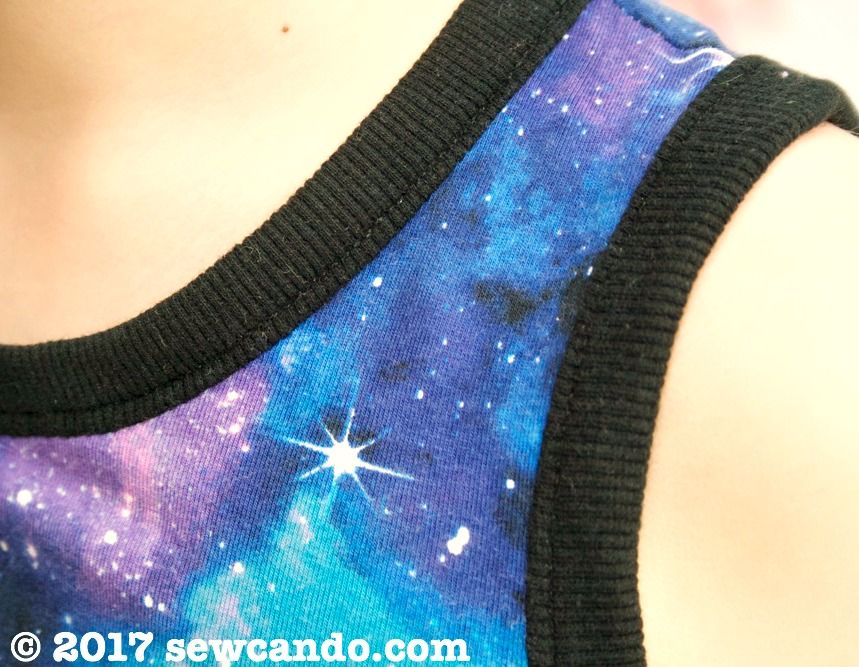
This means they work just as well for things like leggings, as they do for baby clothes or flowing loose tops. Plus, the good stretch recovery means they can also be used to do cuffs and banding too.  No need for searching for solid rib knits or additional fabrics for your project:


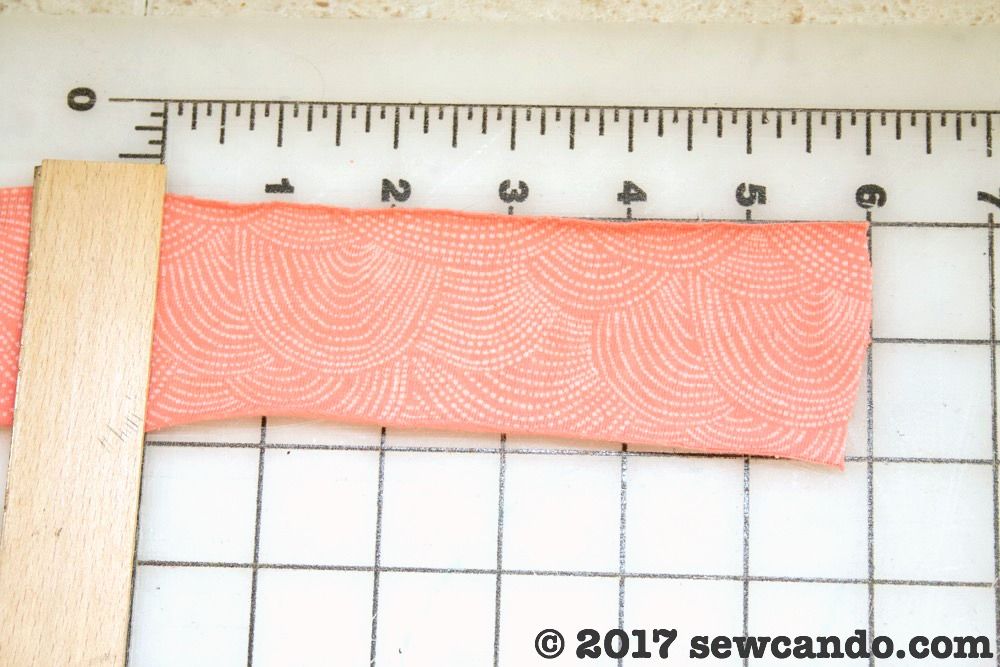
How do you determine a fabric's stretch?

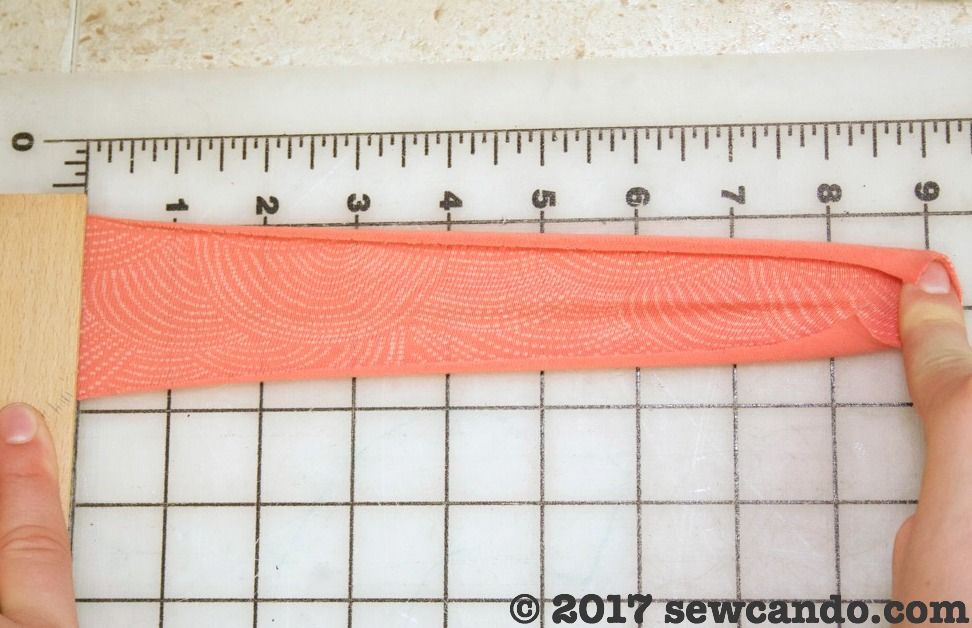
To figure out the stretch percentage, just take width of your fabric when stretched to its maximum and divide by the width of your fabric when unstretched (minus 1).


Ex. If you measure a 6 inch piece:


and it stretches to 9 inches, 9 divided by 6 is 1.5, then subtract 1.  This equals .5 which is 50%.  Your stretch percentage is 50%.


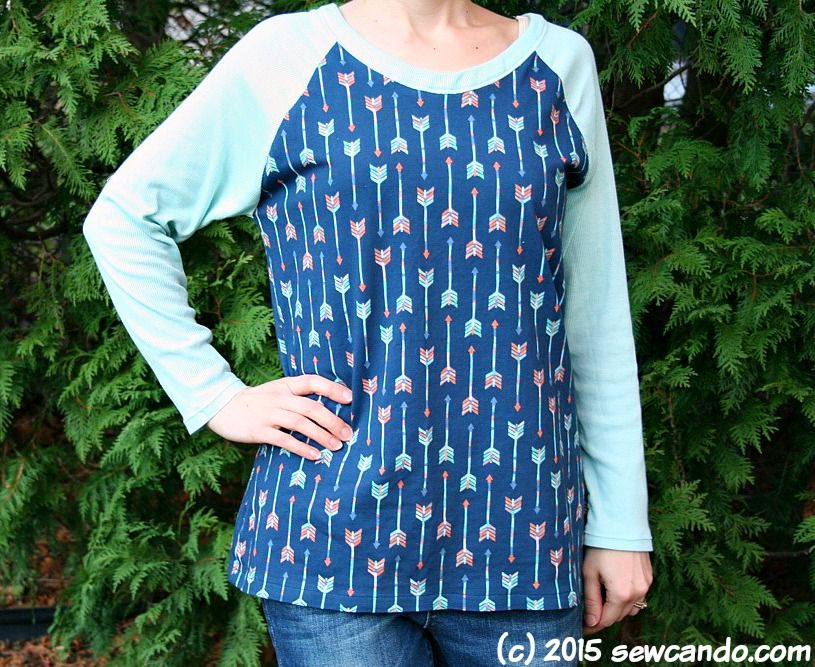
Follow these tips and sewing with knits can be enjoyable instead of stressful and the results will look more professional, not homemade.  


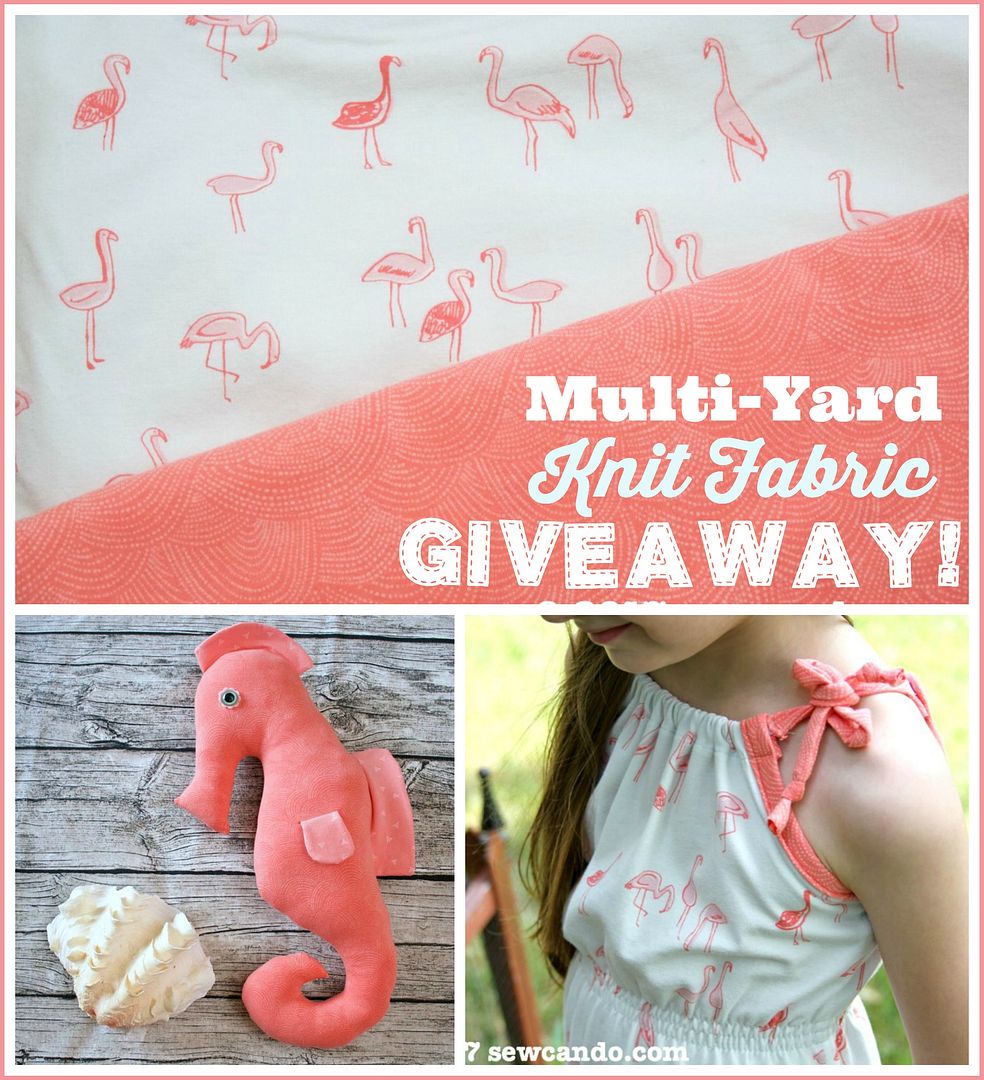
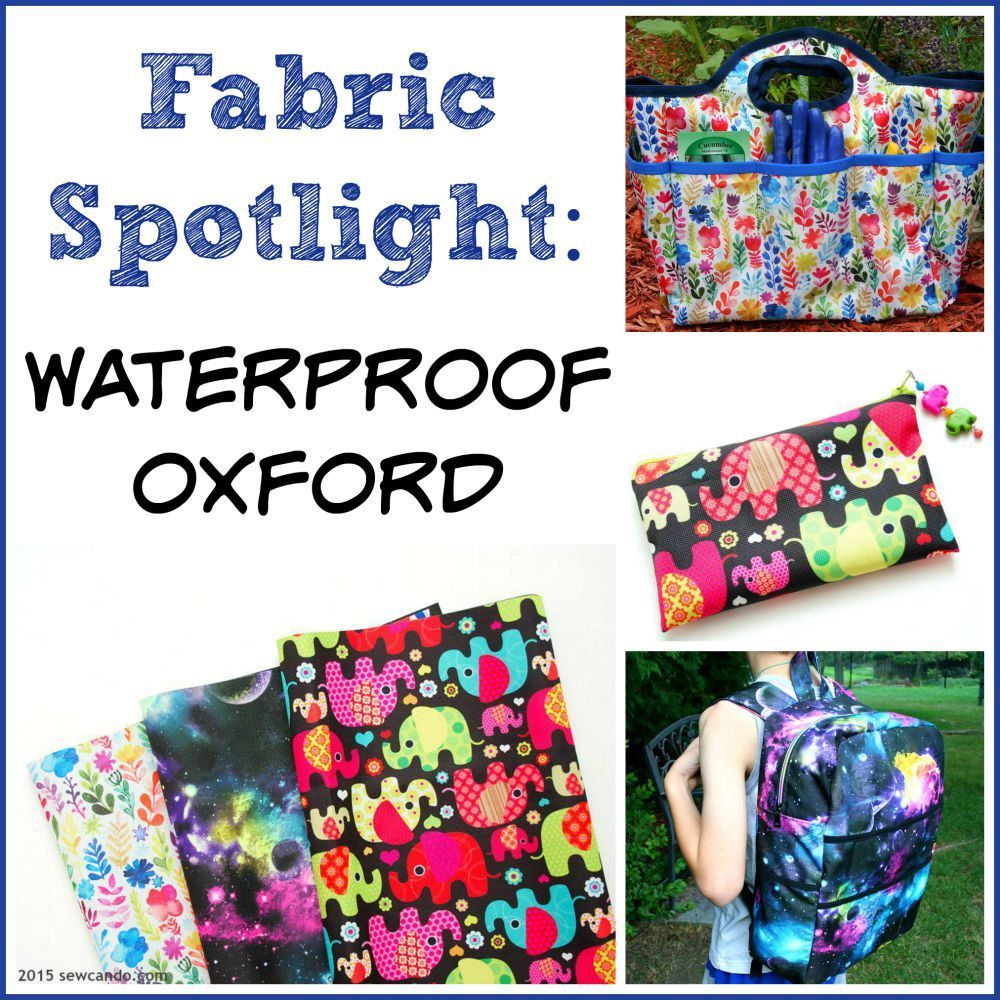
Now how about a chance to win TWO yards of each of these Dear Stella knit fabrics?

a Rafflecopter giveaway


Wednesday, December 2, 2015

Tips for Sewing With Knits & Sahara Fabrics Knits Giveaway


I think I've made it pretty clear that I'm a fabric fanatic. Especially awesome knit prints.  I can't get enough of them! So I'm thrilled to share my key tips for happy knit sewing AND that I'm giving away some new knit fabrics from a great new knit fabric store!  


 photo sahara_fabrics_logo_1443554655__49552_zpspt10fggb.jpg


Sahara Fabrics is the sister company to one of my favorite sources for print PUL, FOE & other specialty materials, Diaper Sewing Supplies.  You may remember it as the source for my ultra-versatile waterproof oxford fabric projects back in the summer:


Waterproof Oxford Feature, 5 Minute Zip Purse Tutorial

A while back I'd told Dawn, the owner of DSS, how great it would be if she offered some of her cool PUL prints as knits. So I was thrilled when she later told me she was going to do cotton knits and asked me do some fabric testing for it. Now her new shop, Sahara Fabrics, offers fantastic knit prints like these beauties:


With my kids getting older I've found it harder to find prints that are fun, but not too cutesy or juvenile. Same with sewing things for myself - I like whimsical prints, but still want them to be wearable, which these prints totally are:


Now, how to sew with these fabrics 
and a chance to win some too!


I want to start by saying that sewing with knits is not as hard as most people imagine. And you do not need a serger to get seams that stretch, just a few key notions. You really can start sewing up your own pjs, t-shirts, leggings & undies in no time!


Sewing With Knits Success Tips: 

Use a walking foot - it grips fabric from the top (instead of just the feed dogs underneath), so the even hold keeps layers from creeping or stretching while you sew.  This really makes a difference when sewing knits, so it's worth getting:


Nylon thread - this wooly looking thread is what I use in my bobbin whenever I sew knits. It adds a little extra stretch for seams that will be pulled a lot, like neck or leg holes. And a cone of it will last forever.


Stretchy stitches - this is the other key element to sewing knits.  Triple stitch, triple zig-zag, overcasting/knit stitch all work great, as do a few others.  They provide give and strength which are key when sewing with knit fabric.  It is totally worth the time to dig out your machine's manual and see what stitches you have. Usually it will also tell you what each stitch is suited for too, so you probably have even more options than you expect!


For more details on these and other stitches, you can check out my post Ways to Sew Knits Without A Serger.

Coordinating Notions/Trims - Ball point needles are necessary for sewing knits and twin needles are great for a professional finish on hems & necklines (and have stretch too). 

Lastin, a clear elastic is also great for stabilizing seams and for gathering:


Binding and Fold-Over-Elastic (FOE) are great for flexible binding on things like cuffs, waistbands and legholes.  


I used some 3/4 inch elastic binding to trim up these boxer briefs I made for my 10yr old with the Aztec Fox print and by modifying a longjohn pant pattern:


Good Knit Fabric - the most important thing is to use good, quality, knit fabric. The cheap thin stuff is what puckers, bunches and causes knit frustration.  These Sahara Fabrics knits are 95% cotton, 5% spandex, so there's a nice weight and drape that's not heavy, but also not flimsy.  It's taken me a few years to admit (I can be a fabric cheapskate), but it's just smarter to buy the good knits than to struggle with second rate fabrics because they didn't cost much.

I used the colorful Feathers In Flight print and its coordinating solid pink to make this cute top for my daughter:


The pattern was the Autumn Forest top from Ottobre Design 4/2014 issue. It called for using Lastin clear elastic to do the front gathering detail.  


I bought some from Sahara Fabrics and it worked well with the fabric and gathered better than the usual baste and pull method.  


I used a triple stitch for all the seams and topstitching.  It's literally what it sounds like - a straight stitch gone over 3 times, but it has tremendous stretch and a professional "thicker" look:


I used the Arrows In Flight print to make myself this raglan lounge top (Seamingly Smitten's Women's Raglan pattern).  I love how it's whimsical, but not too twee and that it's gender neutral.  I'm totally going to buy some more of this one to make stuff for my husband and kids too.


It's also nice & colorful (which means it's easy to match to things), but not too bright.  It totally worked with this sea foam color rib knit I had in my stash:


I especially loved how these fabrics worked when I made pajamas for my 13yr old son.  Sewing for teens can be tough. He's now too big for kid's clothing store pjs, yet too thin for men's.  He still likes wearing fun prints, yet doesn't want to look like "a little kid", so it can be challenging getting it right.  I used this ultra cool Super Science print and some aqua sweatshirt fleece to make these:


The pattern was Ottobre Design's Rudolph pajamas from the 6/2009 issue (which go up to teen size) and I made my own planet applique to echo the print and complete the look.  He LOVED it, so big thumbs up on this print.


Since my solid fleece barely had any stretch I used the cotton knit for the neck trim and cuffs.  


I was a little nervous it might not work out as the pattern called for rib knit, but the spandex stretch worked great, so it's good to know that it's suited for both main and trim fabric.


I still have a bit of fabric left from my testing and want to share my fabric love with my readers, so .....


I'm giving away this Sahara Fabrics Bundle to one lucky reader!

The winner will receive a fat half yard each of Feathers in Flight & Dragonfly Grace knit prints and a half yard of the coordinating solid purple knit:  


And if you love some of the other prints I used, they're all currently at a lower introductory price for the month of December so now's the time to grab some.  There are a few good coupon codes to use too if you look here.

a Rafflecopter giveaway

Are you a knit fabric fanatic too?  
What do you love to make with them?


Wednesday, May 27, 2015

Trying The Double Tier Tank Top Pattern + My Key Layer Sewing Tip


Today I've got a triple whammy - news on a brand new sewing pattern, my experience sewing it and a key tip that'll make layered tops you sew look awesome.


For this month, Jenny at Seamingly Smitten wanted to feature her newly released Double Tier Tank and Crop Top Pattern.  When it came out this weekend I couldn't resist and bought it for myself, then instantly made one.  I liked that it offered lots of variation - single tier tank, double tier tank or even a crop top with an optional high/low hem so there are 8 different combinations.


It gets crazy humid here during the summer, so I wear a lot of tank tops.  Being able to whip up more as needed sounded good and the tiered looks would give more style options.


I literally made this as soon as I bought the pattern - I'd planned to make another top over the weekend, but bumped it because I wanted to give this a go first.  Since I've been a good girl with resisting buying more fabric, I shopped my stash for some fabrics to make my first one.  I settled on an olive green knit for my bottom tier and a floral lace for my top tier.  FYI - I did the straight hem version.


The neckline is exactly where I want it which is key when I make tops for myself.  So often I have to redraw it because I've got narrow shoulders, but this was perfect.


Because I'm small and the bottom knit I had wasn't very drape-y, I took in the sides of the bottom tier quite a bit - about 2 inches each and gave them a bit of curve so it would be more fitted.  If I use a lightweight jersey or a silky with stretch next time, I'll leave the side seams straight.


I did assemble it differently than instructed and thought I'd share how I did mine.  As I was using lace, I didn't want it itching me under the arms or at the neck if it was turned under so I used a technique that's usually for attaching linings to outers.  It worked like a treat with this, so here's the 411 on how you can too.


Instead of stitching the shoulder seams of the front & backs together right away, leave them unattached.


Then layer the tiers so that the wrong side of the bottom tier is facing up and the wrong side of the top tier is facing up on top of it and pin along the arm areas and necklines.


Stitch 'em together (I use a triple stitch so there's a bit of stretch) then trim down & grade the knit.  


I use pinking shears to make this quick & easy.  


Pull it all through so that right side of the top tier is facing out.


Now here's the crazy, but critical bit.  Put a hand between the layers, up through one shoulder piece of the front and reach through and grab the corresponding shoulder of the back and pull it through so the one shoulder is within the other and that first side you reached through is now inside out.


Match up the seams of the raw edges and pin.  You should have what looks like a tube:


Stitch these together all the way around like you would with a cuff.  Trim off the excess and repeat with the other side. Then carefully pull the right sides through the shoulder.  It'll look and seem crazy at first, but it totally works.


Now the top is layered, but all the raw edges of the neck and armholes are contained in-between.  Finish the rest according to the pattern directions.


I'm pretty pleased with my initial version and plan to make some more with some cuter fabrics.  Maybe even be bold and do a crop top, but add a long trim to it.  I think my new system of making myself use fabric I've already got for my first versions and then treating myself to some pretty new fabrics for the next one seems like a good plan.  

If you want to get the Double Tier Tank and Crop Top Pattern for an amazingly low price, hurry over to Seamingly Smitten ASAP.  Through tonight (5/27/15) there's a discount code for 50% your entire purchase.  Just use SAVE50, so you can be like me and snag this pattern for just $3!  


Seamingly Smitten is a paying featured advertiser at Sew Can Do.  I purchased this pattern to try myself.  The opinions are completely my own, based on my honest experiences using & purchasing patterns from this shop.

LinkWithin

Related Posts with Thumbnails