Showing posts with label Pillowcase. Show all posts

Wednesday, May 3, 2017

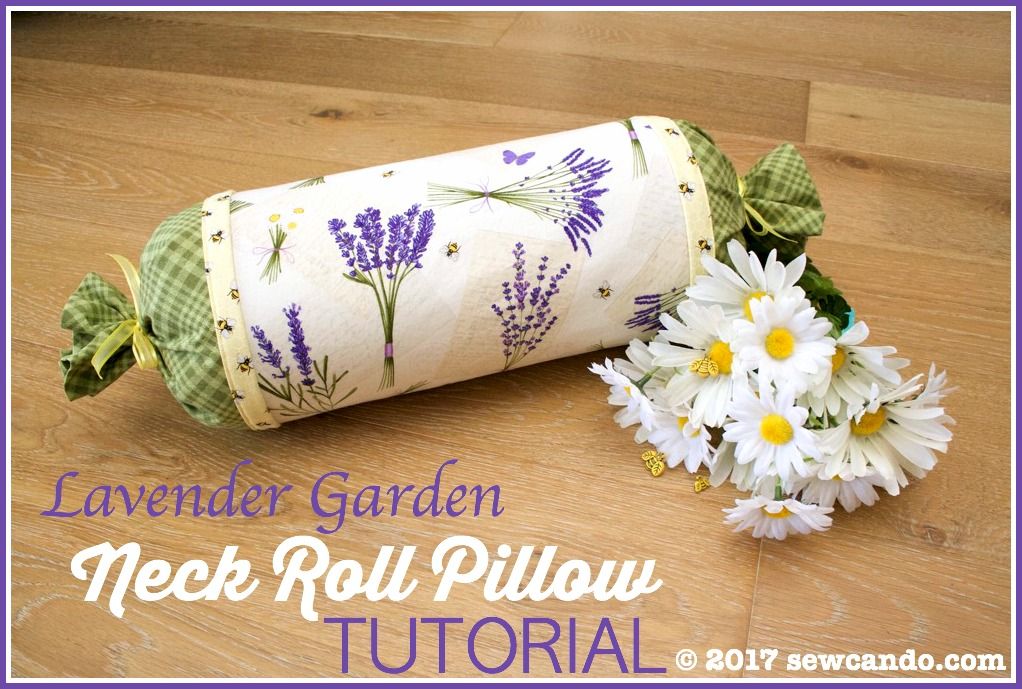
Mother's Day Lavender Garden Neck Roll Pillow Tutorial


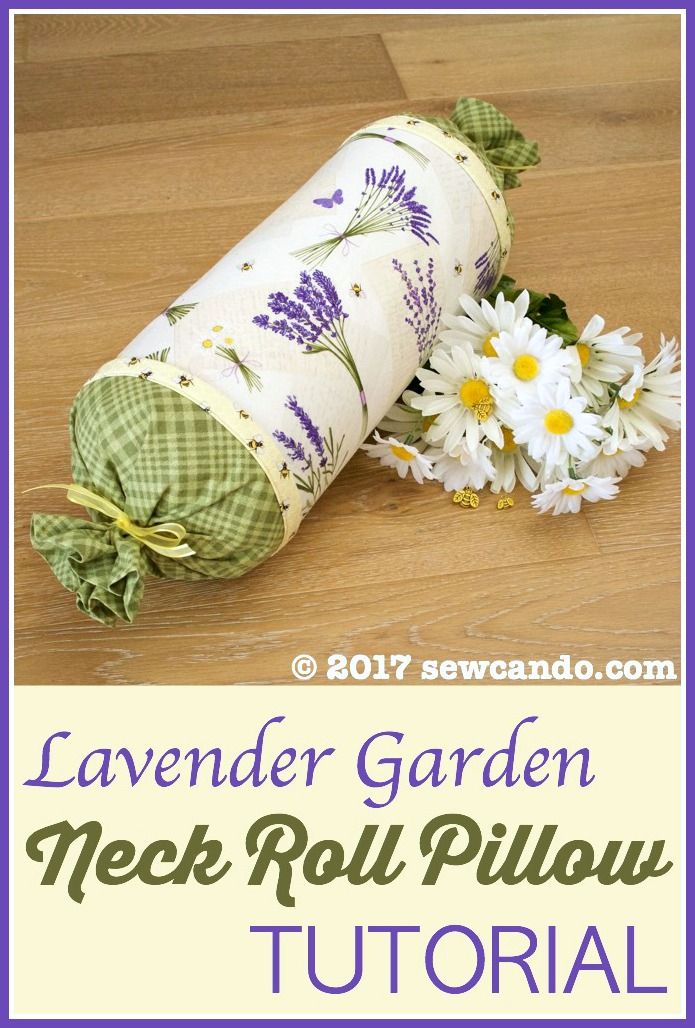
Mother's Day is on the horizon and what mom couldn't use a gift that's both handmade, just for her, and designed to encourage relaxing?  A beautiful Lavender Garden Neck Roll Pillow is the perfect project!

My mom is a lavender fanatic, so I thought that would be the perfect theme for a sweet pillow:
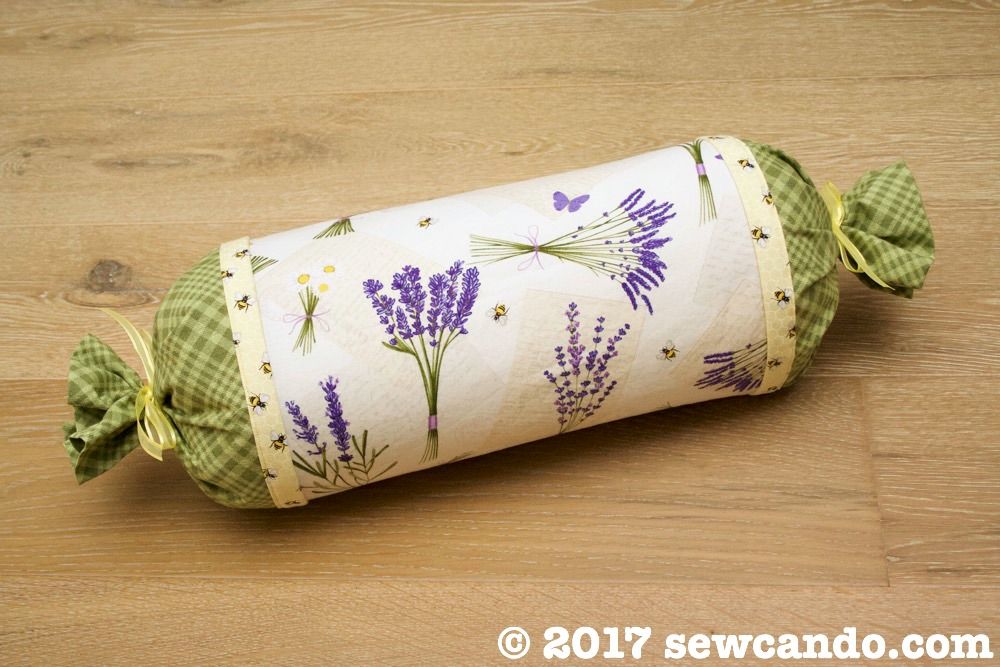

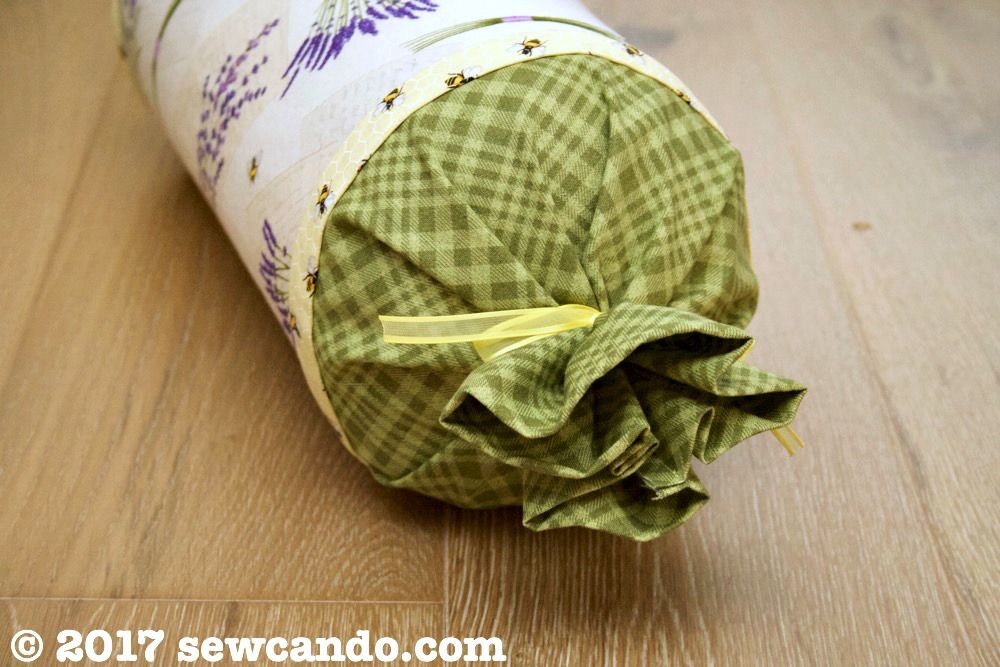
The gathered twist sides give it a charming, country French look, as does the combination of plaid, bees and lavender in the prints:


I actually designed this pillow with these particular fabrics in mind.  They're from the new Lavender Garden collection from Timeless Treasures.  My mom is also in love with all things French, so I picked these particular prints to sew up something special for her.


The added bonus of the twisted sides is that they're very easy to do, so this is a pretty quick project.

How To Make This Neck Roll Pillow

Materials:
- 1/2yd main cotton fabric (Lavender and Bees)
- 1/2yd cuff cotton fabric (Tonal Bias Plaid in Green

- 1/8yd small trim cotton fabric (
Bees)
- 14 inch neck roll pillow form
- 14 inch zipper
- 1 yd 3/8 inch wide decorative ribbon
- 1 yd embroidery floss
- Rotary cutter/shears, iron, zipper foot, rubber bands
- Optional: Lavender buds or essential oil to insert inside

Cut the following pieces: 

Main fabric - (1) 19 7/8in high by 12 in wide rectangle
Trim fabric - (2) 2in high by 19 7/8 in wide strips
Cuff fabric - (2) 15 high by 19 7/8 wide rectangles


Press each the trim strips in half, wrong sides facing:
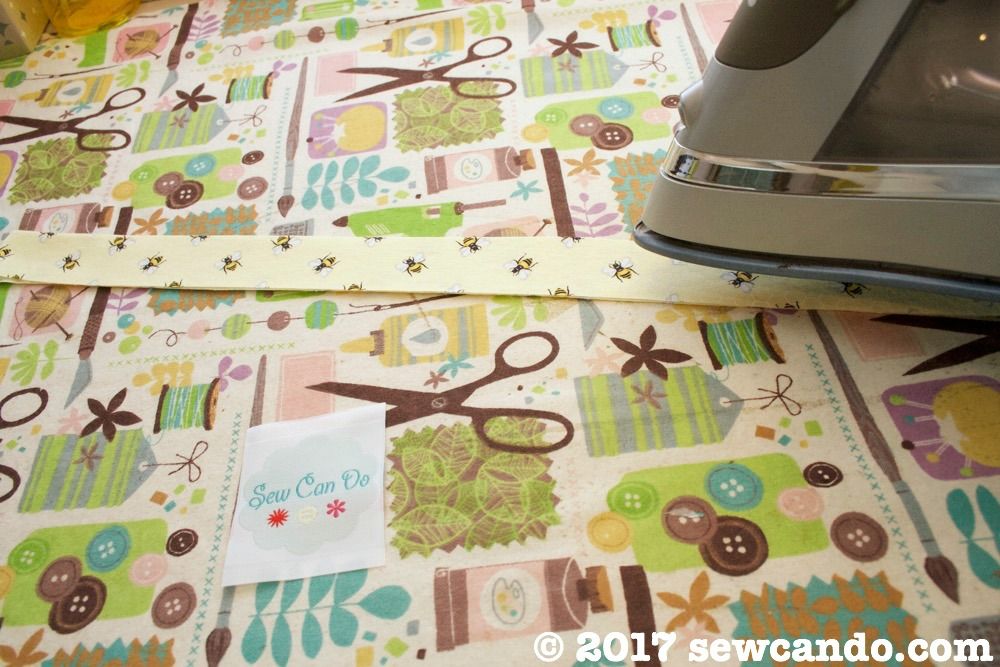

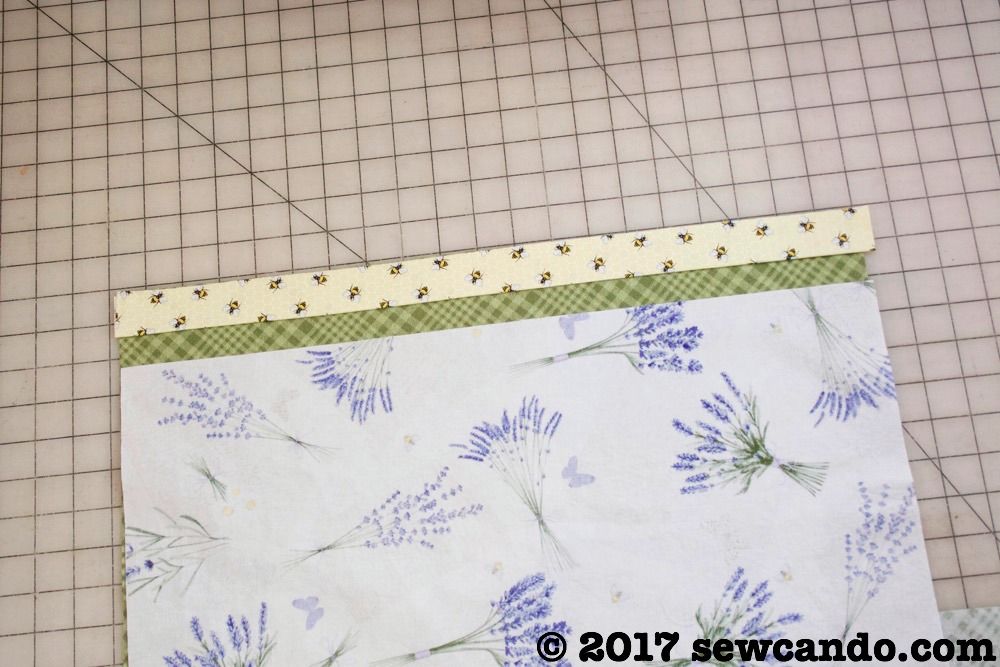
Match up the raw edges of the trim with one edge of the cuff fabric (right side up).  Place the main fabric on top, right side down, and sew with a 3/8 inch seam allowance.

Roll up the main fabric, stopping about an inch from the raw edge.
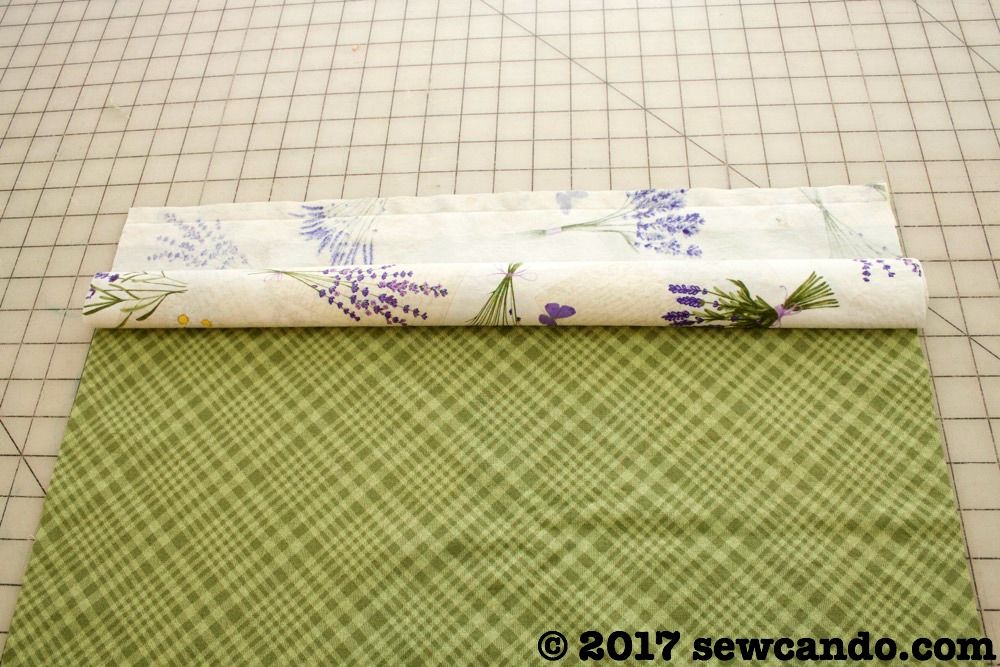

Wrap the other end of the cuff fabric over it, pin then sew together with a 3/8 inch seam allowance:
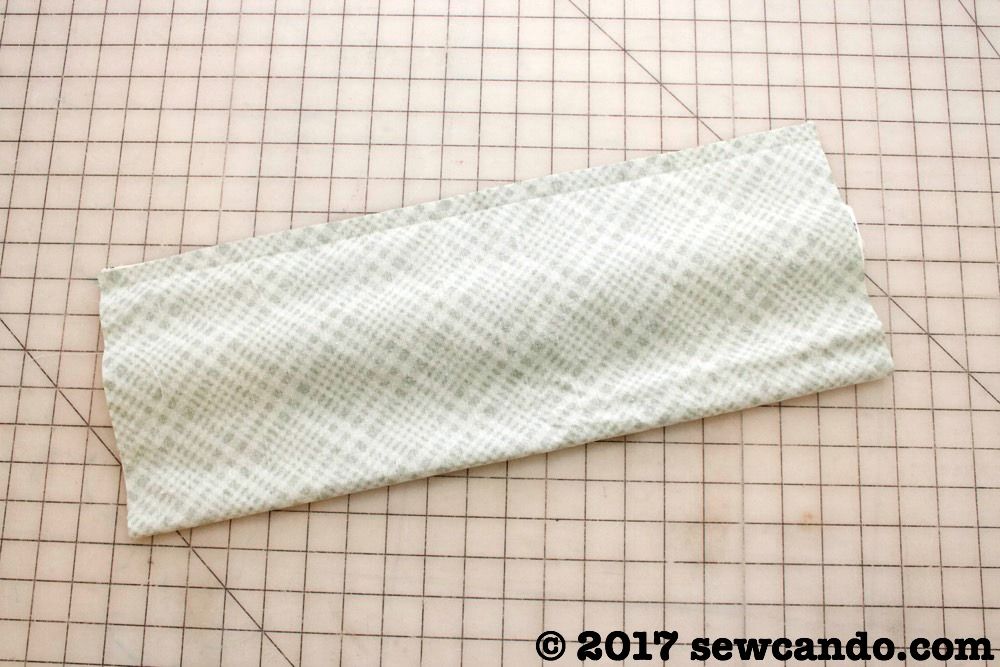

Pull the main fabric out through the open side:


Press the trim and cuff flat.
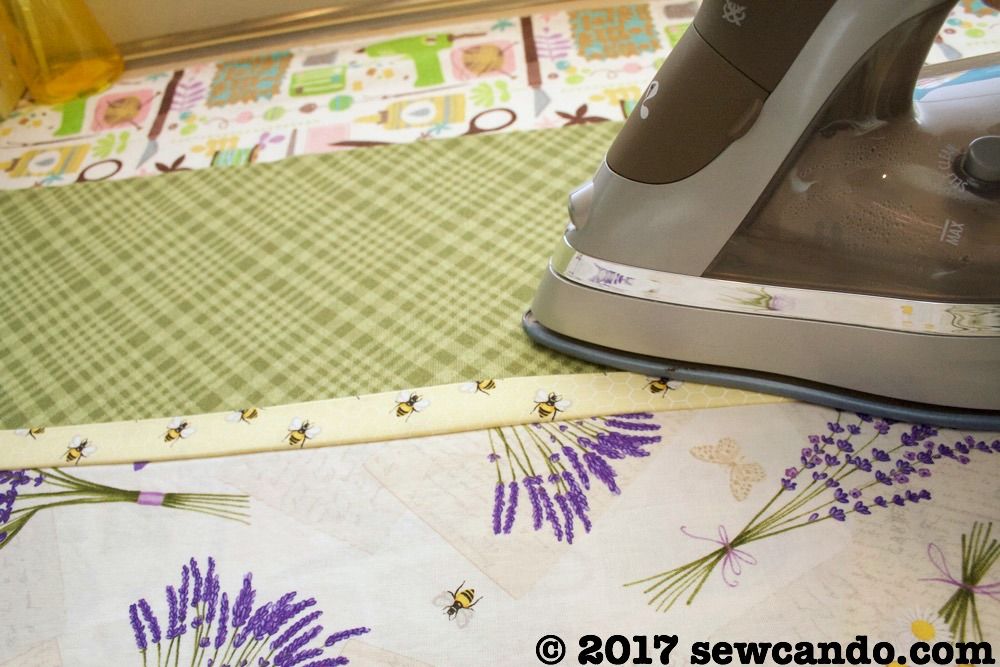

Top stitch along the fold so it will lay smooth when rolled.
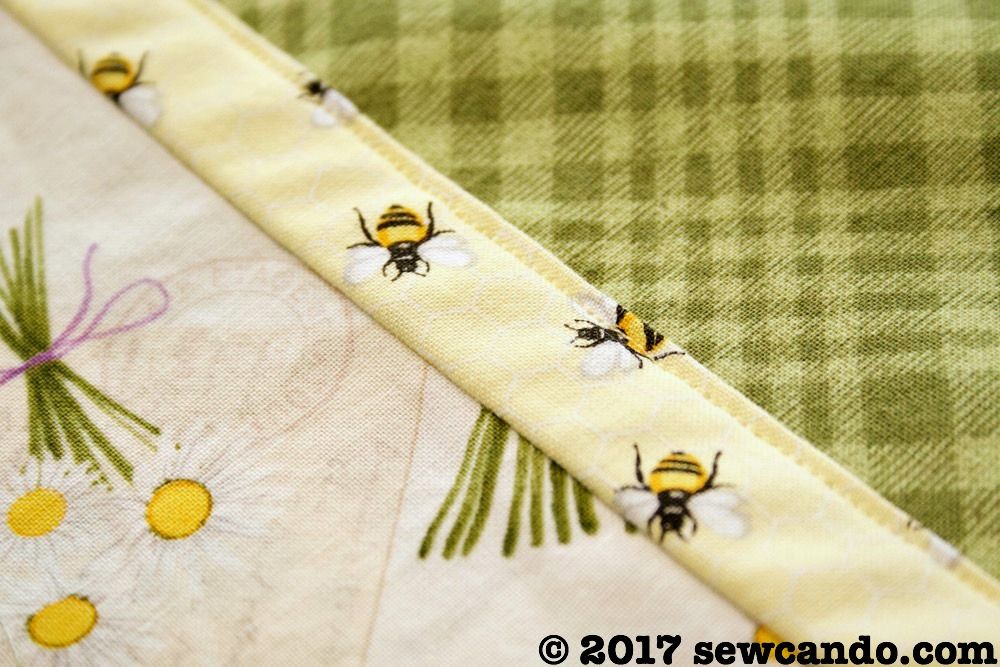

Repeat on the other side:
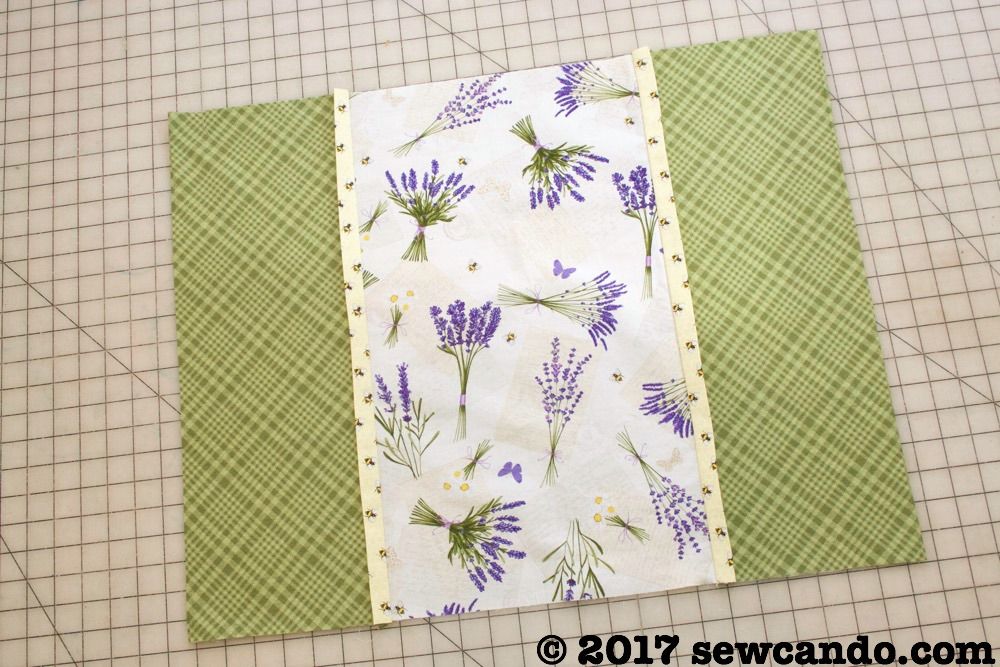

Center and pin the zipper along one of the longer sides, face down.


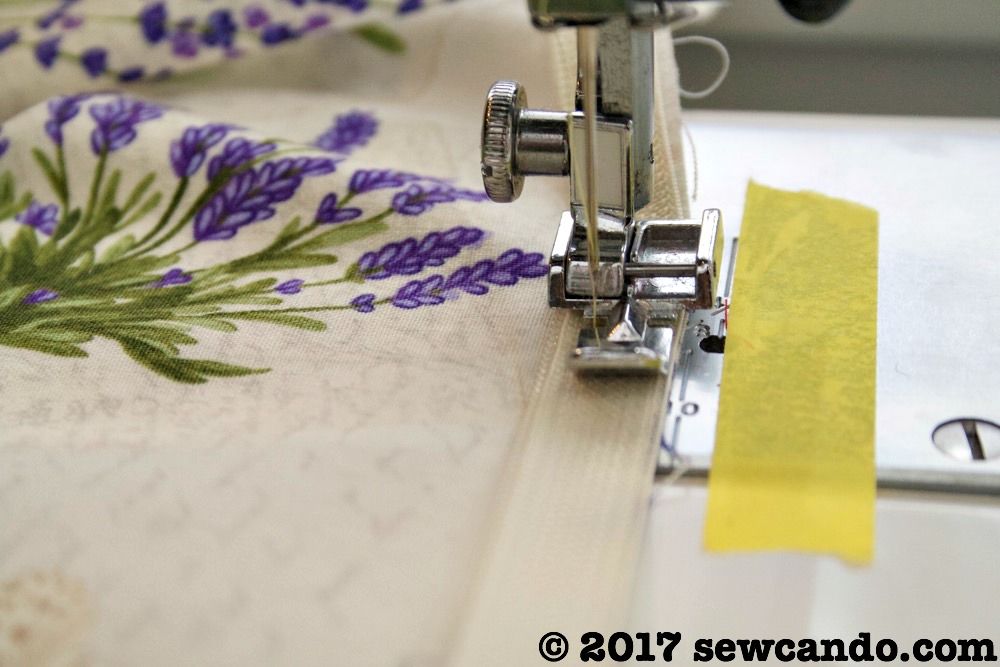
Stitch zipper in place using a zipper foot:

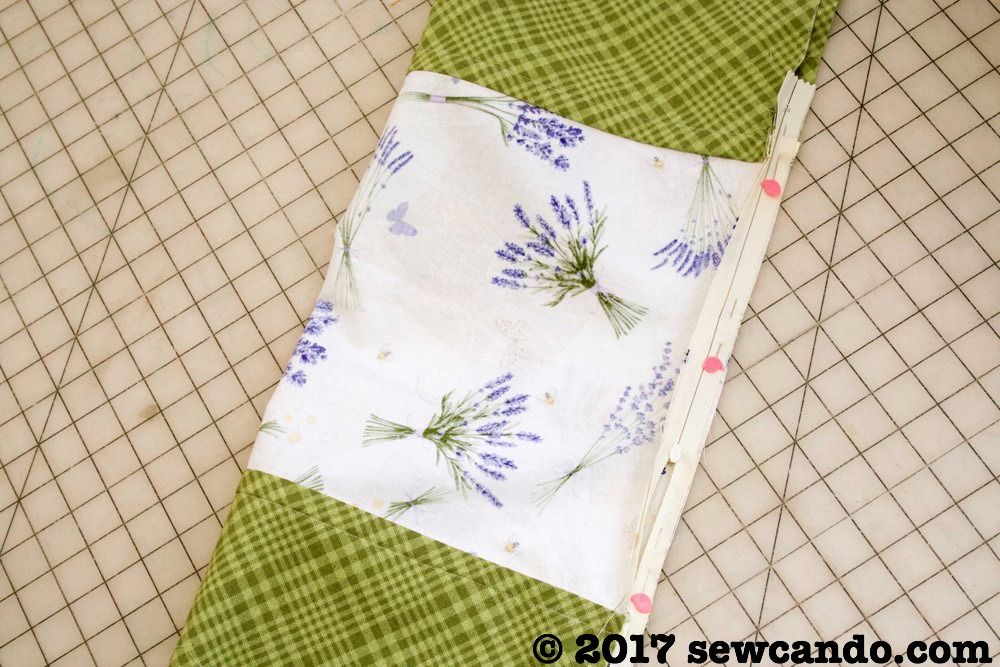
Pull opposite side of fabric around and repeat with other side of zipper to create the pillow tube:

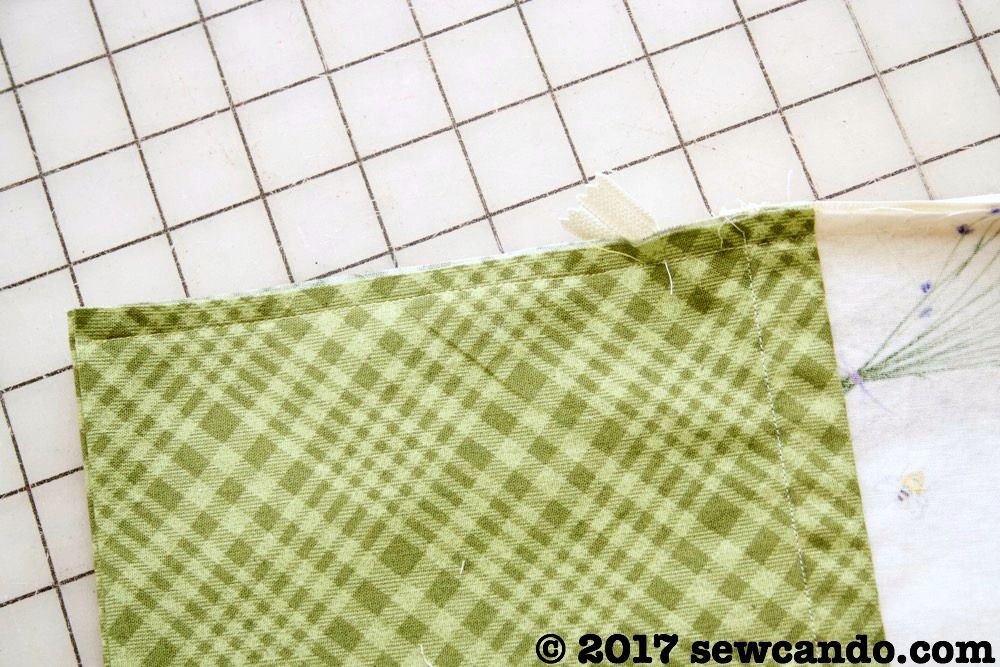
Stitch together the remaining fabric along the cuffs on either end of the zipper:

Turn pillowcase right side out, open zipper and insert pillow form.  This is an ideal time to tuck in a little sachet of lavender buds or some lavender essential oil on a little pad inside the pillow form for an aromatherapy bonus:


Cinch cuff ends toward the center of each side and pull to get creases as desired.  Secure with a rubber band.  
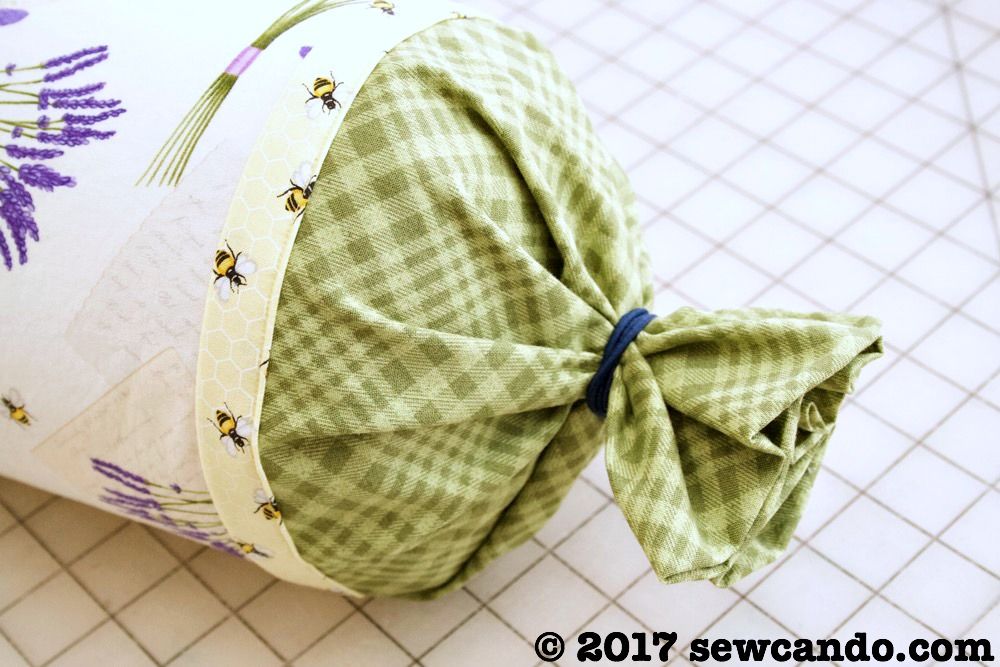

Tie in place with some embroidery floss and tie on top with decorative ribbon.  Time to present it to that special someone, or keep it to relax with yourself!



I was not financially compensated for this post.  I received fabric from Timeless Treasures to use as I desired.  The opinions are completely my own based on my experience.   For my complete disclosure policy, click here.
SaveSave
SaveSave

Wednesday, April 19, 2017

1 Million Pillowcases Challenge & Easy Pillowcase Tutorial


During the Easter season our family has tried to focus more on giving & charitable work. I've been looking for more opportunities to use our skills in more ways and teach my kids some sewing at the same time.  So the timing couldn't be better to share the 1 Million Pillowcase Challenge!


I heard about this charity challenge through Crosscut Sewing Company.  Last month, American Patchwork & Quilting kicked off a donation drive of providing 1,000,000 pillowcases to charities like shelters, hospitals, clinics and missions.  Participating quilt & fabric shops have joined in to promote this charity drive, host classes and serve as local drop off locations for pillowcase donations.  

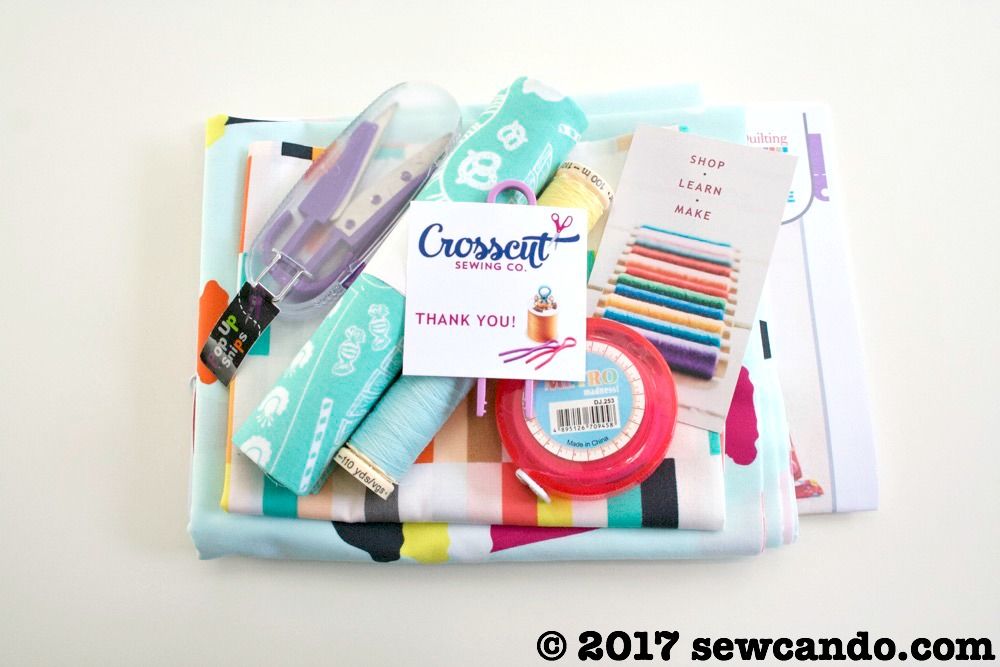
Crosscut Sewing Company is one of these shops.  This Massachusetts based fabric store and sewing studio (that also has a fantastic online shop for the rest of us), was generous enough to provide me with fabric & directions to make a pillowcase to donate. They even sent me some matching thread and notion goodies as a surprise.  All in the name of a good cause, which was really generous:


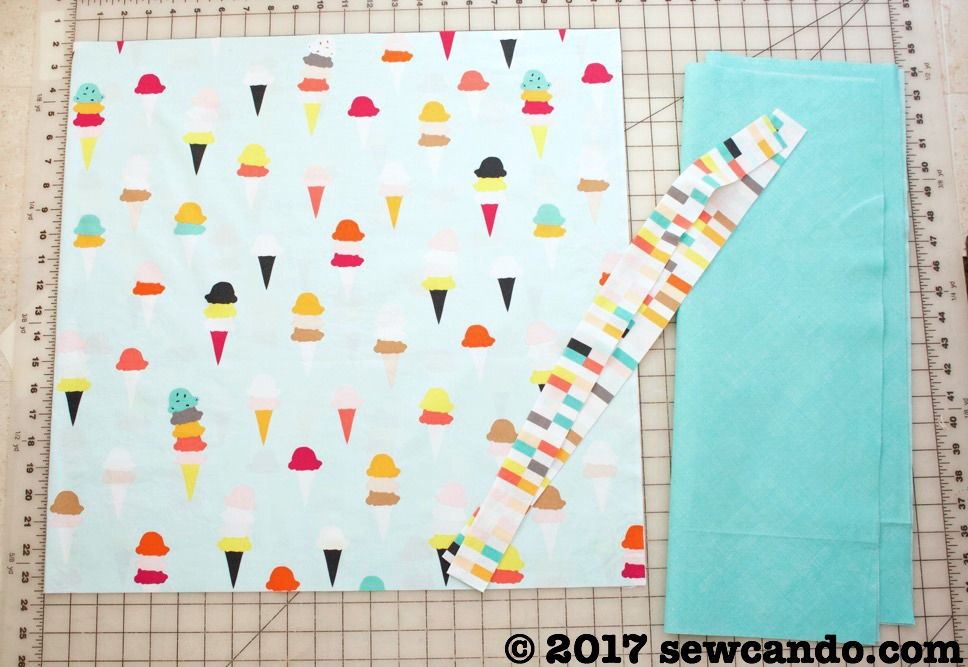
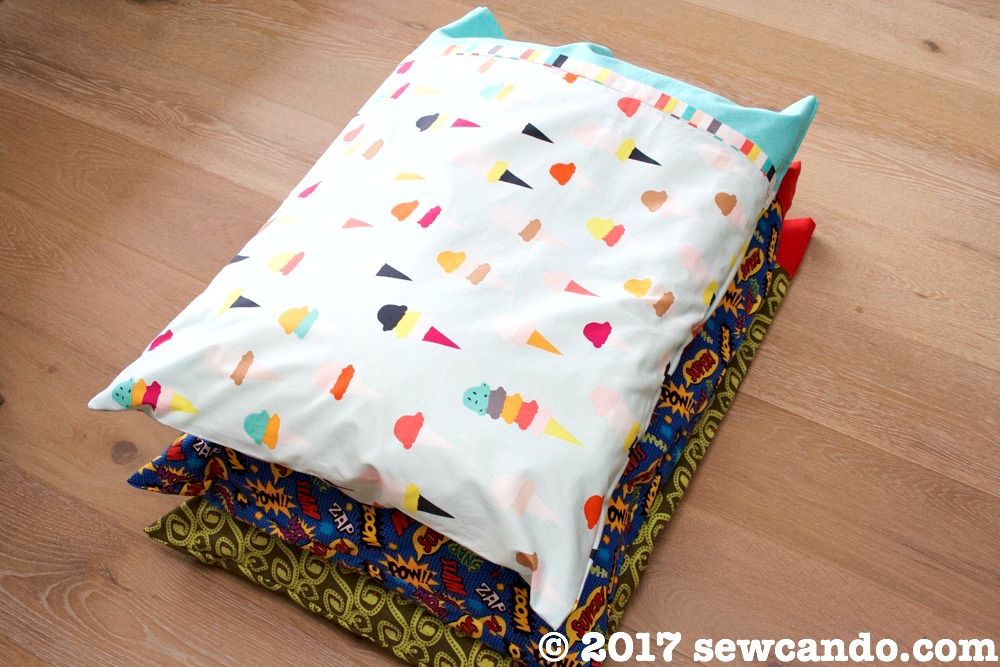
I was able to pick out the fabrics from their vast shop offerings, which was fun too.  I choose this happy ice cream and coordinating clock print from the Boardwalk Delight collection by Dana Willard.


The only thing I didn't think about in advance was that this was a directional print, which meant the usual way of sewing a pillowcase up "burrito style" would make the print sideways on the finished pillowcase, which I didn't want.  As a result, I did this handy tutorial variation.  With this, it's just as easy to do with fabrics that have a distinct direction and maximize all the fabric choice options.

How To Make A Directional Print Pillowcase 

Materials:
- 3/4yd main cotton fabric
- 1/2yd cuff cotton fabric

- Optional: 1/8yd small trim cotton fabric
- Rotary cutter/shears, iron


Cut the main piece to be 21 1/2 inches high by the width of the fabric.  Cut two 16 inch high cuff pieces and two 2 inch high trim pieces (also the full width of the fabric for those).


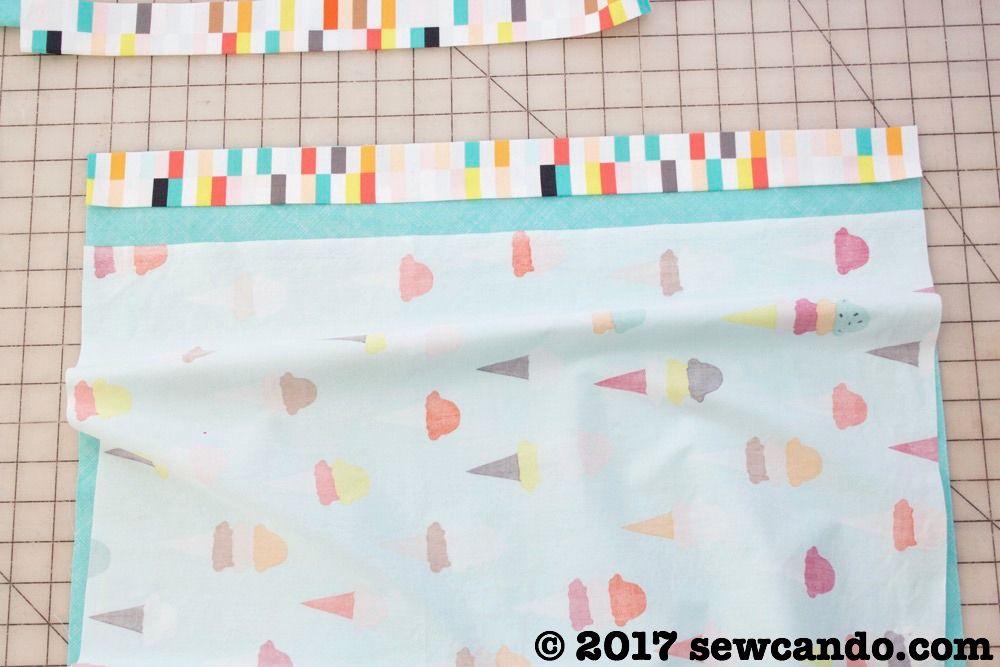
Press each the trim strips in half, wrong sides facing and match up the raw edges with one edge of the cuff fabric (right side up).  Place the main fabric on top, right side down, and sew with a 3/8 inch seam allowance.


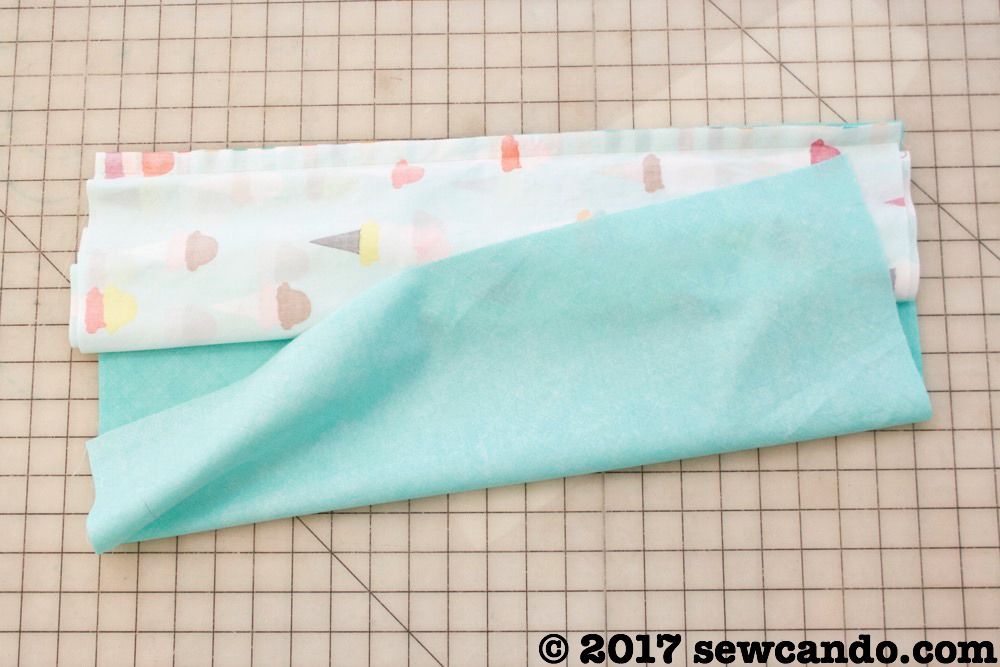
Roll up the main fabric and wrap the other end of the cuff fabric over it:


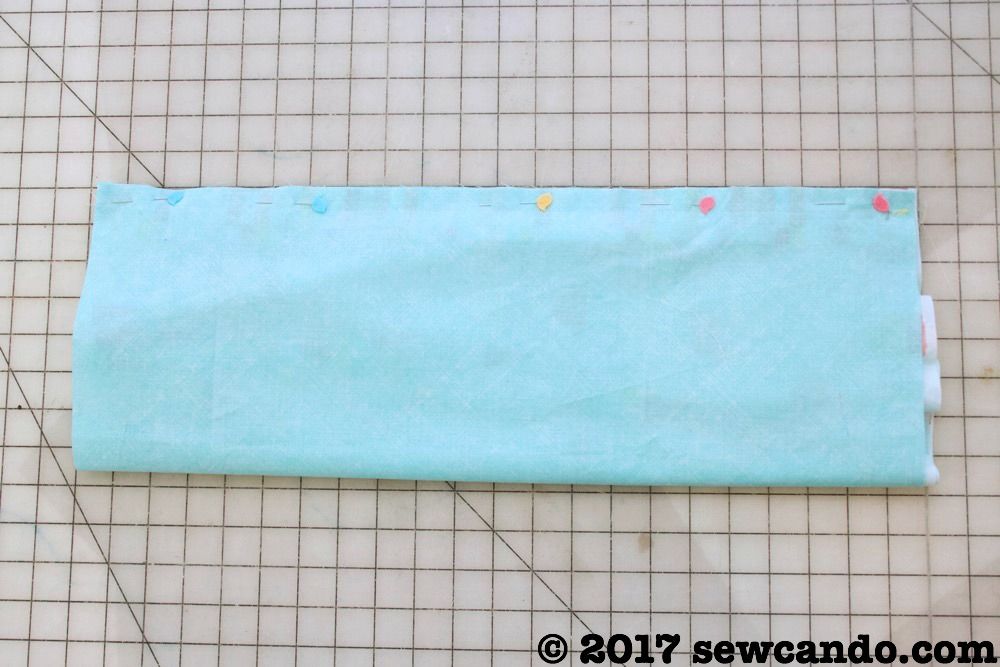
Pin and sew over the original line of stitches:


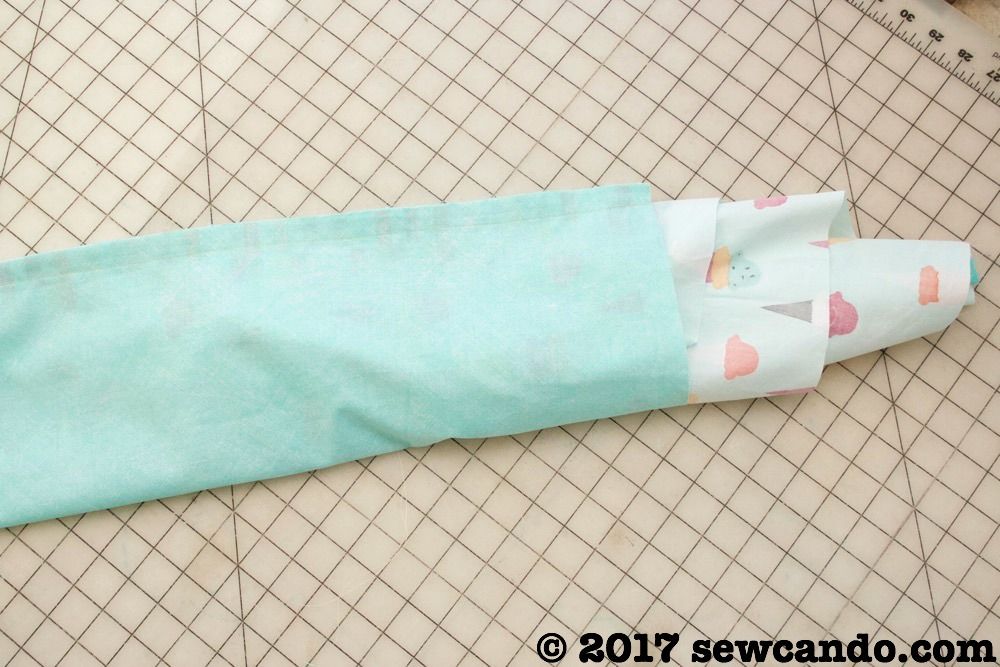
Pull the main fabric out through the open side:


Repeat these steps on the other end, pressing the trim ends flat:


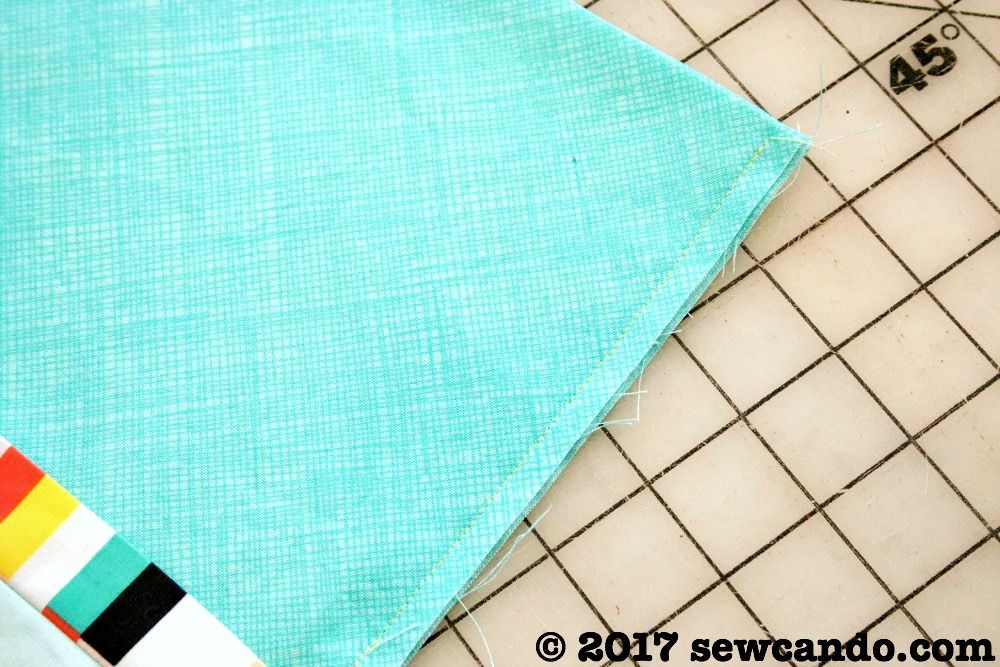
Now, fold it in half widthwise with the right sides out and stitch along the top and bottom sides with a 1/4 inch seam allowance and trim down the raw edge close to the seam:


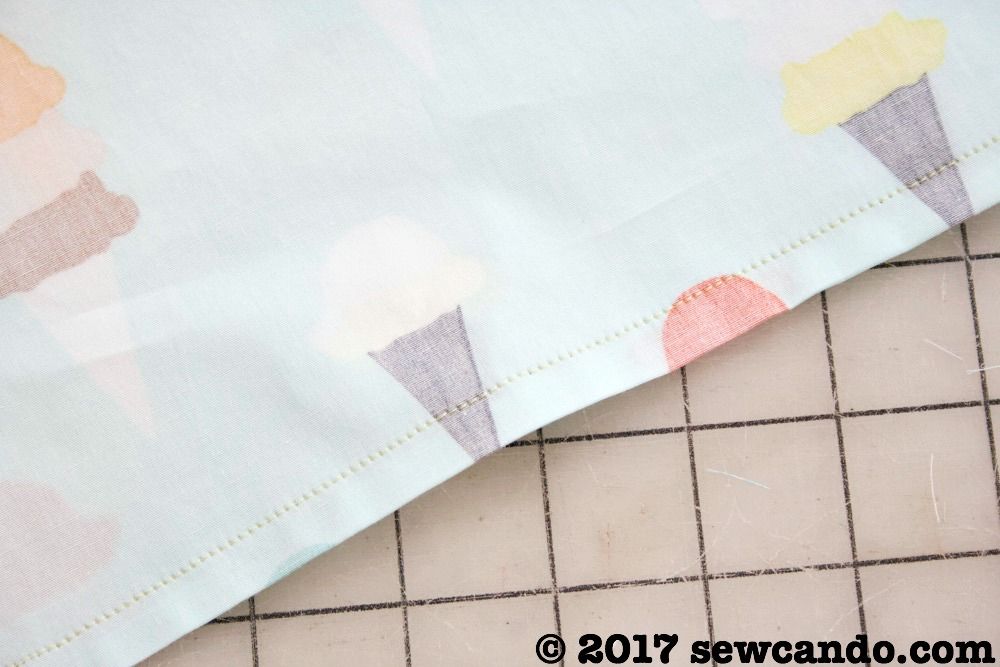
Pull the pillowcase inside out and stitch 3/8 in from the seam edge to encase the raw edges for a nice finish inside:


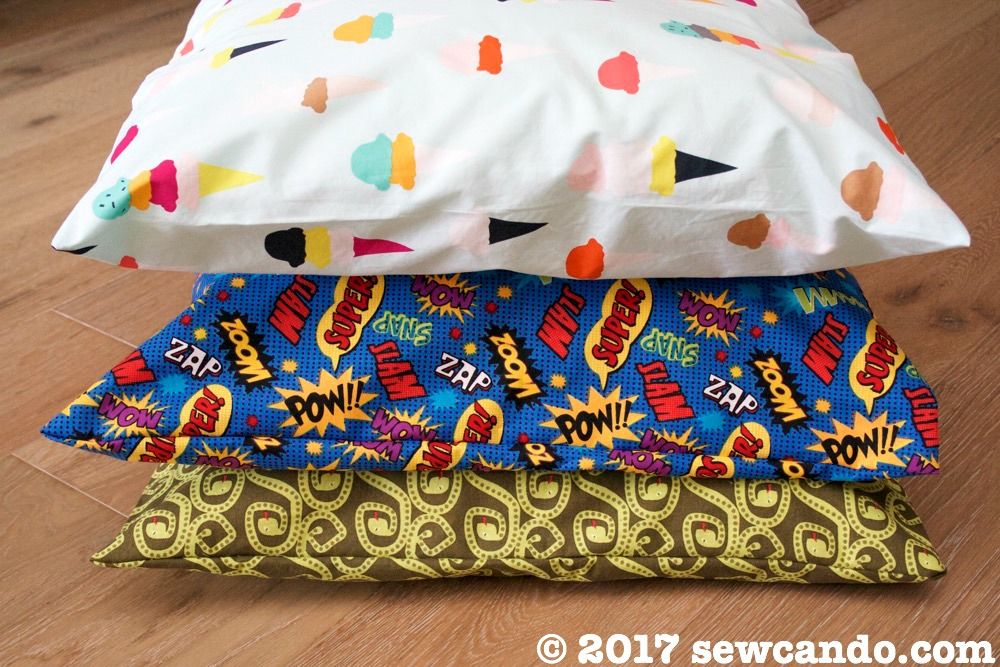
I loved the idea of using craft skills to help others in need and thought this would be a great opportunity to get my kids involved too.  Once I finished mine, I got my kids sewing some with some fabric from my stash to make a couple more:


They were so proud of what they made and in gaining a little confidence sewing.  I sew a lot for my kids, but it felt really good to be sewing with them and doing it all for someone else made it more special.  
  

Now that we've gotten ours done, we're ready to donate.  I'm excited to have the kids help deliver them and update the counter with our contribution.


Last time I checked the counter it was at 715,021, so many more pillowcases are still needed to reach the million goal.  This is such a fun & easy way to do a little something for someone else that could use some kindness at a difficult time.  I hope you'll join us!  To find a participating shop, check the counter, download free patterns and watch a how-to video, visit the 1 Million Pillowcase Challenge website HERE.

American Patchwork & Quilting 1 Million Pillowcase Challenge - I made a difference YOU CAN TOO! Click here to learn more.


I was not financially compensated for this post.  I received fabric from Crosscut Sewing Company, to make a pillowcase to donate to charity.  The opinions are completely my own based on my experience.   For my complete disclosure policy, click here.
SaveSave

LinkWithin

Related Posts with Thumbnails