Showing posts with label Mother's Day. Show all posts

Wednesday, April 27, 2022

TWO Winner Quilt Magic Kit Giveaway!


I don't know about you, but I LOVE discovering new crafty products.  I recently found something really unique called Quilt Magic and thought it would be a great item to carry in my store, Heavenly Fabric Shop.  Of course I had to test it out myself!  I've enjoyed using it so much I wanted to share it here too - AND do a little giveaway so I can gift some for others to enjoy too!


So what is it?  Quilt Magic is a no-sew pattern & board kit that makes a unique, dimensional quilted wall hanging, in just an afternoon, using your favorite fabrics, and 
no special tools required.


It works like paint-by-number, but with fabric.  You simply cut and tuck fabric pieces into the pre-cut grooves of the foam board using a butter knife.  


Each design comes with handy paper pattern pieces for each shape and they're numbered so you can easily plan out your color scheme as you cut.  


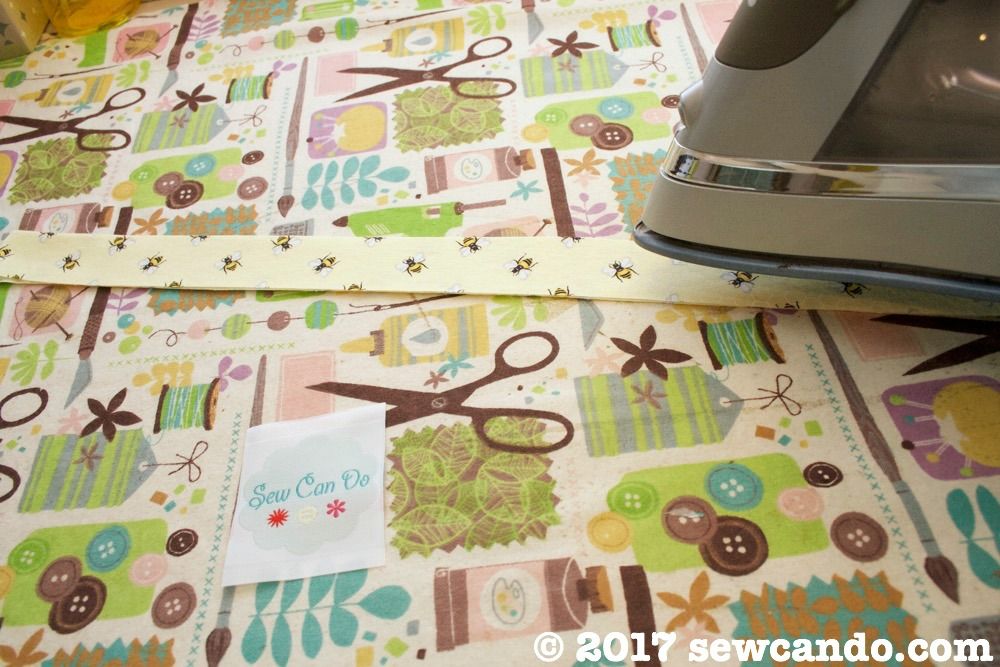
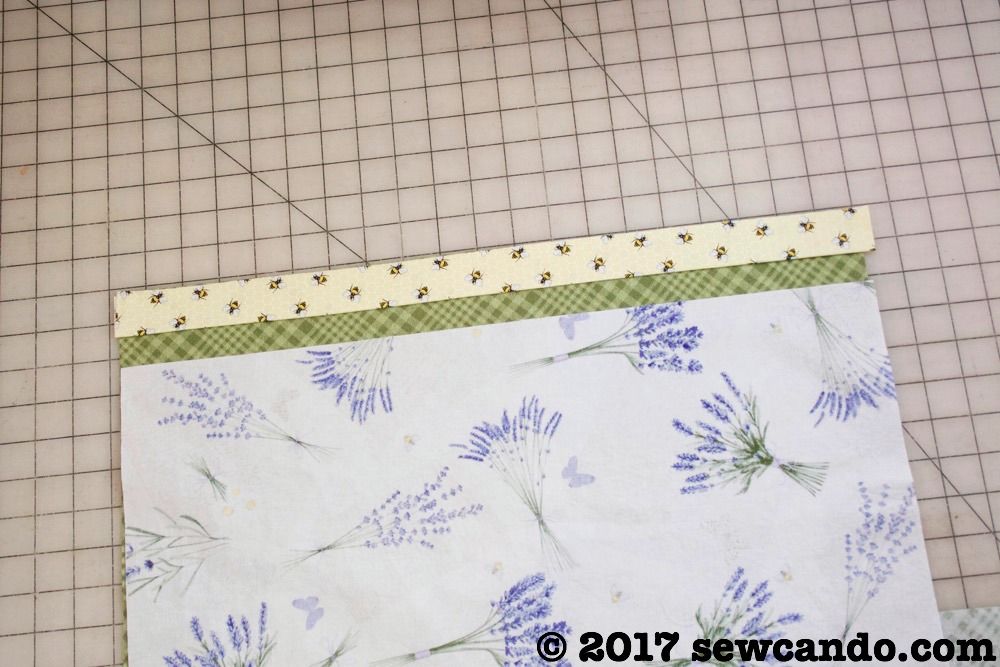
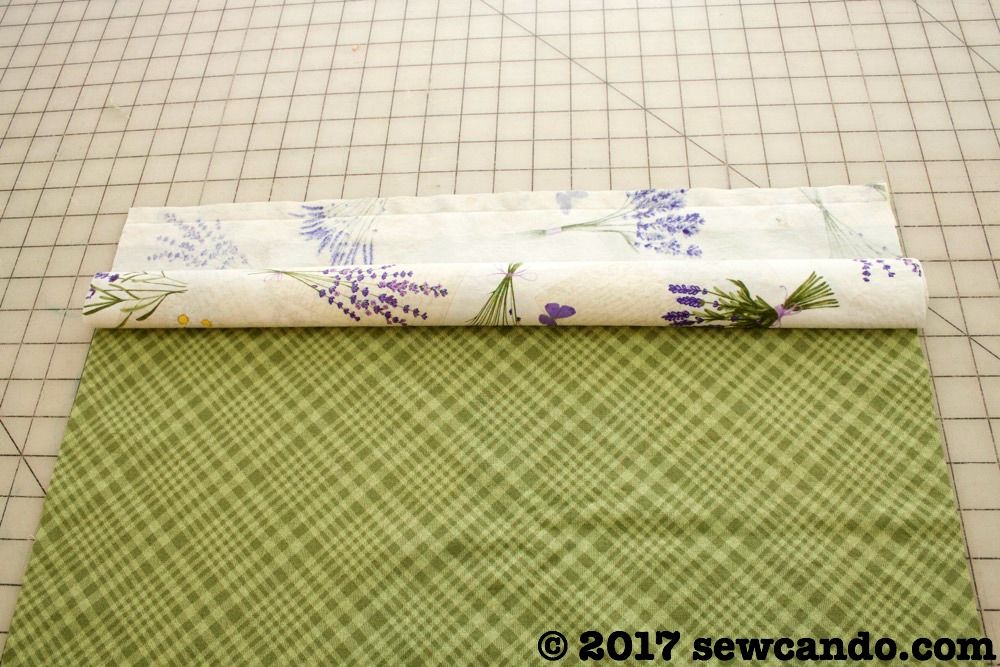
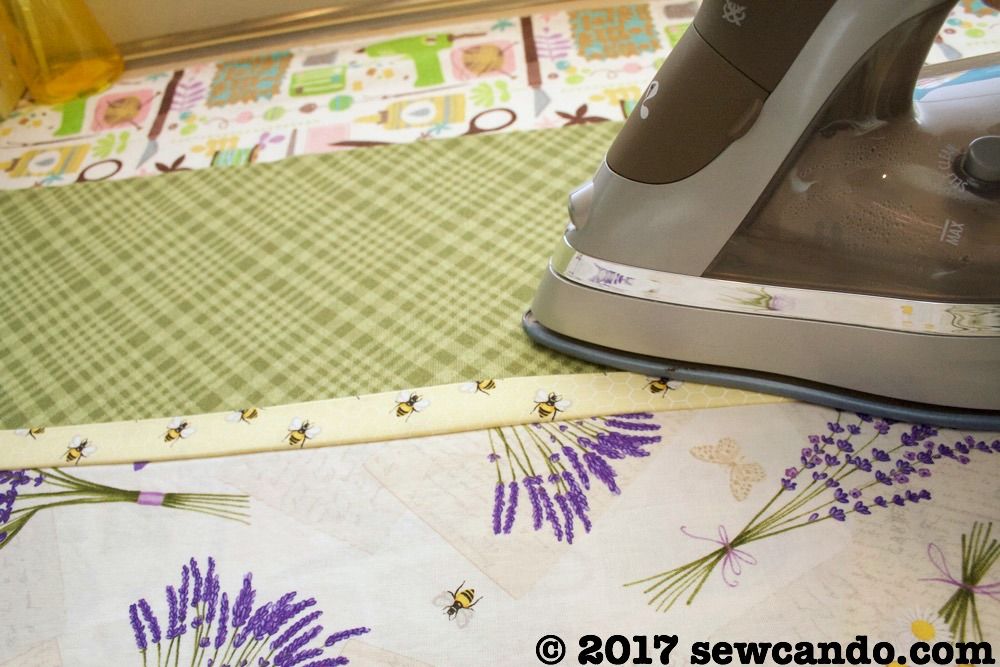
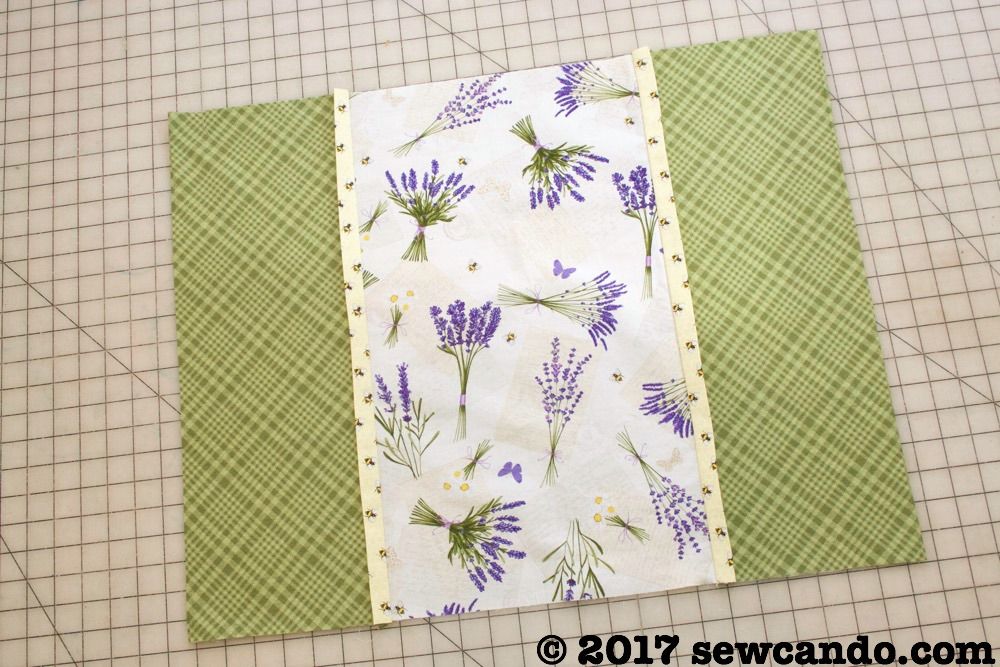
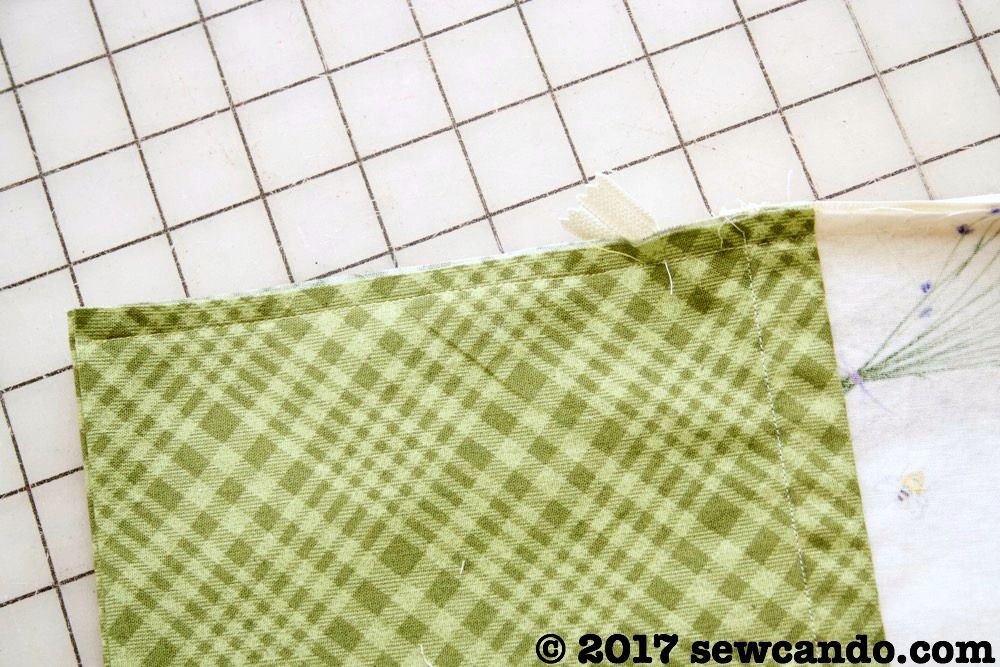
There are a number of design sizes, but all are very scrap friendly and don't use a lot of fabric to make.  This one finishes to 12"x12".  Just a half yard for the wraparound back and center circle + some smaller scraps for the rest.  I picked a fabric with some text to make a pretty center:


It's easy for any skill level, which makes it great for kids or people who don't (or are unable) to sew.  I'm rather short on crafting time these days and I was pleasantly surprised how quickly mine came together and how relaxing it was to do.  You literally can't mess it up since everything is removable, if needed.


So simple for all ages and gives stunning results.  It's turning into an addictive type of project I relax with by myself or turn into a fun activity to do with my 12yr old.  I can see having an afternoon with friends or my mom making some too.  With Mother's Day coming up it could be ideal to give a finished one, gift a kit as a crafty present for Mom to do or as something to make together! 


The added bonus is that you can change your fabrics for new looks or different seasons by untucking the pieces since nothing is permanently attached.  
You sure can't do that with traditional sewn quilting!


Now, for the giveaway:
TWO random winners will get to pick 
the Quilt Magic Kit of their choice!  

I carry 19 different designs in my shop, in a range of sizes so there are lots of options to pick from.  Here are just a few:


Enter below for a chance to win!

a Rafflecopter giveaway


Thursday, May 17, 2018

DIY No-Sew Fabric Keepsake Handprint Gifts


For my mother and mother-in-law this Mother's Day I decided to make some fun keepsake items: DIY Fabric Kid Handprint Gifts.  They captured each of our four kids handprints in their actual sizes right now.  It's extra special since the tiniest one is our new baby:) 


And I made sure each hand was named:


I used some fabric scraps I had left from my DIY 3-D Candy Wall Art project:


That wall art is still my favorite project of 2018 so far (apart from my little guy!):


Now, here's how I made the handprint gifts:


Materials:
- Cotton fabric scraps
- Heat n Bond Ultra Bond fusible
- Iron
- Paper, pencil, scissors
- Optional: Heat transfer vinyl, Cricut Easy Press, Cricut Explore (for lettering)

I traced each of my kids' hands and cut them out.


I ironed some Heat n Bond Ultrabond on the back of each fabric.  It's a super strong paper backed fusible that will then fuse fabric to fabric.  It takes just seconds for it to adhere, but it fuses really well, so it's perfect for adding fabric to finished fabric items when you can't stitch them on.


I took my hand patterns and traced each one on the paper side of the Heat n Bond and cut them out:


When you peel the paper off, you can see the nice shiny layer that now makes it fuse so well.


I arranged the handprints to get an even design balance for my items. 


I pressed my blank tote & cushion cover nice & flat to be wrinkle free.


Then it was time to fuse the hand onto the items themselves.


I decided to add a little extra detail by cutting out each of the kids' names with heat vinyl transfer on my Cricut and then heat pressing them onto their hands so they'd be able to remember whose hands they were years from now. 


They were a big hit with both grandmas and a project this busy mom could knock out during a brief nap time.


Wednesday, May 3, 2017

Mother's Day Lavender Garden Neck Roll Pillow Tutorial


Mother's Day is on the horizon and what mom couldn't use a gift that's both handmade, just for her, and designed to encourage relaxing?  A beautiful Lavender Garden Neck Roll Pillow is the perfect project!

My mom is a lavender fanatic, so I thought that would be the perfect theme for a sweet pillow:


The gathered twist sides give it a charming, country French look, as does the combination of plaid, bees and lavender in the prints:


I actually designed this pillow with these particular fabrics in mind.  They're from the new Lavender Garden collection from Timeless Treasures.  My mom is also in love with all things French, so I picked these particular prints to sew up something special for her.


The added bonus of the twisted sides is that they're very easy to do, so this is a pretty quick project.


How To Make This Neck Roll Pillow


Materials:
- 1/2yd main cotton fabric (Lavender and Bees)
- 1/2yd cuff cotton fabric (Tonal Bias Plaid in Green

- 1/8yd small trim cotton fabric (
Bees)
- 14 inch neck roll pillow form
- 14 inch zipper
- 1 yd 3/8 inch wide decorative ribbon
- 1 yd embroidery floss
- Rotary cutter/shears, iron, zipper foot, rubber bands
- Optional: Lavender buds or essential oil to insert inside

Cut the following pieces: 

Main fabric - (1) 19 7/8in high by 12 in wide rectangle
Trim fabric - (2) 2in high by 19 7/8 in wide strips
Cuff fabric - (2) 15 high by 19 7/8 wide rectangles


Press each the trim strips in half, wrong sides facing:


Match up the raw edges of the trim with one edge of the cuff fabric (right side up).  Place the main fabric on top, right side down, and sew with a 3/8 inch seam allowance.


Roll up the main fabric, stopping about an inch from the raw edge.


Wrap the other end of the cuff fabric over it, pin then sew together with a 3/8 inch seam allowance:


Pull the main fabric out through the open side:


Press the trim and cuff flat.


Top stitch along the fold so it will lay smooth when rolled.


Repeat on the other side:


Center and pin the zipper along one of the longer sides, face down.


Stitch zipper in place using a zipper foot:


Pull opposite side of fabric around and repeat with other side of zipper to create the pillow tube:


Stitch together the remaining fabric along the cuffs on either end of the zipper:


Turn pillowcase right side out, open zipper and insert pillow form.  This is an ideal time to tuck in a little sachet of lavender buds or some lavender essential oil on a little pad inside the pillow form for an aromatherapy bonus:


Cinch cuff ends toward the center of each side and pull to get creases as desired.  Secure with a rubber band.  


Tie in place with some embroidery floss and tie on top with decorative ribbon.  Time to present it to that special someone, or keep it to relax with yourself!


I was not financially compensated for this post.  I received fabric from Timeless Treasures to use as I desired.  The opinions are completely my own based on my experience.   For my complete disclosure policy, click here.
SaveSave
SaveSave

LinkWithin

Related Posts with Thumbnails