
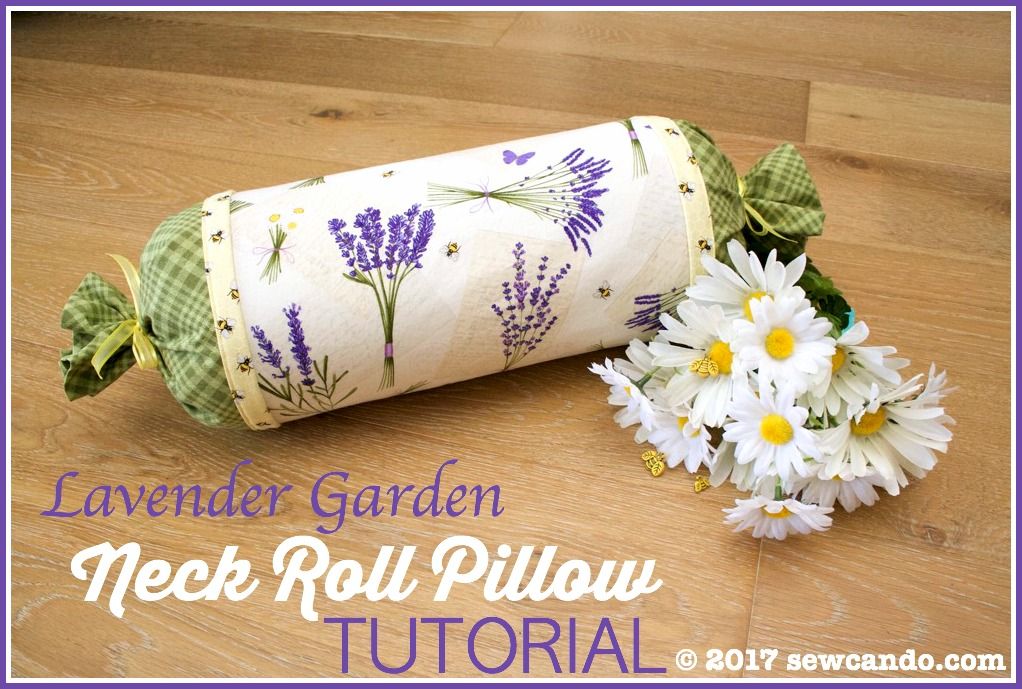
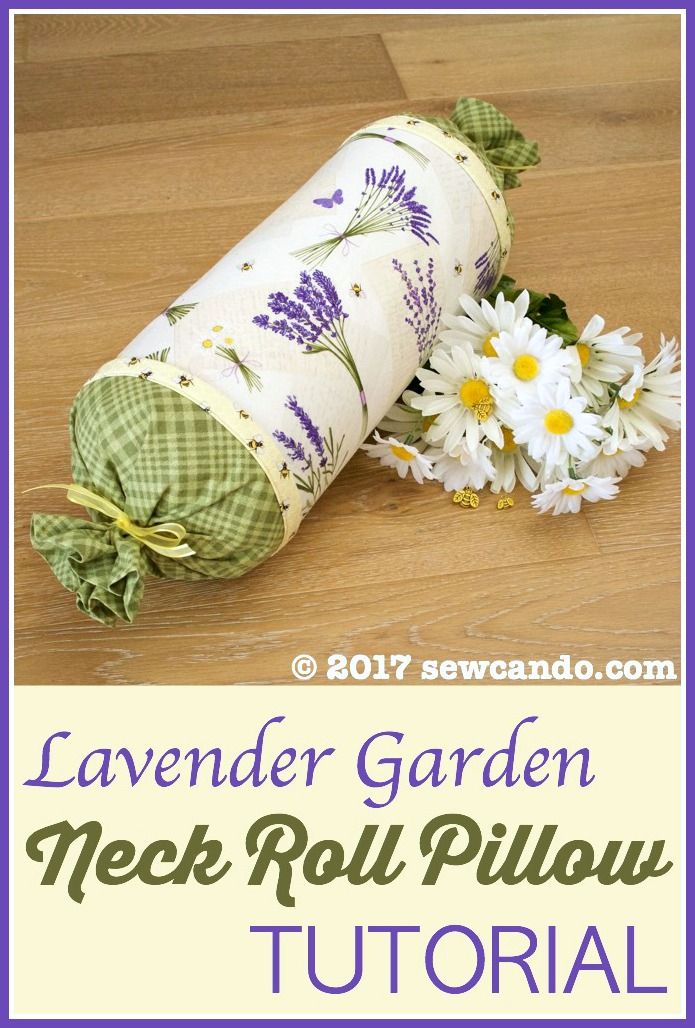
Mother's Day is on the horizon and what mom couldn't use a gift that's both handmade, just for her, and designed to encourage relaxing? A beautiful Lavender Garden Neck Roll Pillow is the perfect project!
My mom is a lavender fanatic, so I thought that would be the perfect theme for a sweet pillow:
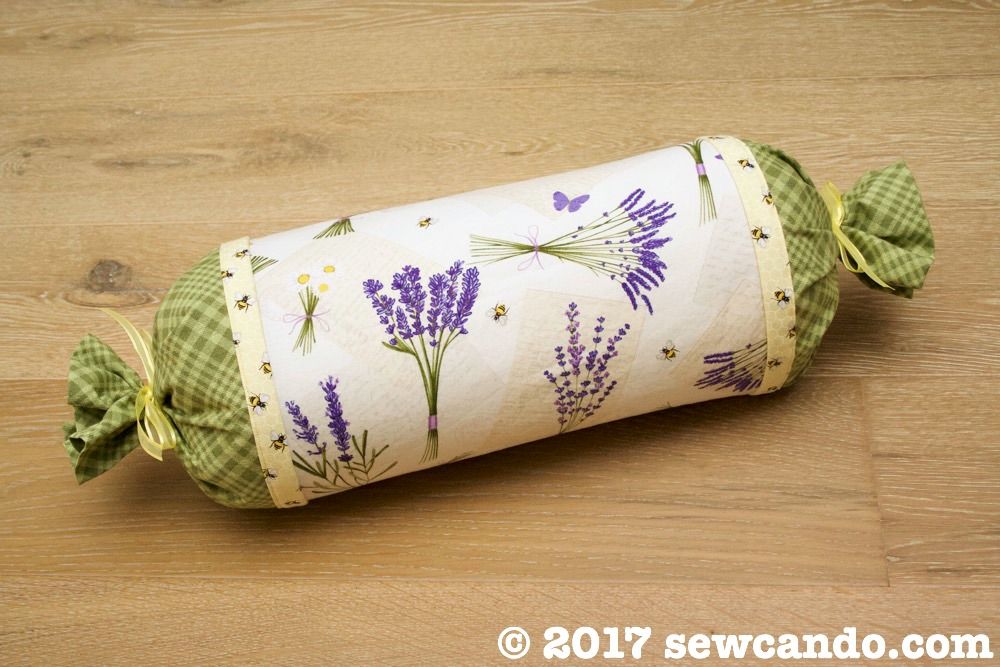
The gathered twist sides give it a charming, country French look, as does the combination of plaid, bees and lavender in the prints:

I actually designed this pillow with these particular fabrics in mind. They're from the new Lavender Garden collection from Timeless Treasures. My mom is also in love with all things French, so I picked these particular prints to sew up something special for her.

The added bonus of the twisted sides is that they're very easy to do, so this is a pretty quick project.
How To Make This Neck Roll Pillow
Materials:
- 1/2yd main cotton fabric (Lavender and Bees)
- 1/2yd cuff cotton fabric (Tonal Bias Plaid in Green)
- 1/8yd small trim cotton fabric (Bees)
- 1/2yd cuff cotton fabric (Tonal Bias Plaid in Green)
- 1/8yd small trim cotton fabric (Bees)
- 14 inch neck roll pillow form
- 14 inch zipper
- 1 yd 3/8 inch wide decorative ribbon
- 1 yd embroidery floss
- Rotary cutter/shears, iron, zipper foot, rubber bands
- Rotary cutter/shears, iron, zipper foot, rubber bands
- Optional: Lavender buds or essential oil to insert inside
Cut the following pieces:
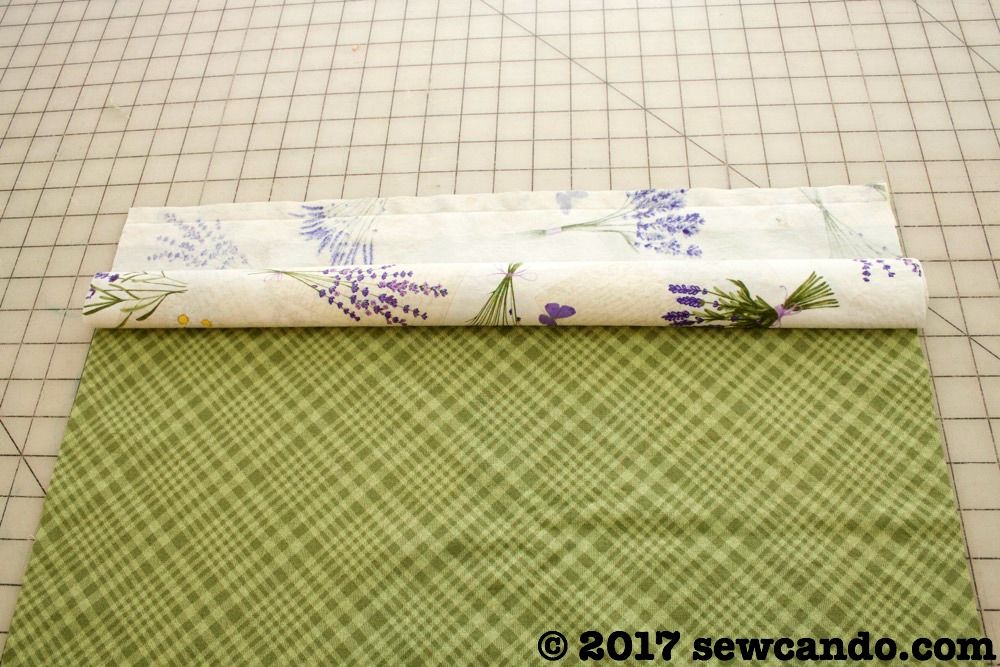
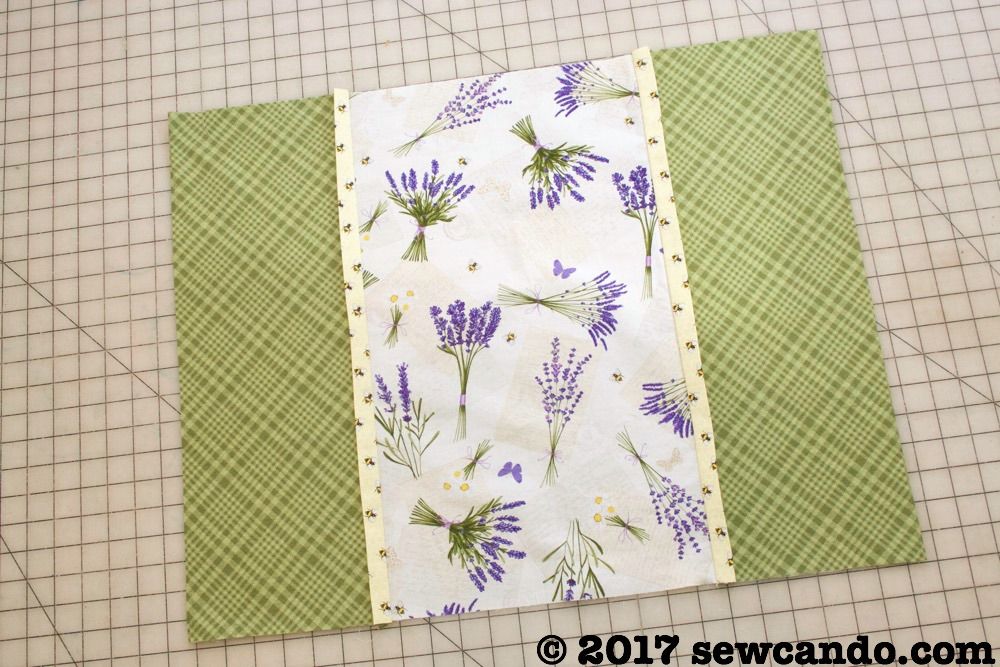
Main fabric - (1) 19 7/8in high by 12 in wide rectangle
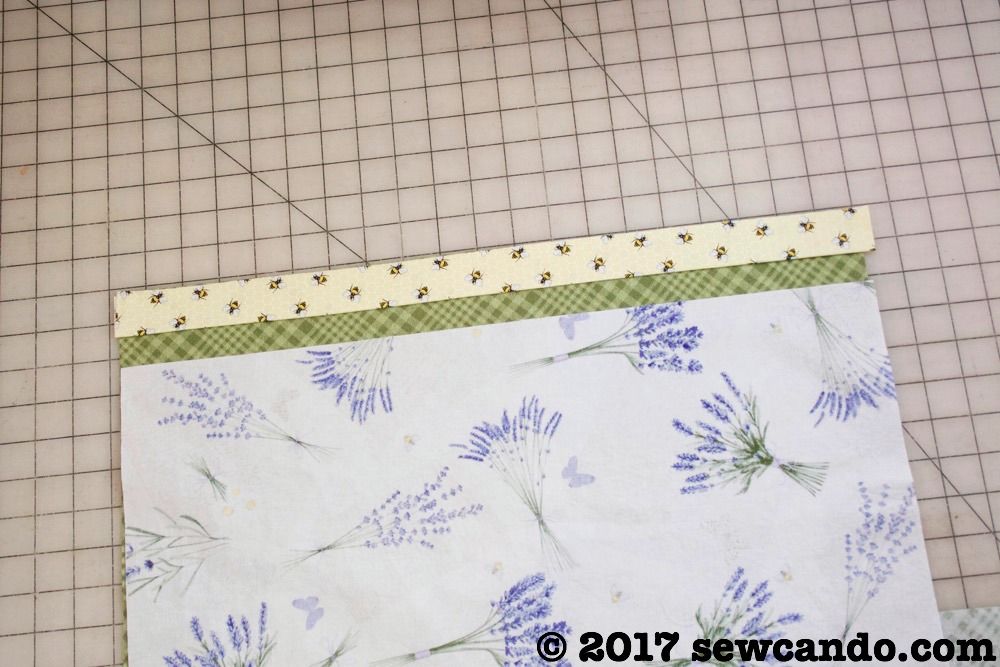
Trim fabric - (2) 2in high by 19 7/8 in wide strips
Cuff fabric - (2) 15 high by 19 7/8 wide rectangles

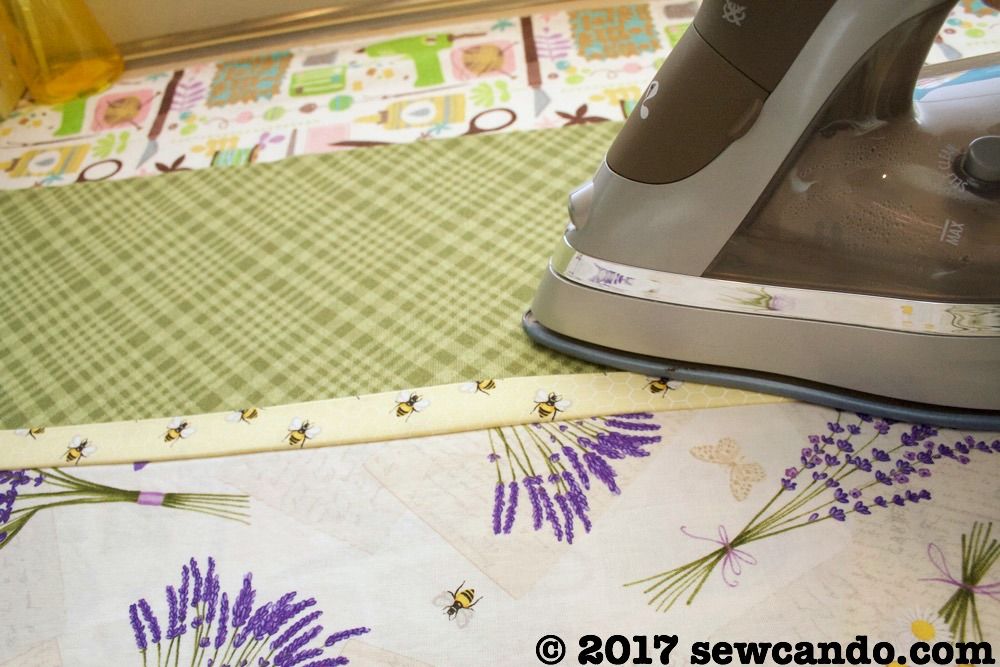
Press each the trim strips in half, wrong sides facing:
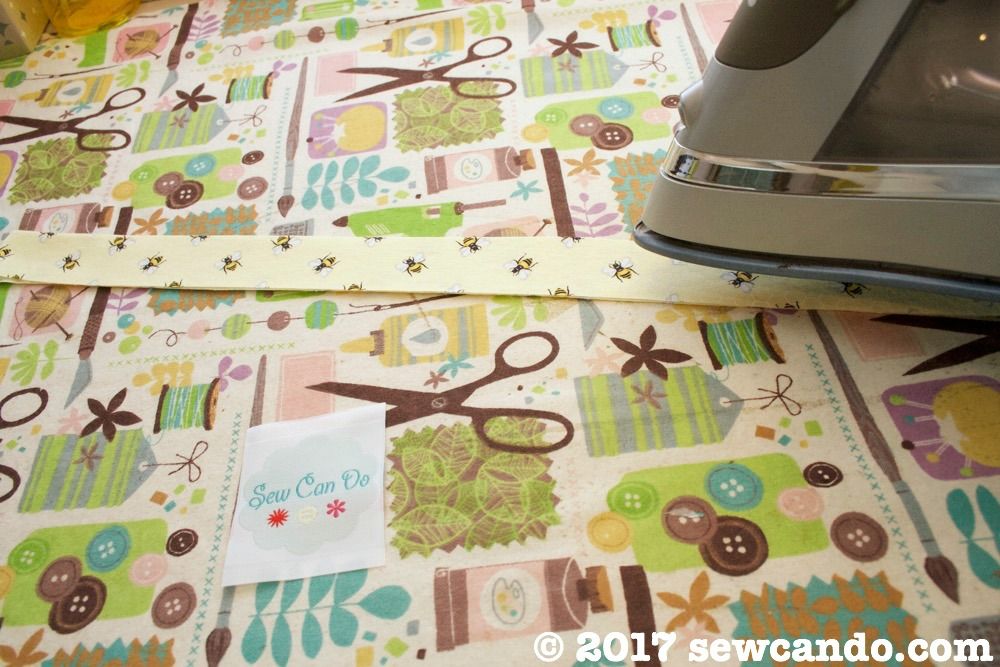
Match up the raw edges of the trim with one edge of the cuff fabric (right side up). Place the main fabric on top, right side down, and sew with a 3/8 inch seam allowance.
Roll up the main fabric, stopping about an inch from the raw edge.
Wrap the other end of the cuff fabric over it, pin then sew together with a 3/8 inch seam allowance:
Pull the main fabric out through the open side:

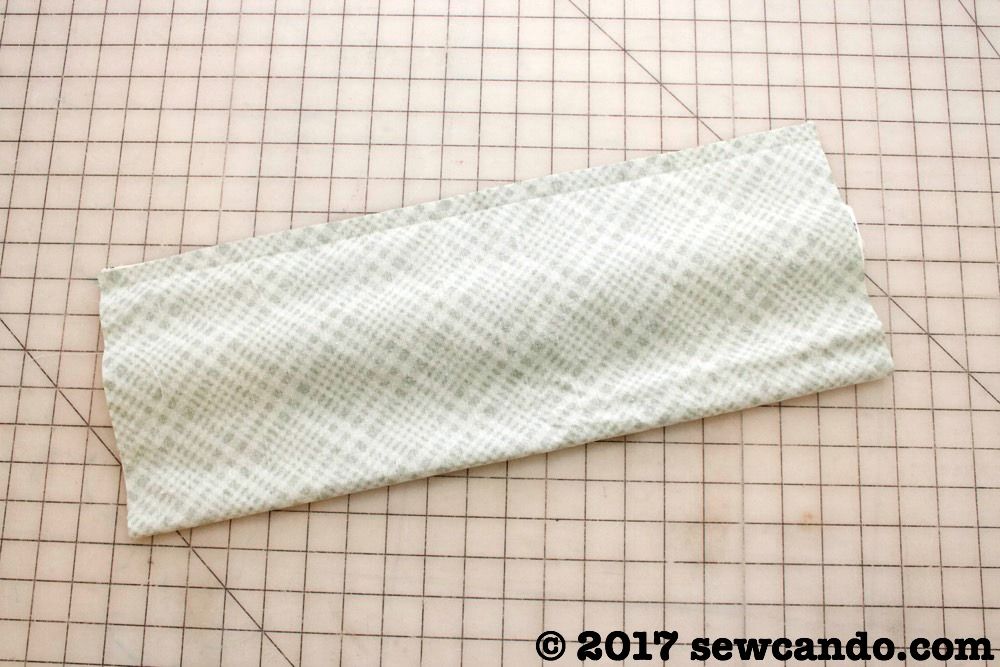
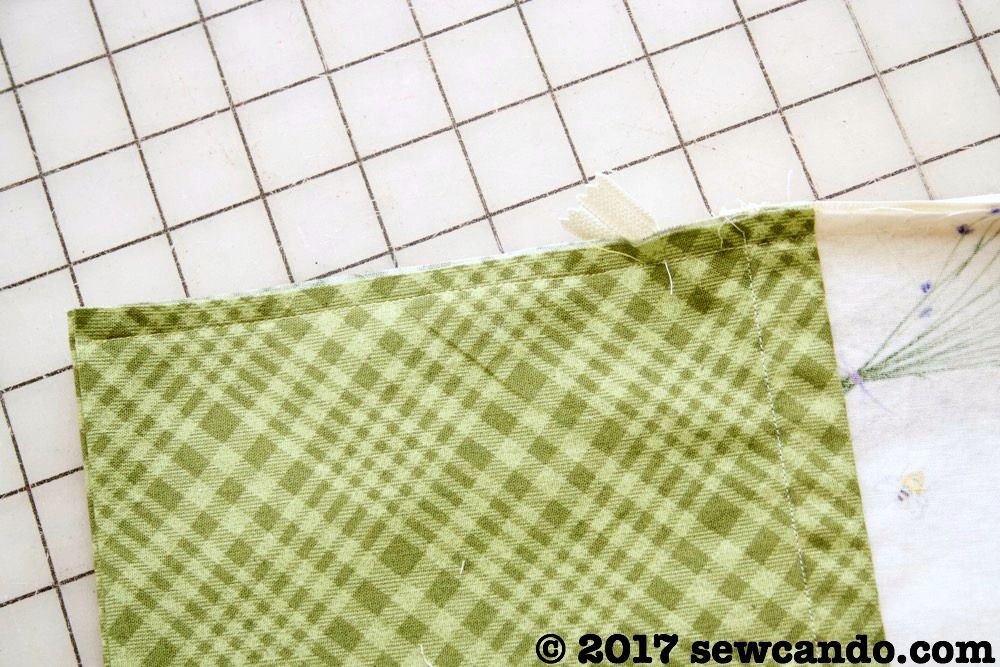
Press the trim and cuff flat.
Top stitch along the fold so it will lay smooth when rolled.

Repeat on the other side:
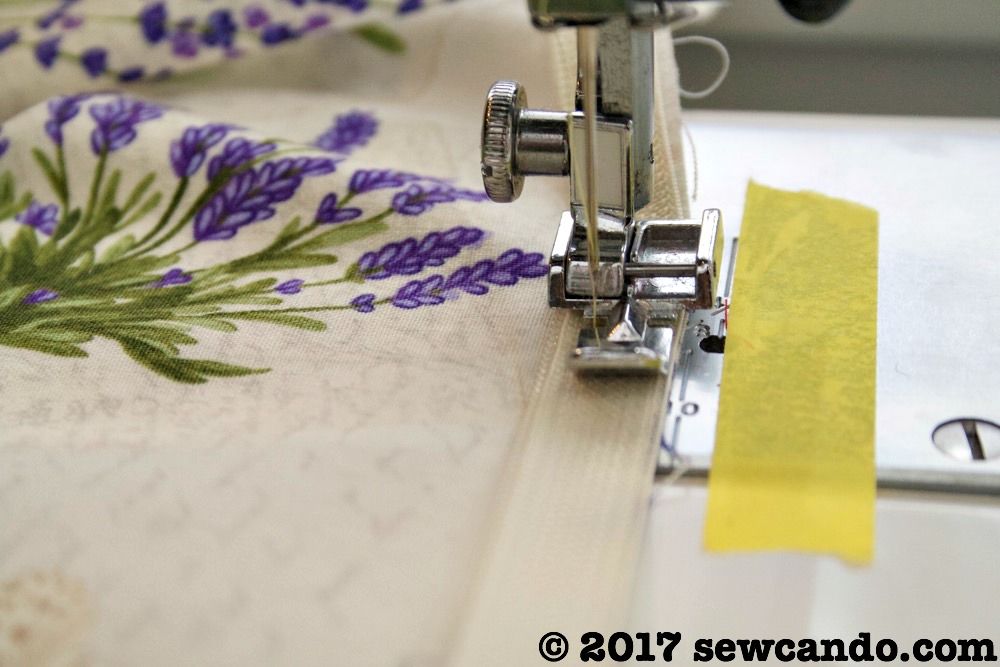
Center and pin the zipper along one of the longer sides, face down.

Stitch zipper in place using a zipper foot:
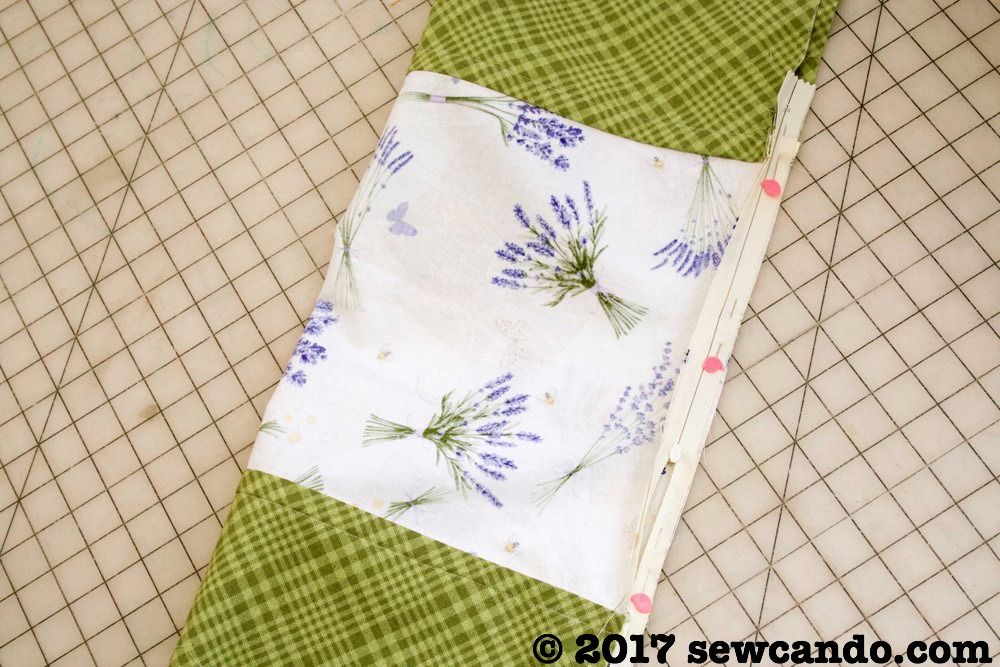
Pull opposite side of fabric around and repeat with other side of zipper to create the pillow tube:
Stitch together the remaining fabric along the cuffs on either end of the zipper:
Turn pillowcase right side out, open zipper and insert pillow form. This is an ideal time to tuck in a little sachet of lavender buds or some lavender essential oil on a little pad inside the pillow form for an aromatherapy bonus:

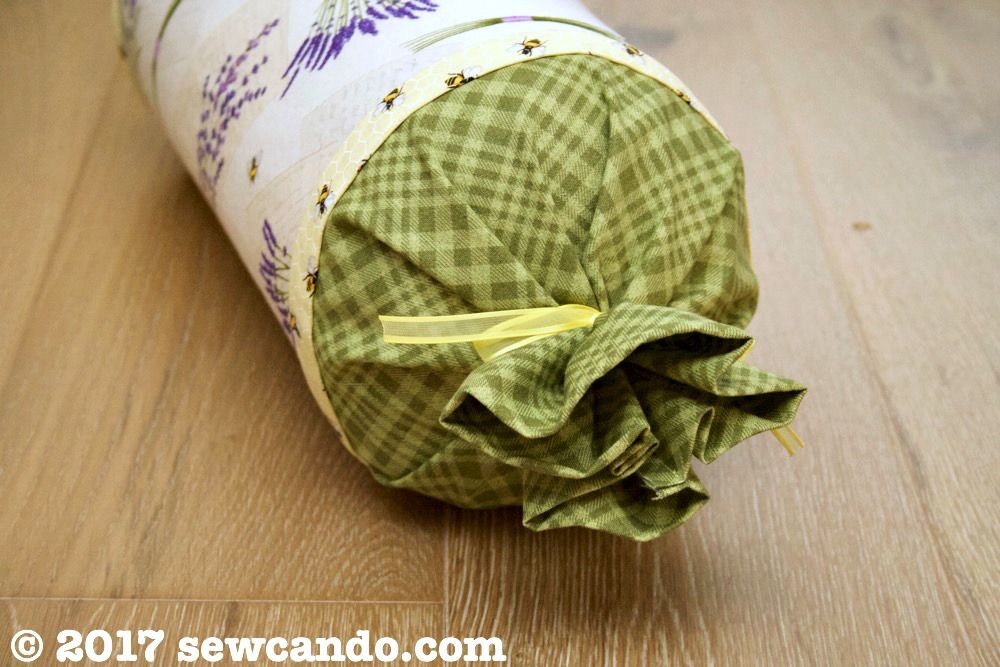
Cinch cuff ends toward the center of each side and pull to get creases as desired. Secure with a rubber band.

Tie in place with some embroidery floss and tie on top with decorative ribbon. Time to present it to that special someone, or keep it to relax with yourself!

I was not financially compensated for this post. I received fabric from Timeless Treasures to use as I desired. The opinions are completely my own based on my experience. For my complete disclosure policy, click here.
You got lovely fabrics. The tutorial is beautifully done and the neck roll looks amazing.
ReplyDeleteThanks so much! I'm pleased it turned out nice & the tutorial makes it easy for others to make one too.
DeleteVery pretty - both the fabrics and the design with the twisted ends.
ReplyDeleteThanks Pam - I've also linked it up to your lovely pillow tutorial section:)
DeleteHi Cheryl,
ReplyDeleteThis is so cute! You did a nice job on it and the tutorial is well written. Would you mind if I shared your tutorial on my blog, with a link back to your website and credit of course? I think this is so fun for all to make! ~smile~ It looks just perfect for Mother's Day.
Roseanne
You're welcome to share an image or two and a link back here, I just ask that no one reposts my entire tutorial. Please let me know when you do and I'll give it a shout out. Thanks very much!
DeleteYour tutorial is so well written and filled with great pictures! I know that takes time - a lot of time! Your fabric choices are also perfect! Thank you for sharing!
ReplyDeleteI so appreciate your kind words - it does take a lot of time (I'm amazed when I see blogs that post more than one tutorial a week!). Knowing others read & enjoy my tutorials makes the work worth it!
Delete