
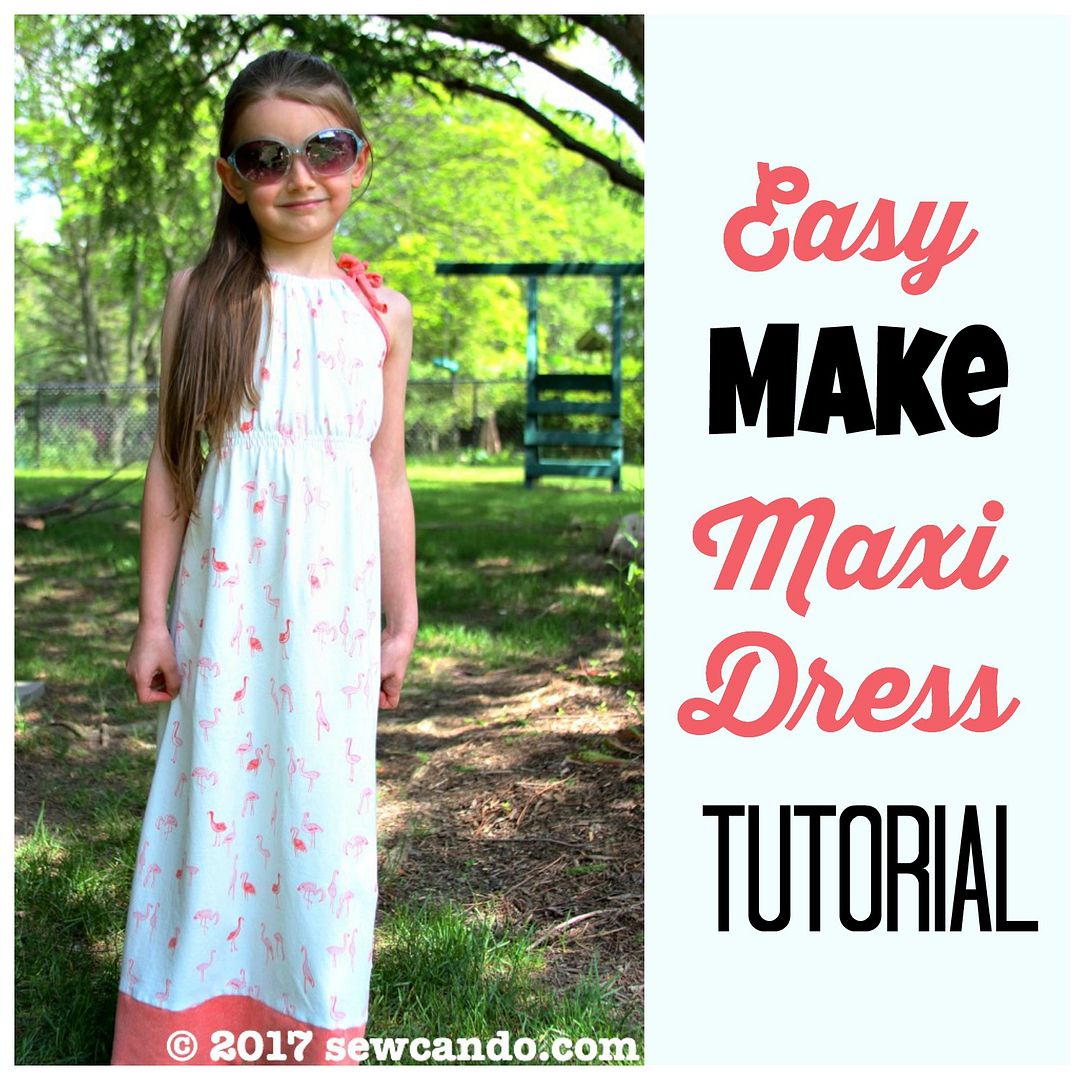
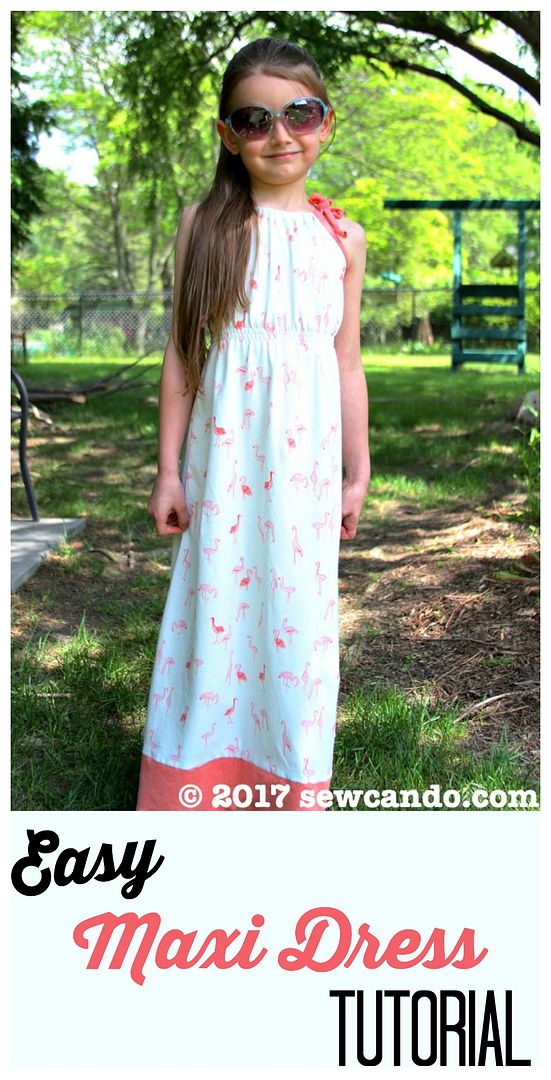
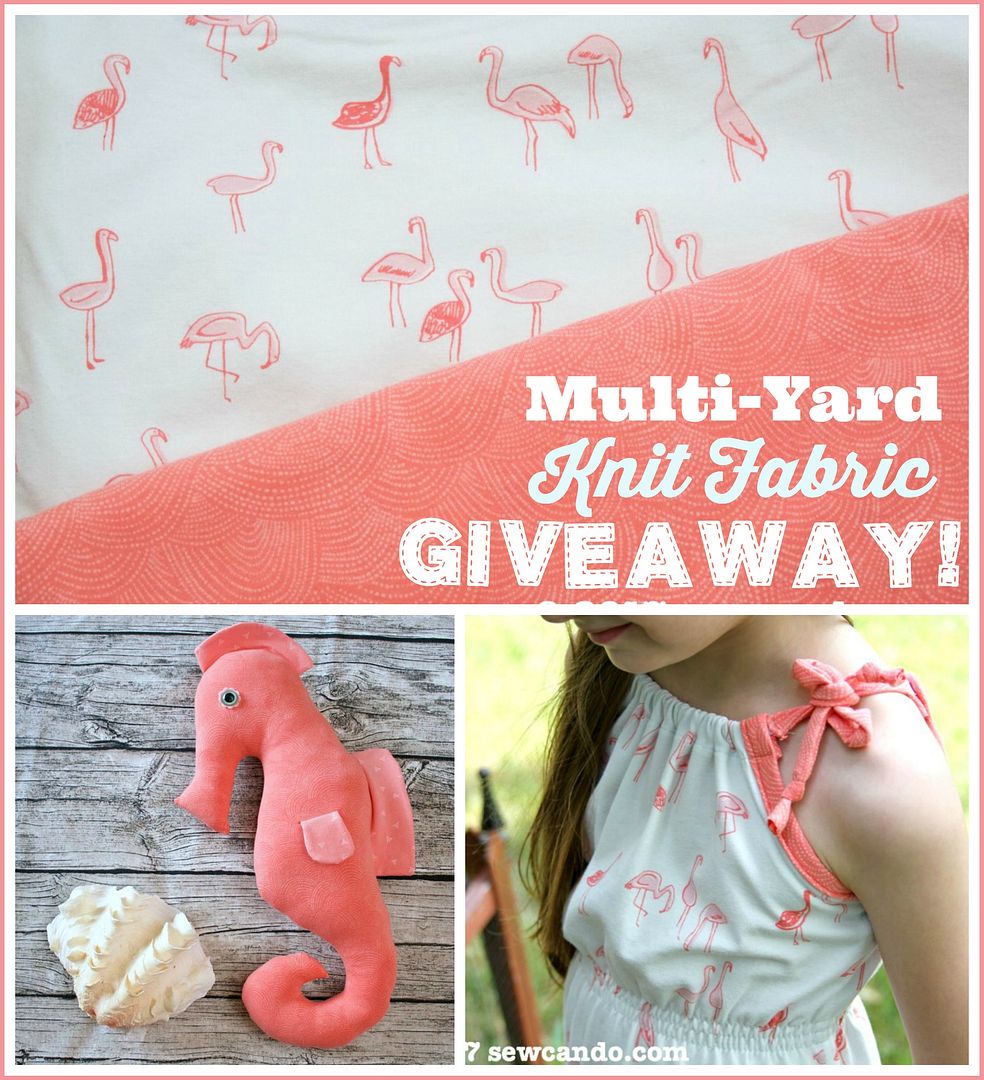
Summer is nearly here and that means summer dress season! Why not make a new maxi dress that'll look gorgeous and feel fantastic? My handy Easy Make Maxi Dress Tutorial shows you how to make one in any size.
This dress is just perfect for hot summer days and a snap to sew up. Using soft cotton spandex knit fabric, means it'll have terrific drape and stretch too:

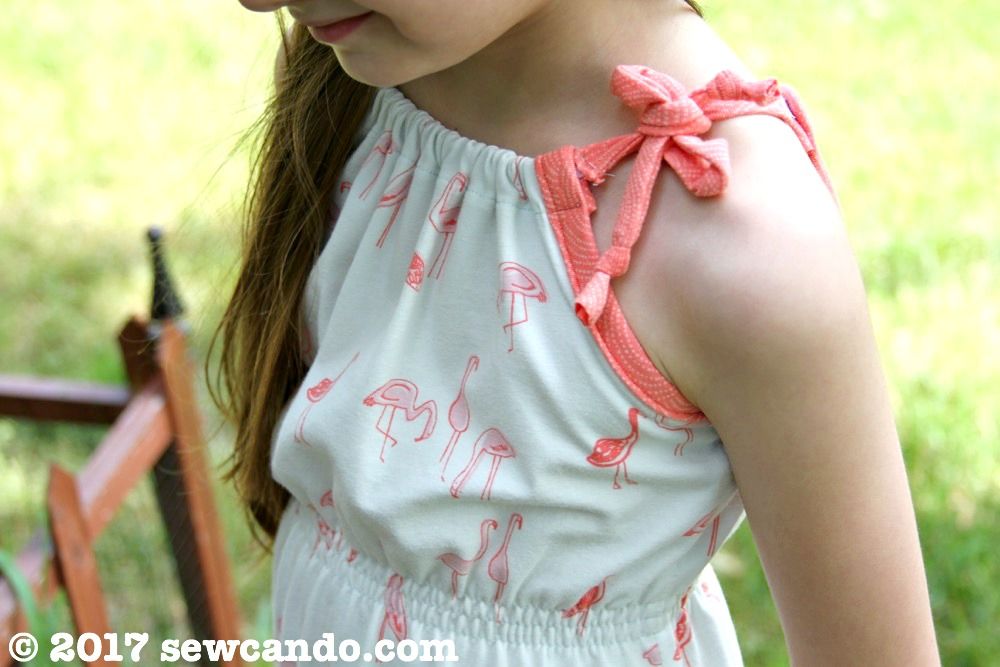
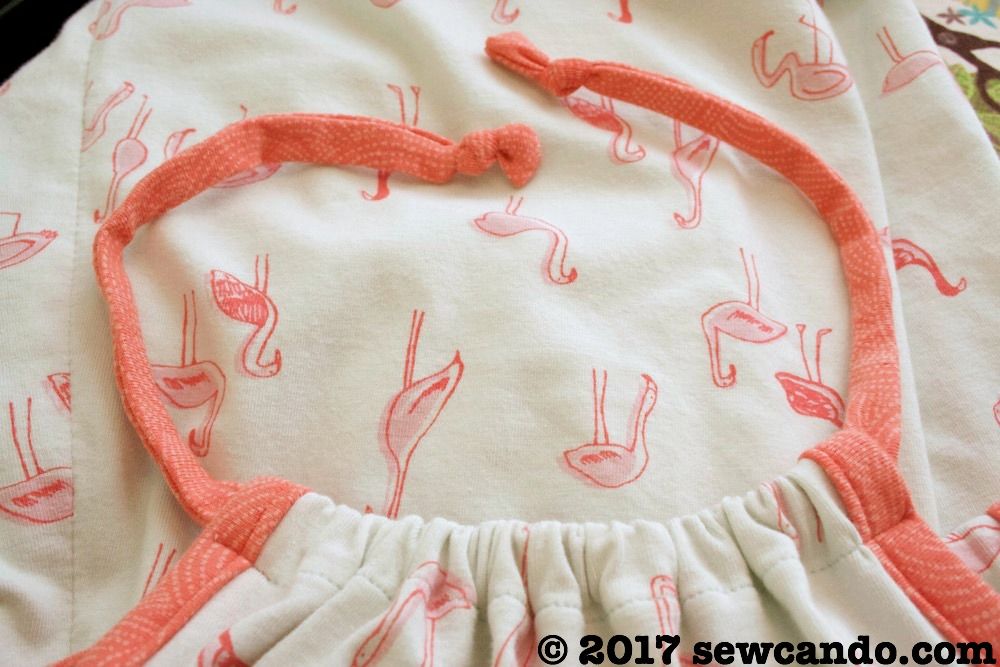
The simple-to-make gathering at the neckline, elasticized waist and tie shoulders mean it's very adjustable and works well on all body types:
And if you're new to sewing knits or have had trouble with certain aspects in the past, this is a great project to try. It's part of my new Sewing With Knits series:

I'm trying to take the frustration and mystery out of sewing knit fabrics. Sharing my hands-on experiences, project successes and useful hints to make it easier for others. I've got a handy introduction to my very best tips & techniques HERE:

Now let's get to the sewing!
Materials:
- 1yd* Cotton Spandex Knit Main (I used Dear Stella Flamingoes in Bay)
- 1/4yd* Cotton Spandex Knit Hem (I used Dear Stella Scallop Dot in Guava)
- Elastic thread
- 3/8in wide elastic
- Pressure sensitive paper backed fusible tape (I used 1/4in and 1/2in widths)
- Notions: iron, disappearing marker/tailor's chalk, pins, rotary cutter/shears, yardstick, safety pin, matching thread
* This amount of fabric will make up to a kid's size 8
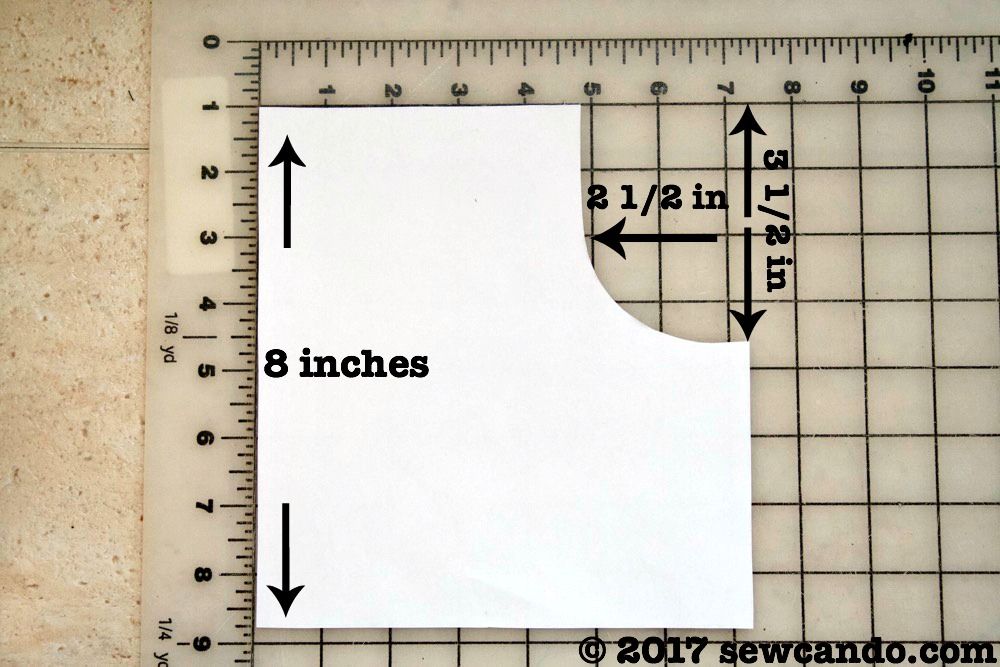
Start by making a handy paper pattern to create the bodice. Take a chest measurement. Divide this in half and add 2 inches to determine the bodice width. Take a piece of paper and measure out a rectangle that is the width and an 8 inch height. From one corner, measure inward 2 1/2 inches and down 3 inches and cut a "J" shape. If doing a much smaller or larger size, (like an infant or bigger than 10yrs) add or subtract a full inch, or more, to both these measurements and the bodice length. This style is very forgiving, so it doesn't need to be exact.
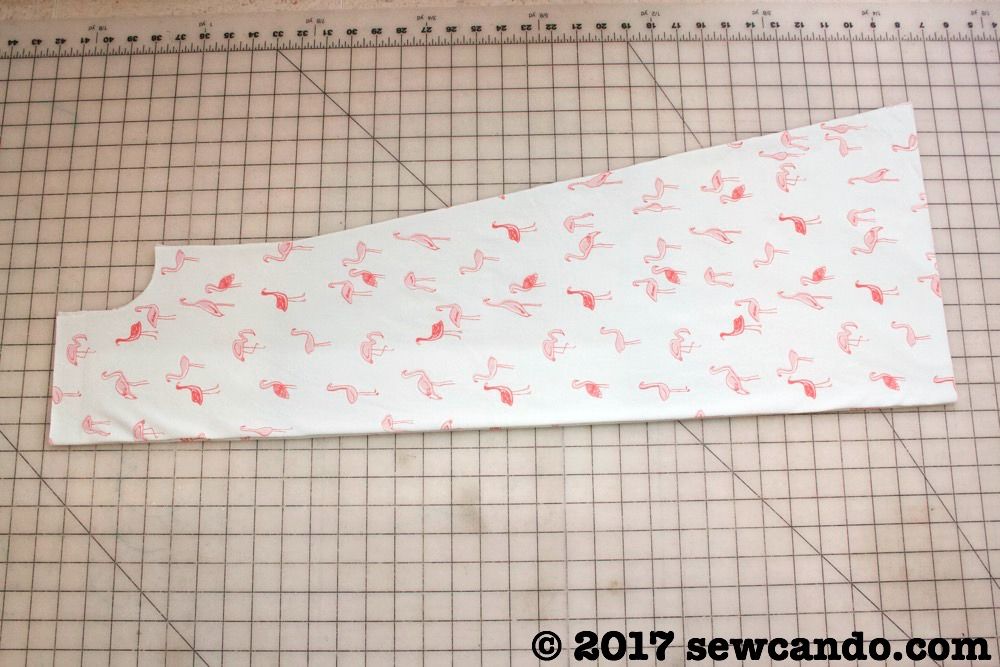
Fold fabric so the selvages meet in the middle and there is a fold on either side. Decide on the length desired, my finished dress length from top to hem was 34 inches. Place pattern along fold and measure down to desired amount of flare using a yardstick to make an A-line shape. Mine went down 23 inches from the bodice and out 10 inches at the bottom. This was 4 inches shorter than the final length since I was using a band of the Scallop Dot fabric at the bottom hem.
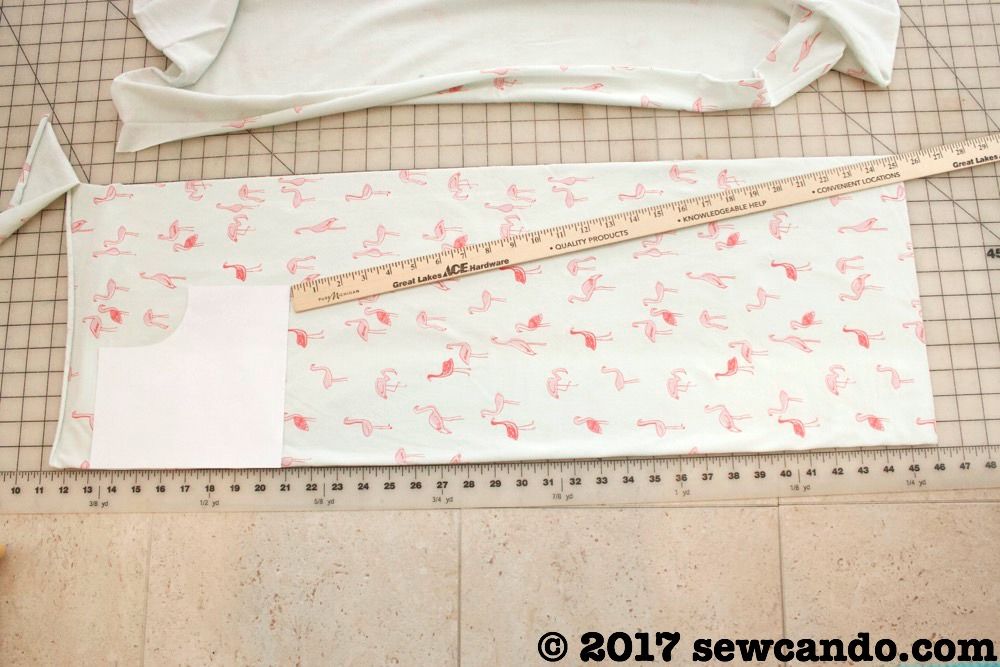
I cut the piece out to be my dress front and I repeated this with the rest of my fabric to do the back piece.
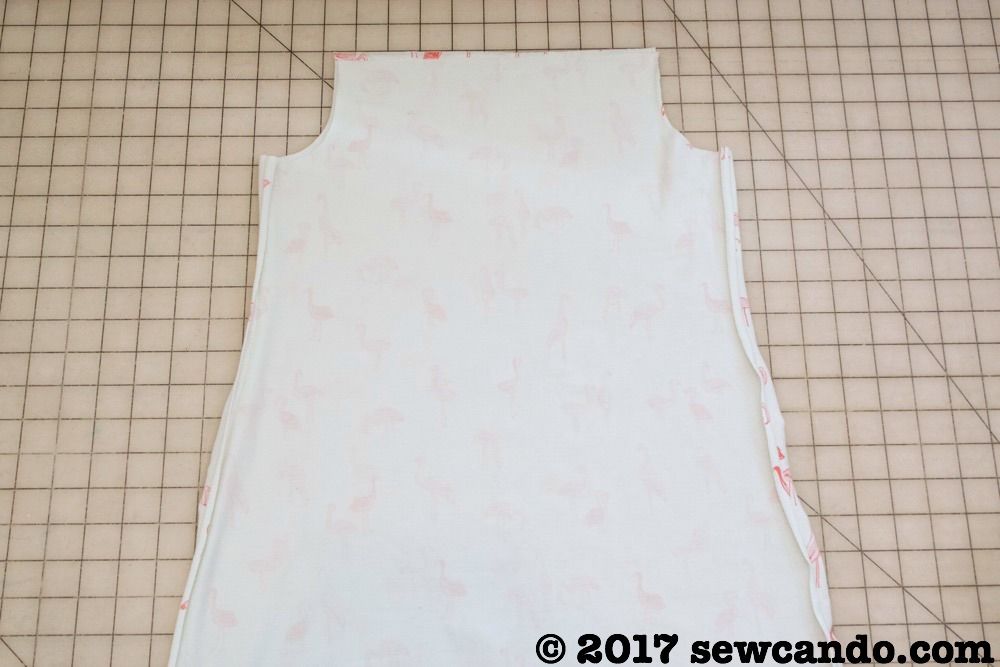
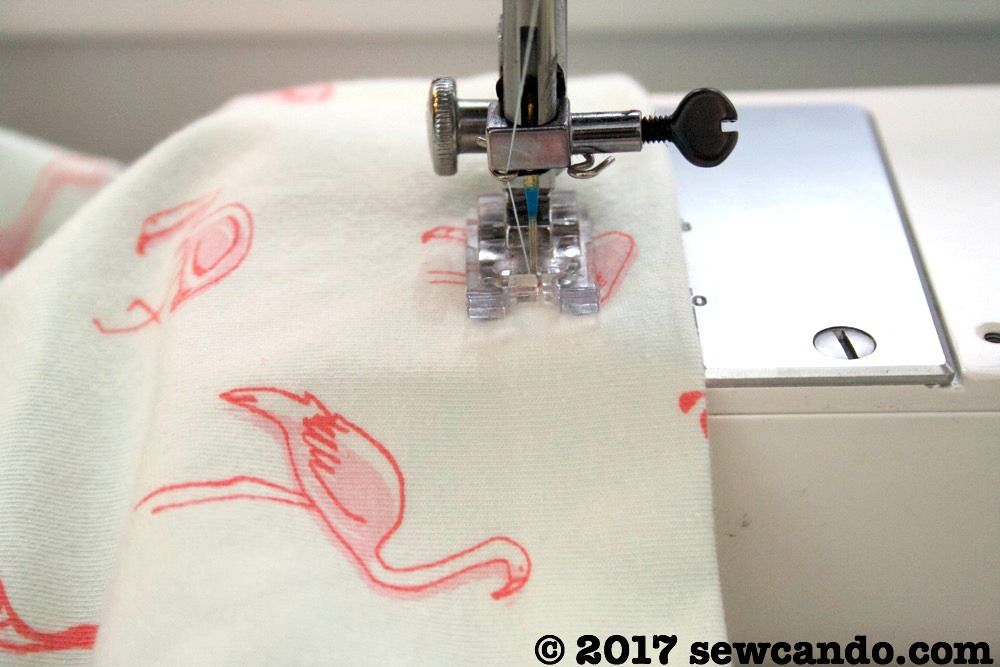
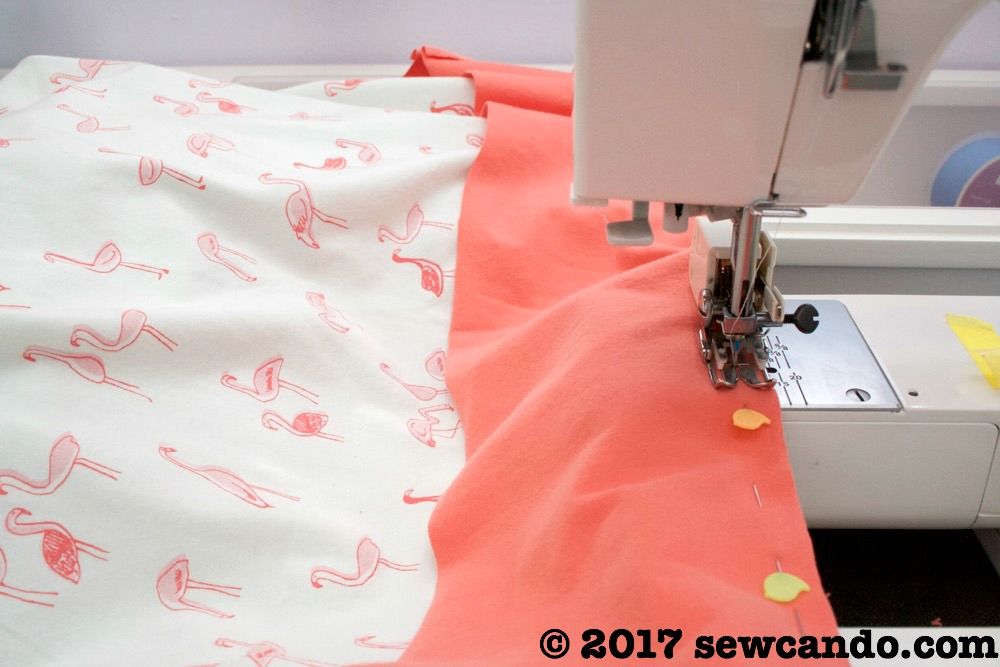
With right sides facing, stitch the side seams together using a serger or knit-friendly machine stitch like zig-zag or triple stitch (for more info on these, check out my Sewing with Knits Without A Serger), with a 3/8in seam allowance.
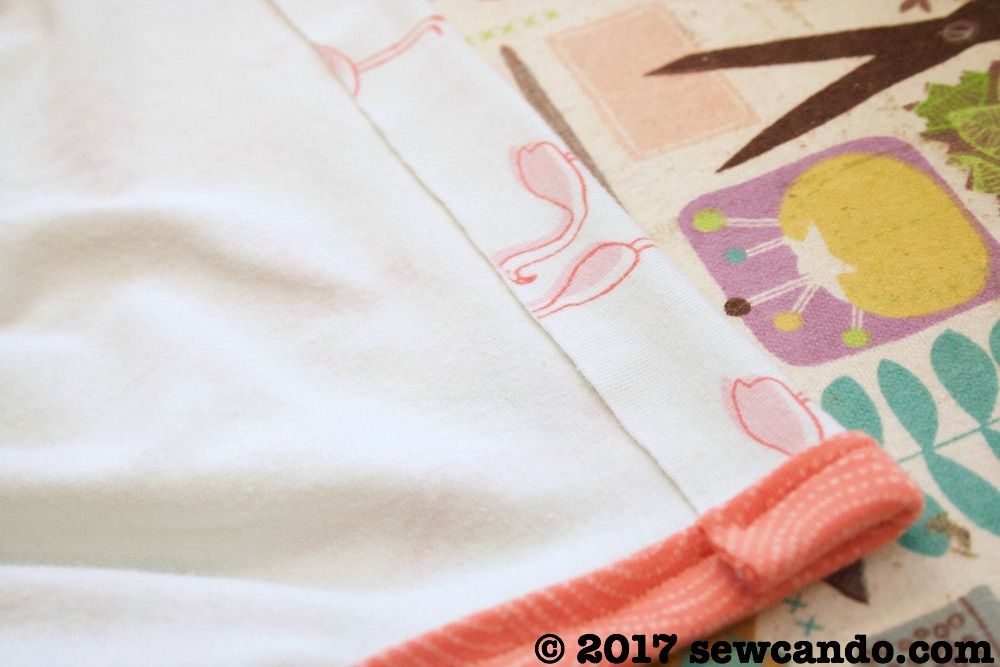
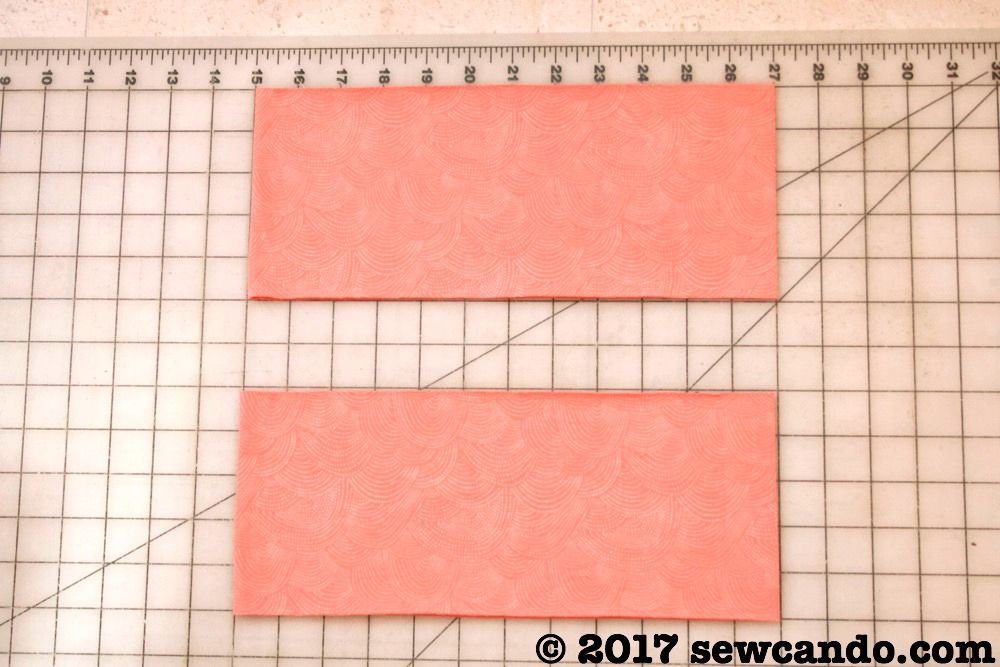
I made some 1/2 inch wide double fold tape from the scalloped guava. Since this is knit, there's no need to cut it on the bias. Just cut a 2 inch high by width of fabric strip, press in half lengthwise and the open and press the raw edges in toward the fold mark.
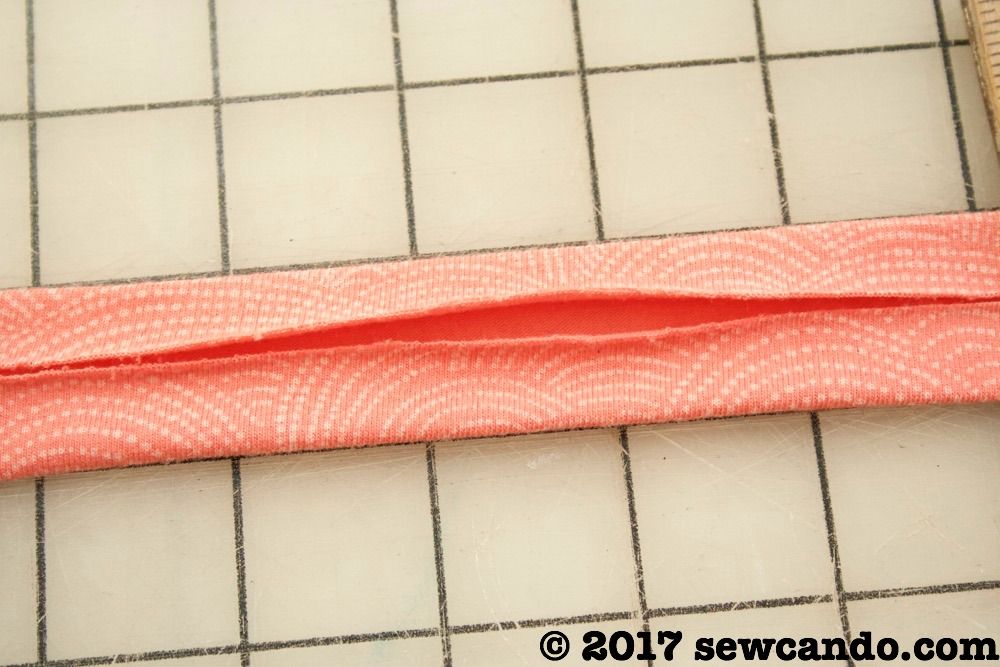
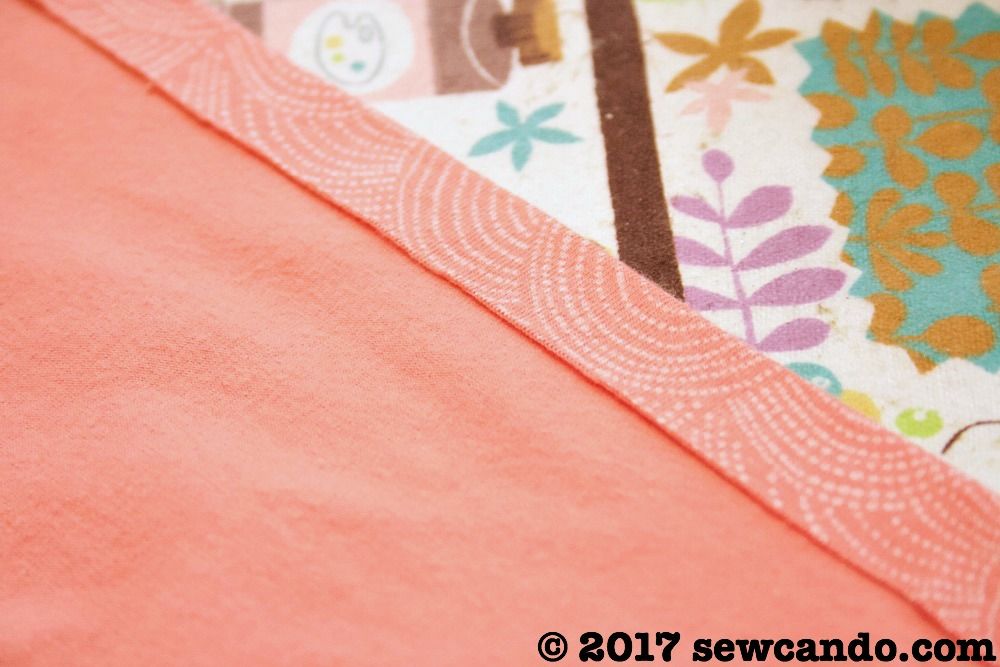
Encase the underarm area of each side in the tape, pin and then stitch close to the edge.
Measure down 8 inches from the top edge of the dress and draw a line across the middle with a disappearing marker or chalk. This will be where the smocking starts.
Wind the elastic thread around a bobbin by hand and load into sewing machine. Starting at one side seam stitch 1/2 inch and then backstitch over it to anchor the thread securely. turn the stitch length to 4 and stitch all the way around. The fabric will start to cinch as you go.
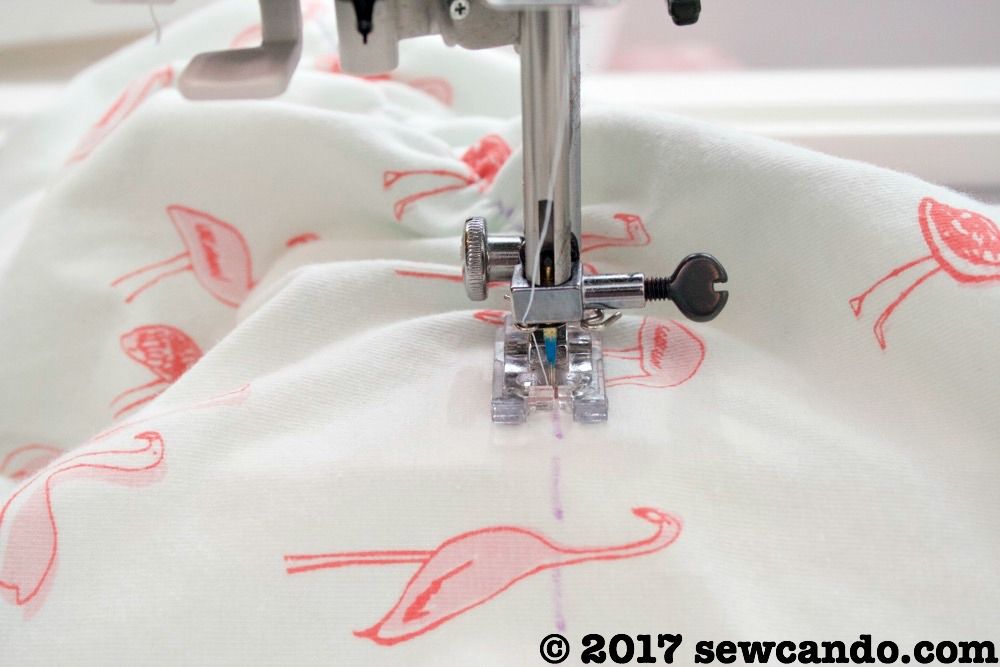
Stitch two more rows beneath the first, with each row a 1/4 inch apart. Stitch & backstitch 1/2 inch again at the end too. Hold a steaming iron over the stitching, a few inches away, to shrink the elastic slightly to create the full smocking effect.

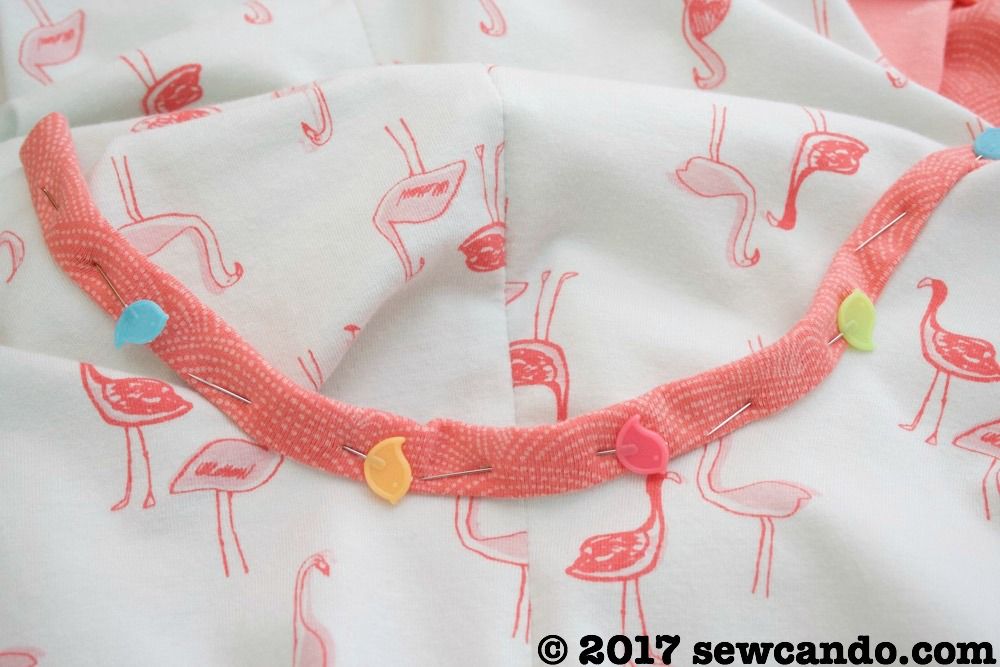
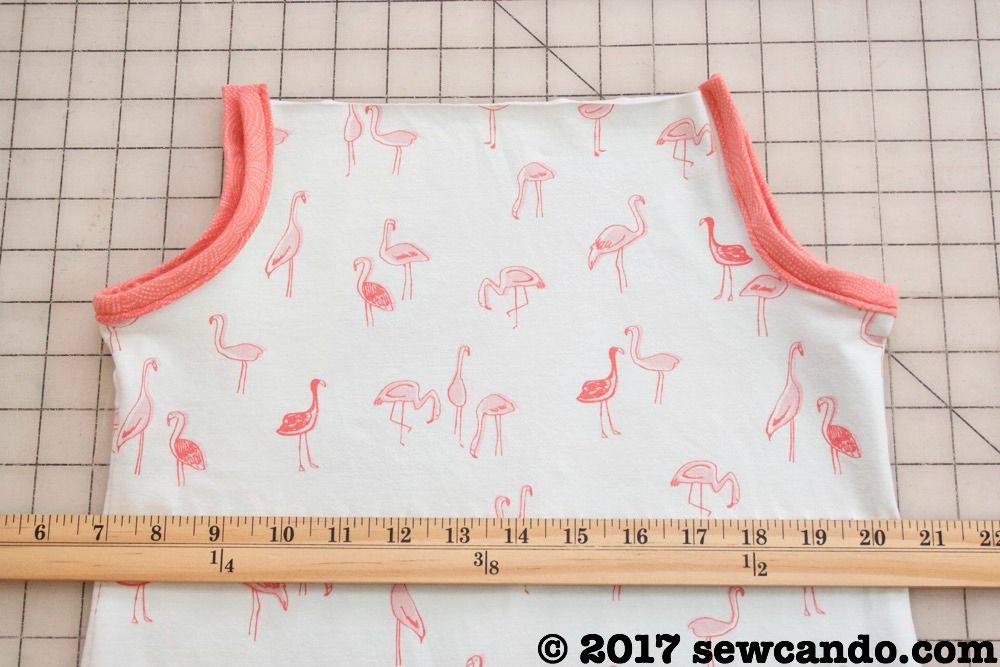
Create the neck casing by applying the 1/4in wide paper backed fusible along the top edge of the wrong side of both front and back.
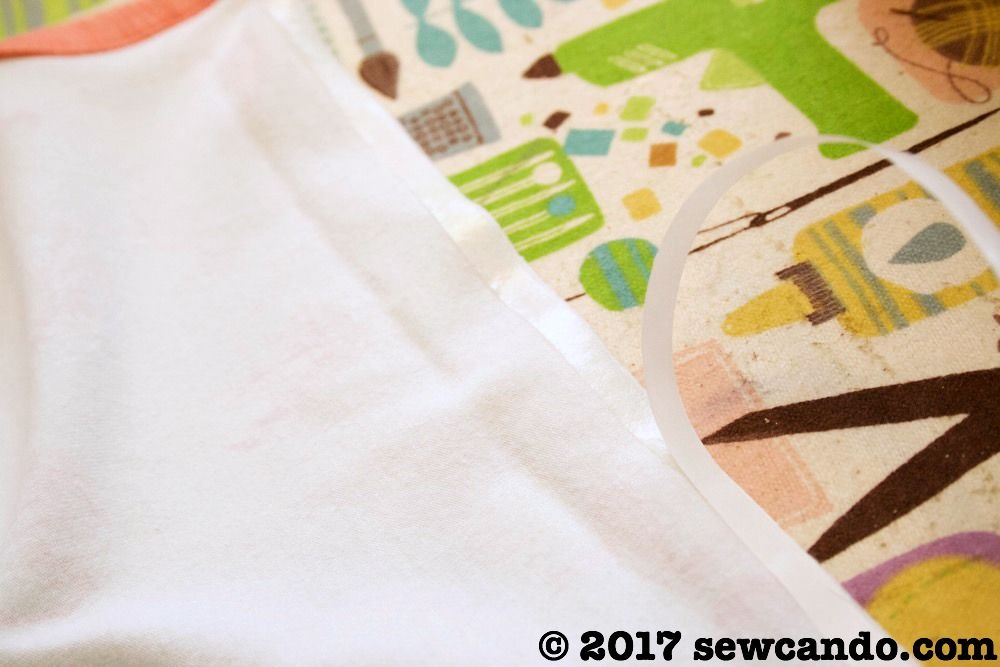
Peel off the paper and fold down one inch and press to fuse:
Stitch this in place along the right sides 3/4in from top fold.
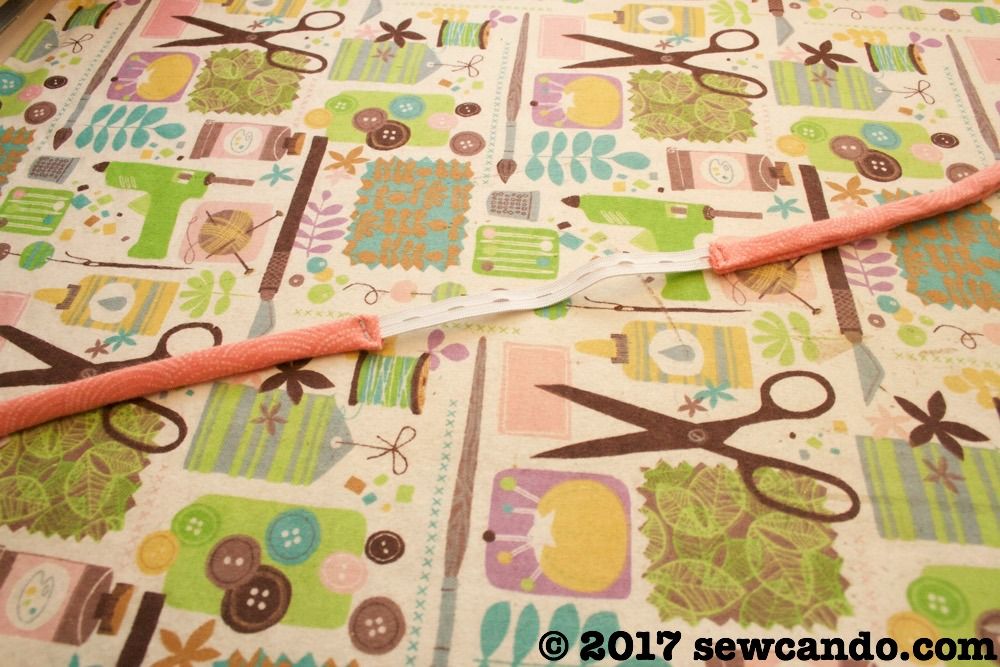
To make the straps, take the remaining double fold tape and stitch closed along the open folded end. Since knit fabric is very stretchy when this thin, I used elastic inside the casing part to prevent sagging and over-stretching of the straps. Cut the fabric into (4) 9 inch long strips. Cut (2) pieces of elastic that are 3 inches shorter than the casing width. Mine was 9 inches wide, so I cut elastics that were 6 inches. Insert each end into a strap piece. Stitch together.
Tie open ends of the straps into knots. Using a safety pin, snake the strapped elastics through the front and back side casings. Gather the front as desired. Top stitch along the casing openings to prevent the elastic from peeking out when the straps are pulled.
If doing a band of another print at the bottom, cut two pieces that are 5 inches high by the bottom width. In my case this was 24 inches wide. Open and put the bands together, right sides facing, and stitch together the short sides (if using a directional print like this, make sure they're both in the same direction!).
With right sides facing and matching up side seams, pin the hem piece to the bottom of the dress and stitch together.
Easy hem the bottom by using the 1/2in fusible tape and then topstitching it in place.
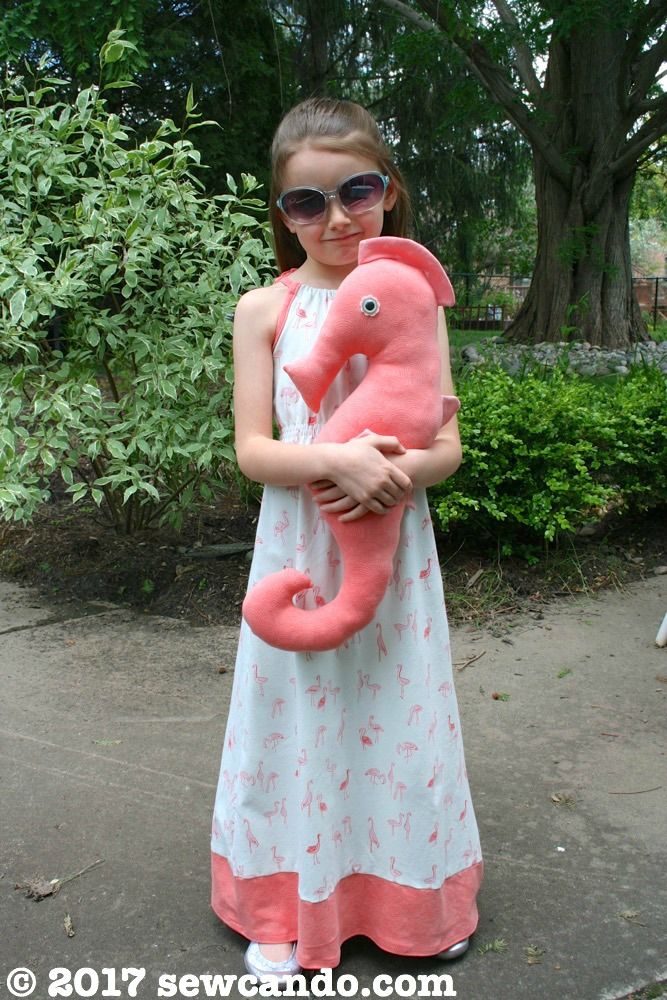
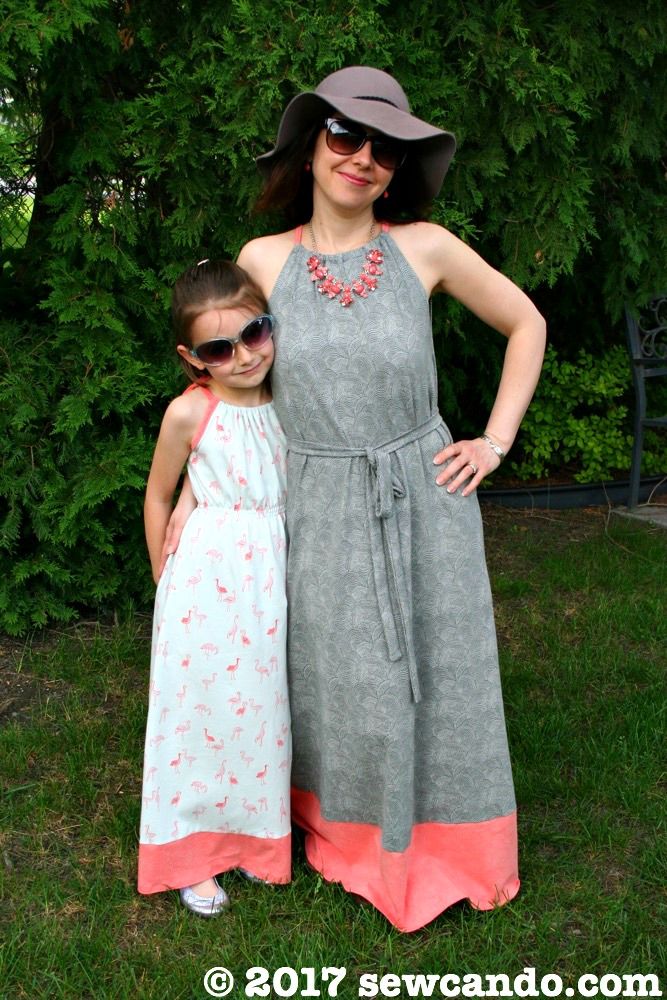
Now the dress is ready to wear and have summer fun in!

For a chance to win TWO yards of each of these fun Dear Stella knit fabrics to make your own maxi dress, visit my giveaway HERE.
And stay tuned for the pattern info on my coordinating maxi dress coming up soon to complete the Mommy & Me Summer Outfit look!

I was not financially compensated for this post. I received fabric, to use as I wished, from Dear Stella. The opinions are completely my own based on my experiences.
Those are adorable maxi dresses and I love that the ties are adjustable!
ReplyDeleteThanks & I love that too. It makes the fit just right.
DeleteThank you for sharing your sewing ideas! Step by step instructions turns material into beautiful dresses.
ReplyDeleteIt really does and it's so nice when it's easy too!
DeleteSuch a lovely dress, Cheryl. I'm interested in the fusible tape - does it help to prevent stretching while sewing? As always, such a comprehensive tutorial - featured today.
ReplyDeleteIt does Pam. The great thing is it doesn't prevent the fabric from stretching later, as you'd want the knit to do, but it keeps it stable while sewing, means you don't need loads of pins and helps minimize the tunneling between the rows when using a twin needle that is a huge pet peeve of mine. I've tried adjusting tensions, different threads and needles, but the best thing I've found to keep the tunneling down is the fusible tape. Can't recommend it enough!!
DeleteWhat a super cute pattern! If I can find the time this summer, I'd like to make one for my twelve year old. Thanks for such a detailed tutorial.
ReplyDeleteI hear you about being short on time, but I promise this is a quick sew. An hour or two from start to finish and it's ready to wear!
Delete