
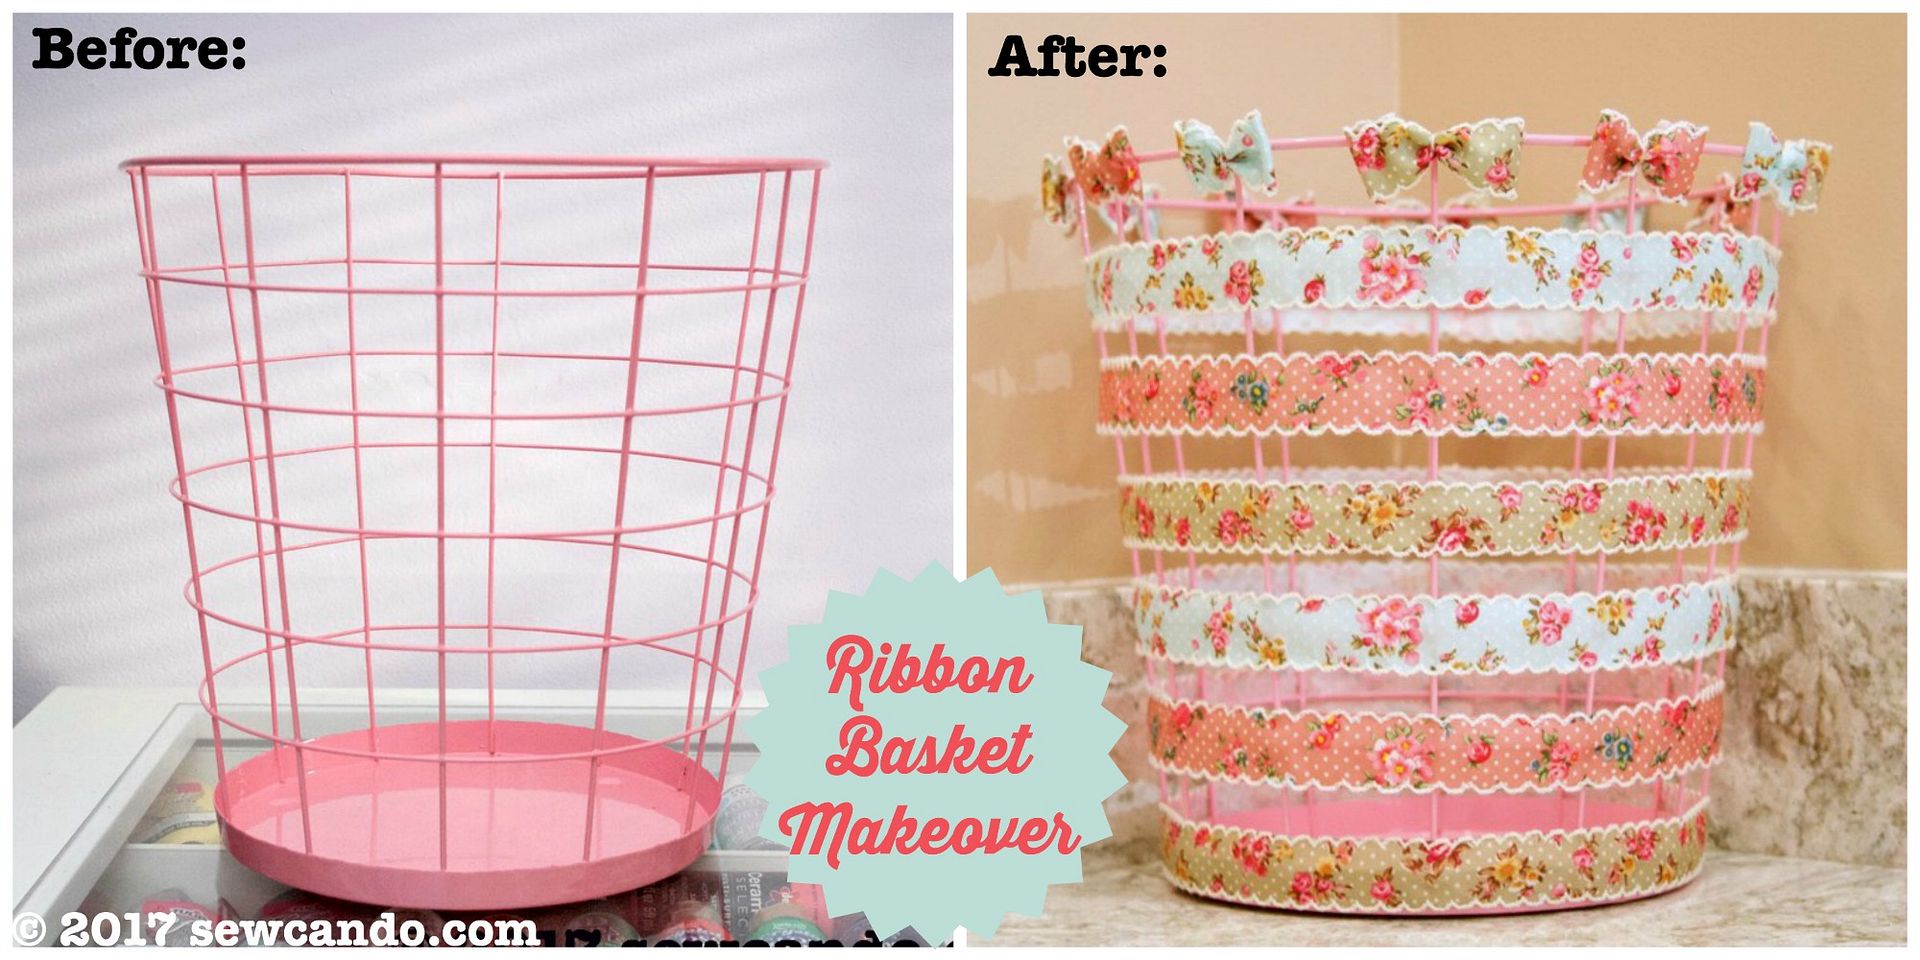
Makeover projects are fun and satisfying. What better feeling is there when you can take something plain and turn it into something extra lovely? This Ribbon Waste Basket Makeover is easy and quick to do and takes just a few simple supplies.
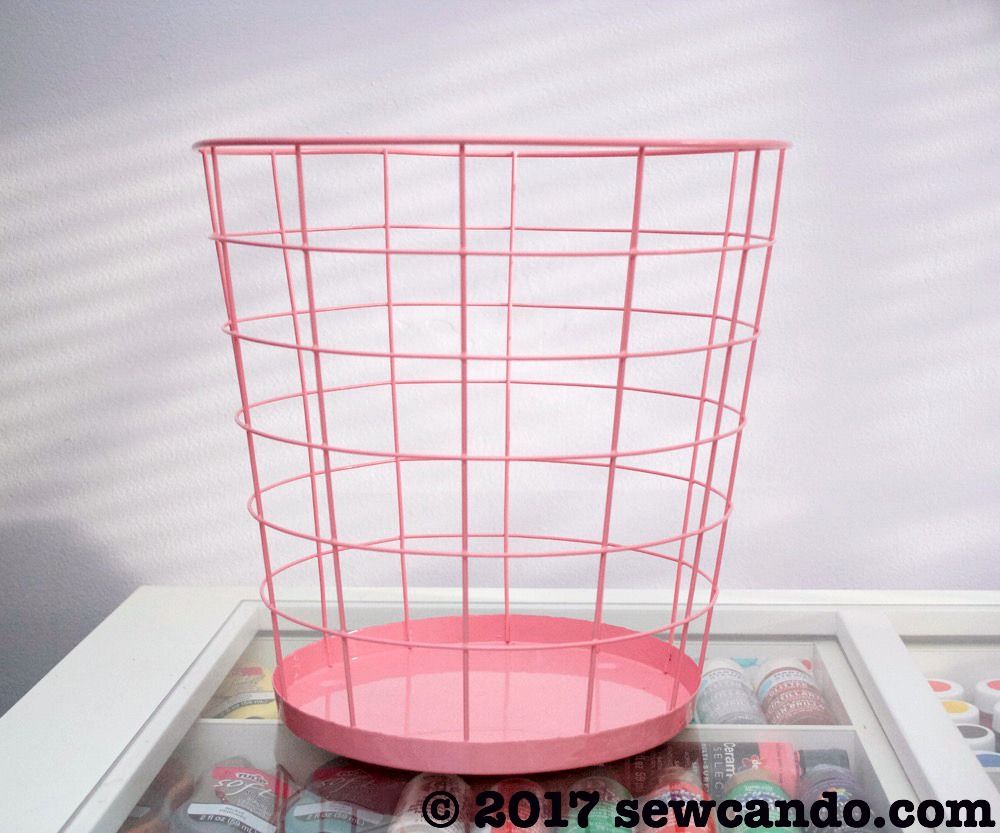
I transformed a basic wire waste basket...
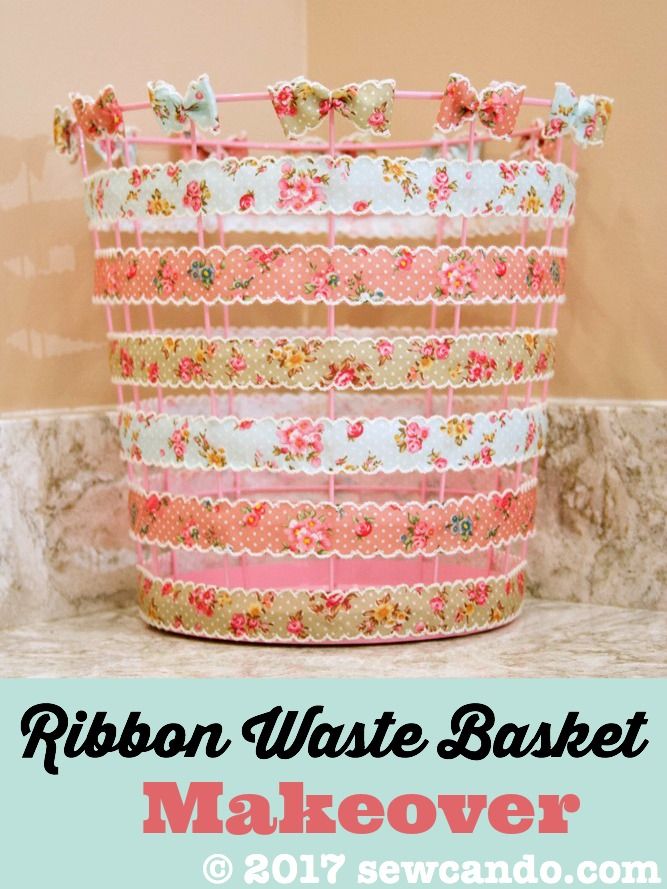
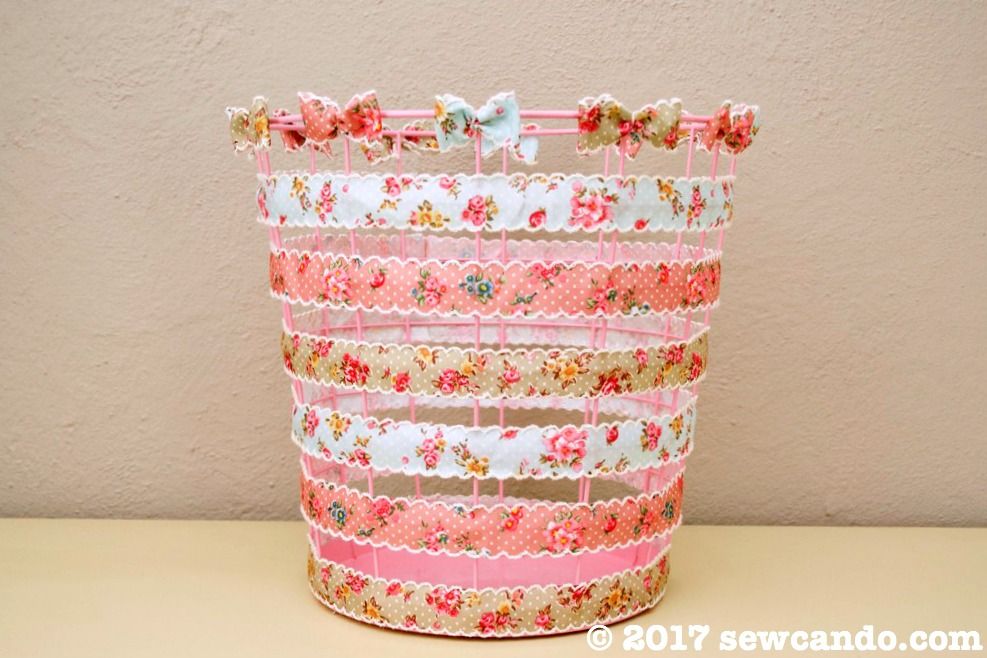
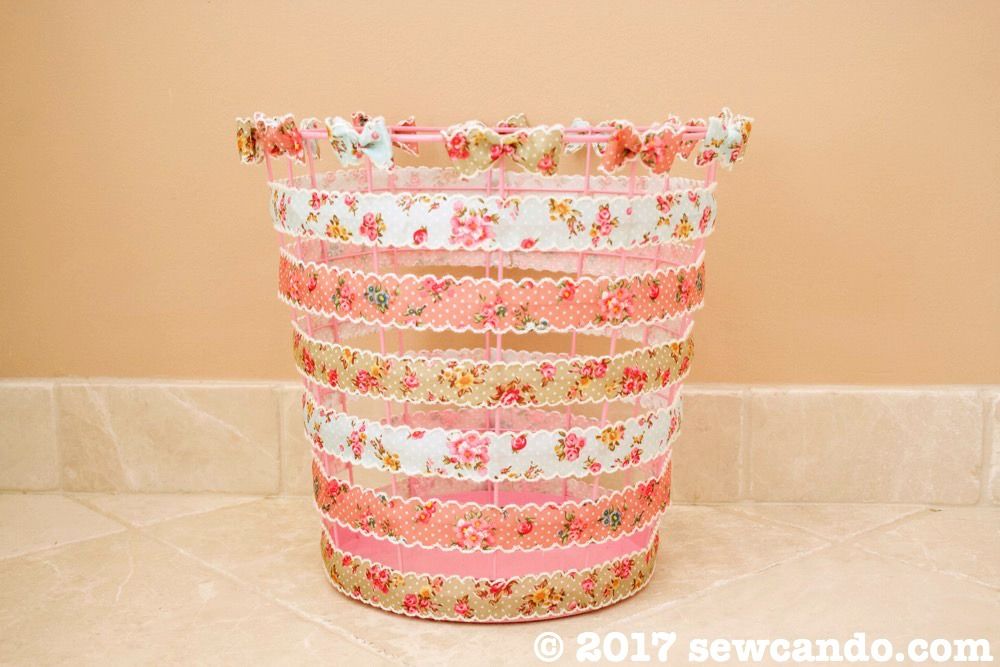
...into a pretty vintage look container, full of color and flowers. I can't tell if I want to use it to hold scrap fabrics or paper. It's almost too pretty for trash!
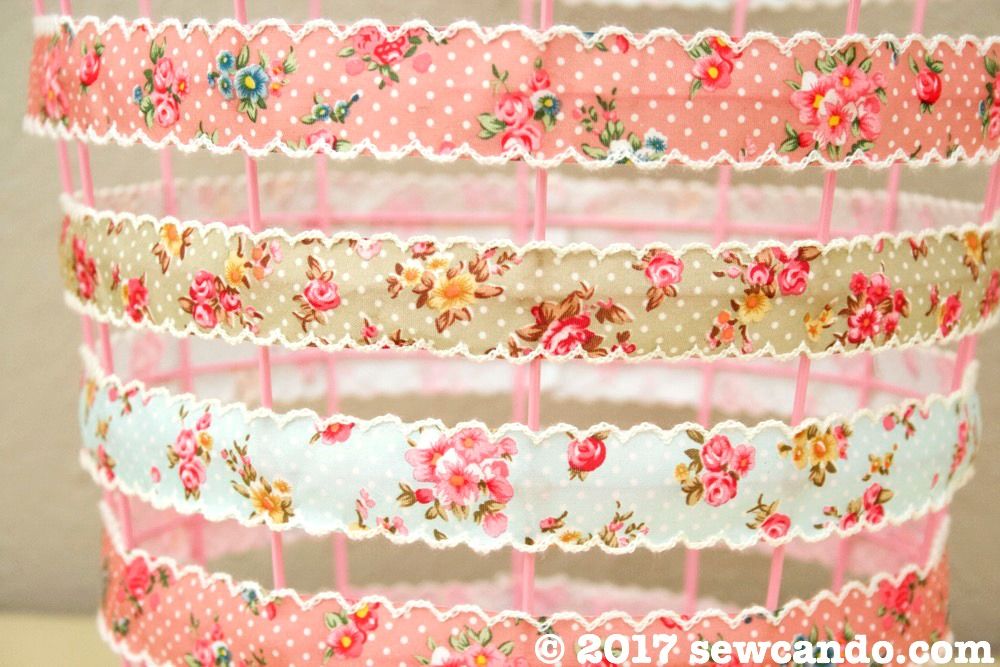
The secret to creating a lovely basket is some beautiful ribbon. I used a trio of vintage style crochet trimmed ribbons to trim my basket:

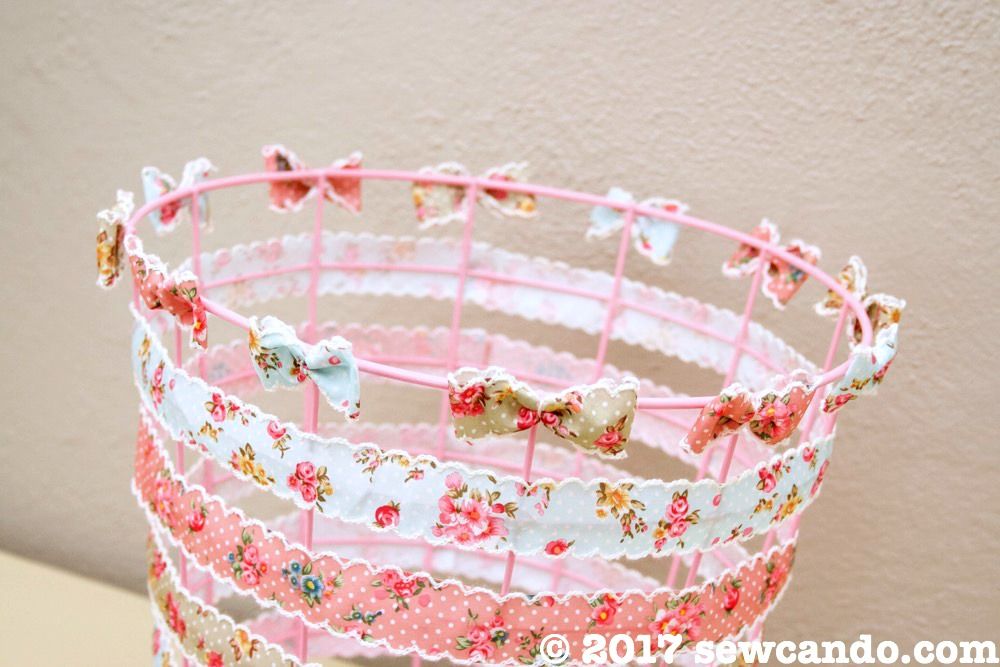
I made dainty bows add some extra detail along the top and dressed the sides with alternating ribbon stripes:

Here's how to make one!
- 2yds each of crochet trimmed floral ribbon (mine are from Sugar Pink Boutique)
- Wire waste basket (from Target)
- Hot glue gun, scissors
- Embroidery floss
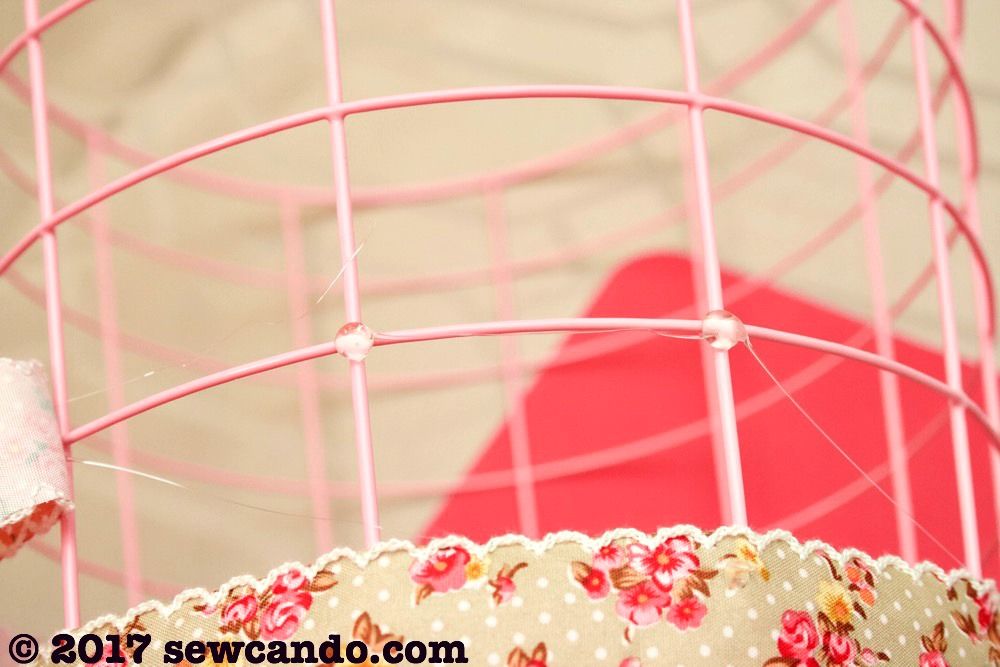
Start by putting two dabs of glue near the base of the basket and press one ribbon on them, centering it on the glue spots.

Continue all the way around and once at the previous end, cut ribbon to overlap about an inch.
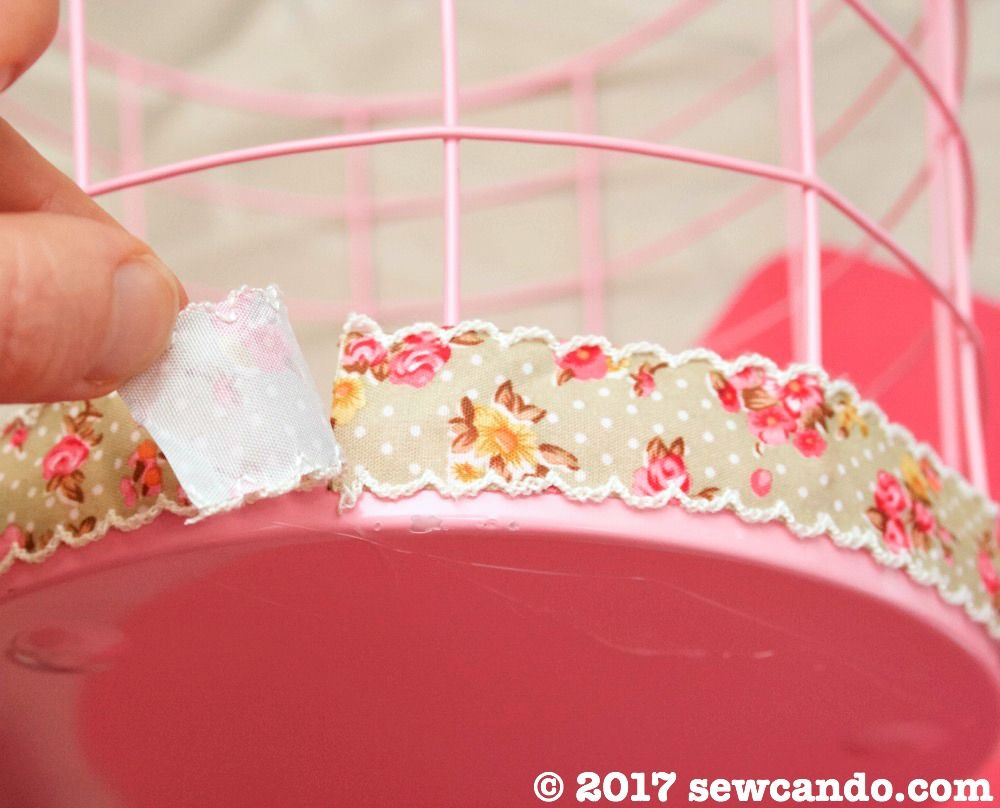
Add a line of hot glue along the top of the loose end and fold it inward and press over the other end.
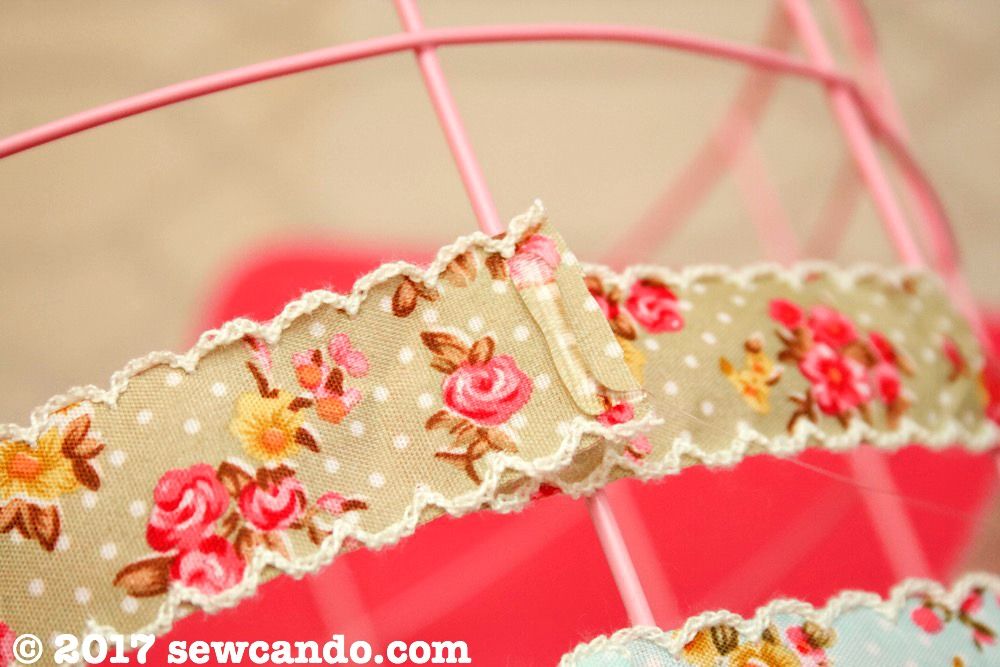
Continue along the cross wires doing rows of ribbon, alternating colors as desired.
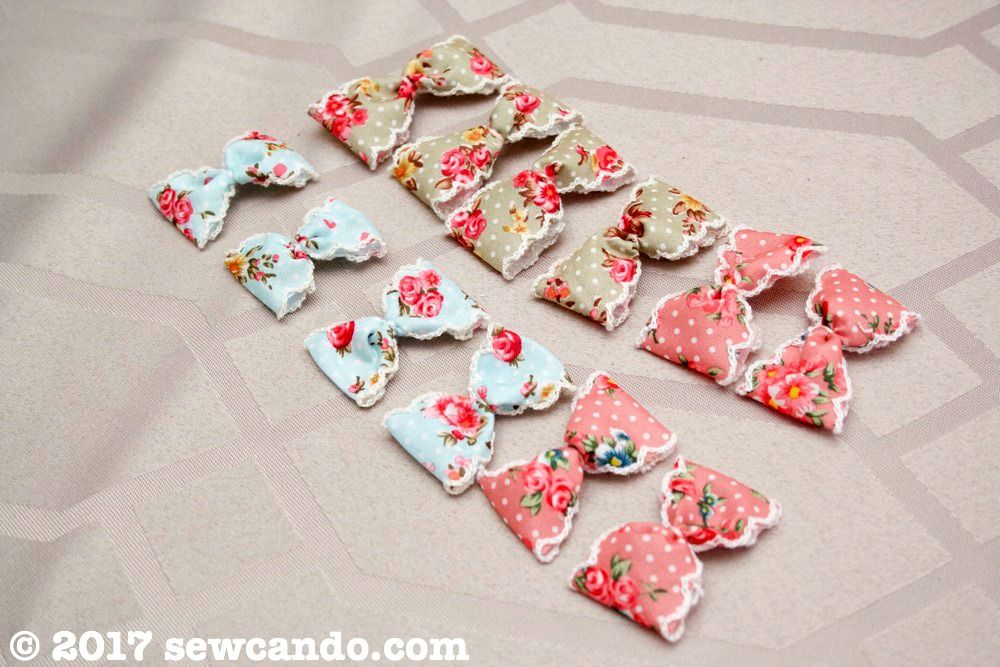
Take the remaining pieces of ribbon and cut into four equal strips to make the top row bows. Add a strip of glue to one end & press both ends together.

Repeat with all strips to make the bow loops:
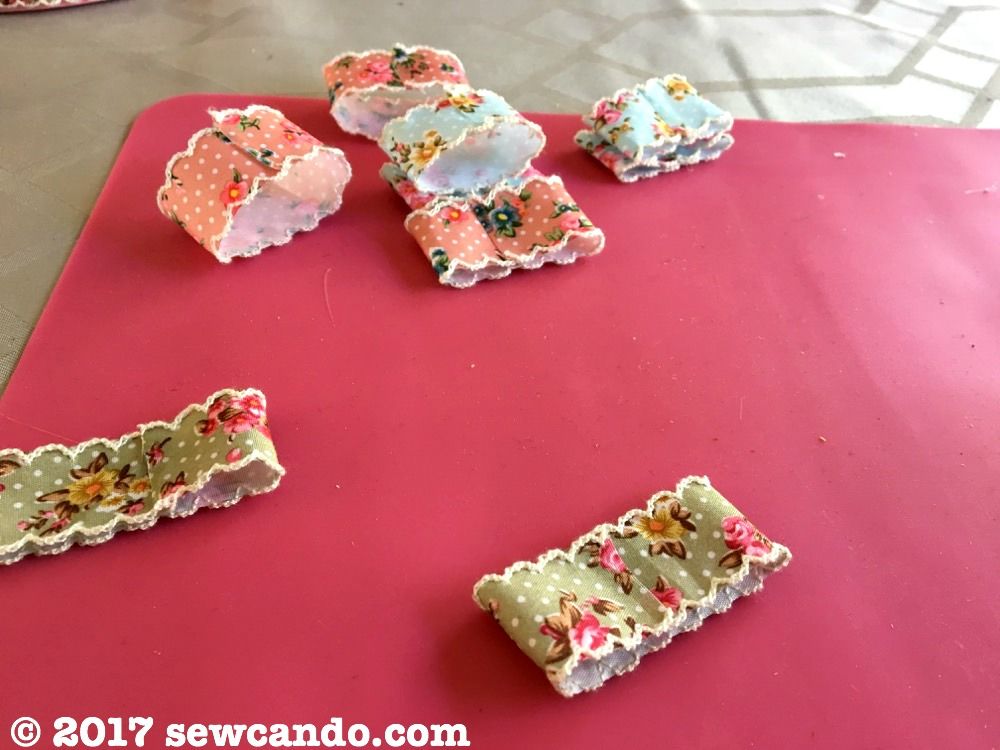
Tie each loop along the center with embroidery floss and snip the tail threads:

There should be twelve bows, four of each color.
Glue bows along the top row to finish:
Now, there's a beautiful basket, ready to decorate a craft room, bedroom or bath!
It's hard to believe it's the same basket, isn't it?

I was not financially compensated for this post. I received ribbon from Sugar Pink Boutique, to review & use as I desired. The opinions are completely my own based on my experience. For my complete disclosure policy, click here.
Thank you so much for sharing this creative tutorial with all of us, I love all of the step by step details. You are so talented and creative and I'm honored that you used my ribbons, they are so much prettier put to good use! Big Hugs!
ReplyDeleteHow pretty! I love the bows at the top!
ReplyDeleteThat's so pretty - you are right, a total transformation.
ReplyDeleteWhat a beautiful makeover. Love the ribbons :) Thanks for sharing at Creative Mondays last week, you will be one of my features tomorrow on the blog hop.
ReplyDeleteThanks so much! I'll be sure to share that on my social media:)
Delete