

It's been one of those weeks around here. We're into week 6 of a disruptive and seemingly never-ending bathroom remodel, plus a furnace break down, that's been followed by a cracked kitchen drain pipe in the wall 48hrs later. Such fun. It's a time when this sort of thing is what you want to wear everyday:
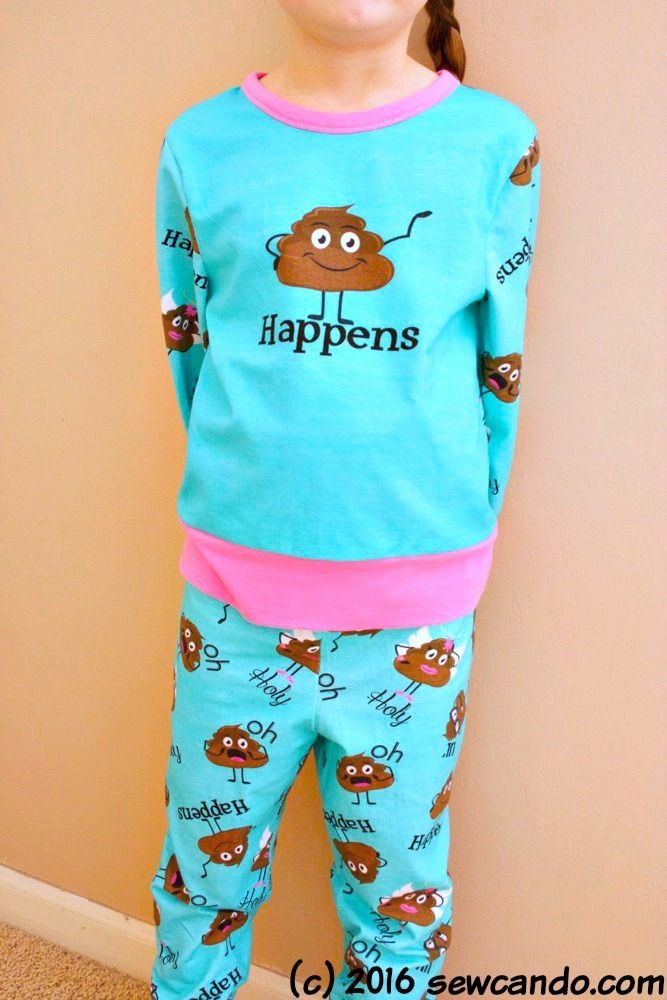
That's right folks, these are Poo Pajamas:

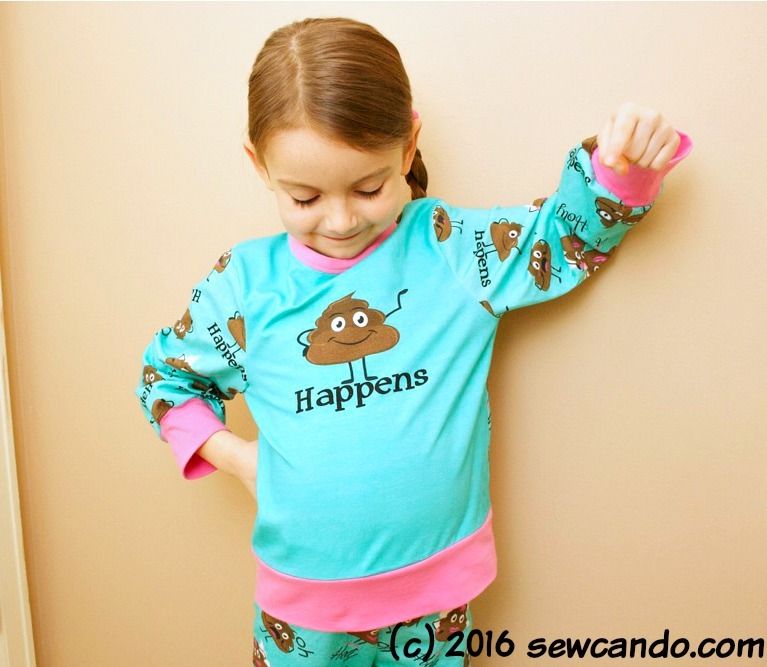
My daughter is trying to capture the main poo's pose in this one:
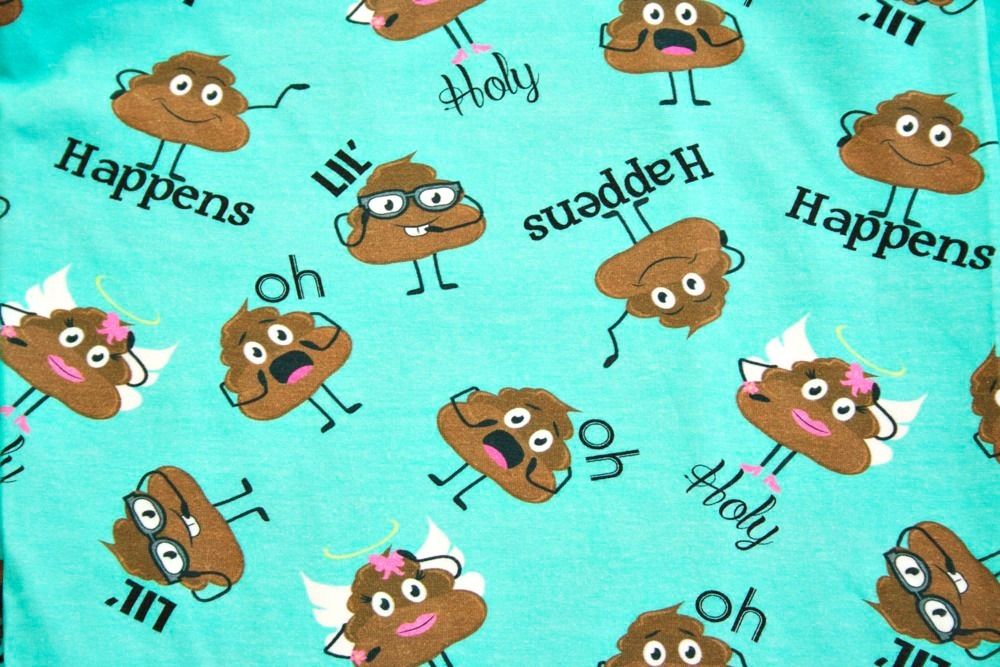
When I saw this fabric as a custom fabric group pre-order (shout-out to Bebe Flow!), I was ALL ABOUT IT. Funny, irreverent and just plain accurate to life lately. I ordered several yards and the main poo panel piece. Custom knits aren't cheap, but I didn't care. I didn't know what exactly I'd make, but I knew I needed it. Still a recovering fabric hoarder, remember? As you can see, it covers all the bases of when things hit the fan:
Once it arrived, I thought about the best way to showcase it's cheeky charm and loungewear sounded ideal. Plus, it was a great way to do yet another look with my new favorite DIY pattern.
Here's how I made them....
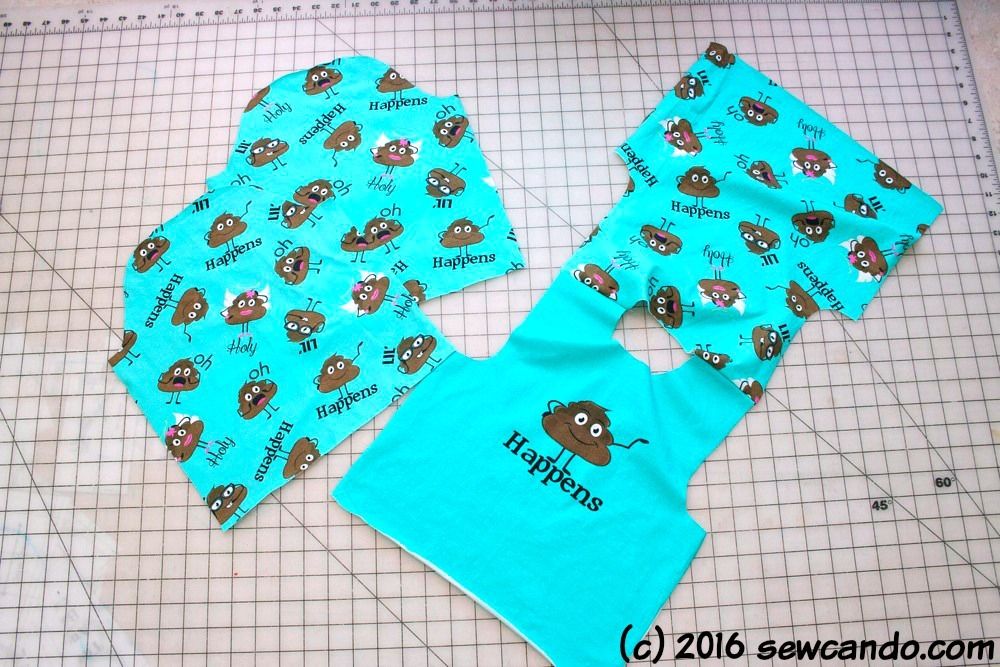
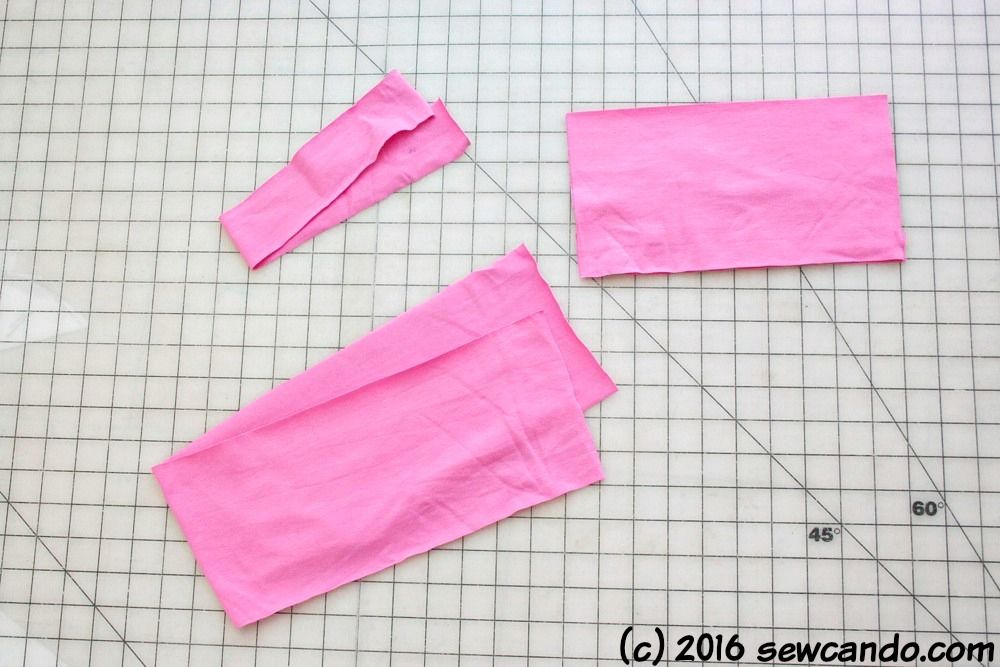
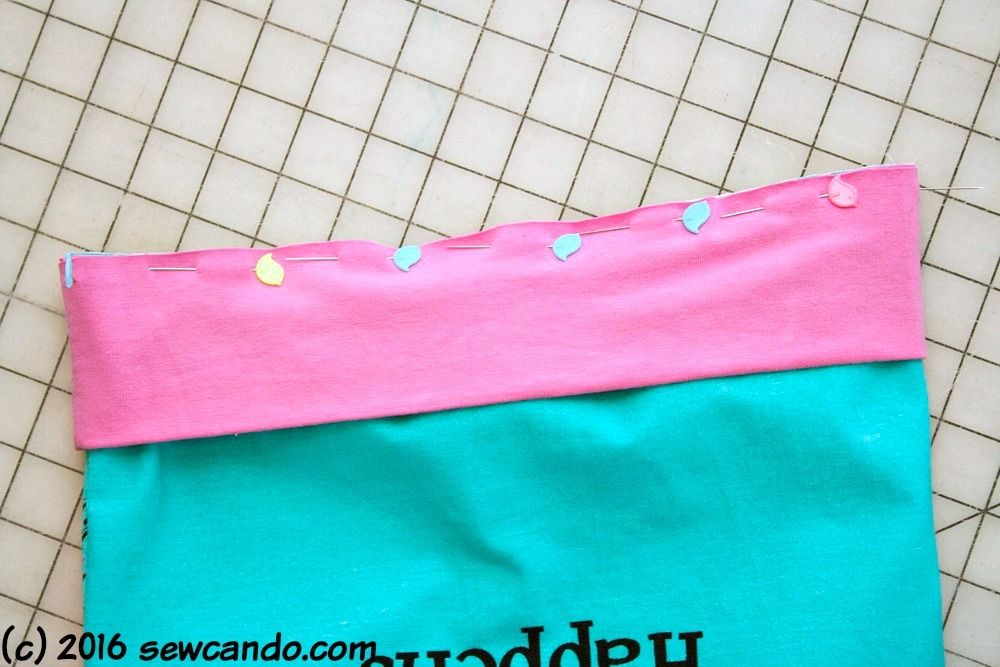
I also cut neck binding, the band for the waist hem and sleeve + pant cuffs from a solid pink knit left from a previous project. It was the perfect shade to coordinate with the pink in my poo print. I measured the neck hole, which was 16 inches, and then cut a strip of rib knit that was an inch narrower and 2 inches high. The cuffs and band were each 2 inches narrower than their corresponding poo-pieces and 5 inches high.
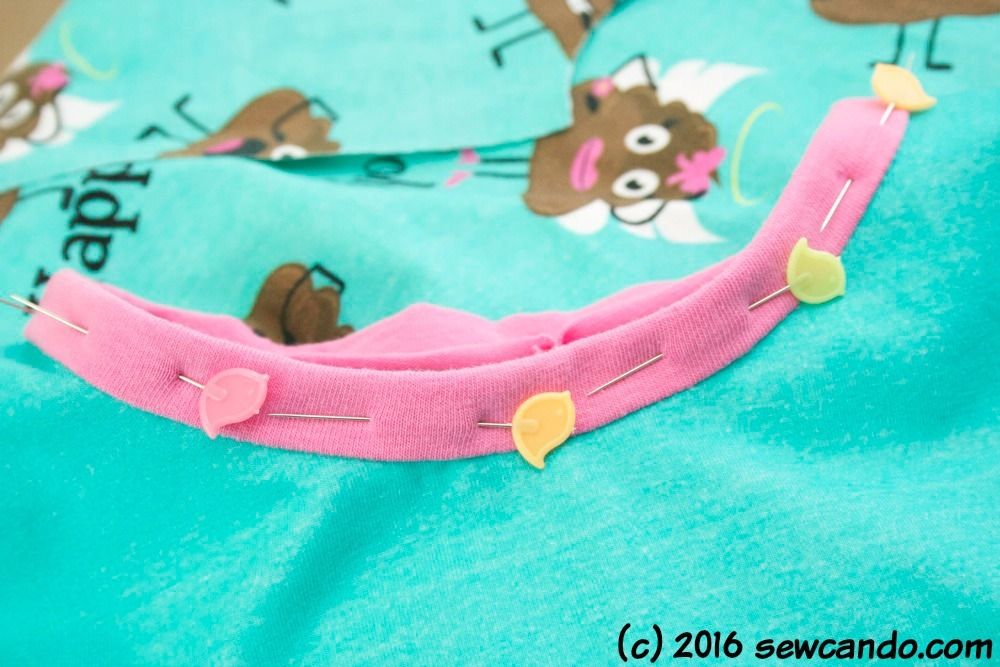
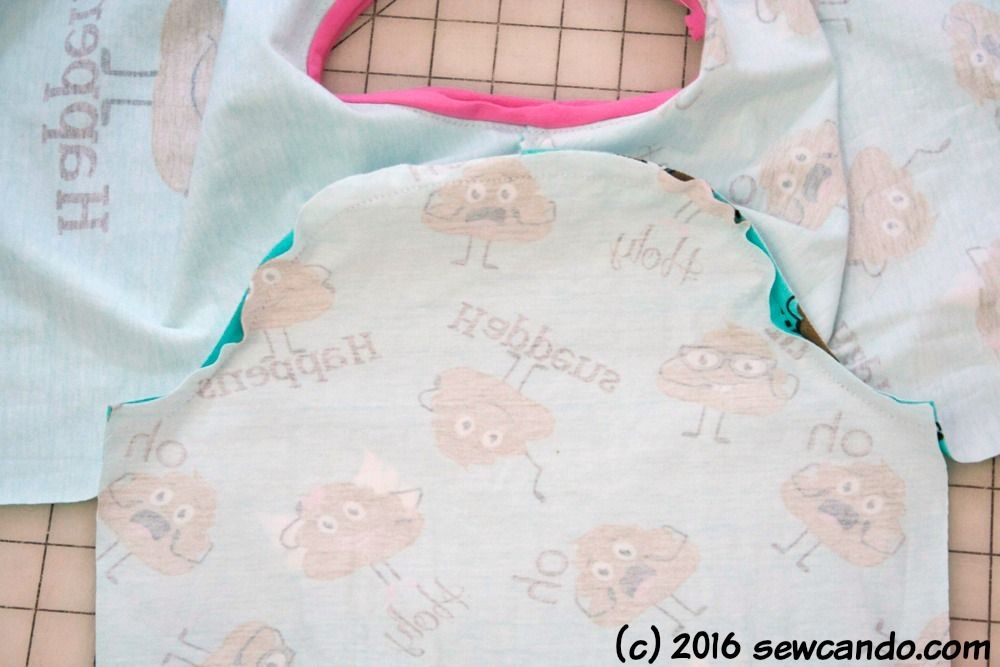
I stitched the short ends of the neck binding together (right sides facing), then, centering the seam on the center back of the top, I pinned the neckband along the neck hole with right sides facing. I sewed them together with a 5/8 seam allowance, triple stitch, as usual with my knits.
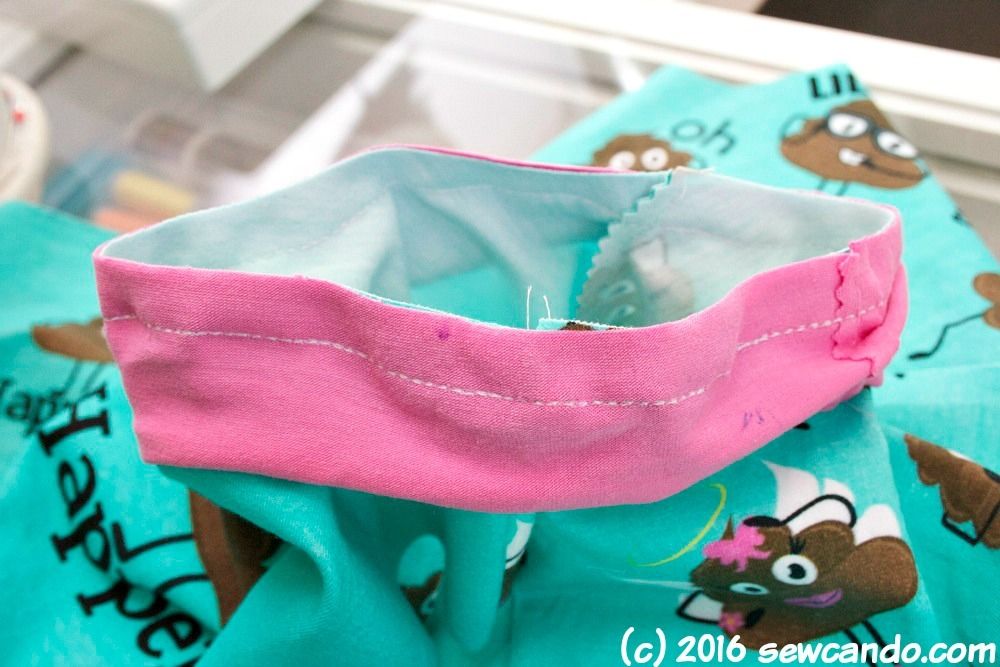
I pressed the binding up and over around to the wrong side of the top and pinned. Then I topstitched it in place:
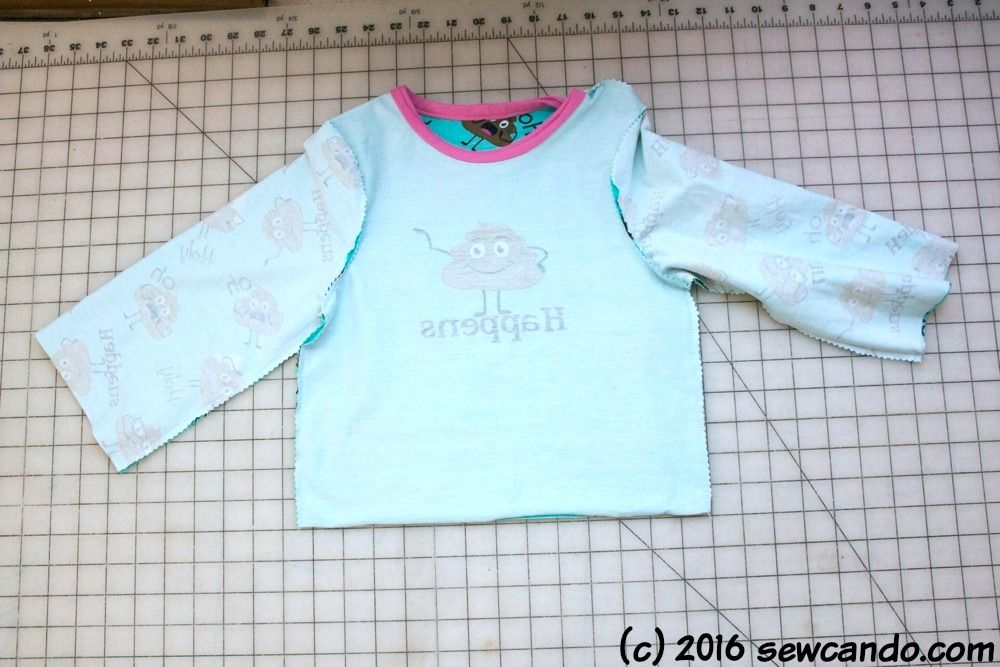
I stitched the sleeves to the arm area of the top matching up the sleeve's top center with the shoulder seam and trimmed down the raw edges.
Then I pinned the sides together and stitched down from sleeve edge down to hem.
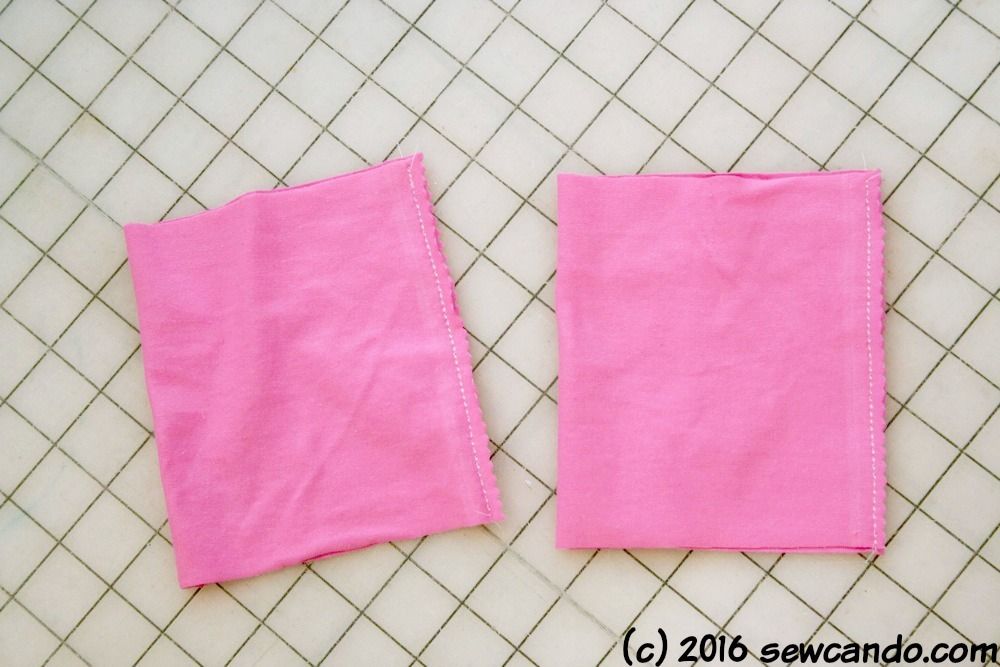
For the cuffs, I folded each one width-wise, right ends facing, and stitched down the side. I like to trim down my seams with pinking shears to reduce bulk.
Then I opened them up and folded each with wrong sides together. Since the cuff is smaller so that the sleeve will have some gather, I matching seams and marked both my sleeve and the cuffs into quarters.
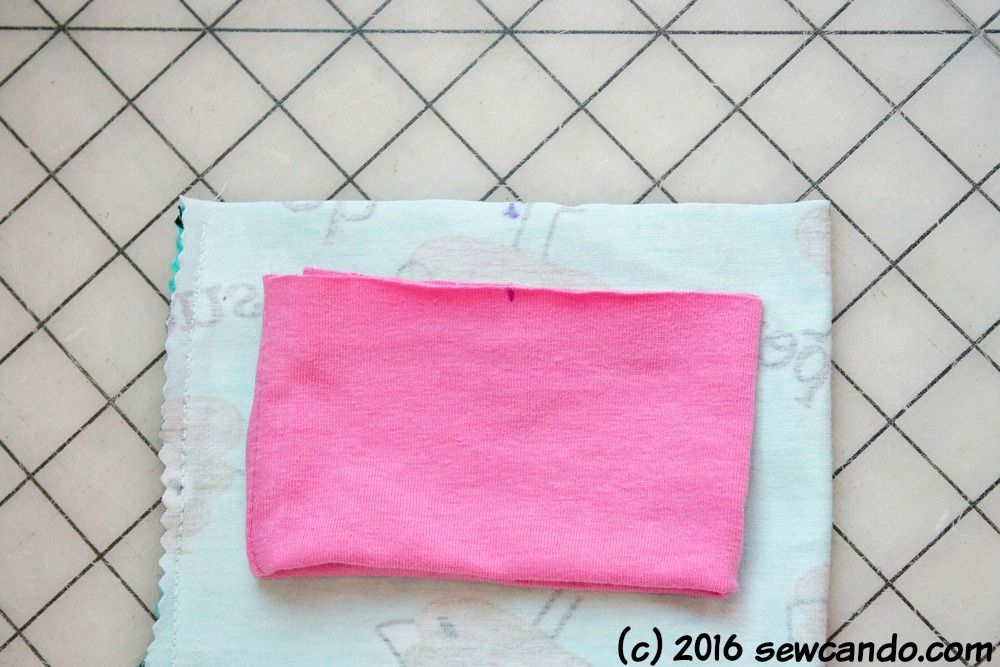
I then pinned the raw edges along the raw edge of the sleeve edge of the top. I stitched them together by pulling the cuff to stretch to the length of the sleeve fabric.
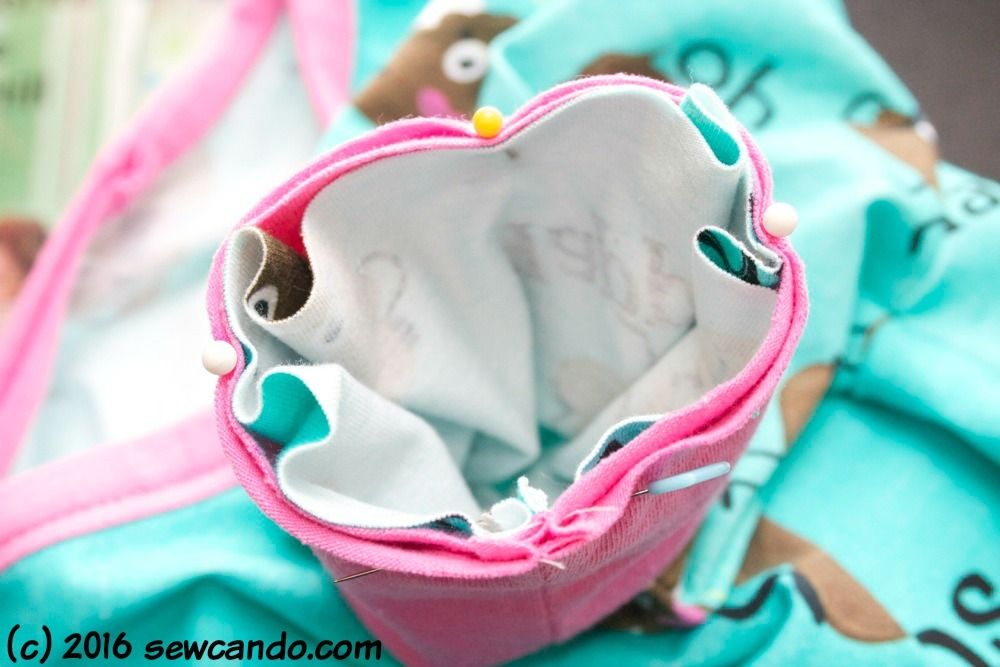
I did the same deal on the waist band:
For the bottoms I used the legging pant pattern of Simplicity 1511. I added a cuff to the bottoms just like the top and bam! We had some poo-tastic pajamas.
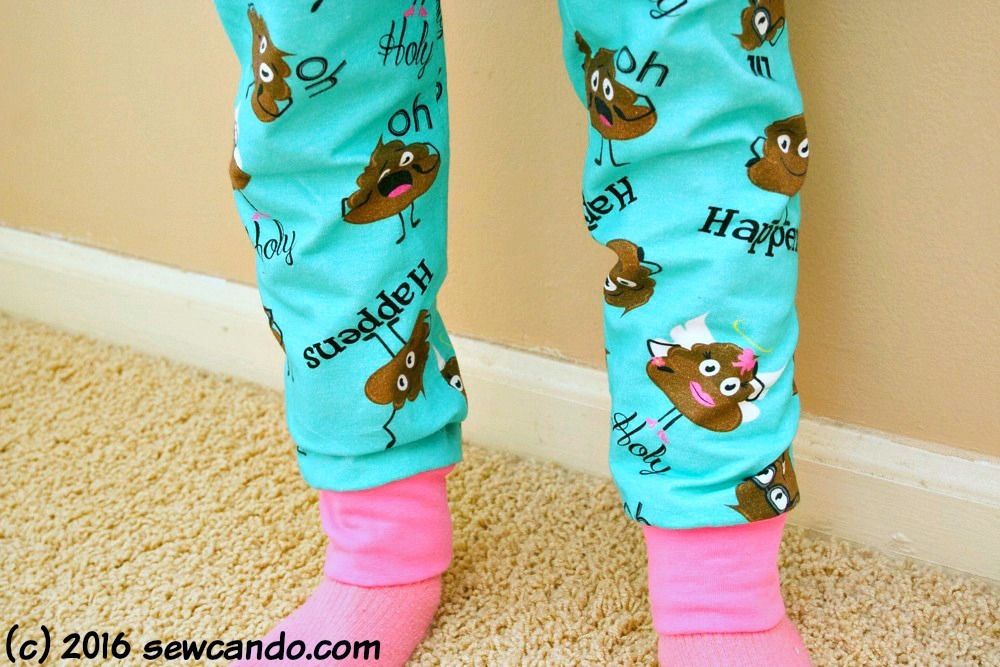
As soon as the pjs were done, my daughter was begging to put them on. I've never seen anyone so excited to be covered in poo;) These have become her all-time favorite pajamas and are constantly in use. The poo print has some serious charm. I'm really eager to get a little extra time to make myself a pair too! $#it happens...at least wearing these brings a smile to the situation;)

That is the cutes fabric and the PJ's you made are wonderful. Thank you for sharing
ReplyDeleteThanks very much Kathleen. I think these are my favorite pj sew ever!
DeleteThese pajamas are too cute! I need a set in my size! Thanks so much for sharing at Submarine Sunday!!!
ReplyDelete