
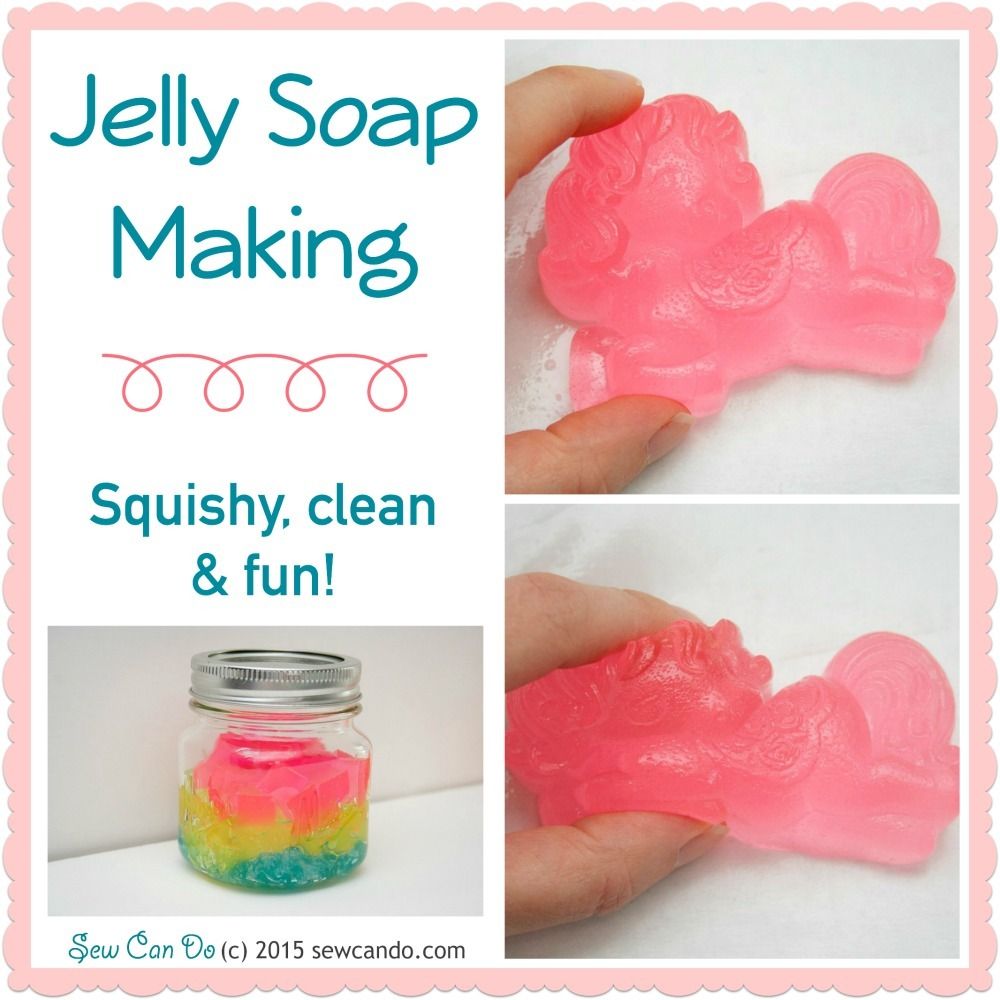
Today I've got that's a bit different. Jelly soap. That's right - it's soap...that's like jelly. And it's AWESOME.
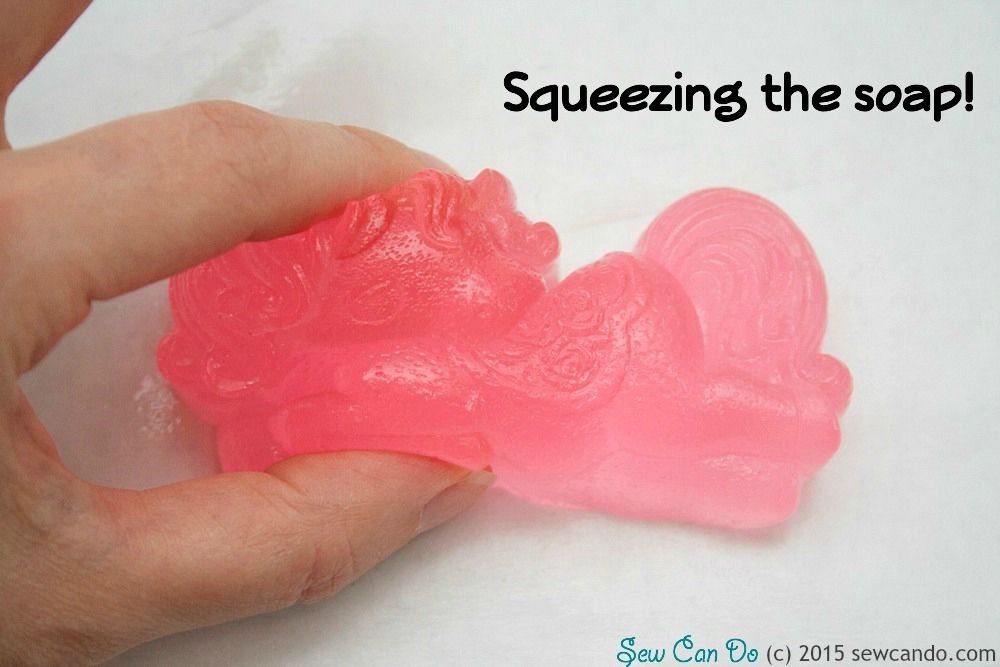
You can squish it.
You can cut it.
Mold it into shapes. Scent it & color it however you want. And it'll still clean like a regular bar of soap, except it has the consistency of Jell-O. How crazy is that?

I like making weird and wonderful things and I've been a long time home soap maker (see my other soapy projects here). Soap was actually the very first crafty thing I ever made. So when I discovered jelly soap, I was all about giving it a go. Now I'm sharing what we discovered on our jelly soap making adventure. It's soapy, soapy jelly time!

Materials:
- Jelly soap base (available online)
- Cosmetic grade fragrance oil & color gel
- Pyrex pitcher or bowl
- Heatproof spoon
- Silicone molds
- Soap cutter/knife & plastic cutting board
- Thermometer
- Rubbing alcohol
- Small scale
You've got to start with jelly soap base. It's available online from a number of places. This is not a sponsored post (no hidden sales pitch folks), so I'd recommend just searching jelly soap base. It's not as cheap as standard melt & pour soap base, but buying a 10lb or larger block makes it pretty inexpensive per pound (I think mine ended up around $4/lb including shipping). There are also some similar shower jelly recipes out there that are totally DIY, but they use gelatin to gel things, which 1.) doesn't work for vegetarians like me and 2.) means it's only usable for maybe a week at most since it's food base will go bad and has to be kept in the fridge because it can get moldy. No thanks!
The jelly soap base comes in a big tub and it's already a firm gel. The knife just stuck right in it:
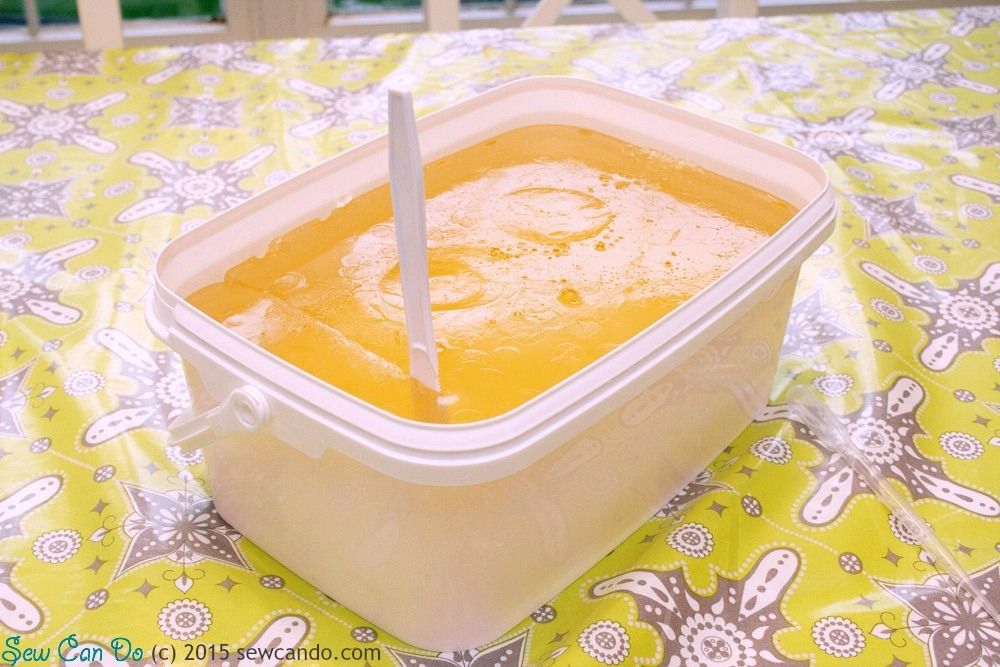
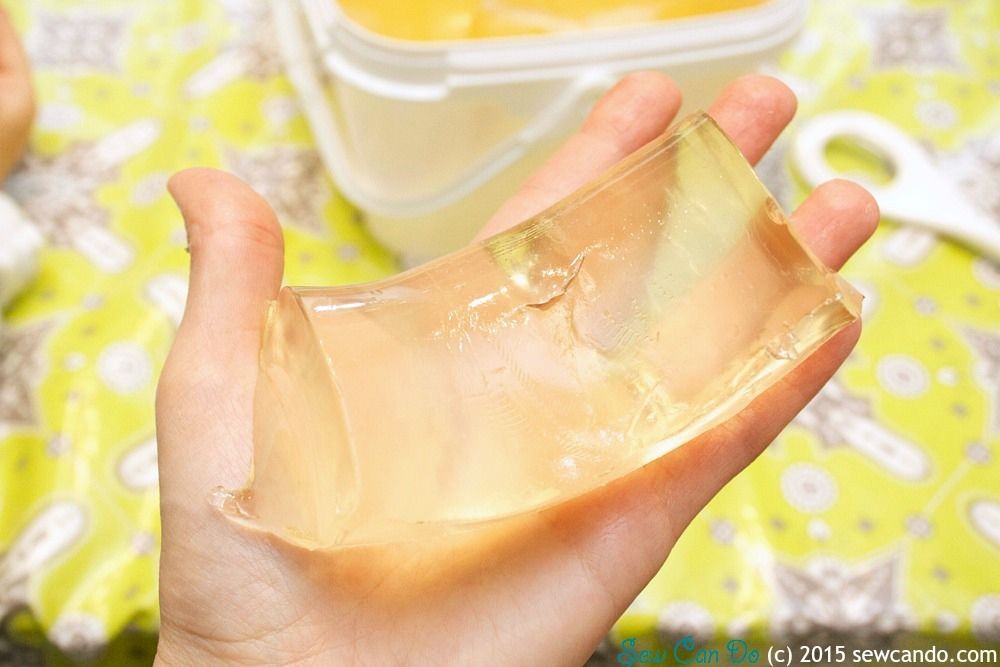
You start by cutting out a bit and weighing it to measure out enough for your molds. It's got a good heft to it. It'll also seem kind of yellowy in the container, but once it's out it's pretty clear:
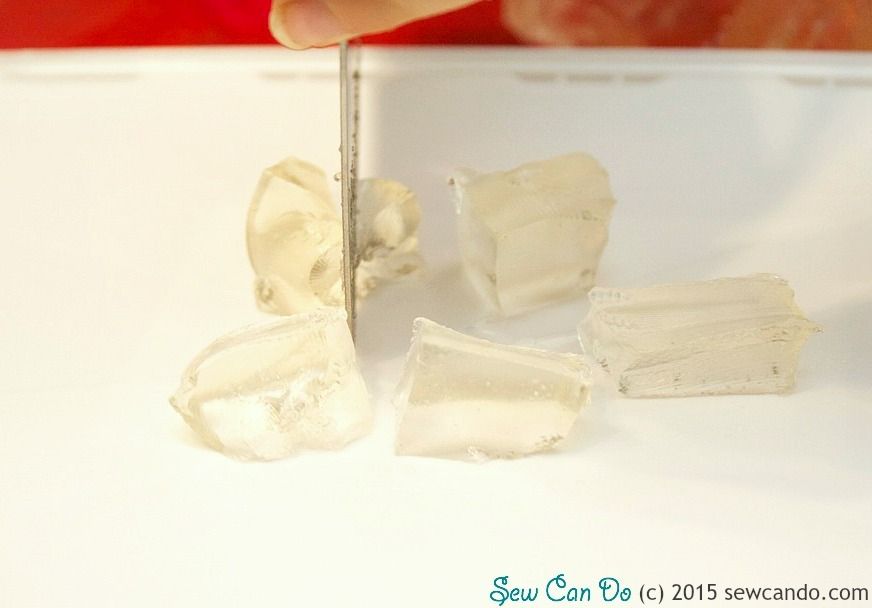
It's important to cut it up into small chunks. This helps it melt quicker and more evenly:
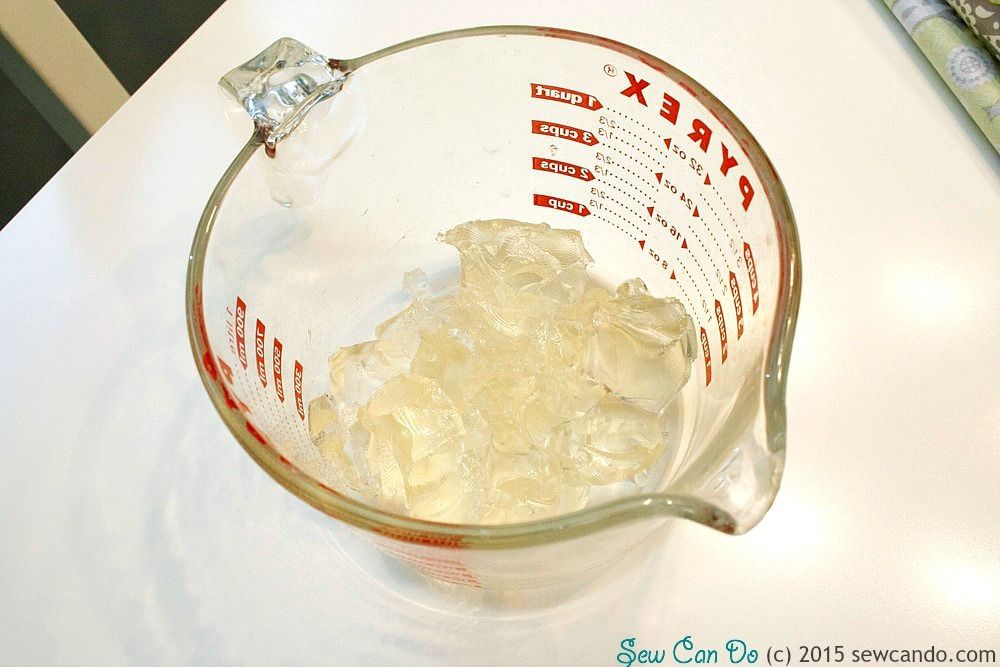
Plop it into a Pyrex container - a measuring cup is ideal:
Now it's time to melt it. Using a microwave makes it easier to heat in small increments and keep checking little by little. It can be done on the stove as well, but I find it takes longer, the temperature then changes a bit too fast and it requires stirring to prevent scorching. You don't want to have to stir it more than you have to as more stirring=more tiny air bubbles.
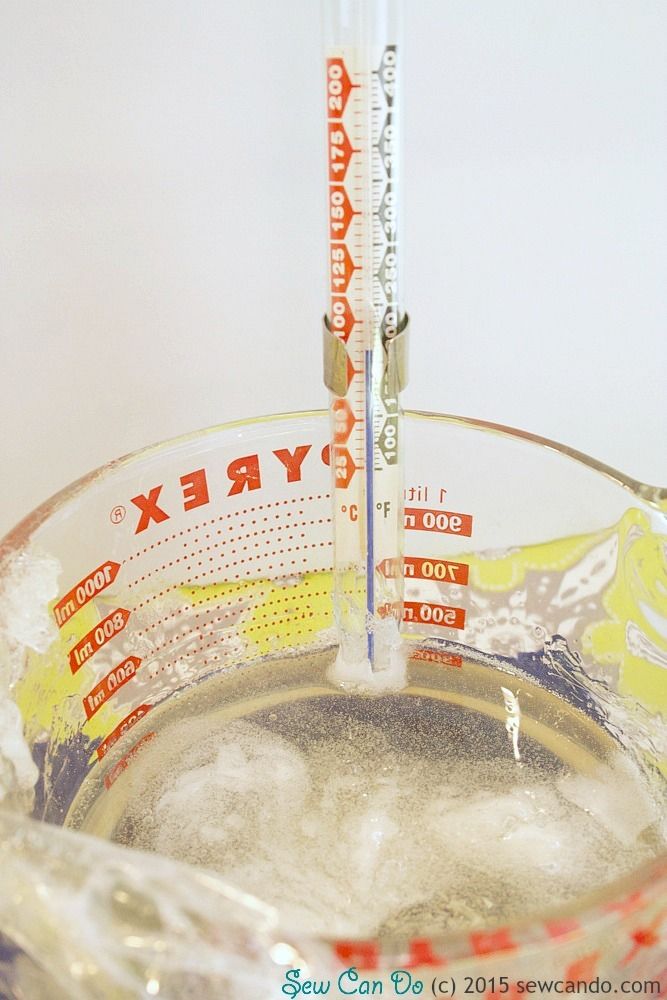
The instructions I had said to only heat it to 150° Fahrenheit (65° Celsius), but honestly that's just not hot enough. The base will still be too gel-like to mix in the scent & color and pour out. My first batch didn't turn out very well doing that.
Then I just did 30 seconds at a time and as I saw it melting I'd keeping sticking my thermometer in at each interval to check the temp. When it was around 175-180° Fahrenheit (79-82° Celsius) it was properly liquified. Note: covering the top of the container with cling film helps it melt evenly, just keep an eye on it so the film doesn't start to melt when the steam gets really hot.
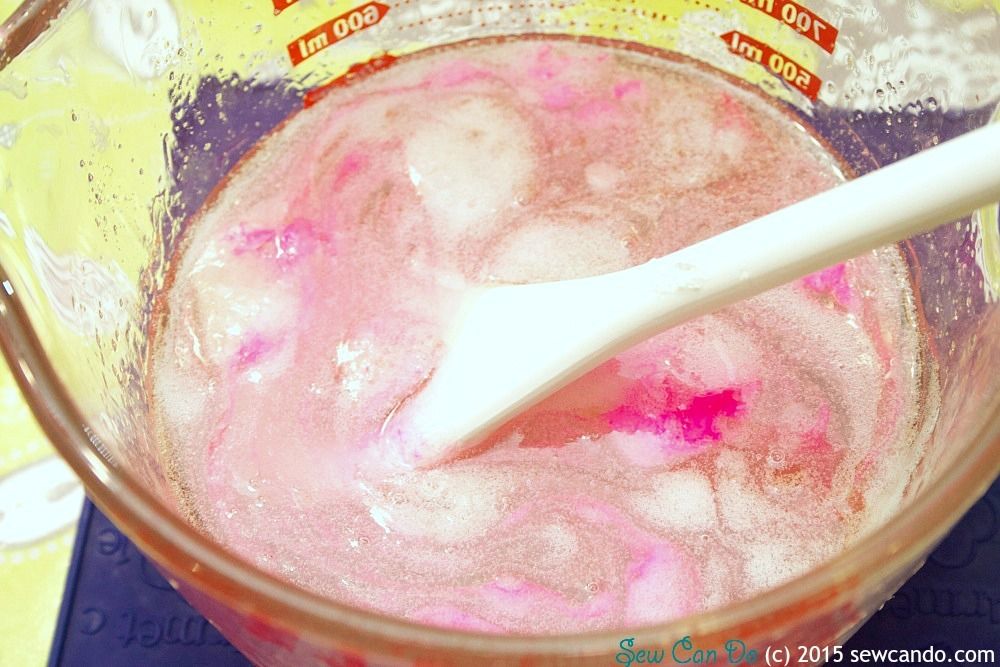
Then it's time to hustle on mixing in the fragrance oil & color (same quantities as used for regular melt & pour soap). And I mean work fast - it starts cooling down right away and will start turning back to gel mid-pour if you don't move quick enough. If you want to make a lot, definitely do a few smaller batches rather than one big one. Remelting causes separation once it's solidified so the finished soap will ooze a bit of liquid over time, which is messy & looks bad (ask me how I know this).
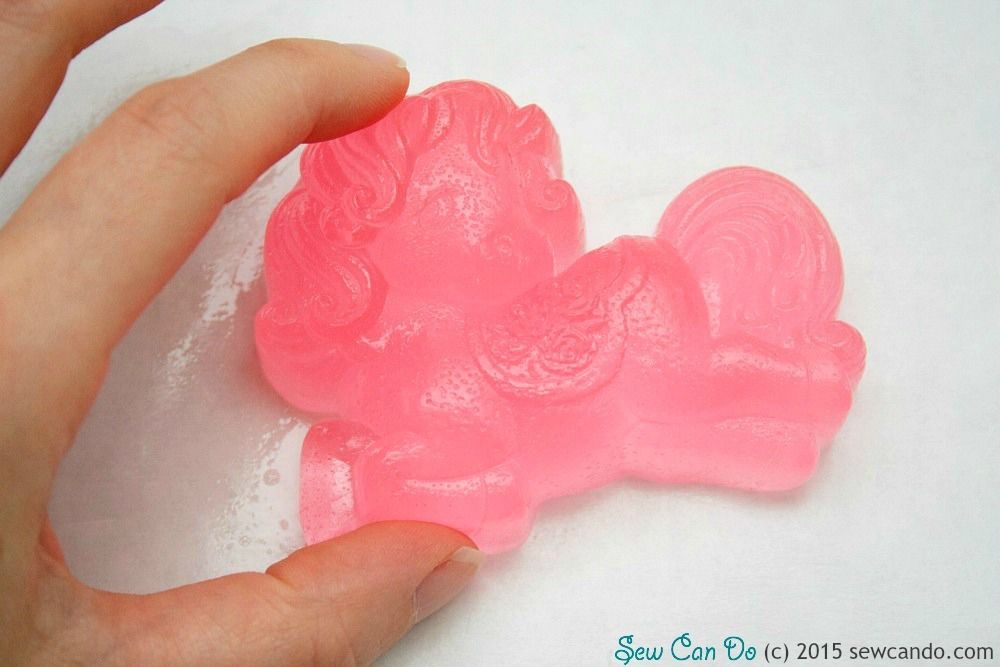
Silicone molds are ideally suited to jelly soap. Very easy to unmold and not mess up the shape or detailing. You can either go with a fun shaped mold like I did with our pony soaps or a standard bar mold like this:
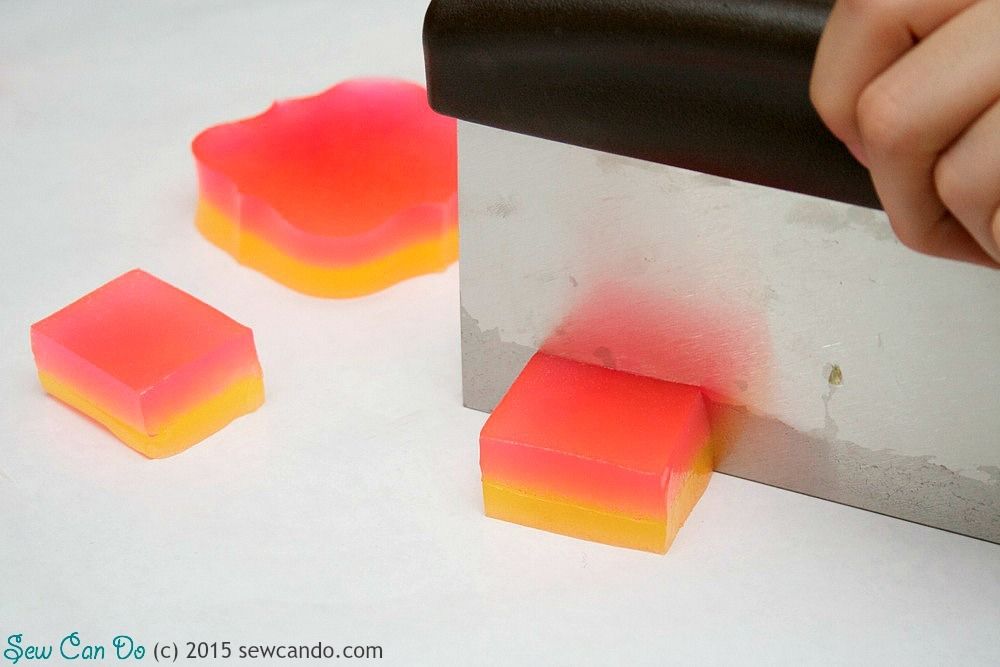
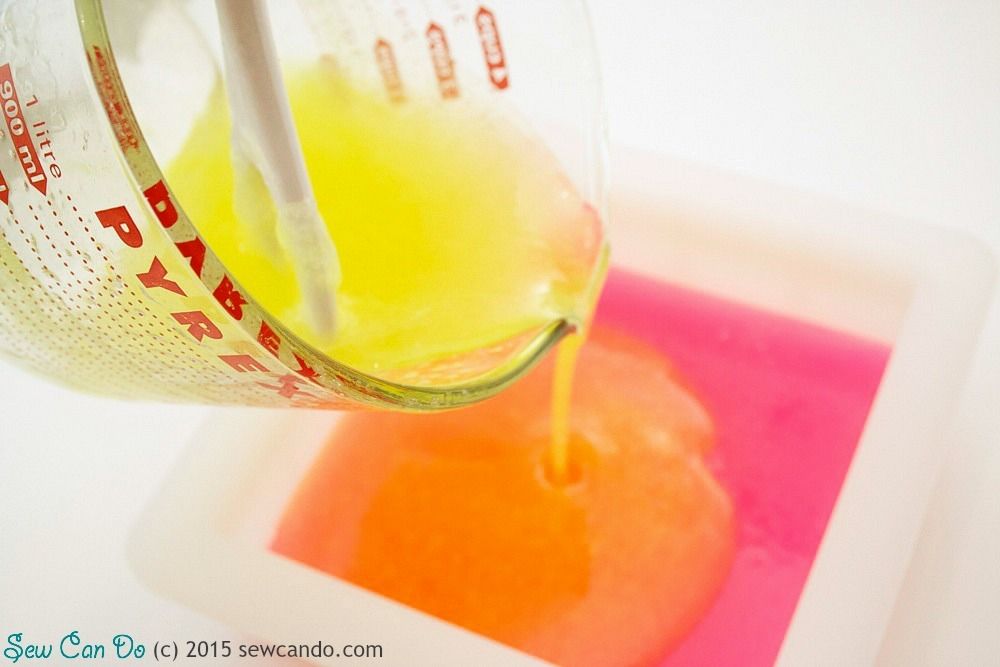
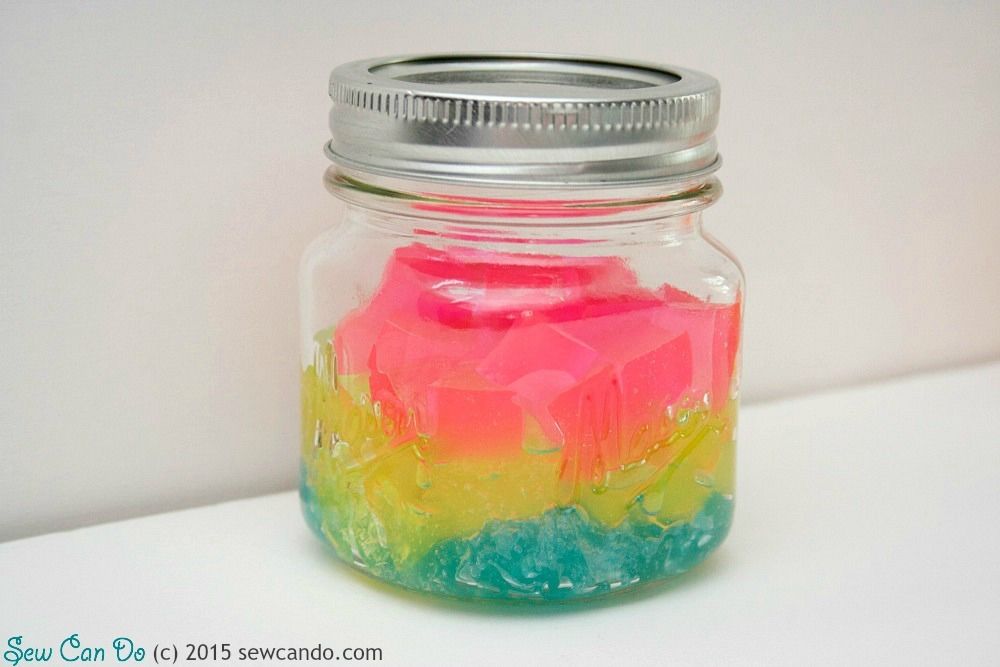
Or pour into a larger square or rectangular mold, then cut out shapes. For this batch I did a two-tone where I poured a layer of hot pink first, let it cool for about 10 minutes, then sprayed with some rubbing alcohol (it helps soap layers stick to one another):

Then I poured a yellow layer on top:
Once it had fully cooled (several hours) I turned it out onto a plastic cutting board and used some large shaped cutters to do a few:

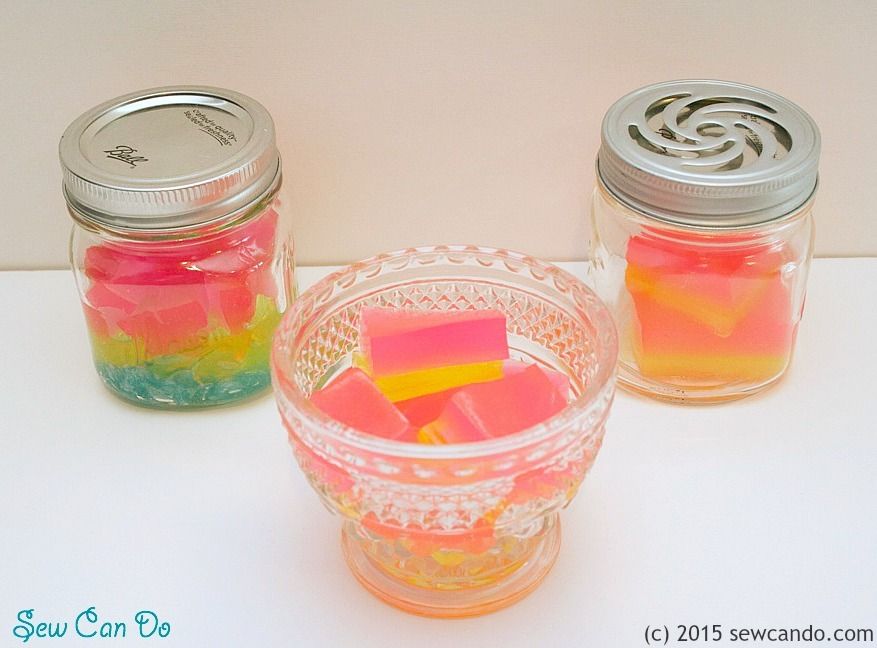
And cut out a bunch of squares too:
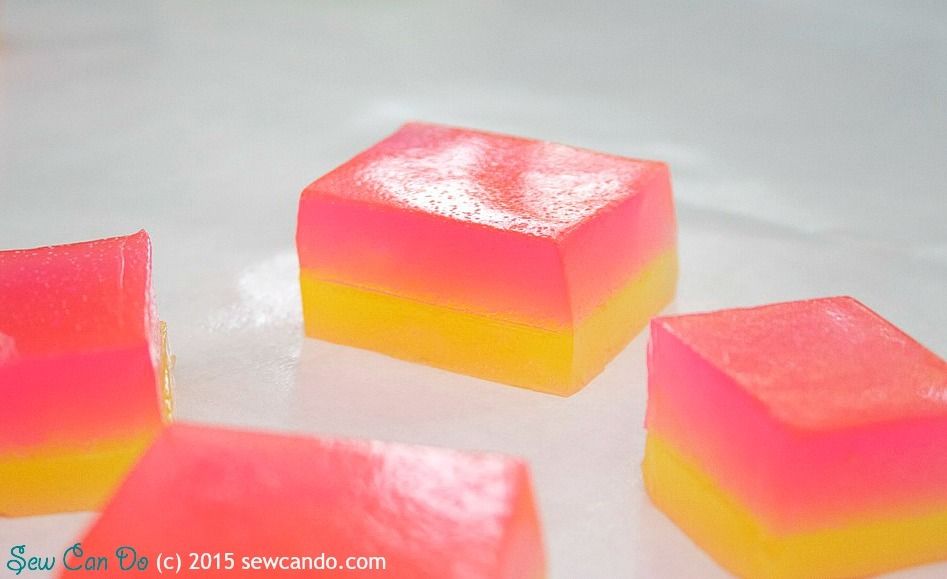
It's funny because the soap seems like it's been stretched out or flattened during the cutting, but then springs right back up and stays firm in it's shape once cut:
Plus all the little remnants can be scooped up and used up too, so nothing gets wasted:
My kids loved squishing and poking their jelly soaps and others I made as gifts were a big hit too. Handmade soap is always nice, but jelly soap is pretty unexpected and gets a lot of oohs & aahs. Just use common sense on labeling what it is or the age of the intended recipient (not for under 3yrs folks). You do not want to scent it like food, have someone assume it's gummy candy and take a bite or spread it on toast. It's not actual jelly!
From our experience I'd recommend using them right away or storing in airtight containers so they don't shrink or dry out and stay nice & springy. Jars look the prettiest, but plastic tubs or bags work too.
Then share the Jelly Soap love!

This brightend up my day;; it reminds me of agar agar !
ReplyDeleteGlad to hear it and yes the consistency is a lot like agar.
DeleteThese would be a really fun gift---colorful, unexpectedly squishy-cute, and yet practical. I love them!!!
ReplyDeleteThey are really fun - almost too hard to give them away!
DeleteThis would be perfect for my grand kids - so much fun!!! Thanks for sharing at the Thursday Favorite Things Blog Hop!
ReplyDeleteThe kids LOVE it and it's great for encouraging hand washing;)
DeleteGreat idea for kids!! Thanks for contributing on our Bowdabra Saturday Crafty showcase!!
ReplyDeleteThanks Sandy - it's a guaranteed kid-pleasing project.
DeleteThis is SO cute - I'm sharing on my FB page today.
ReplyDeleteThanks Jennifer. It's such a fun thing for adults & kids and few people even know about it!
DeleteOh my goodness! This is so cool! I've got a bunch of Minecraft cookie cutters, I'm totally using those on these. Thanks for the great idea!
ReplyDeleteAwesome idea Jerusha - my kids love Minecraft so I can't imagine how thrilled they'd be to see the jelly soap in those shapes.
DeleteVery cool. My kids would love this. Just might have to make some!
ReplyDeleteYou will love it Amanda!
DeleteLove this, need to try it soon! I love doing stuff like this and my kids will enjoy it, too. Thanks, pinned and sharing tomorrow on my blog's FB page :)
ReplyDeleteThanks Bernadyn and I'm sure you'll all love it - it's one of those projects that just feels a bit magical no matter what your age:)
DeleteThis looks so incredible! I'm always so amazed by your talent. Pinned and tweeted. Please join us on Monday at 7 pm and party with us! It is so super fun to see what you have been working on! Lou Lou Girls
ReplyDeleteThis comment has been removed by the author.
ReplyDelete