


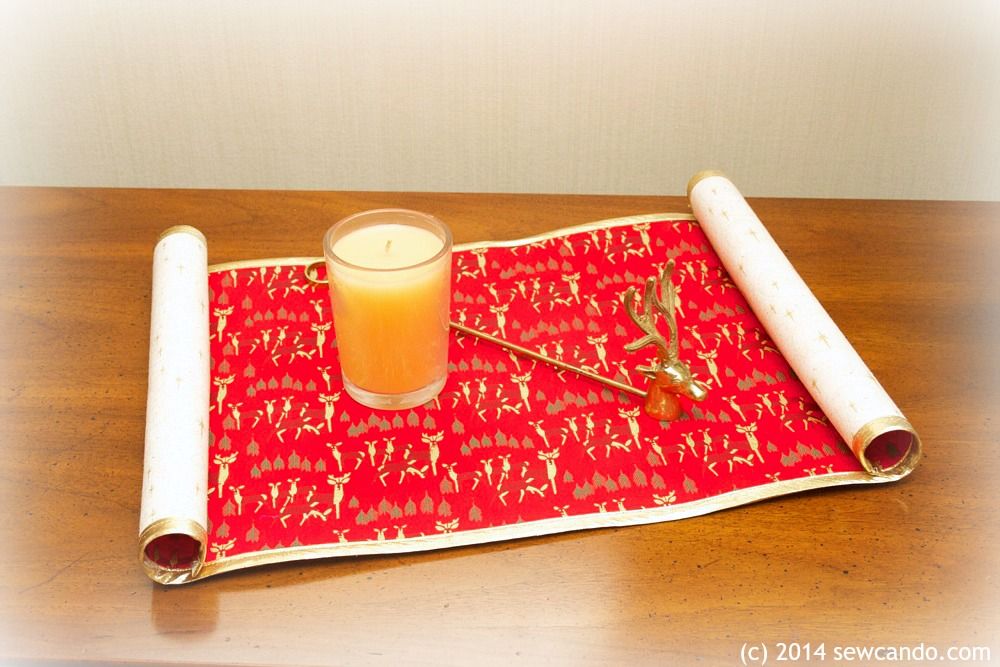
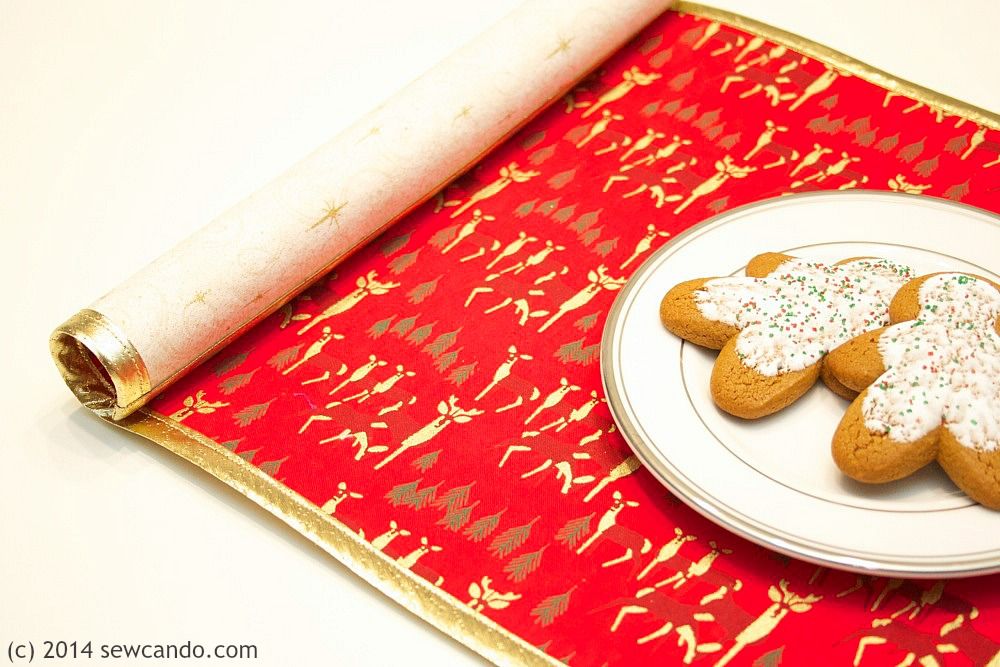
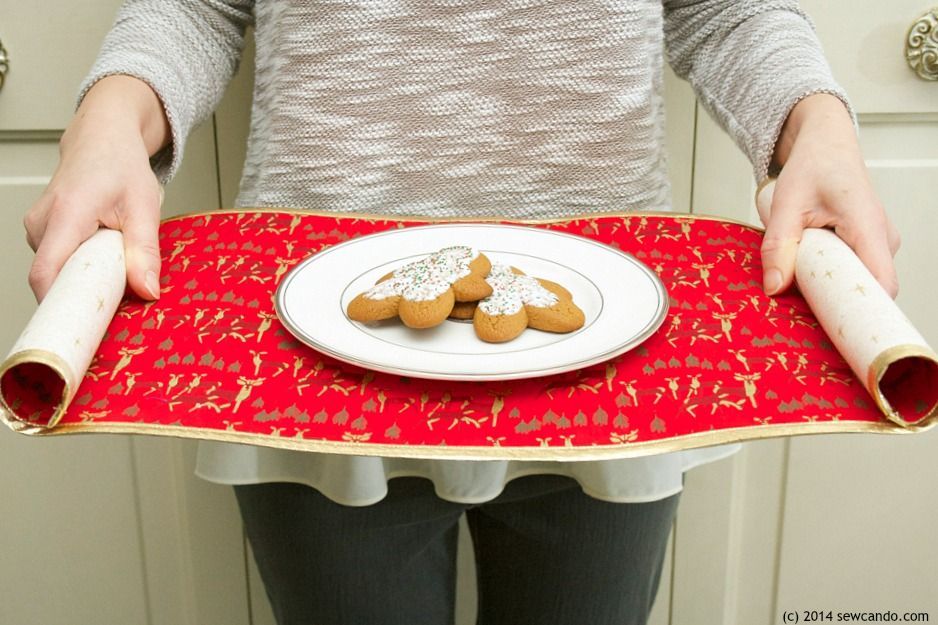
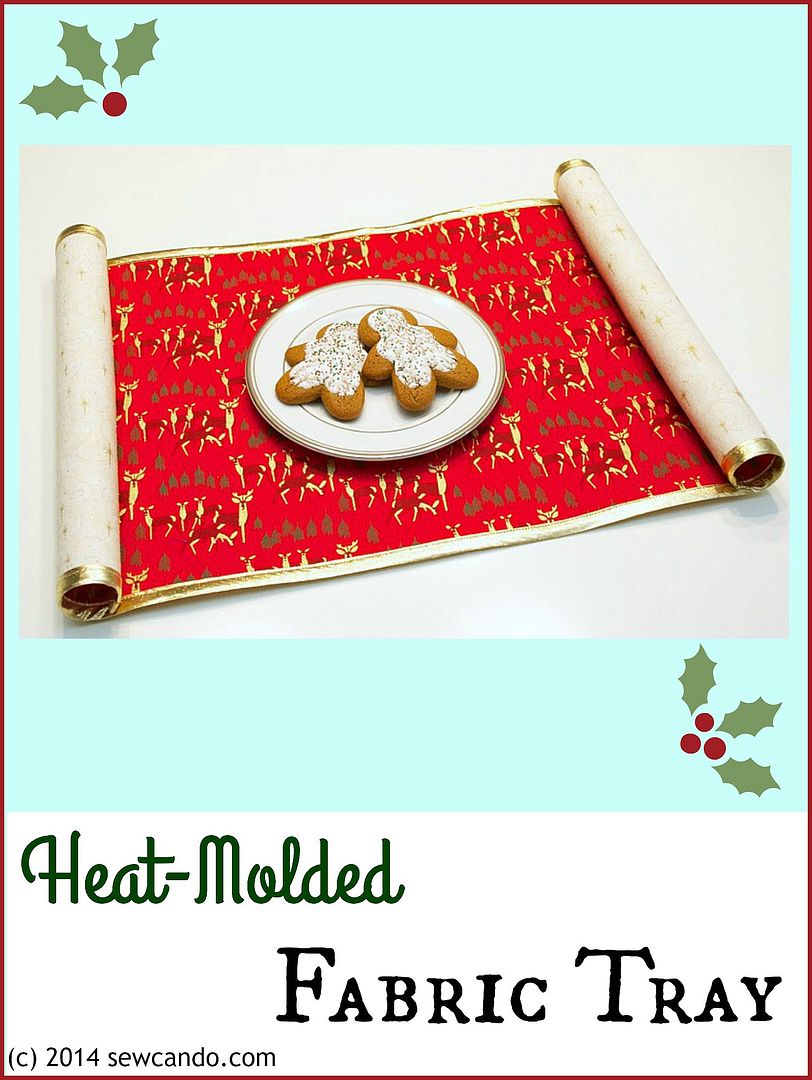
Plus, besides being a usable tray, customized with seasonal fabrics, it also makes a striking alternative to a table runner or a pile of coasters on a coffee table. I'm using mine on my dining room table for the holidays, but it's equally handy in the foyer, on the coffee table or bathroom counter. Loads of decorating possibilities!

The critical ingredient to making this project is one of my new favorite craft supplies: Heat Moldable Stabilizer. This is the secret to making the tray's scroll-like ends and sturdy, rigid surface. It's got a consistency somewhere between ultra firm stabilizer and cardboard. Once applied to a project, it can be heated and manipulated into hard-to-sew or molded shapes, then will cool and remain in said shape. It's super easy and a lot of fun to do too.
You may remember my previous project using this cool (or should I say hot?) item, a Molded Fabric Candy Bowl, back at Halloween time:

This is only my second experience with this stabilizer, but I really love using it. You can achieve shapes and designs that you could never do with regular stabilizer, so it takes sewing to a whole new level. Plus, it gives a bit of true crafting excitement & wonder as you see it working. And no, this isn't a sponsored post, or something I got for free to talk about, so this is my unbiased, bought with my own $, thumbs up on this craft supply.
Ok enough about my crush on this item, here's how you can make a fun & festive tray too...

Materials:
- (2) 3/8 yards of holiday print cotton
- Heat moldable double sided fusible stabilizer*
- 1 package double fold bias tape & matching thread
- Heavy duty sewing needle
- Iron & press cloth
- Shears/rotary cutter & mat
- Clips or clothespins
- Optional: dowel rod
*The type I used was double sided fusible called Inn-Spire Plus, but there are several brands out there (some are fusible, some are sew in). I've also bought some more from a brand called Bosal and will be trying that one out next to see how it works, so I'll keep you posted on how that works too.

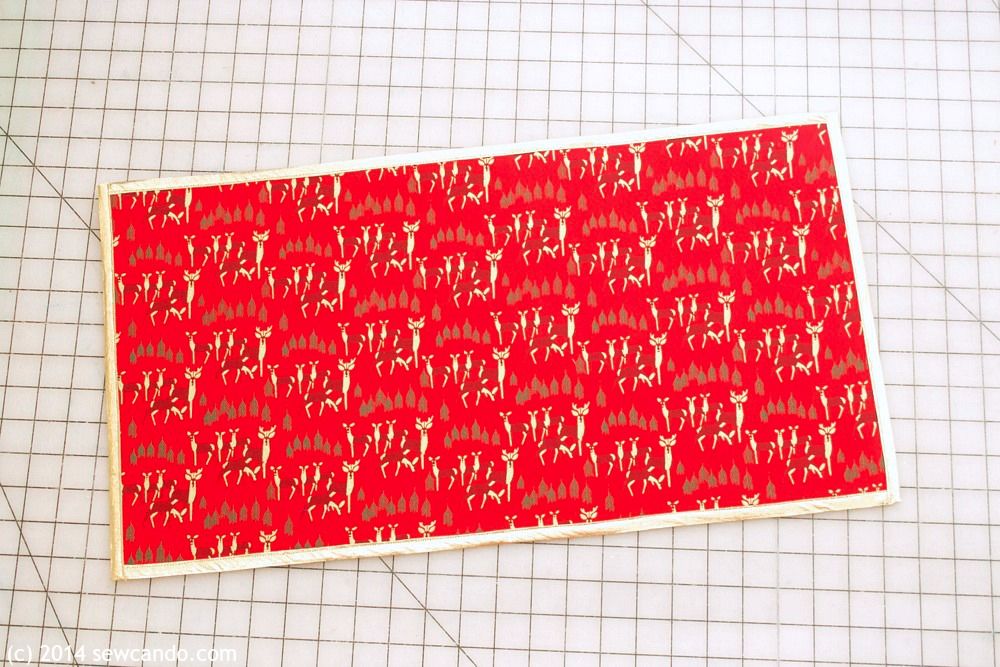
First I pressed my fabrics nice and smooth, then cut them and a piece of the stabilizer into 23 inch wide by 12 inch high rectangles.

Then I sandwiched my stabilizer between the wrong sides of the fabrics and clip around the edges to prevent any slippage while I fused the layers.
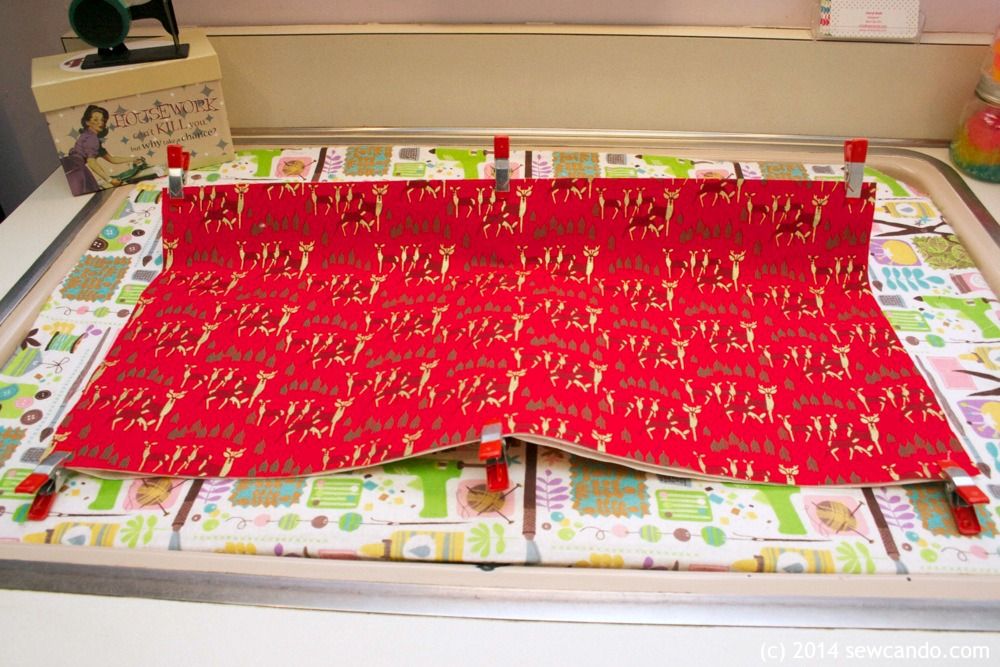
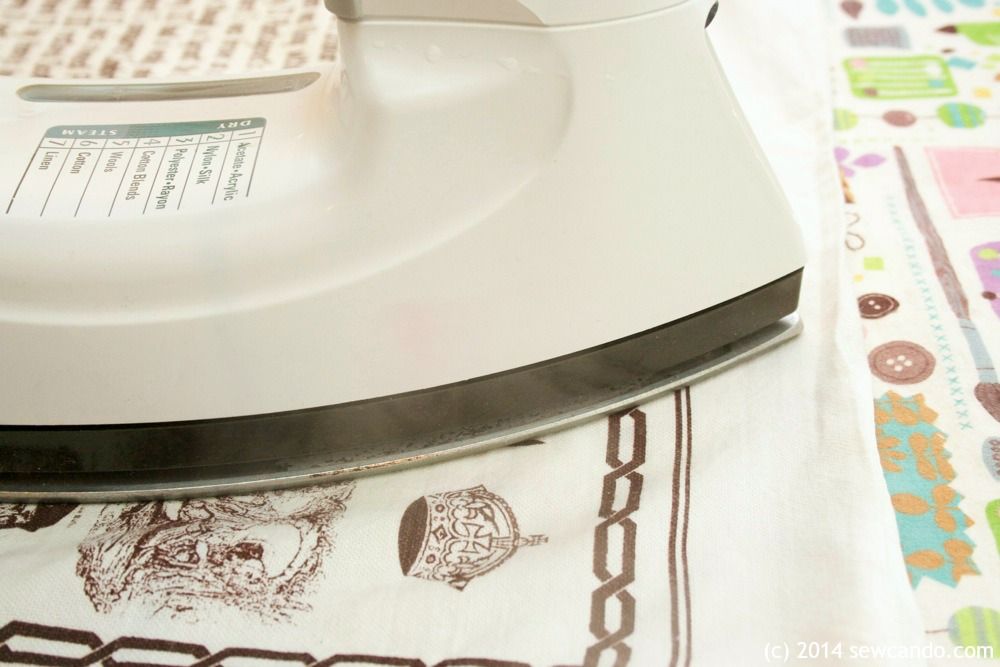
I fused them by covering with a damp press cloth and ironing on the wool setting, for about 15 seconds at a time, per overlapping section, until the whole things was fused. Flipped to the over side and repeated but for a little less time per section. Then I let it cool. It was pretty rigid.
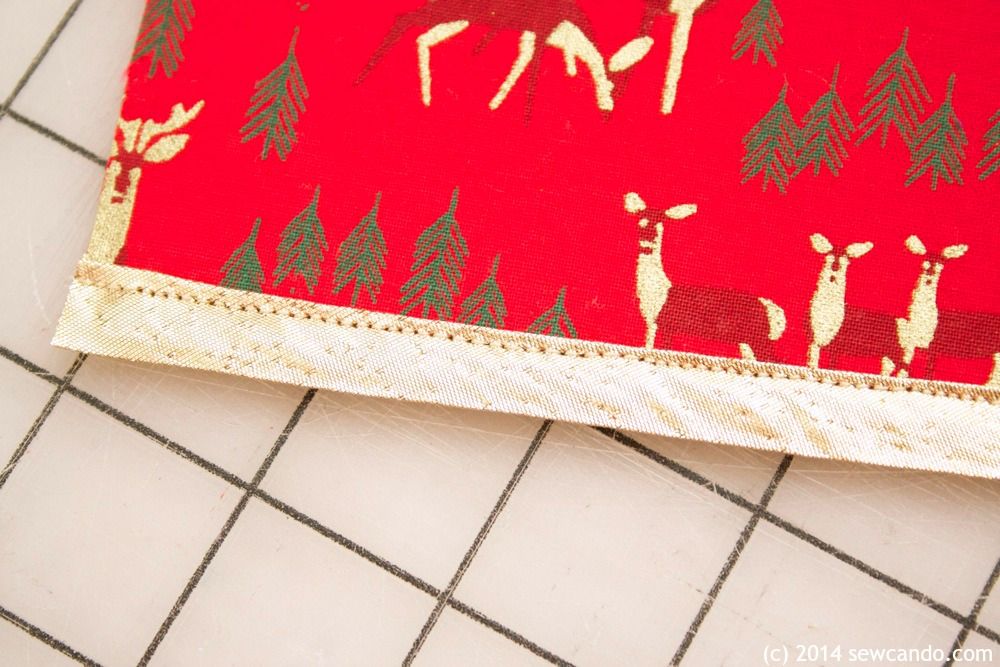
Next I encased the long sides in double fold bias tape and stitched it in place. To do this I worked slowly and used my clips again.
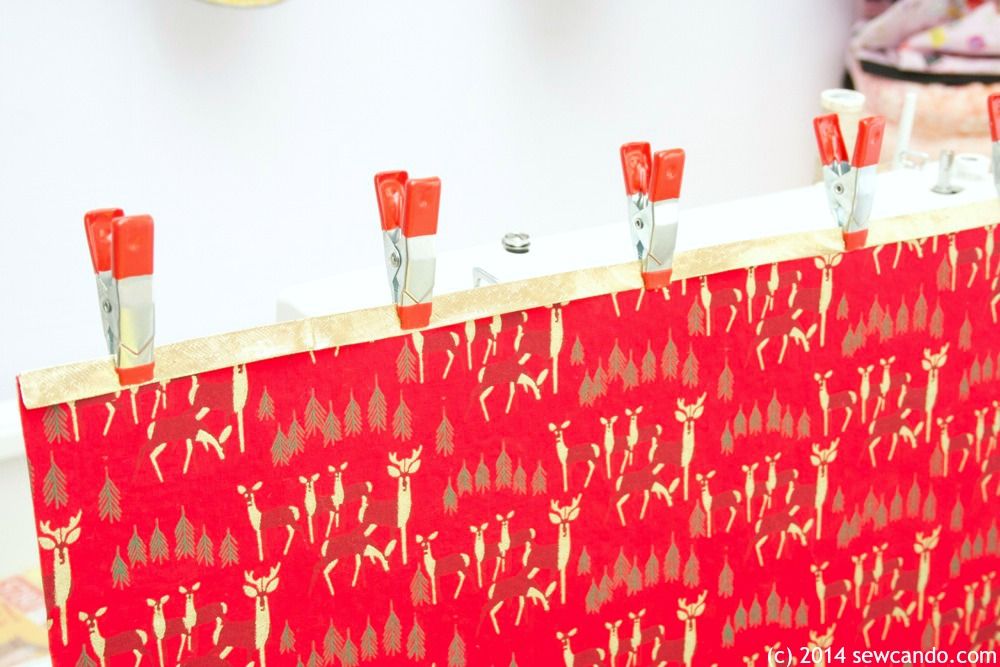
The combination of fabrics + this thick & firm stabilizer makes using pins way too hard, so this works a lot better and faster.
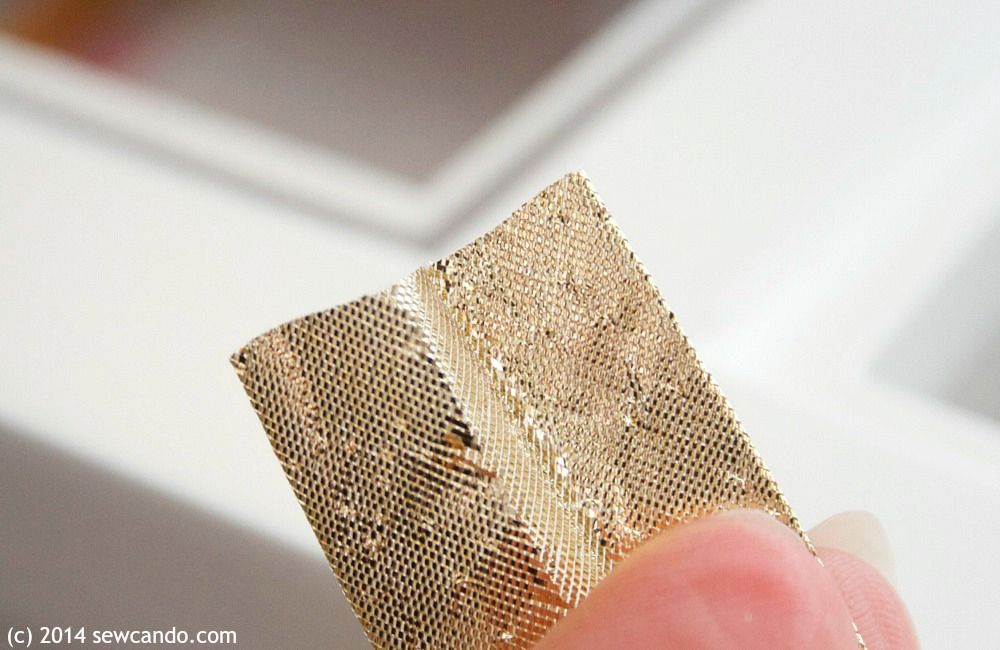
To finish the short sides easily, I cut two pieces of bias tape the same length as those sides (I did this because the metallic tape is a bit stretchy - if using regular bias tape, make it about 1/2 inch longer). I opened the bias tape up:
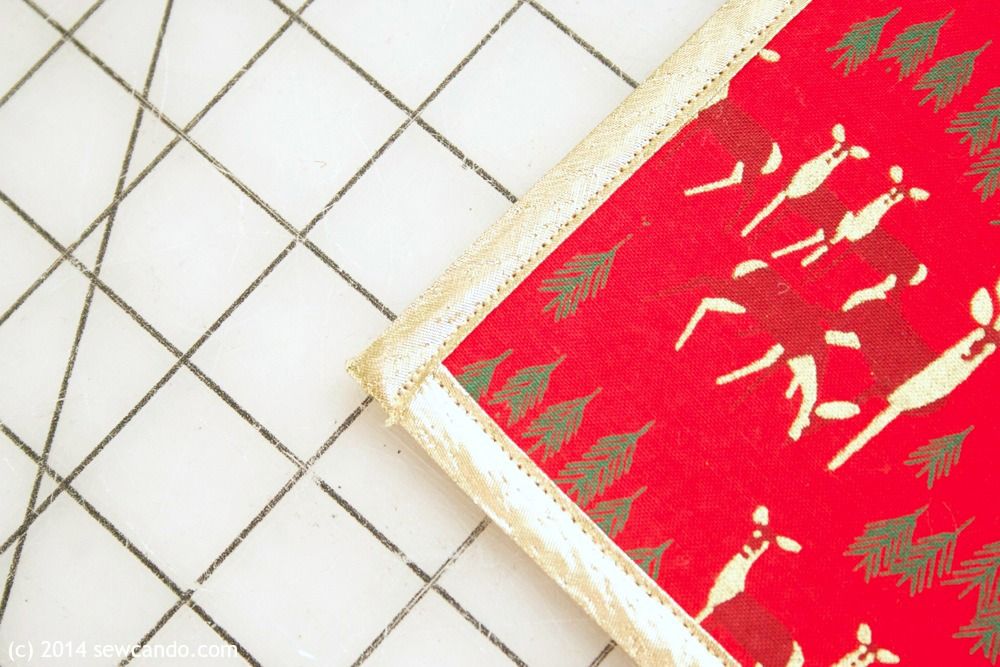
I turned the ends wrong side out and folded the right sides together, stitched and trimmed down the raw edges.

Then I flipped it right side out again and had two finished ends. This made it easy to encase the raw edges of the tray and stitch into place.

No mitering or trying to fold it under precisely. E-A-S-Y.
At this point my tray just looked like a boring placemat, but I changed that in under a minute thanks to my iron.
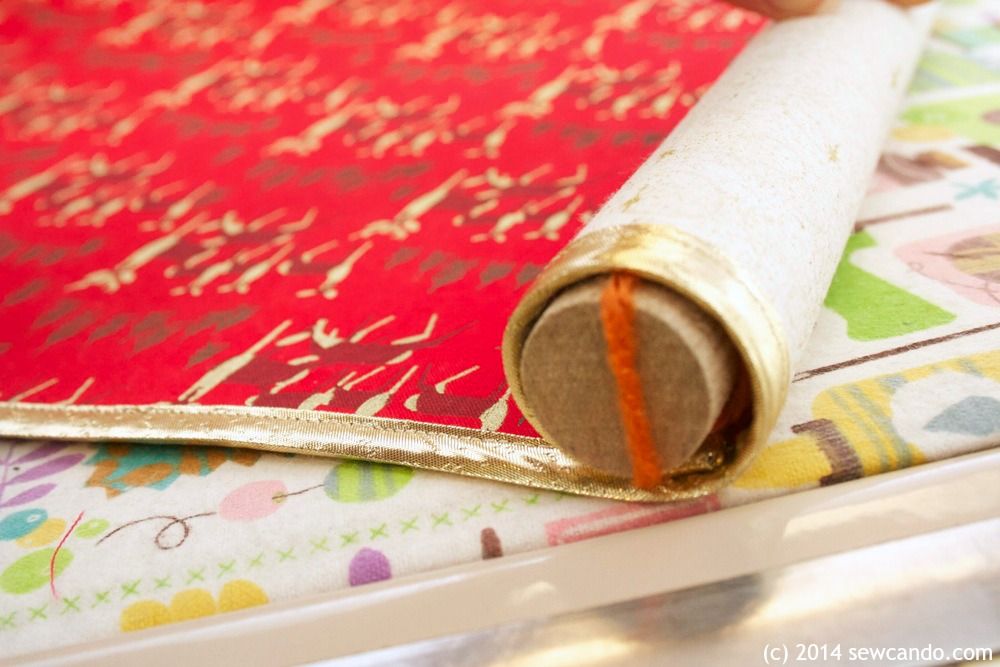
This is the fun part!!! I ironed both sides for about 30 seconds so it was warm and flexible (it should feel and bend like a heavy felt when it's ready to mold).

Then I wrapped either end around a dowel rod. You could also just hand roll them, but I wanted them to be exactly the same, so the rod really helped.
I carefully pulled the rods out one side and used my handy clips to hold the fabric in the shape until it cooled.
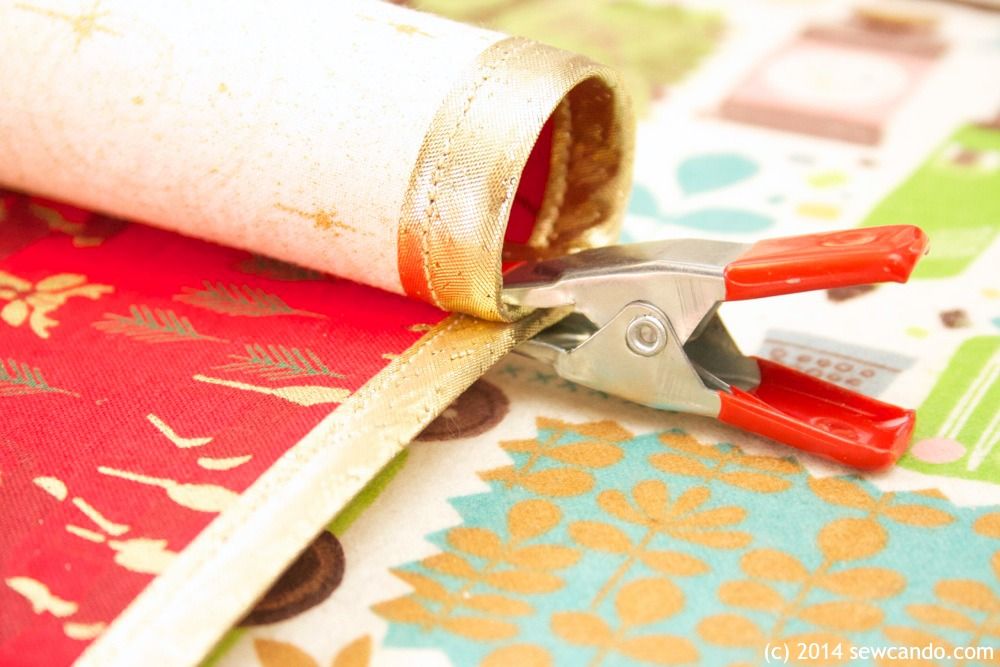
I let it cool about 5 minutes and then pulled the clips off and my tray was all scrolled up like I'd hoped - right on the first try. What's great is that if it's not, it's totally ok because you can reheat and remold with this stuff. So while the shape is permanent in that it won't loosen up over time, you can re-shape it if you need to make a change or possibly to store it flat when not in use.
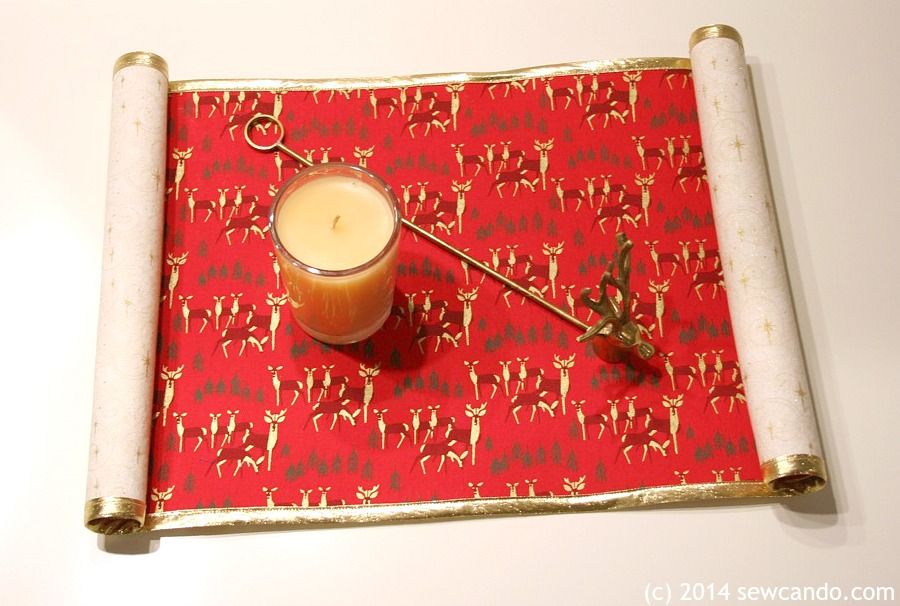
I do want to point out that while this is a pretty firm tray, it's not the exact equivalent of wood or plastic tray in terms of weight it can hold. I've walked around with a little plate of cookies, a pile of holiday cards & other lightweight stuff on it, and it's been great, but I'd leave half a dozen filled crystal champagne flutes or heavy plates of food to a more traditional tray. The moldable stabilizer is amazing, but it's not invincible!
Happy Holidays & Happy Crafting Everyone!

That's really cute and smart!! Thanks for the tute!
ReplyDeleteYou're welcome - this stuff makes seemingly complicated crafts a breeze!
DeleteThat's so cool!!! I've got a Craft Gossip post scheduled for later this morning that links to your tutorial:
ReplyDeletehttp://sewing.craftgossip.com/tutorial-heat-molded-fabric-tray/2014/12/18/
--Anne
Thanks so much for the feature Anne!
DeleteReally cool. I have niece getting into crafting. She will be getting some for her birthday if not sooner! Thanks for sharing
ReplyDeleteShe'll love it Sharon - it's so much fun to use.
Deletetoo neat! I missed the tute on the bowl so I had no idea about this craft! I have to try making something molded!!
ReplyDeleteGlad you found this one and once you start molding stuff you won't want to stop;)
Delete