

Find out my shortcut way to make 'em,
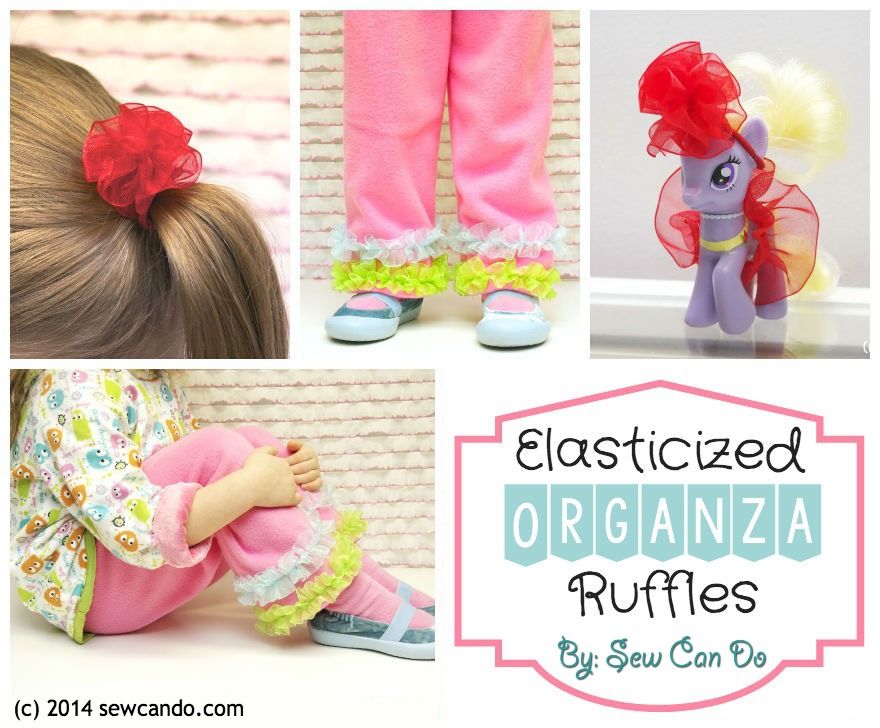
plus a bunch of fun & easy project ideas for using them:
Materials
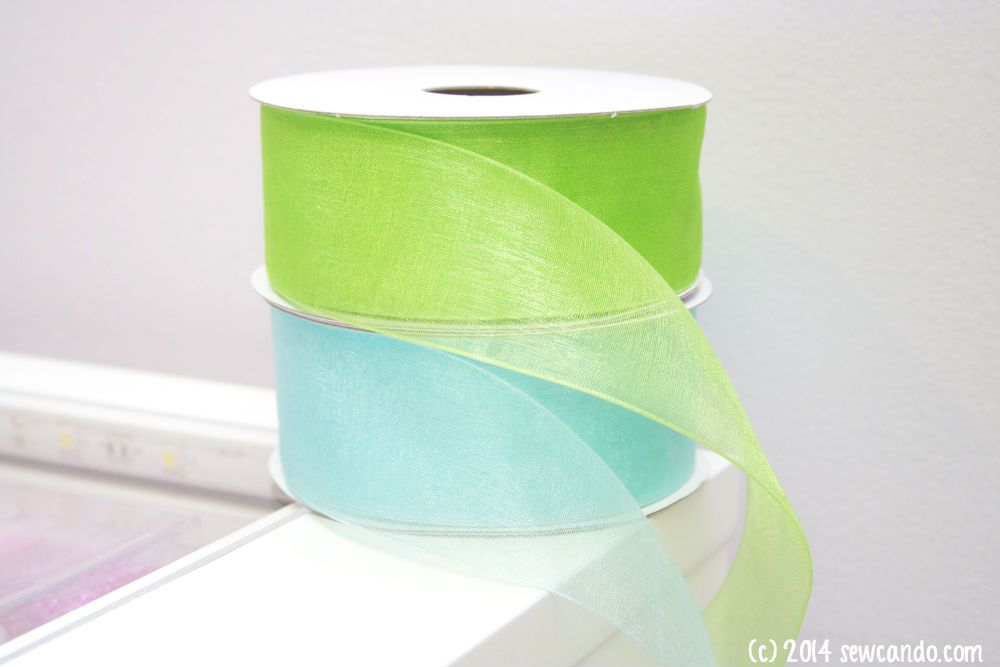
- 1.5 inch wide Organza ribbon (2.5 times the finished length desired)
- 3/8 inch wide Lastin clear elastic
- Lightweight fabric sewing machine needle
- Coordinating thread
- Item to embellish or pattern piece + fabric
I got some fantastic organza ribbon from BB Crafts. These ribbon spools come in nearly 50 colorful, shimmery shades and have 25yds each so there's plenty for loads of projects. There are a lot of other great varieties of ribbon too. And at less than ten cents per yard for these, very affordable.
The secret to easily making these amazing & stretchy ruffles is Lastin clear elastic. This is similar to what you see as clear bra straps & hanging loops in clothing, but much stronger and meant to be stretched. It's pretty inexpensive (less than $1/yd) too. It's ideal to pair with organza ribbon because it's strong, has great stretch and is clear, so it will not show through the transparent ribbon. And unlike just sewing ribbon directly onto fabric, this addition makes the ruffles perfect to use on knits or anywhere you still want to have some "give".
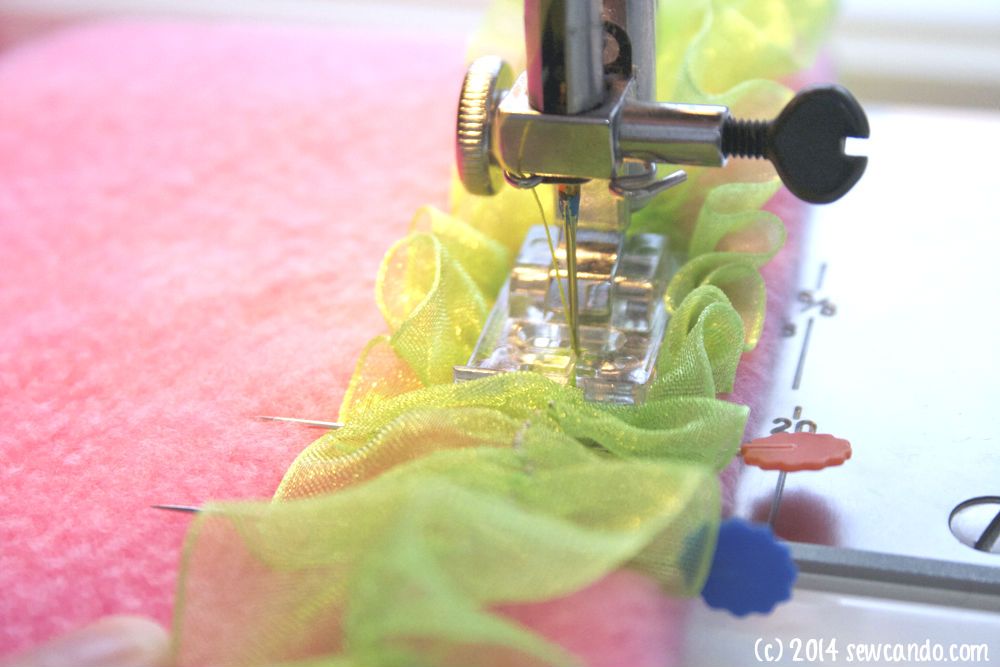
I find 1.5 inch wide ribbon ideal for my ruffle size, but you could go narrower or wider if preferred. Flip ribbon wrong side up and place elastic cut to desired length on top in center. Back stitch together at end for a few stitches to anchor and then begin to stitch together with a narrow straight stitch while pulling the elastic towards yourself and downward. Pull tauter for a tighter ruffle, or just slightly for a looser version.
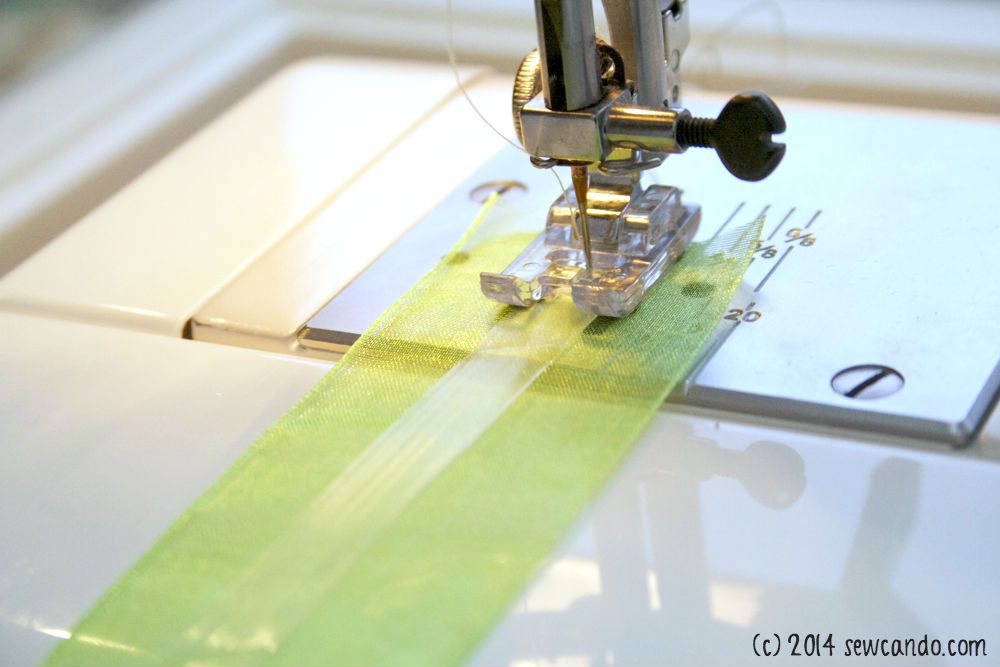
You'll begin to see the ribbon ruffling up behind the presser foot:
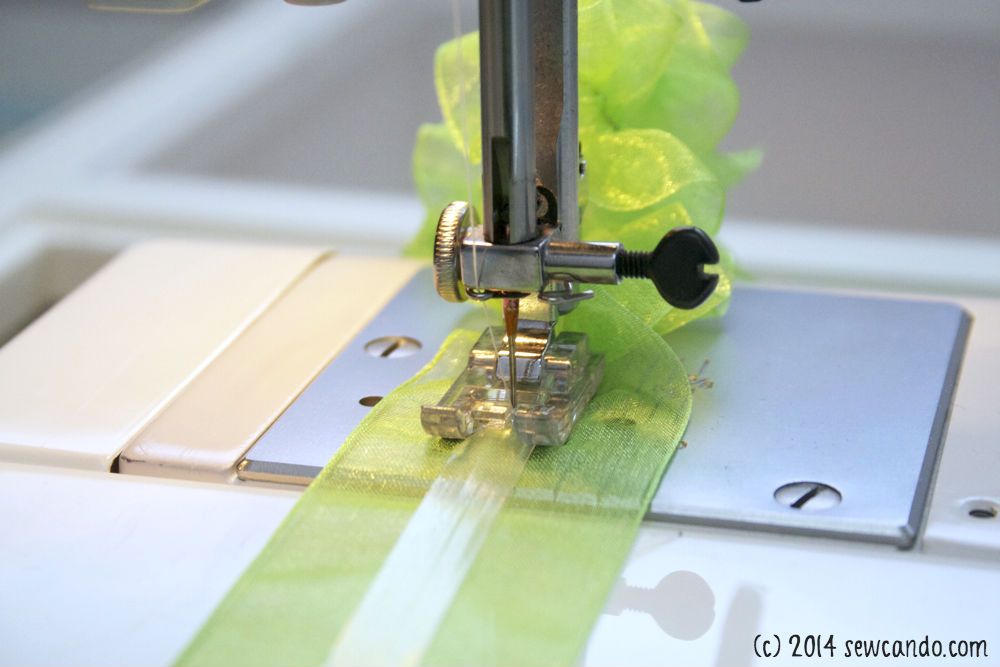
I find it easiest to hold the end of the ribbon behind the machine with one hand while I pull the elastic with the other. It helps keep everything straight and even:

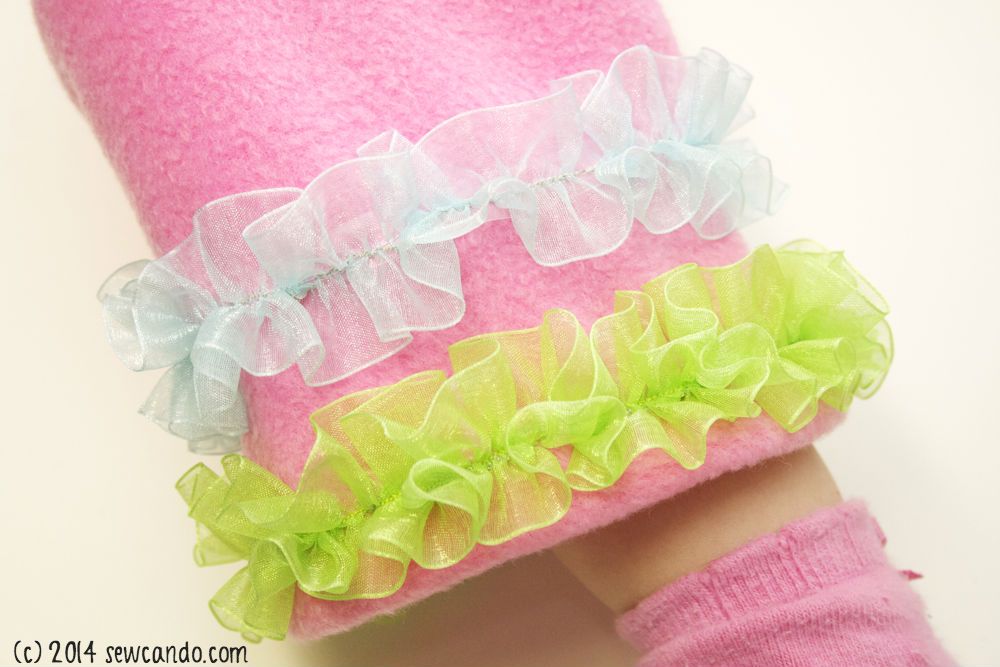
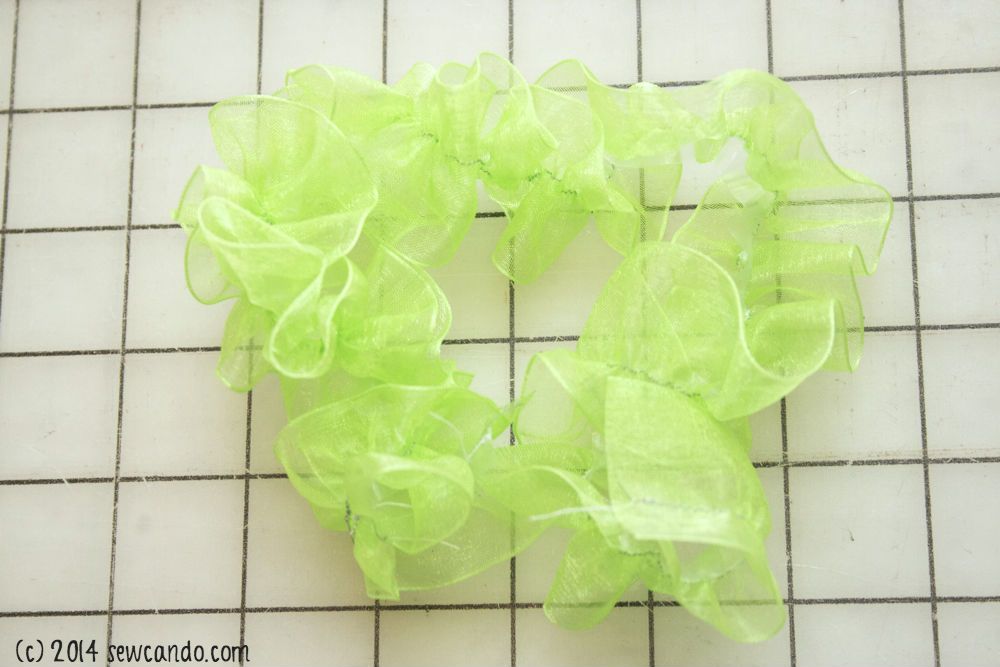
Back stitch again at end. I like to ruffle my ribbon right on the spool so I never end up short and then just cut off when done. You'll end up with a pretty ruffle like this:
Project Uses:
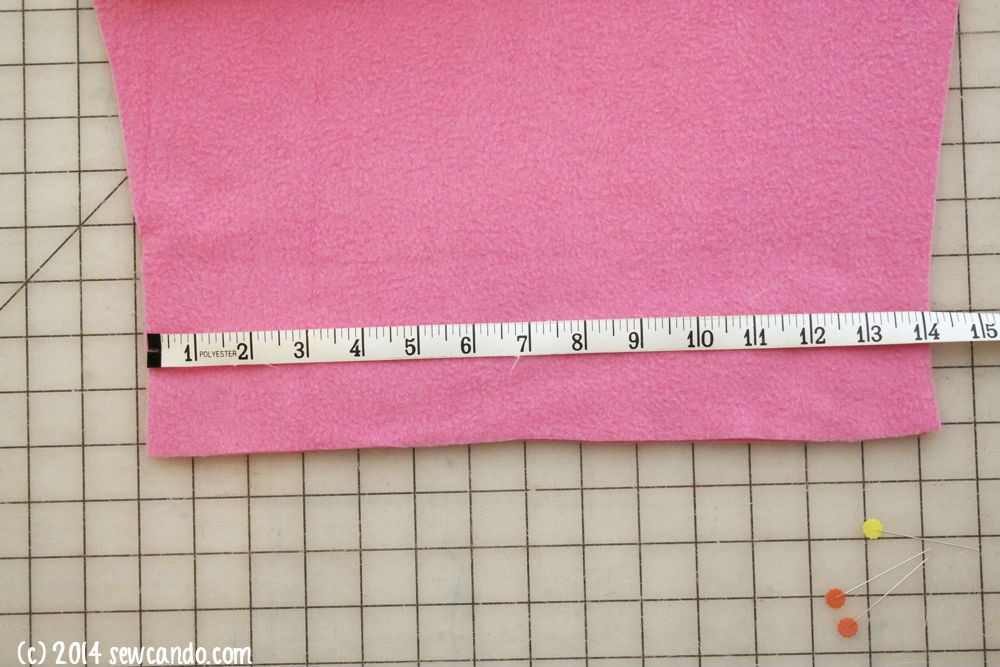
Cuff Ruffles: I'm showing how to apply this as a cuff embellishment on pants, but the same steps would apply to a sleeve, neckline, etc. I find it easiest to use a pant pattern that has a single piece for each leg (therefore, only one inside seam), but a front+back pattern works too, you just need to stitch the outer side seams together first. Or, to add to completed pants, unpick the inside leg seam near the bottom to have the same flat panel to stitch on.
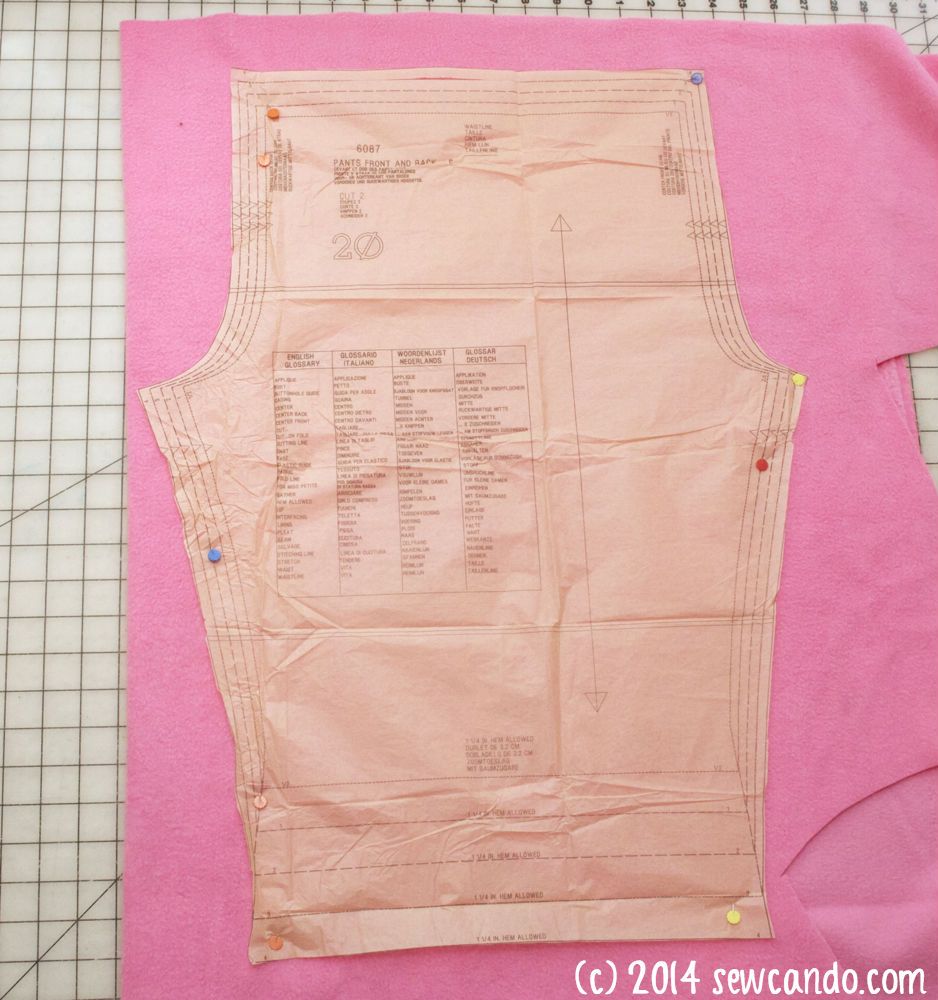
Measure the width of the pant leg (or cuff or whatever you are trimming). Cut the clear elastic to be 2 inches longer so you have some wiggle room for starting & stopping.
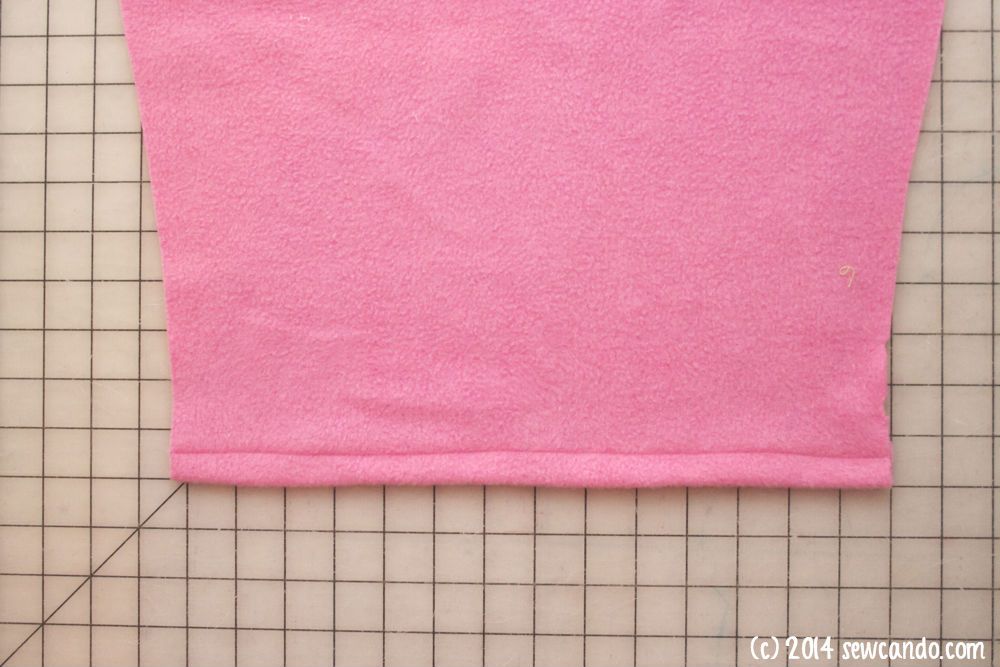
Stitch the hem next. This makes it easy to place the ruffles and not have to worry about accidentally top-stitching over them later:
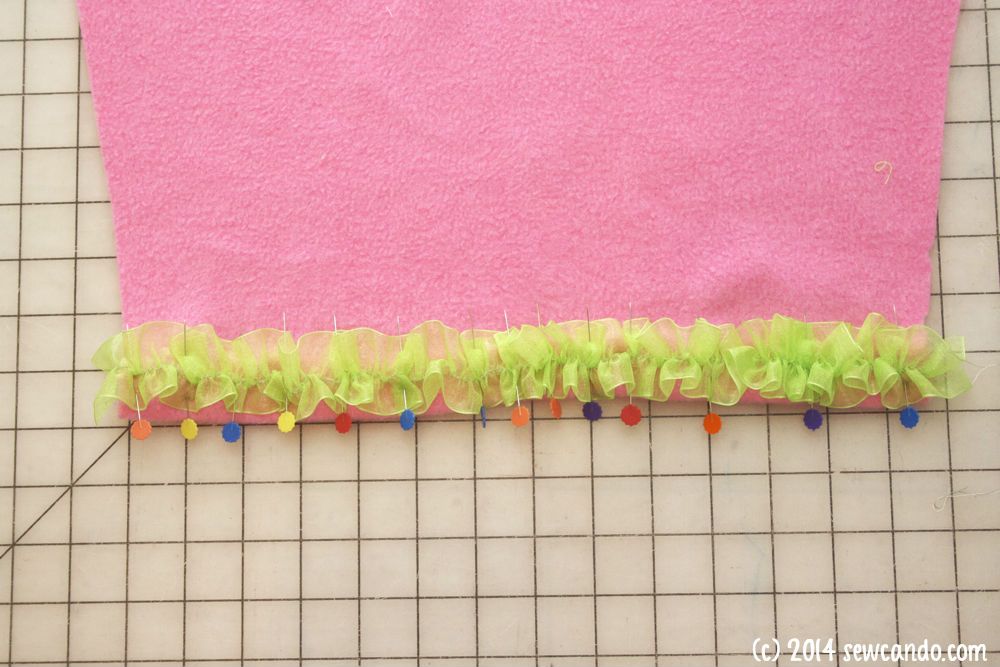
Stitch down the center of the ruffle along the previous stitching.
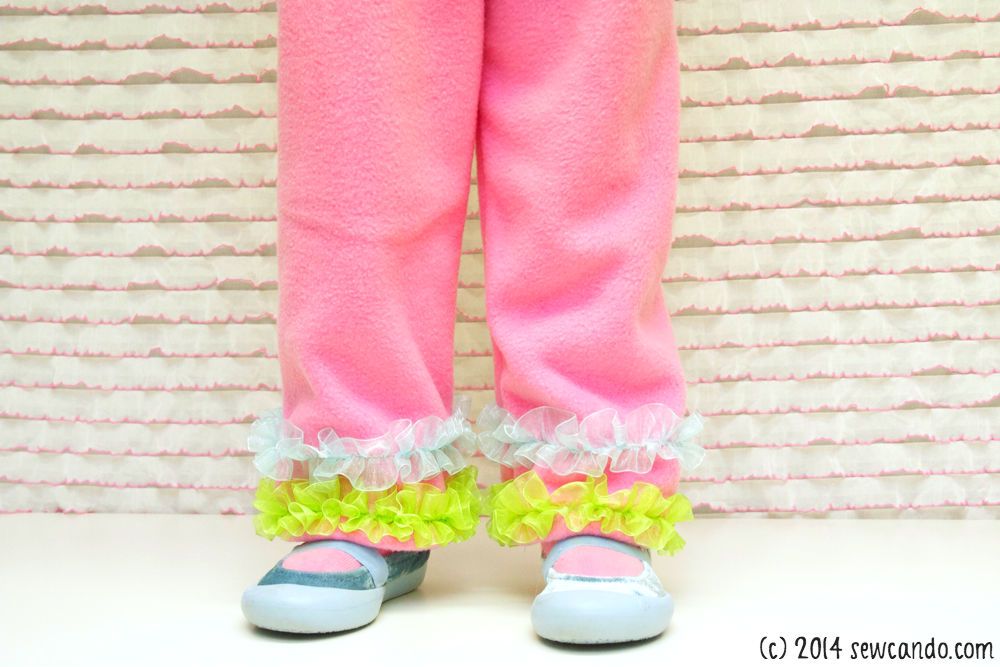
Add another row (or more) of ruffles just above it (I spaced my stitching 2 inches apart) and then complete the pants as normal.
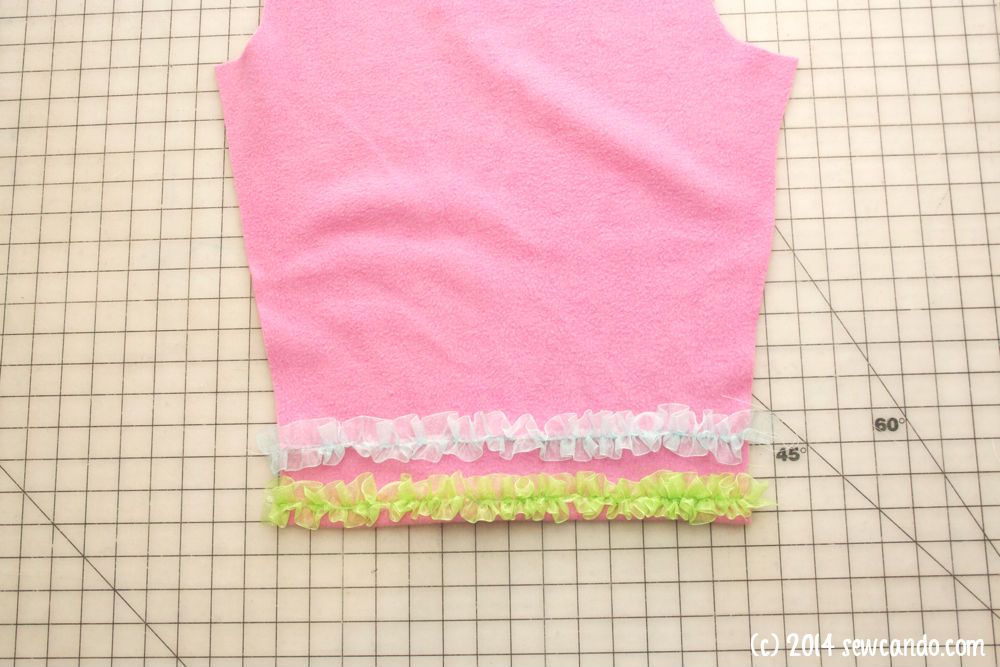
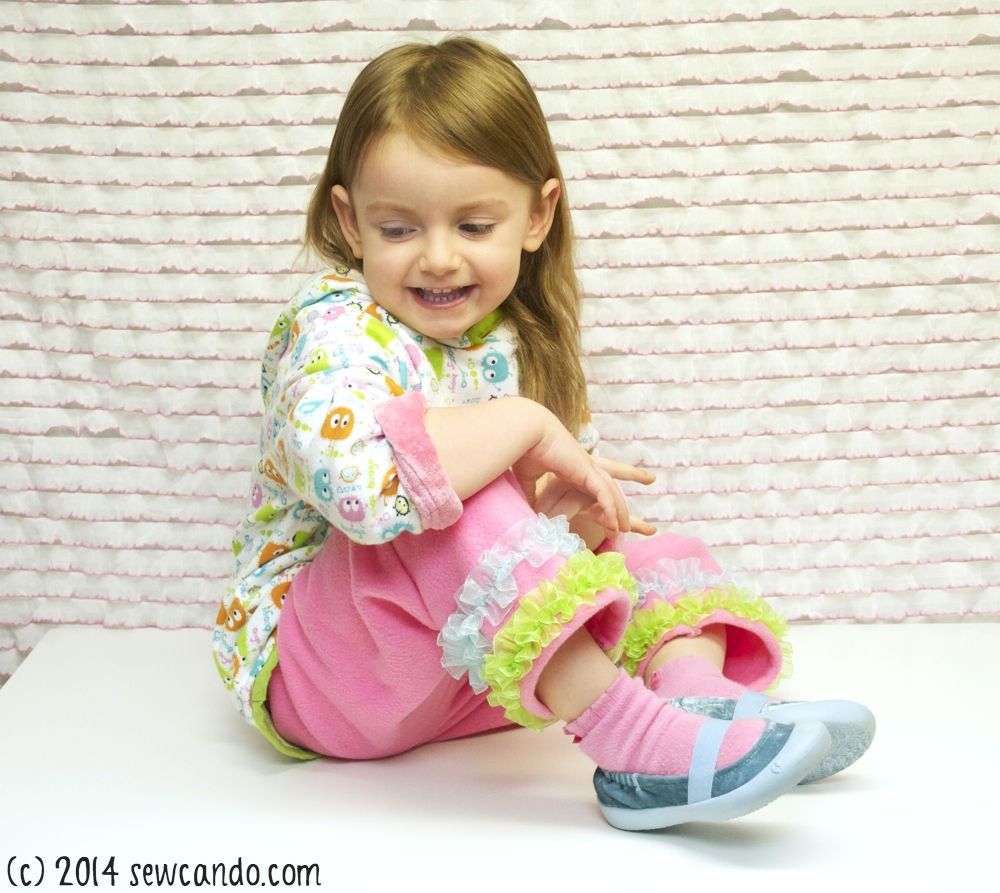
This really dresses up a plain item like these fleece pants into something fun & fancy:
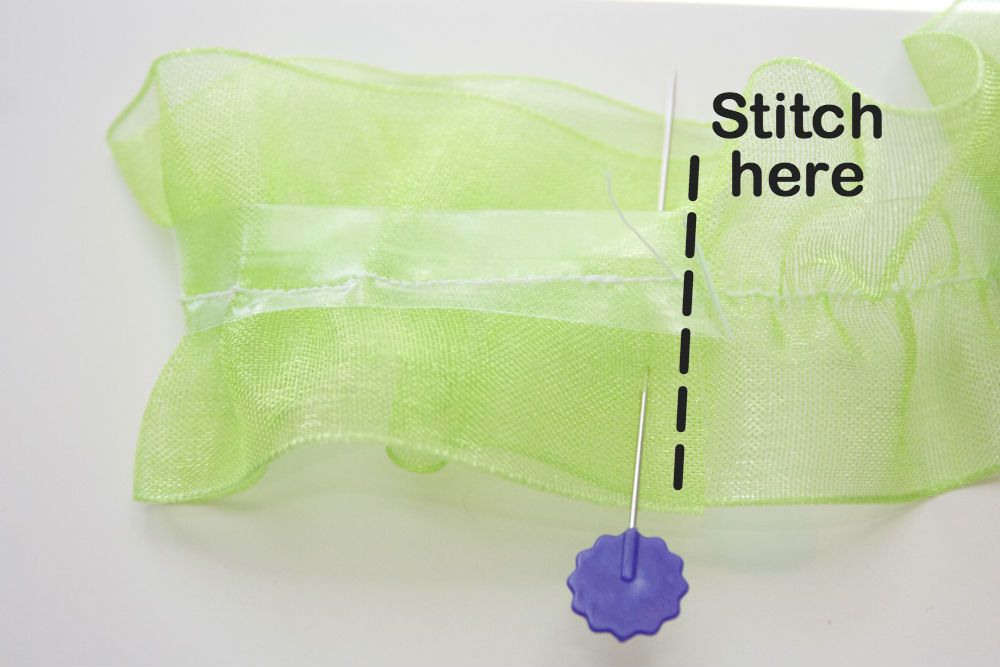
Turn right side out and you've got a cute little ruffled accent for ponytails.
Ruffle Hair Puff: Alternatively skip the elastic and just baste stitch down the center of a 12 inch strip of organza. Pull the bobbin threads to make a little ruffle puff and double knot.
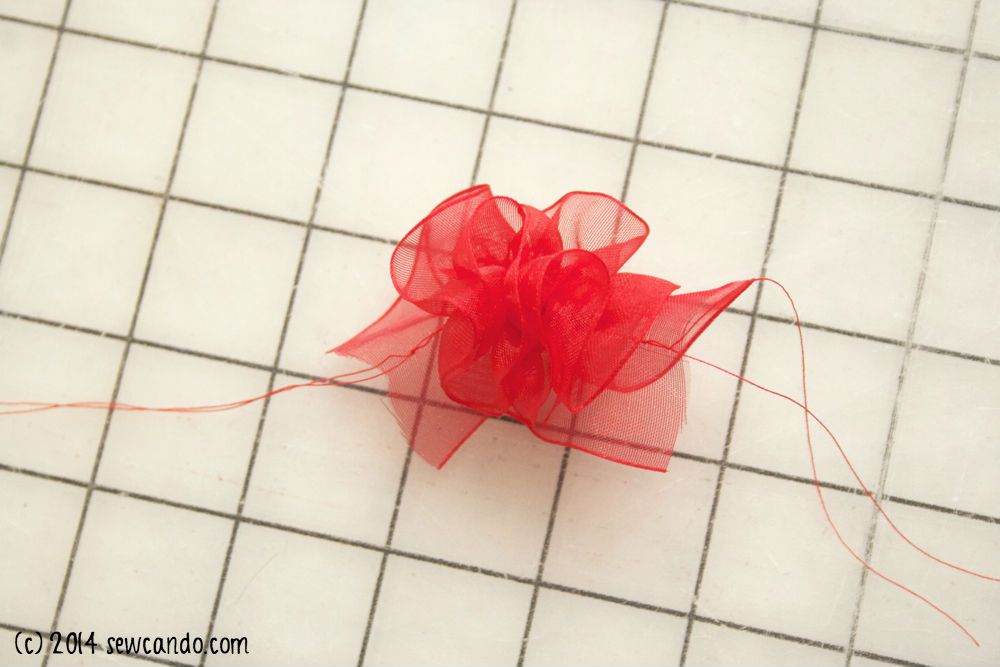
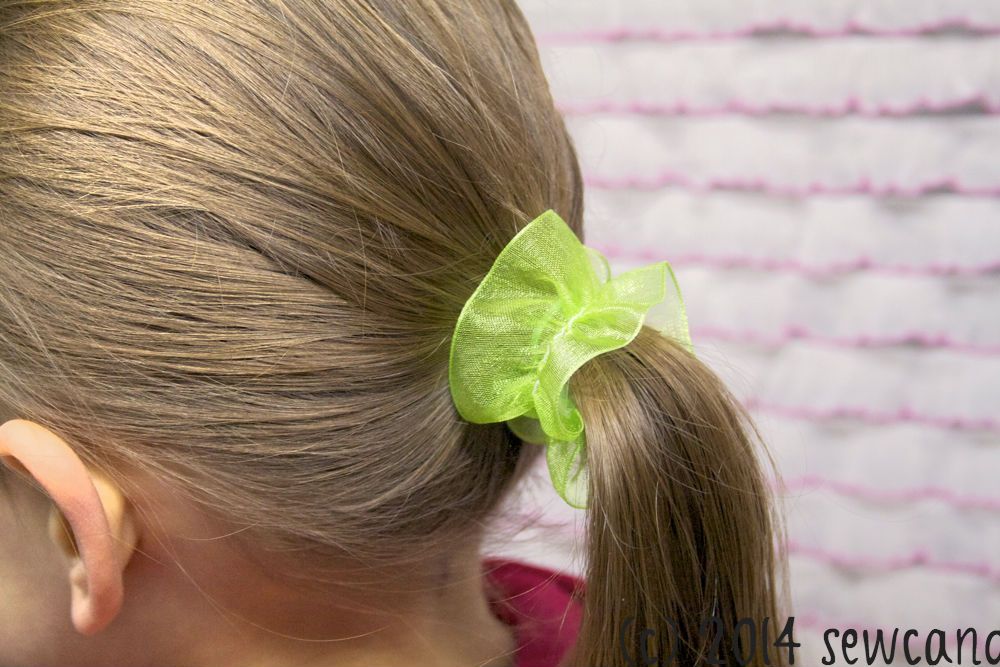
Heat seal the raw edges and tie to an elastic band for another cute little hair poof-style accessory:

So simple but such a nice look for a ponytail:

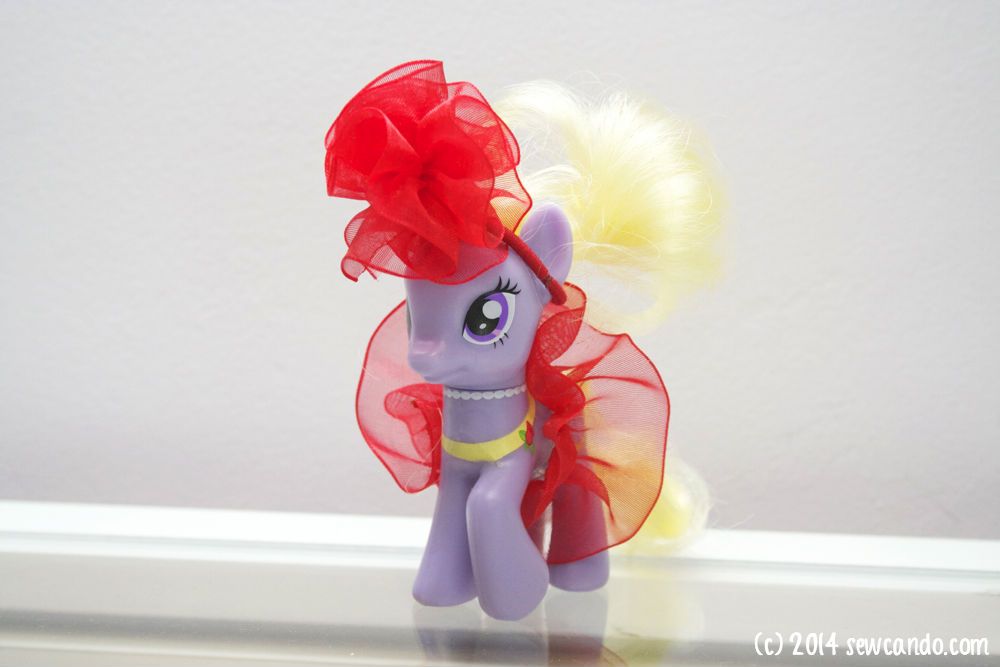
Doll/Toy Clothing: Pair up both styles to make fantastic costumes for dolls and small toys like this My Little Pony. They're easy for little hands to get on & off and are incredibly inexpensive to make , so you can create an entire toy wardrobe for next to nothing.
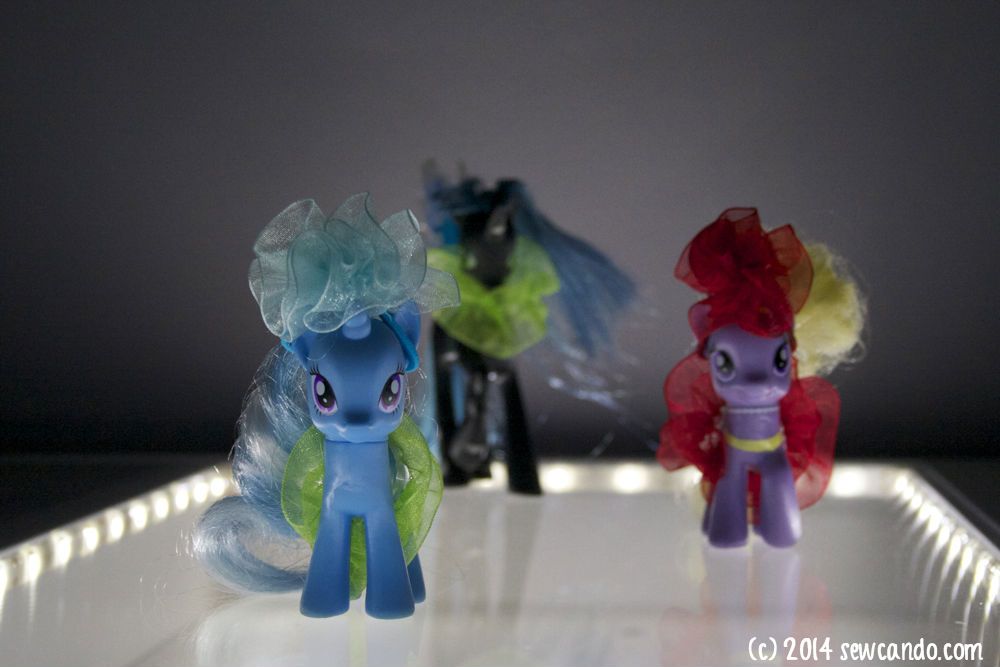
My daughter literally gasped when she saw her pony all dressed up and then brought me 5 more that "needed outfits", so I obliged. It literally took 5 minutes to whip up enough for them all. Since they were looking chic we had to do a pony fashion show, all lit-up, catwalk-style. Work it ponies!
Other Use Ideas: Use them to make elastic straps for shoes, bridal accessories (super easy garter), clothing straps - just about anything. Organza ribbon makes ruffles even prettier! And since it's so inexpensive to make, the possibilities really are endless! What would you try them on?


I'm also sharing this project with my FAVE LINK PARTIES.
Click HERE to check them out!
I received compensation for this post. The opinions are completely my own, based on my experiences. For my complete disclosure policy, see HERE.
A great way to make outfits pretty and special. Thanks, Cheryl!
ReplyDeleteNice ideas!
ReplyDeleteSaludos,
Ale
Costa Rica
Brilliant!! I've got a Craft Gossip post scheduled for later today that links to your tutorial: http://sewing.craftgossip.com/tutorial-how-to-make-stretchy-ruffled-organza-trim/2014/01/22/
ReplyDelete--Anne
Thank you so much for sharing your fantastic project on The Inspiration Board at homework. I featured you in the spotlight!
ReplyDeletecarolyn
homework &
DETAILS
These are way to cute! Love the matching hair tie! Thanks for sharing at The Weekend Retreat, hope to see you back next Thursday.
ReplyDeleteBeautiful. Thanks so much for sharing with Wednesday's Adorned From Above Link Party.
ReplyDeleteDebi and Charly @ Adorned From Above
Thanks for linking up to last week's Tuesday Confessional. You've been featured so head over and grab a brag button!
ReplyDeletehttp://www.craftyconfessions.com/2014/01/tuesday-confessional-features.html
Hi, i'm wondering if you could tell me where you purchased your clear elastic from? I need that exact same kind and I didn't want to order the wrong kind since there's so many different kinds out there.
ReplyDeleteI get mine from diapersewingsupplies.com - they have two widths and the quality is excellent.
Delete