
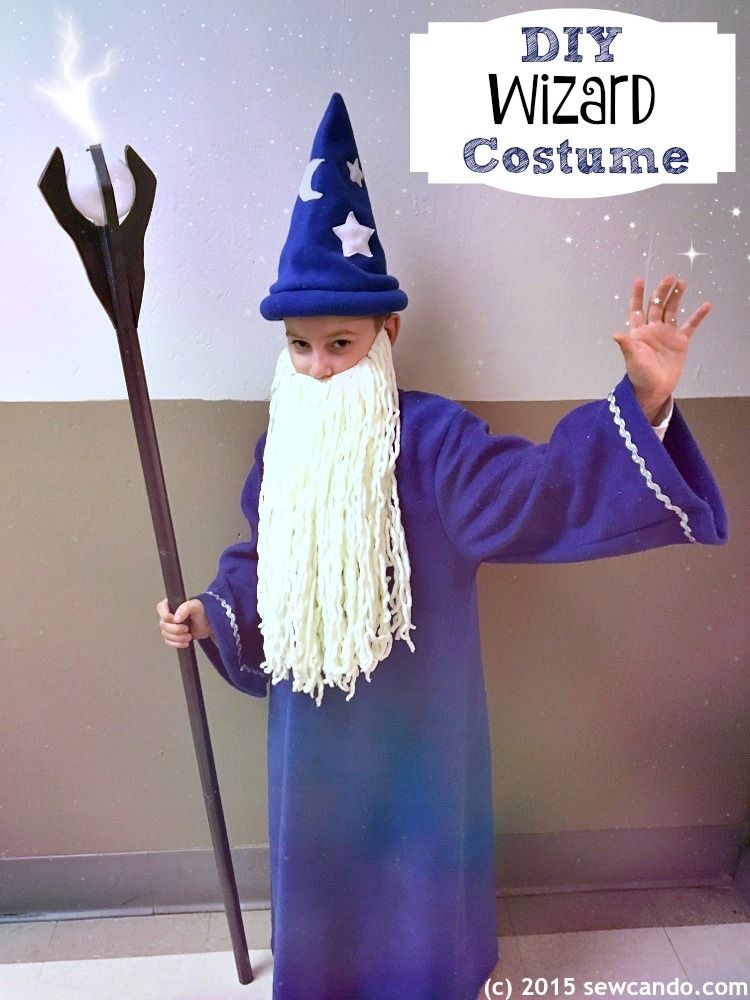
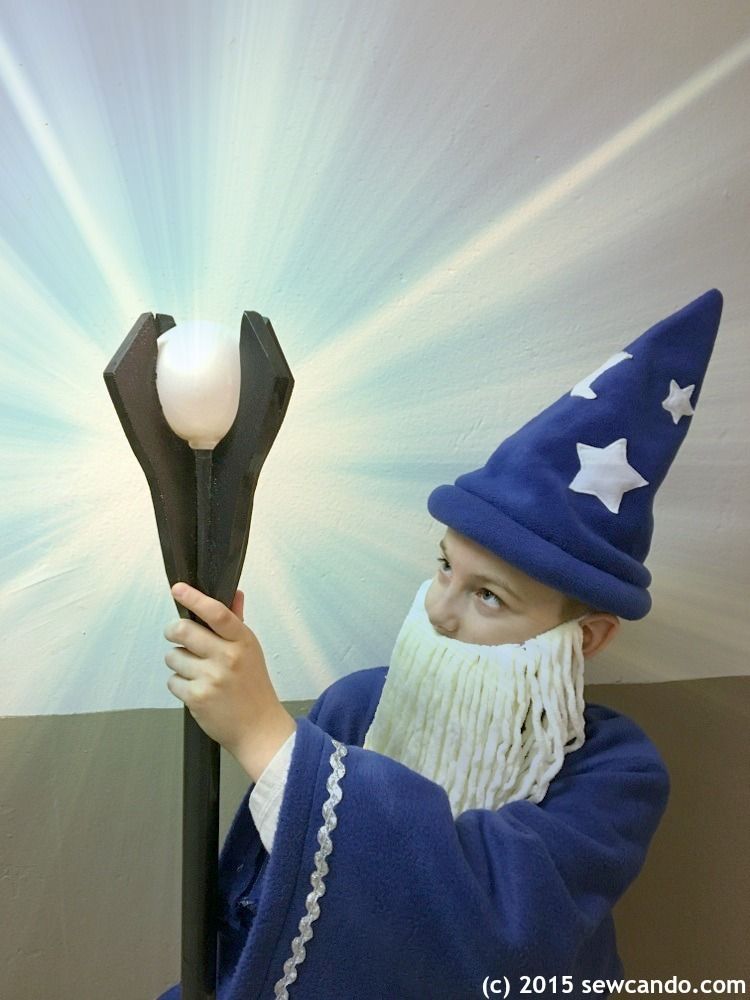
Behold - it's the mystical & magical appearance of a powerful wizard....who is also small and cute at the same time!
Some years I really love my kids' Halloween costume choices. This is definitely one of those years. Last week I shared my daughter's Fluffy Chicken costume and today I've got my middle guy's Magical Wizard. Every time I look at him costumed up I can't help but smile. He even promises to use his powers for good...
but he's prepared to throw down some serious power if challenged. Look out evil-doers!
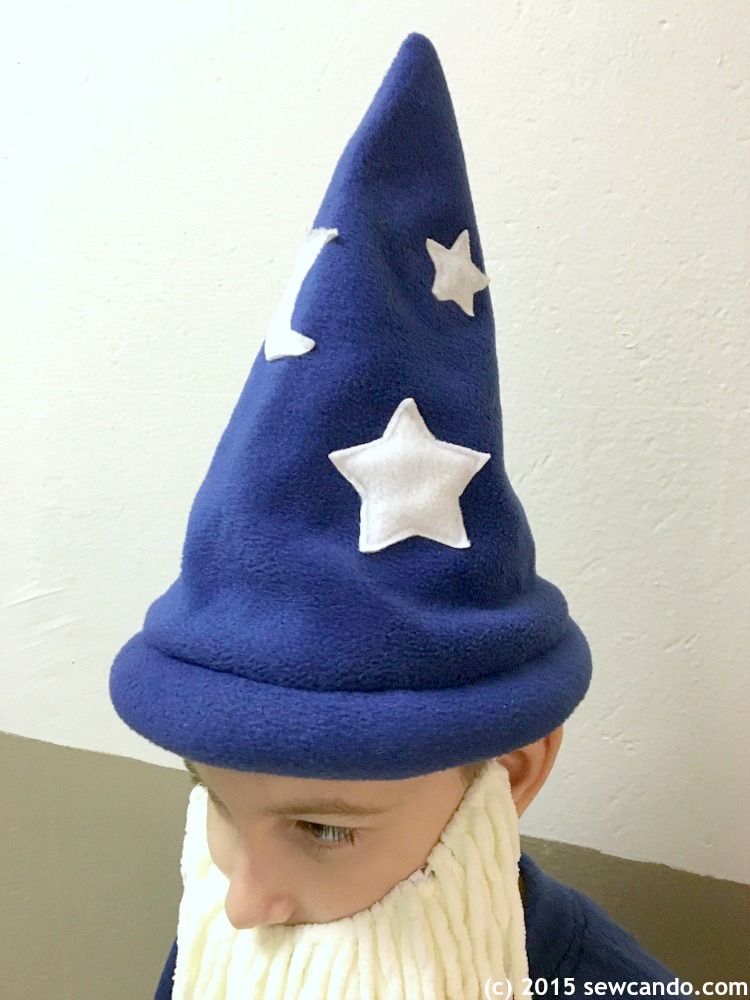
The idea was actually developed around this blue fleece wizard hat I'd made for him years before as a dress-up play item. I'd gone a bit Sorcerer's Apprentice with the appliqued moon & stars and thick stuffed brim. As my hard drive blew up a few weeks ago, I have no idea where all my "how I made it" photos from back then are for the hat, but I can share how to do everything else!
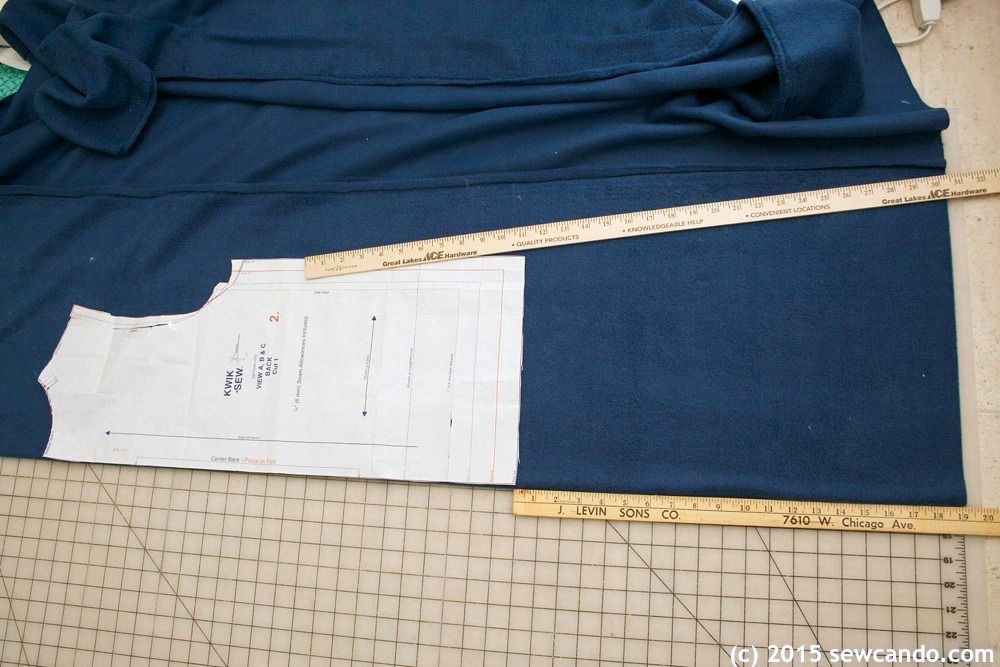
For the wizard robe, I didn't want to have to spend time drafting a completely new pattern (would I ever need to make another floor length tunic for a 10yr old? Probably not), so I just modified a pullover top pattern I already had: KwikSew 2745. It was ideal with a v-neck shape and loose fit, which would be perfect over his normal clothes by making it two sizes bigger than his usual. I extended the front & back piece lengths by about 19 inches and flared out the sides starting 4 inches from the underarm, and then out about 4 inches wider than the shirt's normal bottom edge, using a yardstick:
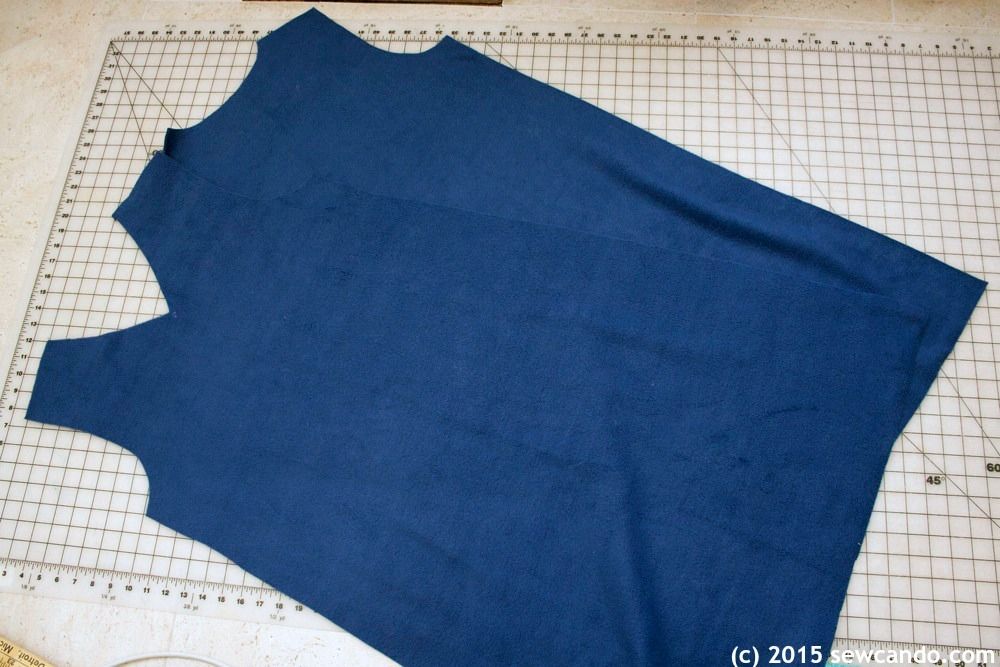
When both sides were done, I had a proper robe shape:
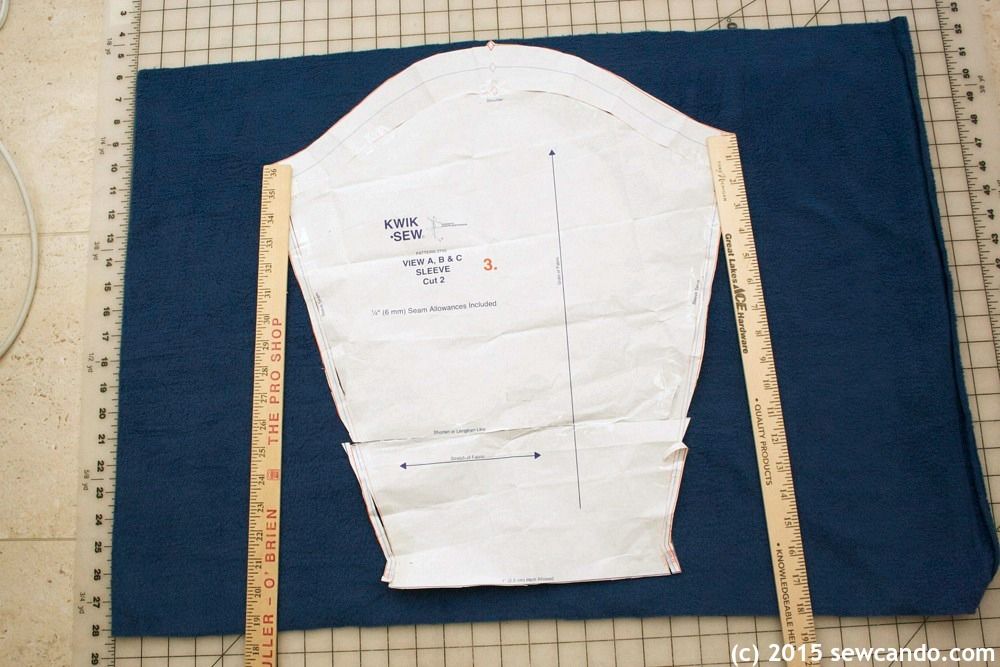
I also widened the sleeves with yardsticks, starting at each side and widening them out 4 inches on either side at the bottom.
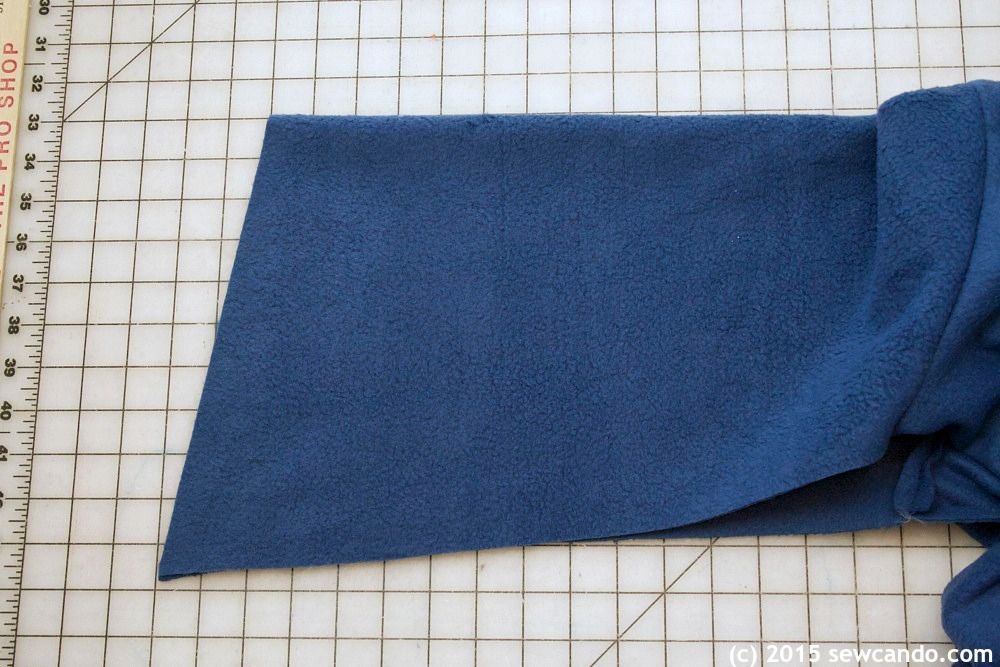
Then I created the bell-style sleeve hem by folding each sleeve and, using my yardstick again, started inward 2 inches at the fold and then cut it diagonally down to the bottom ends:
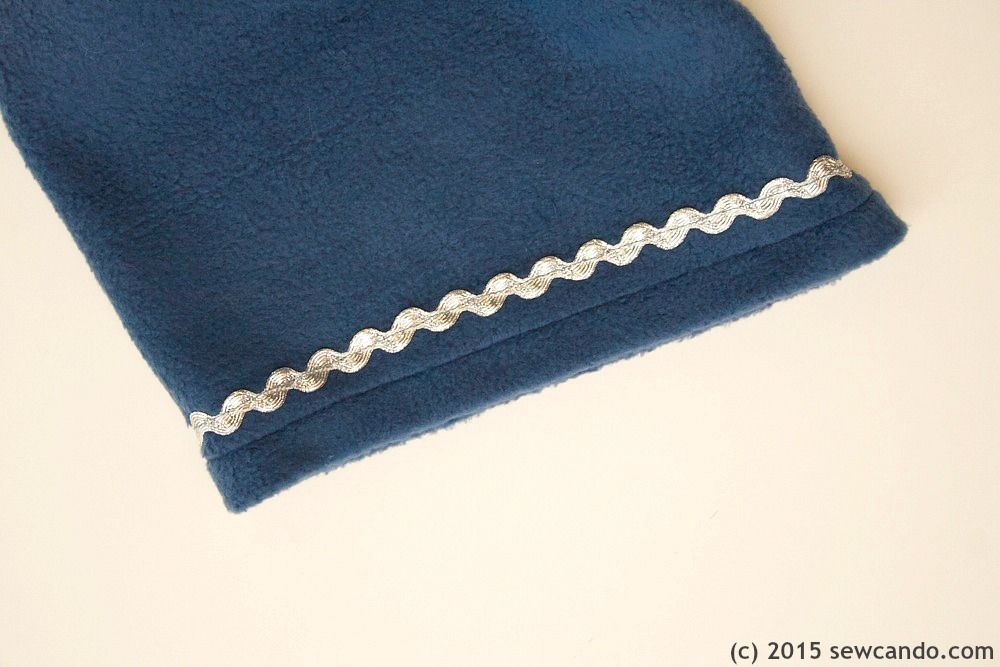
I sewed it all up as specified in the pattern and added some silver ric-rac at the cuffs for some wizard bling trim.
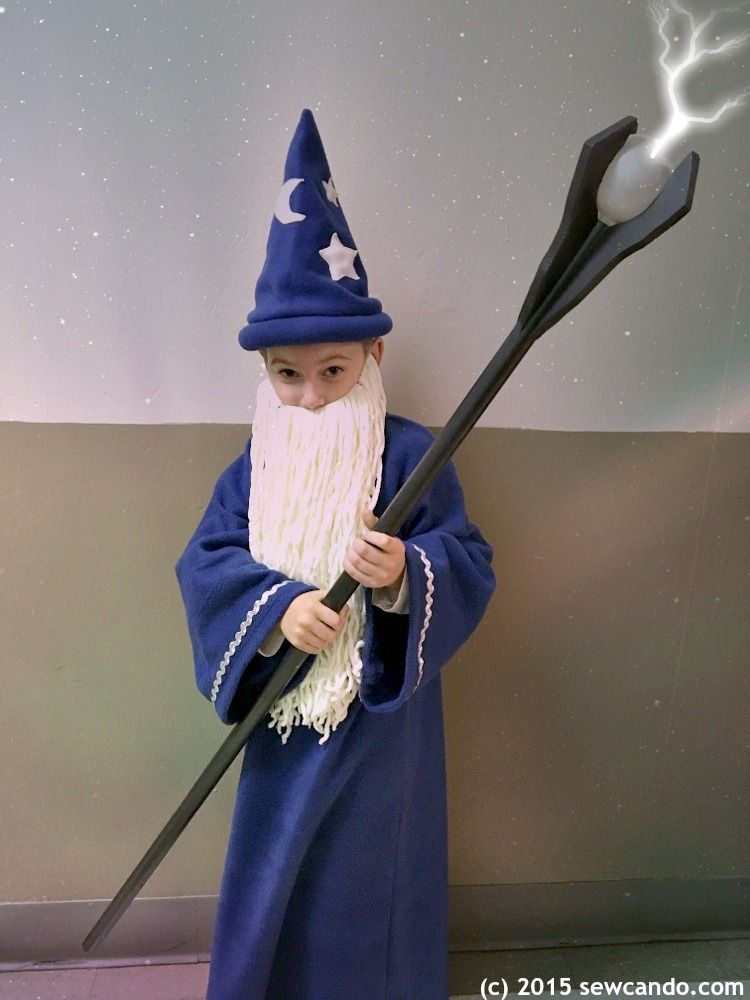
My husband made the magic staff for our little guy:
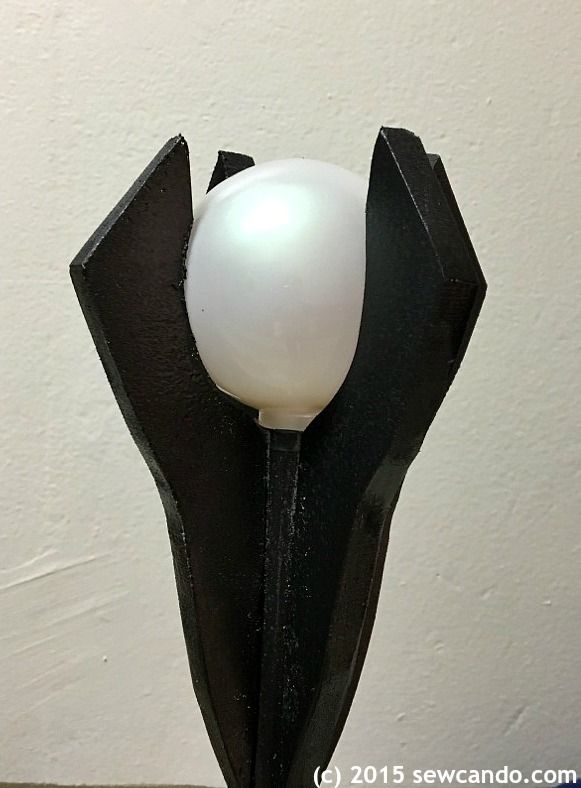
He used this linking mat foam which was ideal. It cut easily and also makes it quick to add & remove the pearl - we're hoping to add an LED light to it before Halloween so it'll light up as well (without photo-editing magic that is).

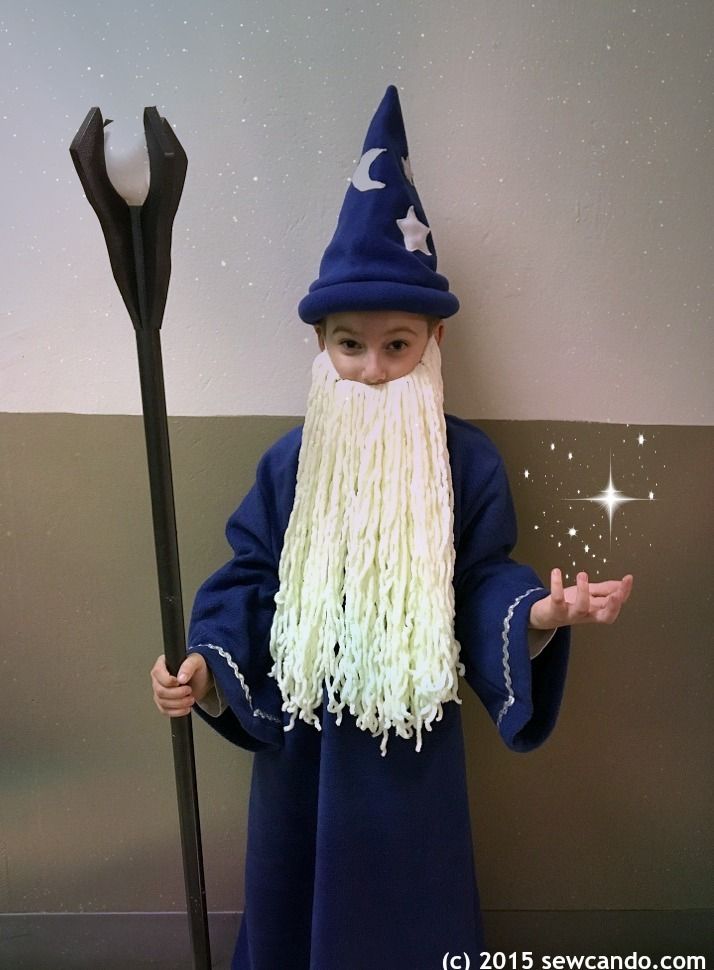
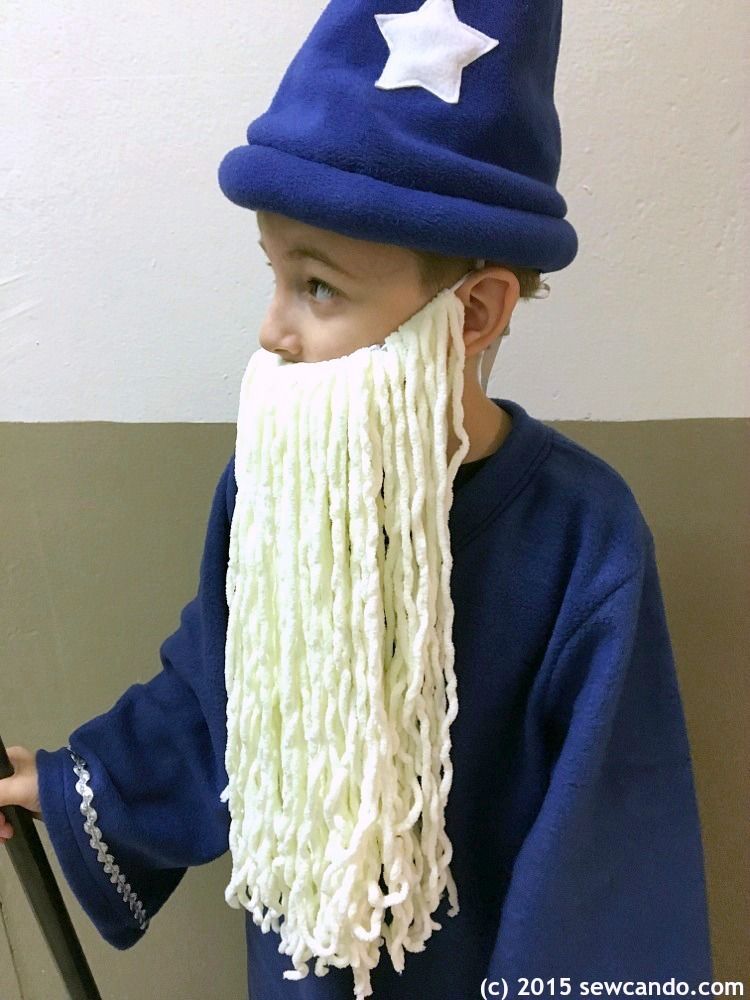
My crafty husband also made the beard using some leftover chenille yarn from when I did my DIY designer pillows. He used this awesome yarn beard how-to to make it in no time:
We've already gone to two Halloween events and this spellbinding guy has been a hit with everyone. He's totally enjoying his new ability to enchant - with or without magic powers;)
