Showing posts with label Craft Paint. Show all posts

Wednesday, July 23, 2014

How to Wow with DIY Soaping Painting


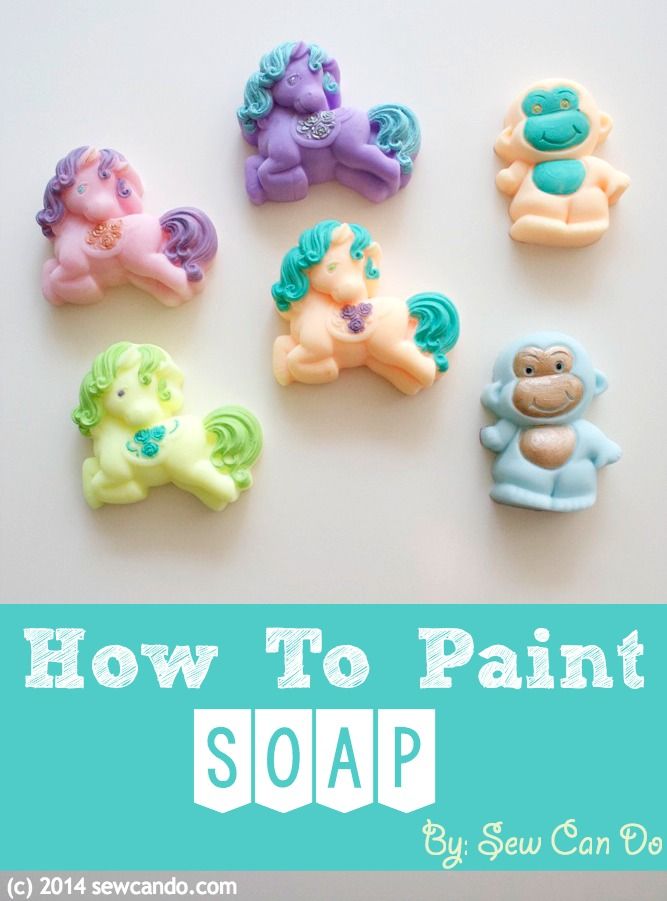
The very first type of crafting I ever did was soap making and it's been one of my favorites over the years.  It's pretty quick, relatively inexpensive and the results can look amazing. Ages ago I had some soap paints for decorating them, but no one seems to make them anymore.  After combing the internet I found scant info on painting soap, so I took what little I discovered, combined with my trial & error findings, to make these awesome babies: 


Making soap seem too complicated?  Don't worry you can use store bought for this too. You don't need awesome painting skills, or even know how to make soap, but I'm going to show you how to do both so you can make show stopping soaps from scratch.  I promise it's pretty easy.  You can also check out my full step-by-step soap making tutorial from a while back if you want even more details.


In case you're wondering, you can always color different sections of soap as you make it for a longer lasting effect, but this can be tricky.  You need to pour them carefully into the desired section of the mold, wait for them to set, then pour the remaining color(s) and mind the temperature so they don't bleed together.  It can be a lot of work and if you mess up, well, there's no going back.  It's also nearly impossible on molds with teeny tiny details or very shaped designs. 


Now let's make & paint some soap!!  

Materials:
- Melt & pour clear glycerin soap base (available online & at craft stores)
- Cosmetic Grade Fragrance Oil & Color Gel*
- Three Dimensional Silicone molds (mine are from WholePort)
- Pyrex measuring pitcher, heat resistant spoon, hot pads
- Spray bottle of alcohol
- Waxed or freezer paper

- Cornstarch
- Non-toxic acrylic craft paint & fine artist paint brushes

* Special Note – be sure that all fragrance oil & color gels used are labeled cosmetic grade. There are a lot of other types out there and while it's tempting to use them, they are not made to be safe for skin!

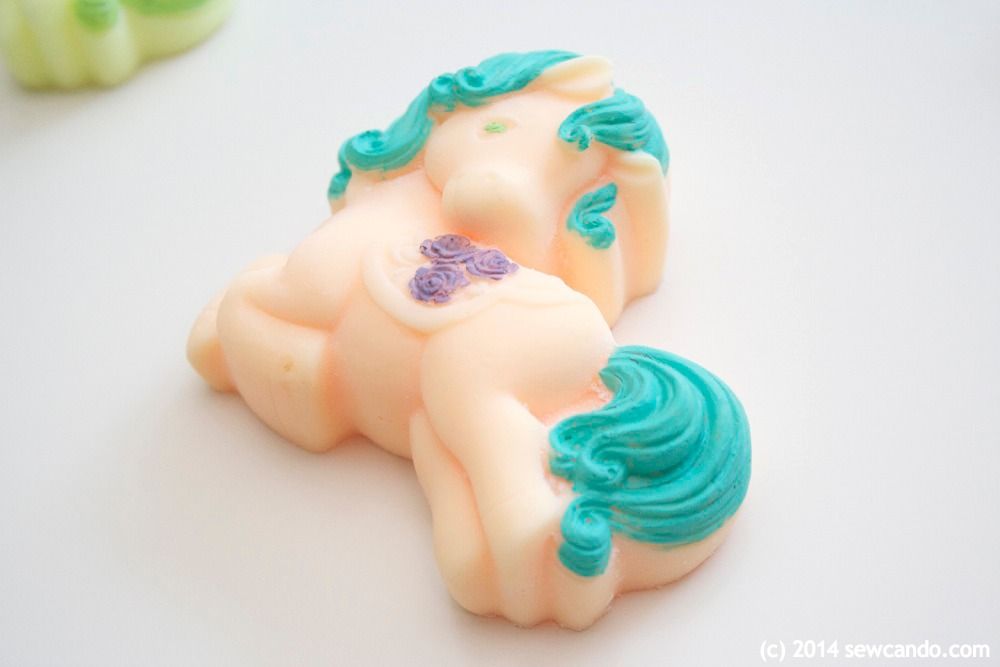
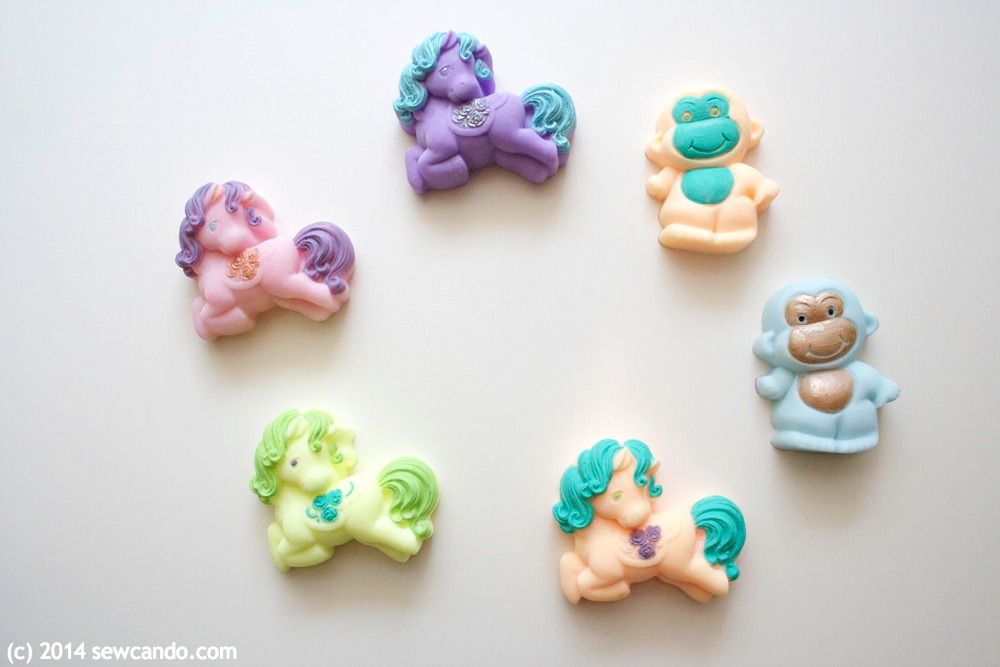
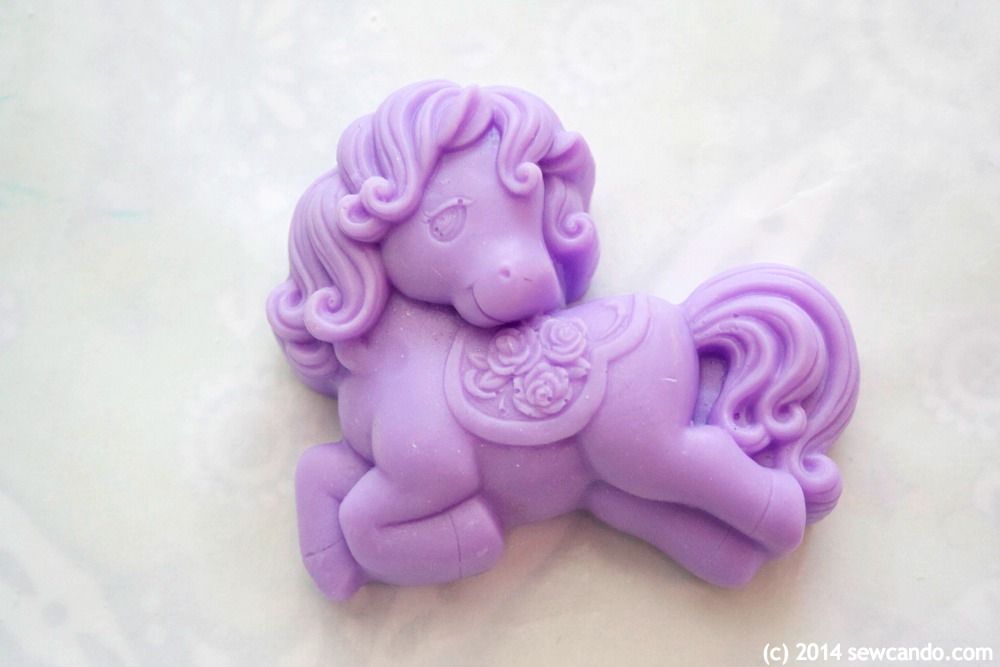
One of the key factors in wow-factor painted soaps is the soap shape. The more sculpted the design, the better the painting will look (and the less painting skills you will need).  The paint really brings out the details in a raised design, so you don't need to be Rembrandt to make a soap masterpiece.  My kids are serious My Little Pony fans so I was super excited when I found this similar pony soap mold.  I was able to make a stable full of different ponies:


Painting the mane & tail and saddle really brought out the fine detailing of the design. 


I got the lovely monkey mold that was really cute too and the little guys I made with it look even cuter with some contrasting color:


Making The Soap:
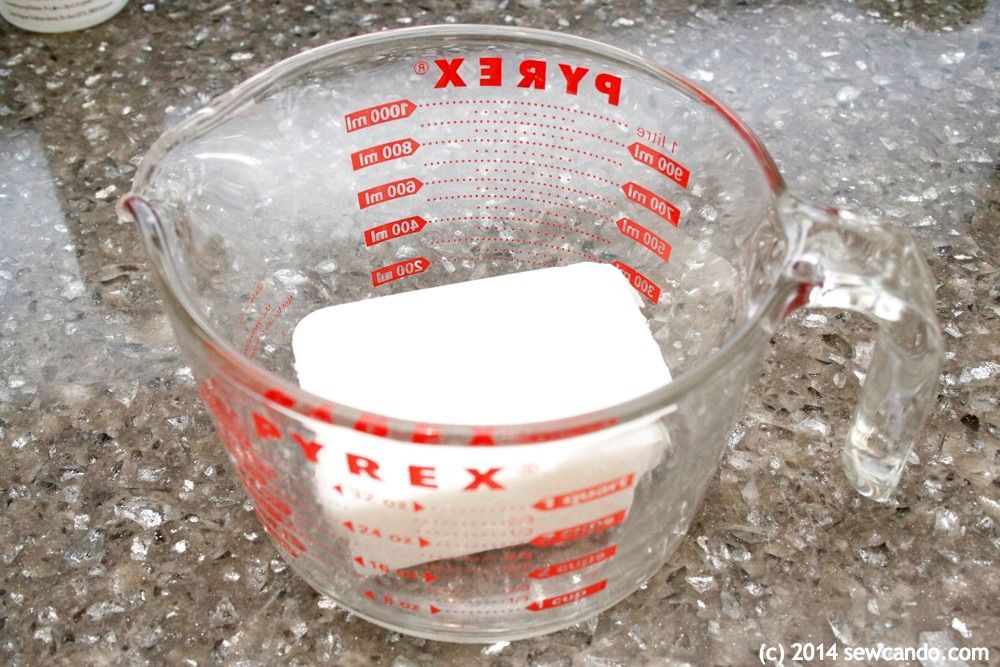
Start by cutting and melting the soap base in the Pyrex container.  2 lb blocks of soap base are readily available at craft stores and online.  These make it pretty easy to measure out what you need before it's liquified.  Melt slowly in microwave (1 min intervals until melted) or in double boiler, stirring occasionally, until liquified. You do not want it to get boiling hot, just smooth and pourable. 

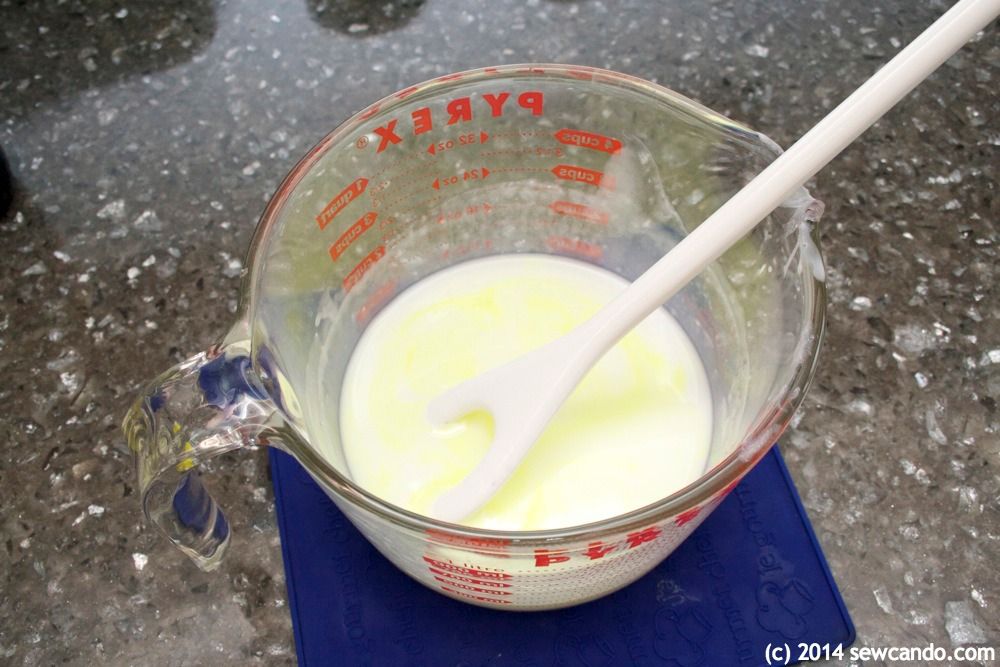
Add some fragrance oil and colorant.  Just do a few drops at a time until it's to your liking. Be sure to stir it up!  If you're using white base like me the colors will turn out lighter than the gel is in its bottle.  Several of mine were actually neon colors, but using just a couple of drops turned out nice and soft.


Pour into the silicone molds and spray the surface with alcohol to remove any air bubbles.
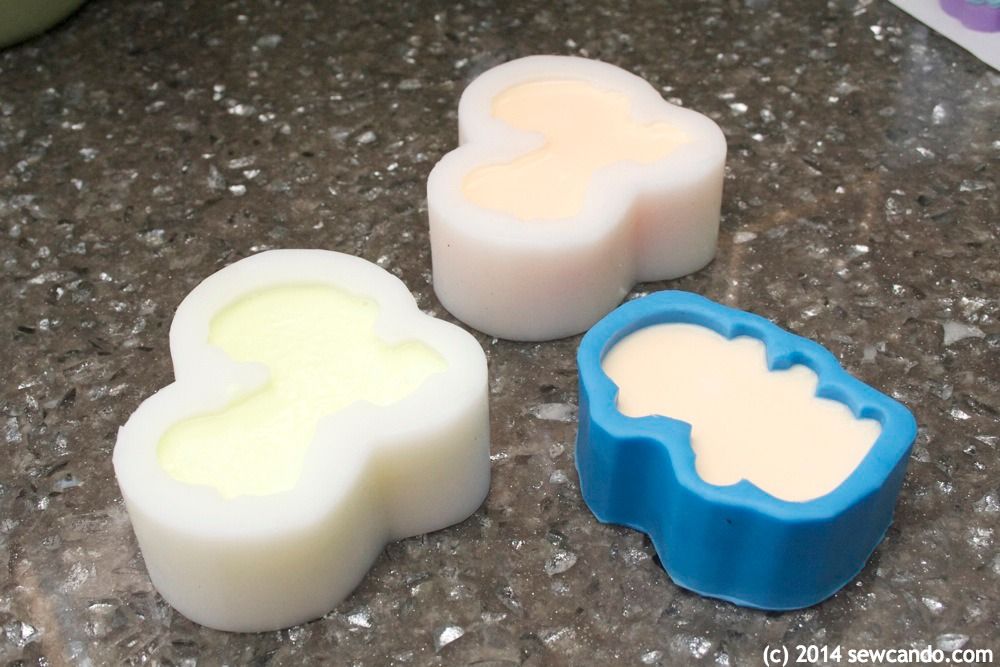


Let soap sit for a couple of hours to harden and then flip upside done and push soap out of molds.


Soap Painting:
Now for the painting part - dust the surface of the soap lightly with cornstarch.  This is key. It will help the paint adhere to the soap.  You don't need to be able to see it - think face powder dusting (even coverage, but you can't really see it once brushed all over).  Give it a minute or two to stick to the surface before painting.
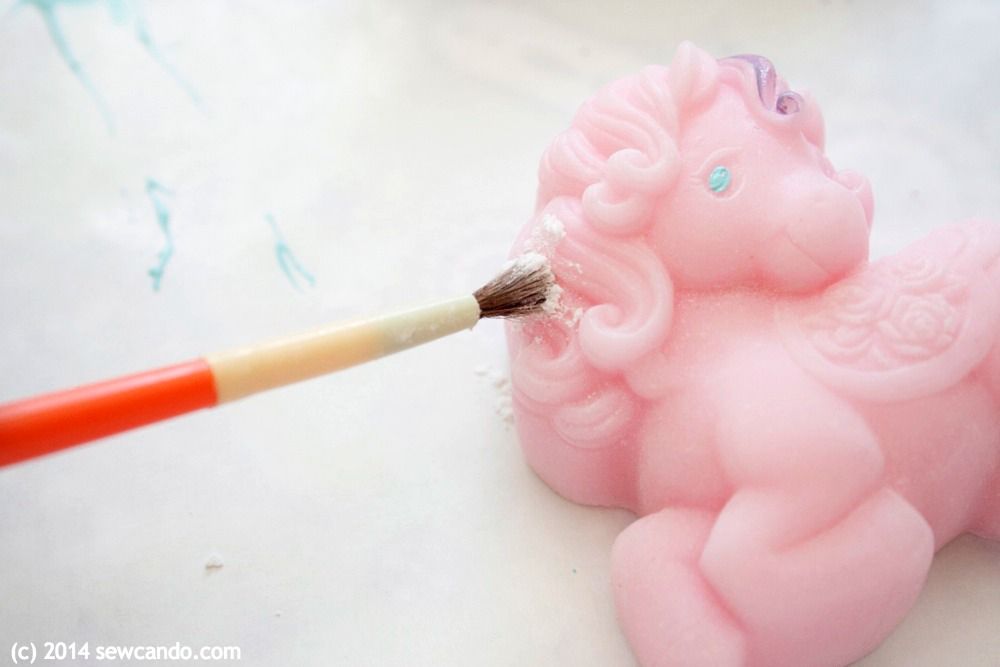


I recommend using paint colors that are at least a little darker than the soap color so the color will look best, even if it doesn't go on super smooth.  Really light colors can look streaky or uneven.  Also be sure to use fresh paint and really it shake up.  I used some older paint on one and it glopped up when I applied it and didn't look so hot:  


Could look better

Now here's the real trick.  Load up the brush with a good amount of paint and try to work in single strokes to cover.  The more you paint over previously painted sections, the more likely the paint will pull away, so the less strokes, the better. When the paint dries you can do a little touch-up, but try to keep it to a minimum. Using a good quality artist brush also helps - especially for getting into little details.


Goof up and get paint in the wrong spot?  Use a toothpick or q-tip to wipe it away. This will work even if it's dry since the paint is just lightly adhered to the soap. 


Keep in mind, the paint will wash away as the soap gets used, so if you want your beautiful paint job to remain as it is, the soap will need to be of the decorative "display soap" variety. I say go ahead and use 'em though.  Now you know how to easily make more;) 


I'm also sharing this with my FAVE LINK PARTIES.
Click HERE to check them out!

I was not financially compensated for this post.  I selected items from my Sponsor, Wholeport, to review.   The opinions are completely my own based on my experiences.  I am an affiliate of Wholeport.  For my complete disclosure policy, click here. 

Wednesday, May 28, 2014

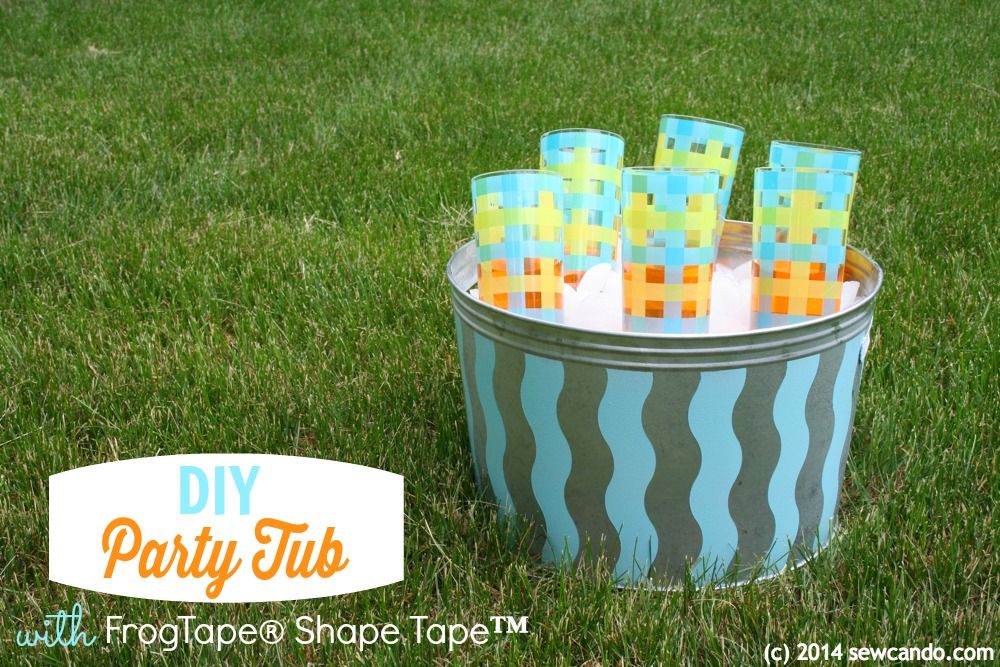
DIY Painted Metal Party Tub Using FrogTape® Shape Tape™

This is a Sponsored post written by me on behalf of FrogTape Brand Painter’s Tape. All opinions are 100% mine.

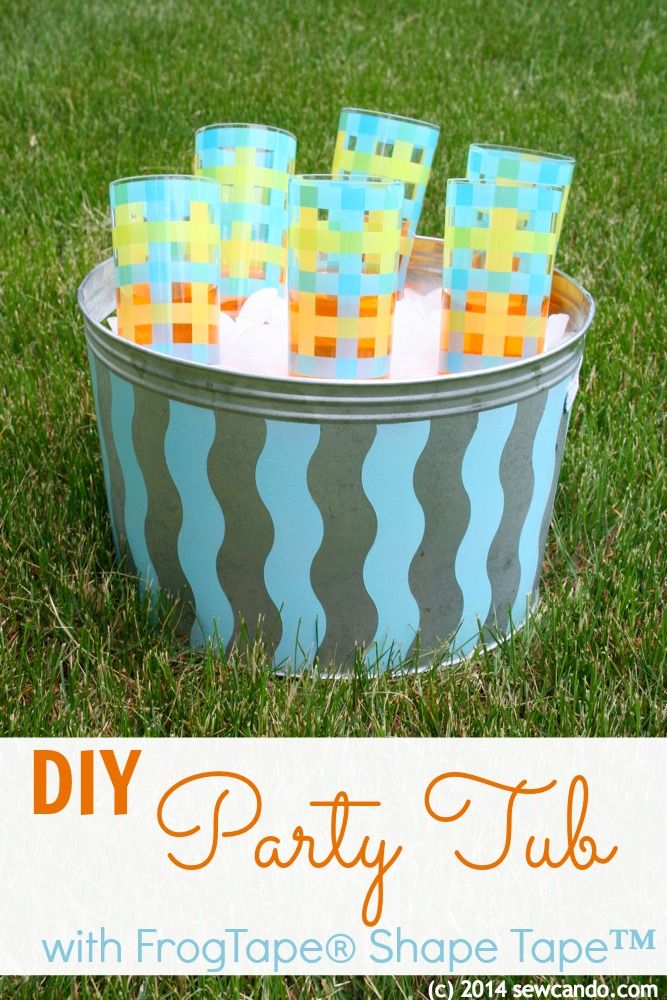
Now that we can finally enjoy time outside, I've been focusing on sprucing up our outdoor accessories.  Today I'm sharing my DIY Party Tub how-to.  Turn a plain galvanized metal container into a custom party tub using a little help from FrogTape® Shape Tape™.
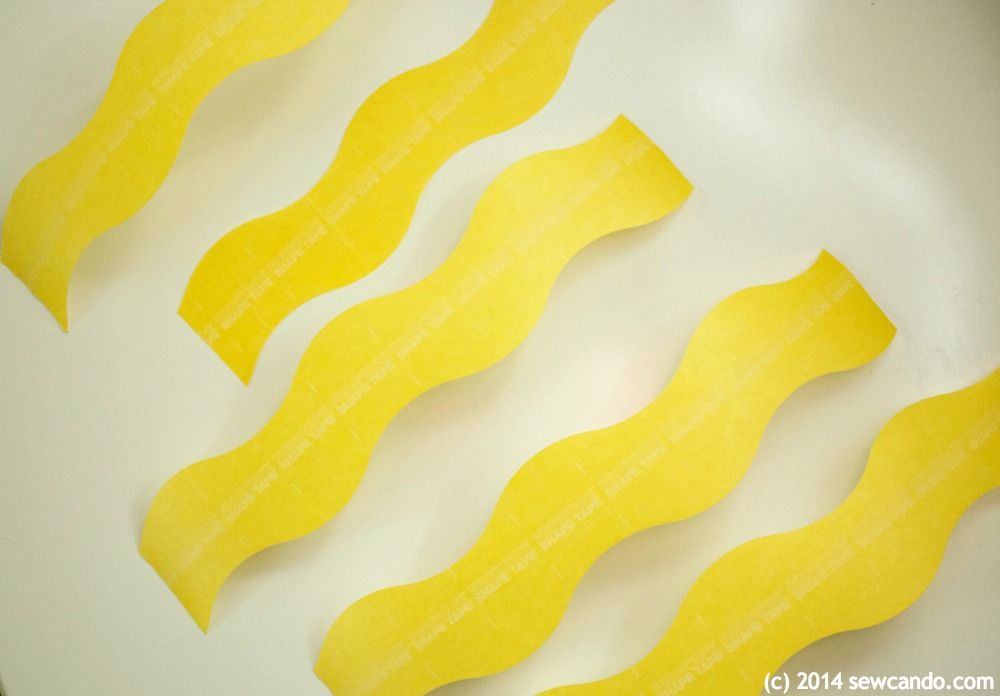
I have to confess, I used to be super anxious about doing projects with paint.  Especially on tricky shapes like this flared tub.  I always worried that I'd goof up my spacing or end up with paint spreading into spots I don't want it, but not this time! FrogTape® gave me a confidence boost because it's the only painter's tape with PaintBlock® Technology. PaintBlock® is a super-absorbent polymer which reacts with latex paint and instantly gels to form a micro-barrier that seals the edges of the tape, preventing paint bleed.  And it's ready to go in a fun designer shape - no fancy cutting required.  It sounded ideal, so I was willing to give it a go.
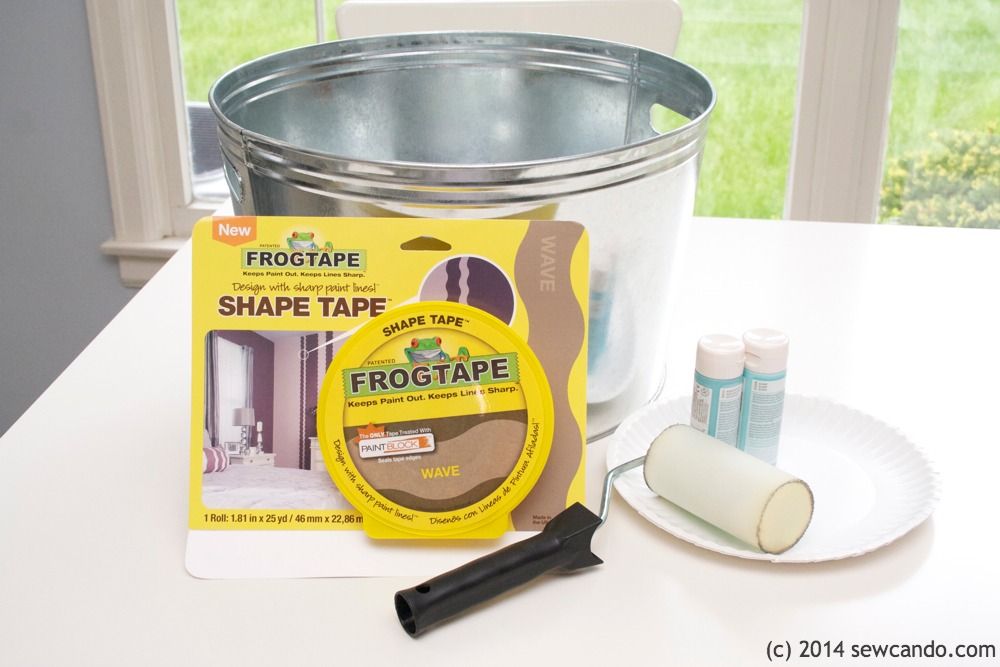
Materials:
- FrogTape® Shape Tape™ (I used the Wave design)
- Acrylic Craft Paint
- Galvanized tub or bucket
- Foam paint roller
- Scissors
- Paper plate
- Clean soft rag (old t-shirt) & vinegar
Here's my FrogTape how-to:
Start by cleaning the surface with a clean, soft cloth dipped in a little white vinegar.  This will help remove any surface oils so the tape & paint will adhere to the galvanized surface.
Decide on a layout pattern using the FrogTape® Shape Tape™.  I went with vertical wavy lines.  It was super easy to get them even - after I cut the first piece I used it as my template to cut all the others so they'd be identical.
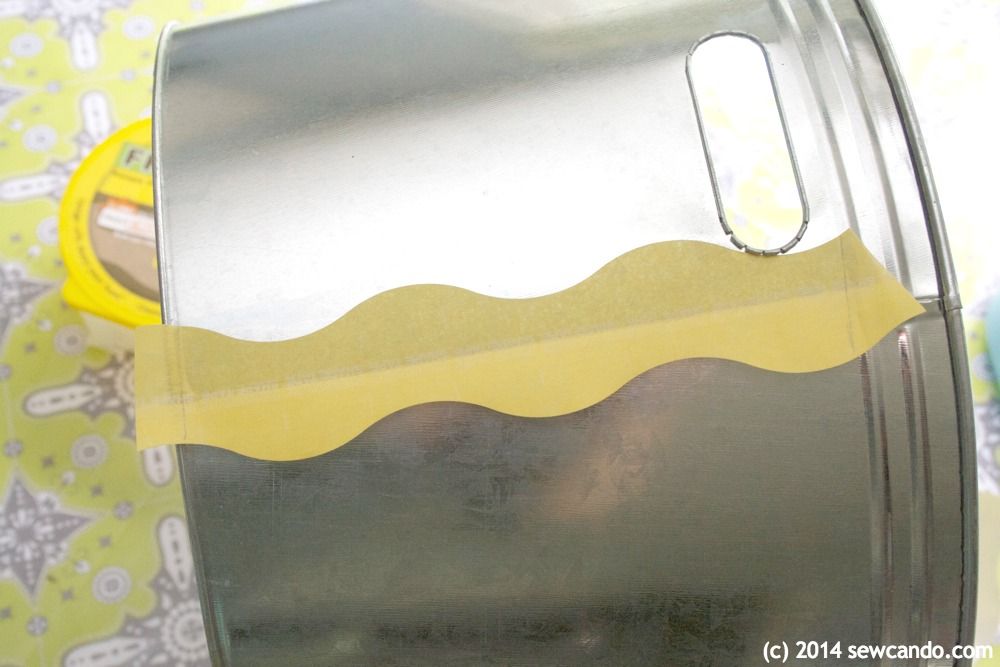
I started applying the tape at the tub's side seam.  
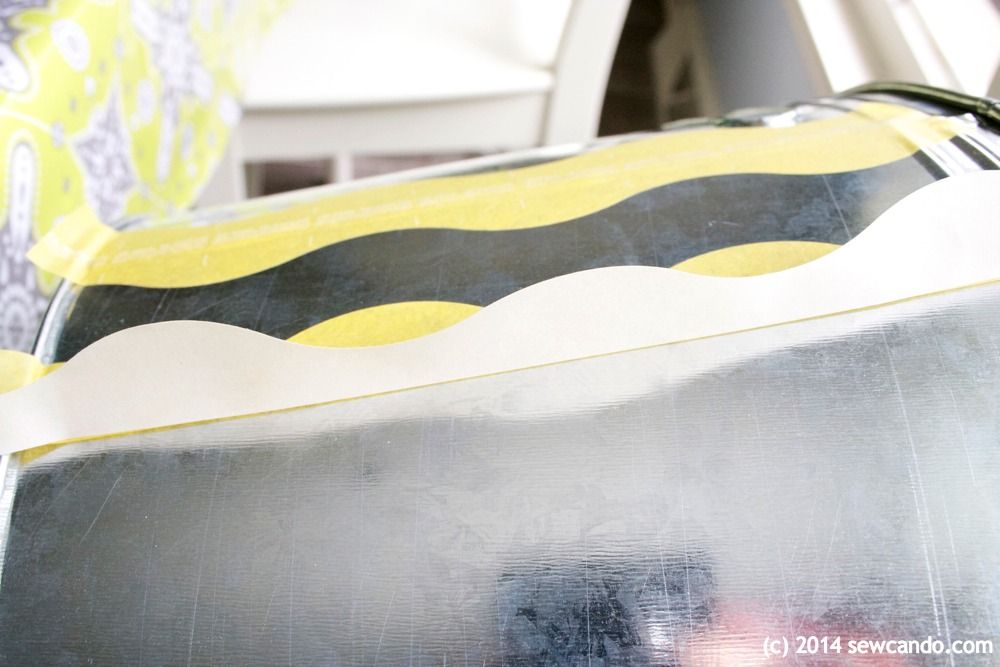
The tape has backing that splits in half so I removed the top half and was able to make sure it was perfectly lined up.  
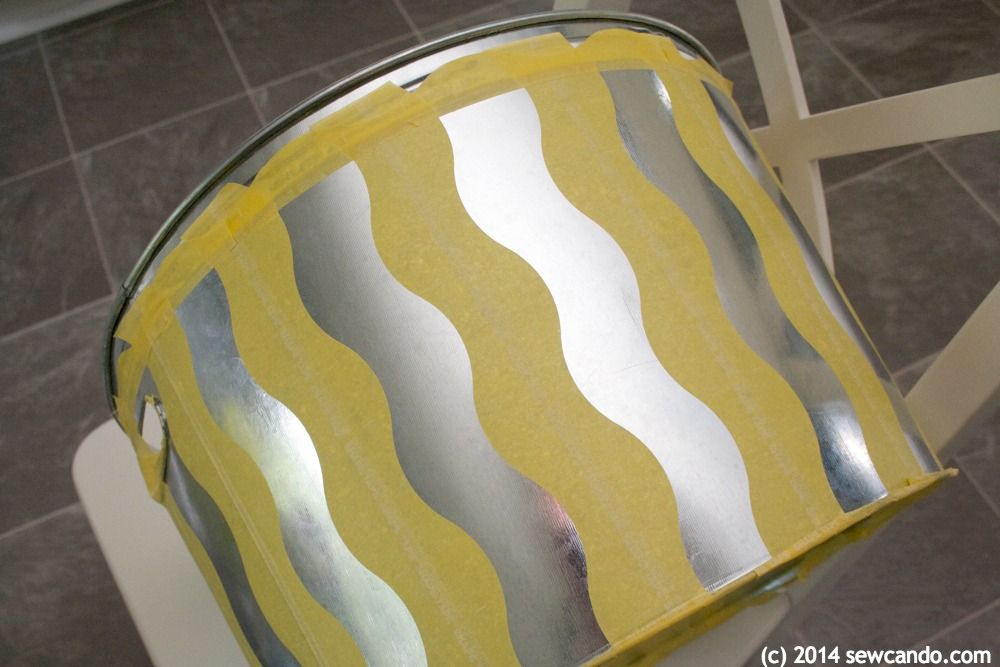
Then I removed the bottom half of the backing and pressed down.  It's important to really smooth the tape down around it's edges so it gets a good seal.  I repeated this with all the remaining pieces.  It wasn't hard to eyeball how far apart to make the waves and still get them pretty uniform.
I wanted to keep the wavy stripes within the tub's ridges at the top and bottom, so I cut another long piece of tape and then cut it again along the split in the middle of the backing and used those straight edges to tape off the base and top rims.
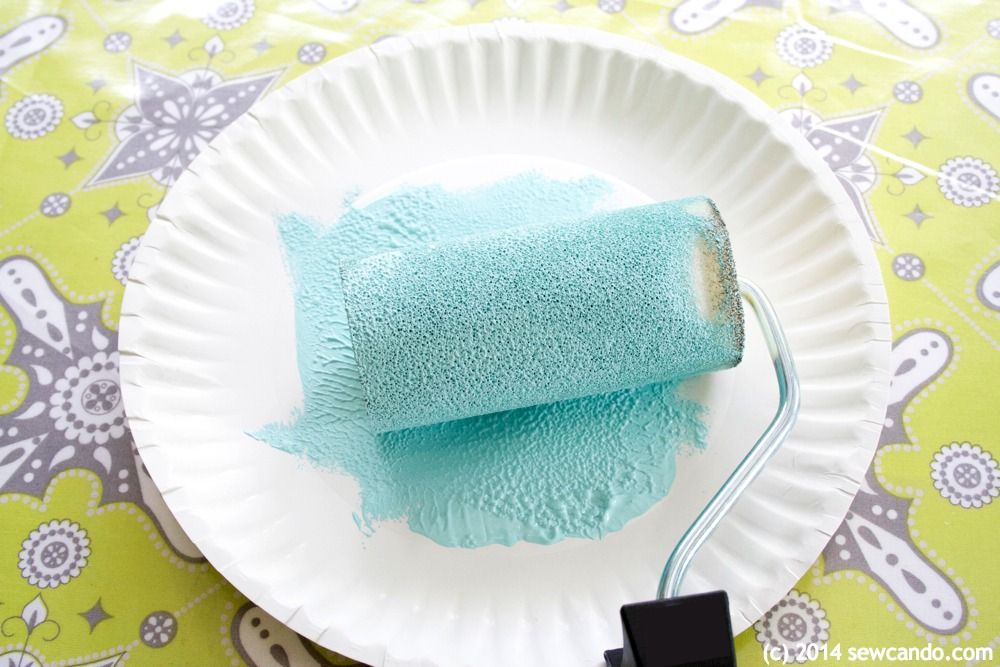
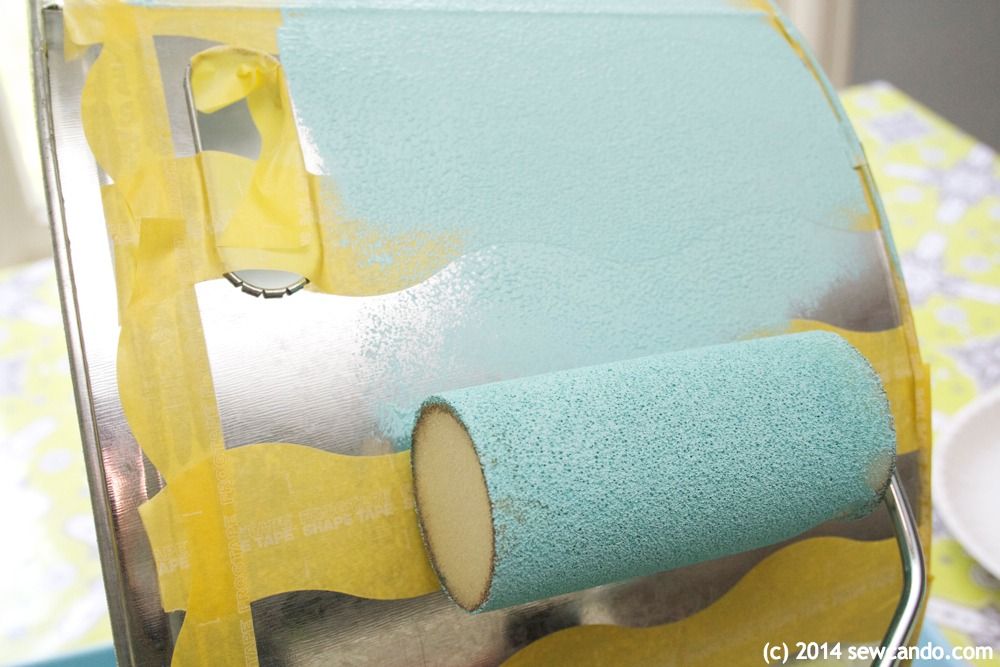
I spread some of my paint onto a paper plate & covered my foam roller.  I used acrylic paint since it's water-based like latex.  This meant it would work well with the tape's PaintBlock® Technology, but will adhere better to the galvanized surface.
I rolled the paint all over my tub until it had a nice even coat.
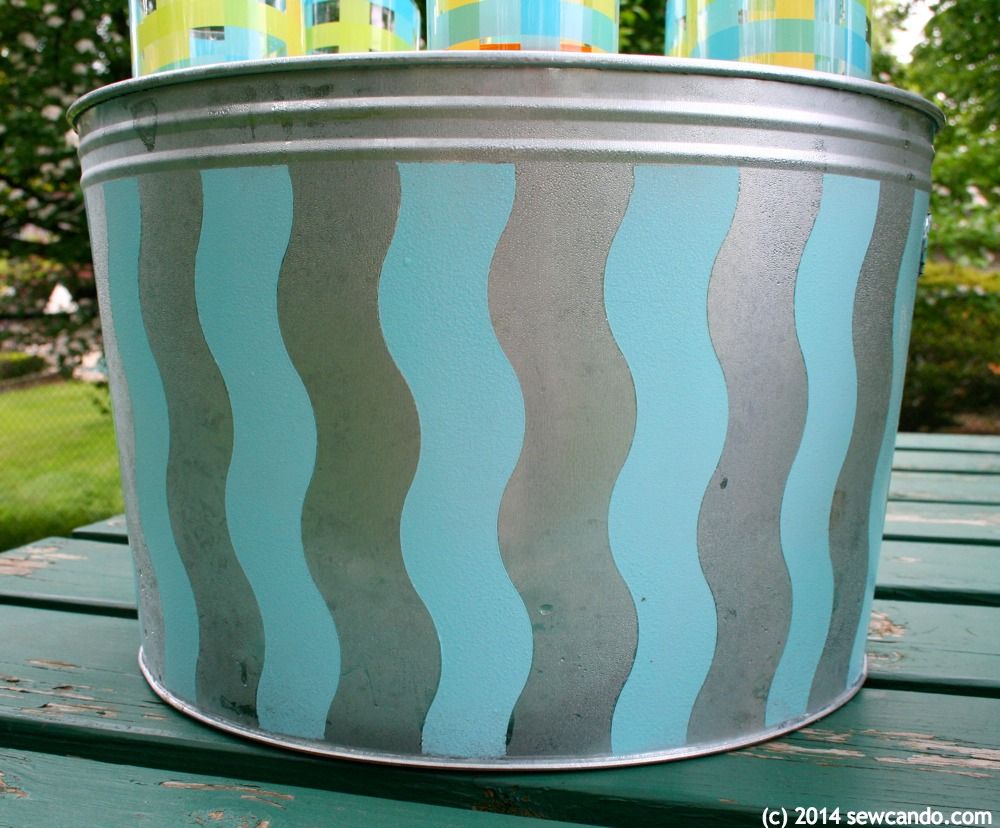
Then I carefully peeled off the paint.  This was my real moment of truth.  The FrogTape® Shape Tape™ totally worked!  Every wave was crisp and clean - no bleed through anywhere.
I let it dry and then tried out our pretty new tub.  It's great for chilling drinks and can be used for holding toys or towels too.  I'd recommend hitting it up with a coat or two of clear coat spray to help protect the paint if it's going to see some regular wear from moving it around, or a lot of condensation from holding ice. 

Want more fun project ideas using FrogTape®?  Follow FrogTape® on Twitter and share your own ideas on Twitter & Pinterest with #FrogTape hashtag!


I'm also sharing this project with my FAVE LINK PARTIES.
Click HERE to check them out!

Visit Sponsor's Site

Thursday, May 2, 2013

Tutorial: Make Your Own Custom Clothing Designs With Ink Effects


As I've mentioned before, I've got pretty limited graphic making & drawings skills.  Even so, I don't let it stop me wanting to create my own designs on clothes.  Today I'm going to show how to make fun custom transfers - that anyone can do - using Ink Effects.

So what am I talking about?  Ink Effects is a fabric transfer ink made by DecoArt (one of my lovely sponsors).  I really wanted to try it out, because I've always had a love/hate relationship with traditional iron-on transfers.  I love the idea of ironing on an instant design, but no matter what I did, they ALWAYS peeled off.  Who wants a shirt you can wear once or twice and then looks defective?  That sheet stuff also limits things to a single color, is a bit pricey & requires a cutting machine if you want to make a custom shape.  And it looks plastic-y.   So frustrating!

Using Ink Effects is totally different.  You simply paint your design on regular paper and iron it onto your fabric.  You can use lots of colors, mix them to create your own shades and layer them too.  So many more possibilities...there's no way I could have made this with those plastic sheets:


The inks transfer best on synthetic fabrics, but will still work with cotton blends for a more watercolor-like finish.  The trick with those is using their spray-on base coat to help the ink adhere better.  I used it with the two t-shirts I did:


It's also important to go by the colors on the caps when designing - not the color of the ink as it goes on.  It'll transfer on the fabric as the cap color:


For my first one I just painted up a coloring book page.  My little miss is a My Little Pony fanatic, so I knew she'd go bananas for a pony-themed shirt.  I painted the black outline with a really thin craft brush:


Then I filled in with some colors.  There's no way I could draw Rarity myself, but I can paint in the lines of a coloring book:


Then I just ironed it on.  You've got to keep the iron moving a bit and press really firmly to get the colors to transfer evenly.  With the cotton blends it took a few minutes:


Then I just peeled the paper away and could see some purple pony peeking out:


Ta-da!  We have a pretty pony!  I was hoping little miss would like it and the minute she saw it she went "MY LITTLE PONY!  It's a Rarity shirt!!!" and snatched it out of my hands.  I think it's safe to say she approved.


If you want to do your own custom designs it's nearly as easy.  I wanted to make a Harry Potter-themed shirt for my 10yr old since he's a big fan, but I had nothing I could just color like that.  So, I downloaded a free Harry Potter font from dafont.com and typed up the phase I wanted in Word and remembered to mirror it before printing (you don't want backwards letters!).  For the wizard's hat I freehand drew a pointed hat with a little "H" crest and traced two quarters to make the perfectly round glasses.


I painted two layers so the black would be pretty solid.  It took a little time painting the letters, but it wasn't hard.  Then I lined up the papers to a spacing I liked & did the ironing.


I didn't iron the edges quite as long as I probably should have, so I could have transfered the black a bit better, but it kind of gives is a bit of a dreamy, foggy feel.  Since that's sort of Potter-esque, my little guy still digs it:


And if you want crisper, brighter color, using 100% synthetic fabric is the way to go.  I had this plain polyester white top I hadn't worn in years because it was a bit boring, but add some freehanded blue sparrows and it's much more interesting:


I liked the freedom to do whatever kind of design I want and not be overly complicated.  It's also making me want to do more things with synthetic fabrics, which is something I usually avoid.  Now I want to rummage though some more old clothes in the basement and see what else I can transform!


I'm also sharing this project with my FAVE LINK PARTIES.
Click HERE to check them out!


I was not financially compensated for this post.  I received free products, of my own choosing, from DecoArt to use in my own project ideas.  The opinions are completely my own, based on my experience. 

LinkWithin

Related Posts with Thumbnails