

It's that weird time of year when winter decor seems out of place, but it's still too early for spring stuff, isn't it? I still love the snowmen burlap wreaths I made earlier this year...
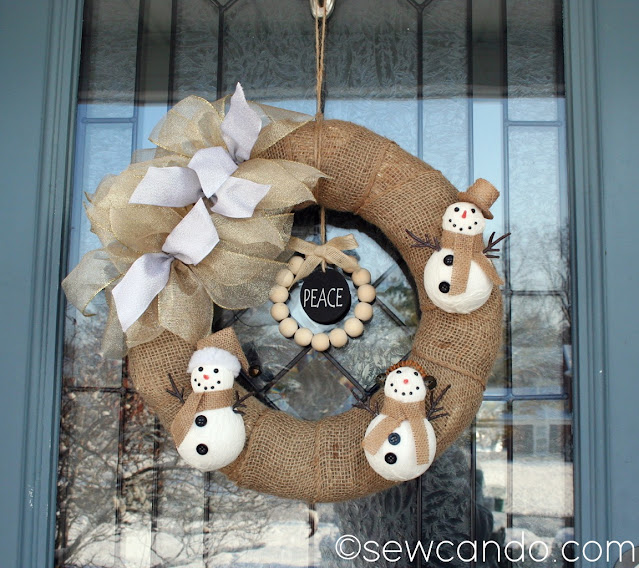
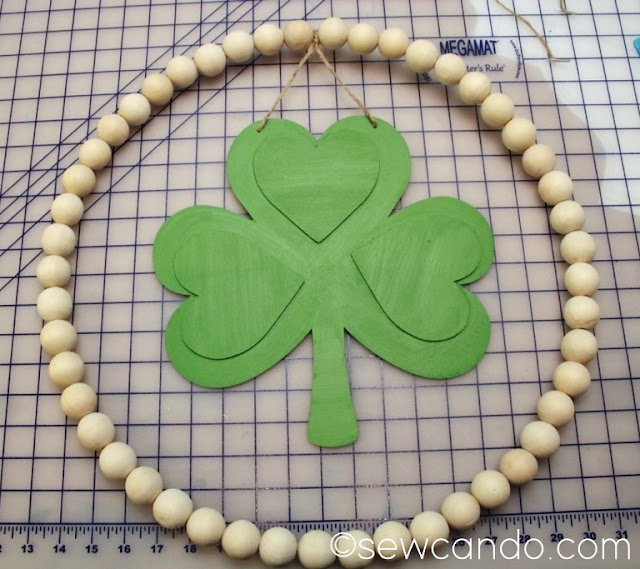
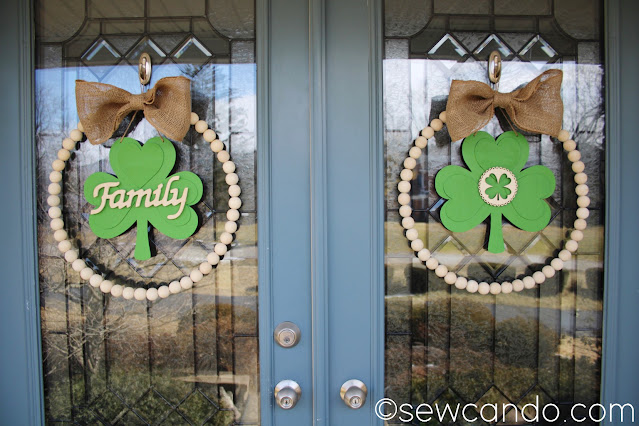
but it feels like it's time to put them away. I'd gotten some wood bead wreaths to do up for spring, but that's still a few weeks away, so I decided to do them up in a temporary way for St. Patrick's Day to keep some door decor going:
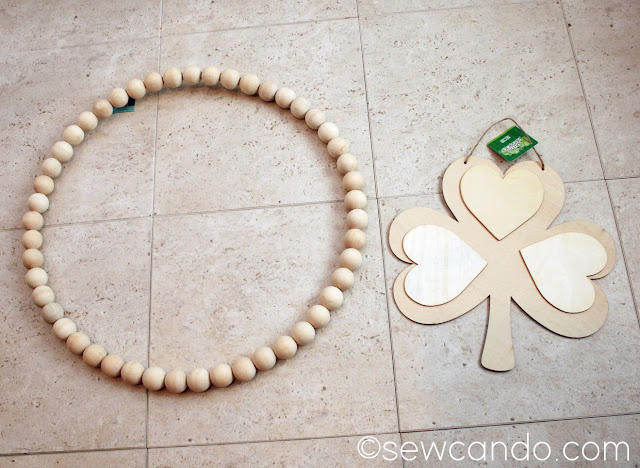
These are super simple and relatively inexpensive to do:
Which is key when you've got double doors like we do:
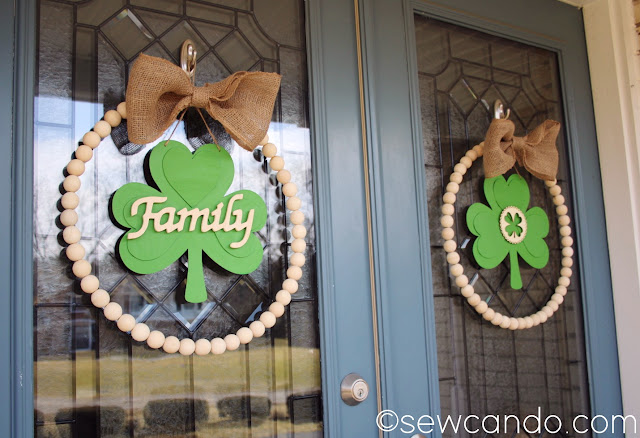
They've got the festive flair of the upcoming holiday:
but they'll also be easy to take apart so I can do a spring version later and I can still keep all these elements to use again too:
Materials:
- Wood bead wreaths (I got mine from Hobby Lobby)
- Large wood shamrock shape (mine were from the Dollar Tree)
- Smaller wood shapes/words (mine were from Jo-Ann Stores)
- 1 yd per wreath of large burlap ribbon (mine was 6 inch wide)
- Acrylic paint
- Twine & hot glue
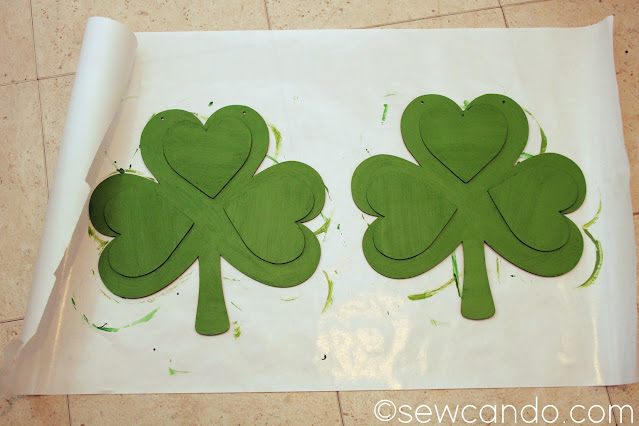
I started by painted my shamrocks with acrylic paint. I wasn't sure I had kelly green at home so I impulse bought some at the dollar store. It was awful. Super thin and didn't cover well. Luckily, I found some in my stash that was the Martha Stewart kind that was a close shade of green and covered with that.
When dry, I restrung them shamrocks with twine, attaching them to my wreaths with a lark's knot so they wouldn't twist, but lay flat.
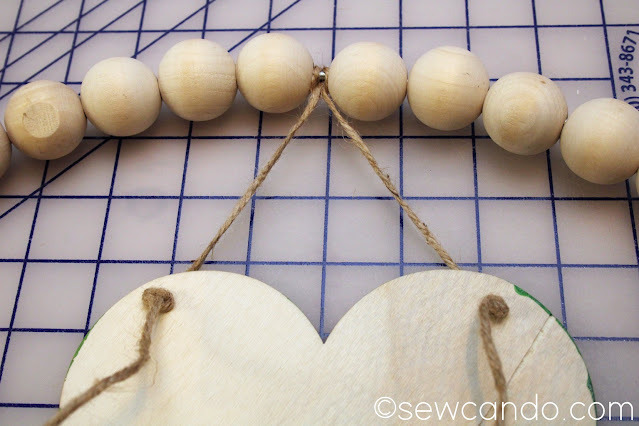
I also made sure the lengths of my twine centered them well on my wreaths:
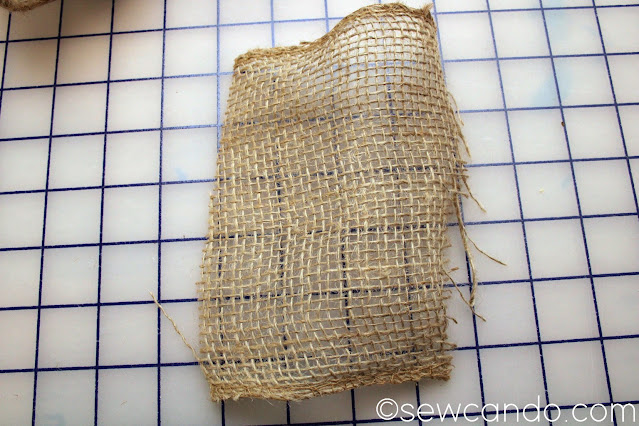
I scrounged by stash and found some 6 inch burlap ribbon and cut a 1yd length piece for each wreath. I cut a 4 inch piece off each to use for my bow center.
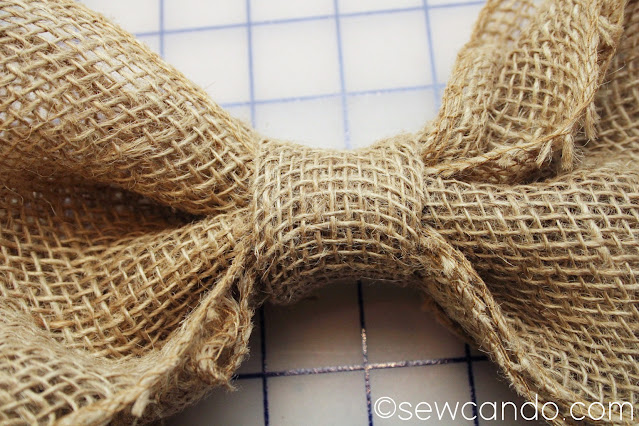
I laid out each larger piece of ribbon and folded it into thirds, so the tails overlapped. The full width was about 13 inches.

I cinched each bow in the center and tied it with twine:

I took my small burlap piece and folded it four times to make a narrow strip:
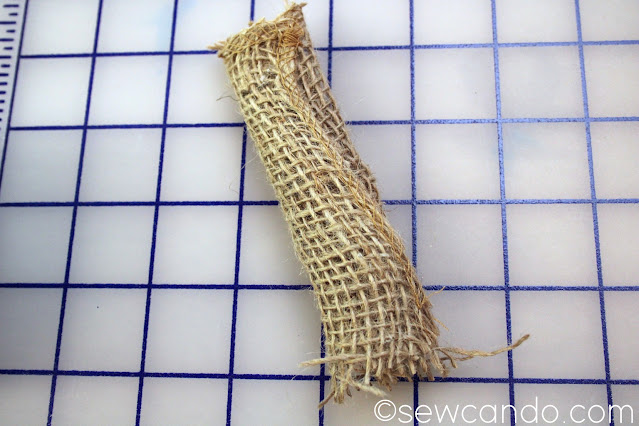
I wrapped the strip around the center of each bow and hot glued it closed at the back and then hot glued each bow to the top of each wreath.
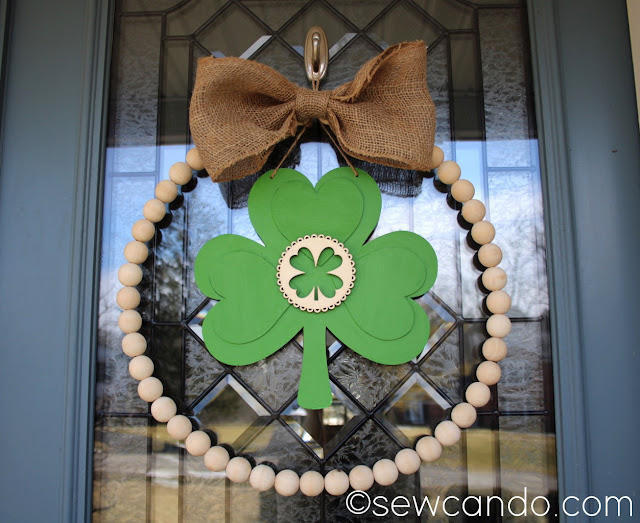
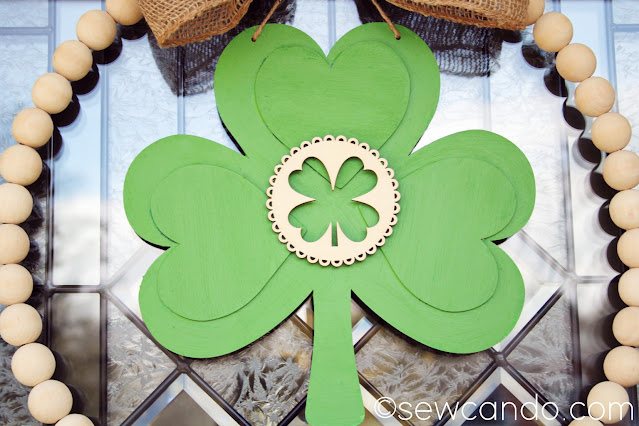
The wreaths still seemed too plain. Also, I only realized once I got them home that the heart details on each shamrock were a bit crooked. Not surprising for dollar store stuff, but kinda noticeable for something right at eye level. My stash saved me again, since I had some leftover unfinished wooden shapes from previous projects. One was a four leaf clover:
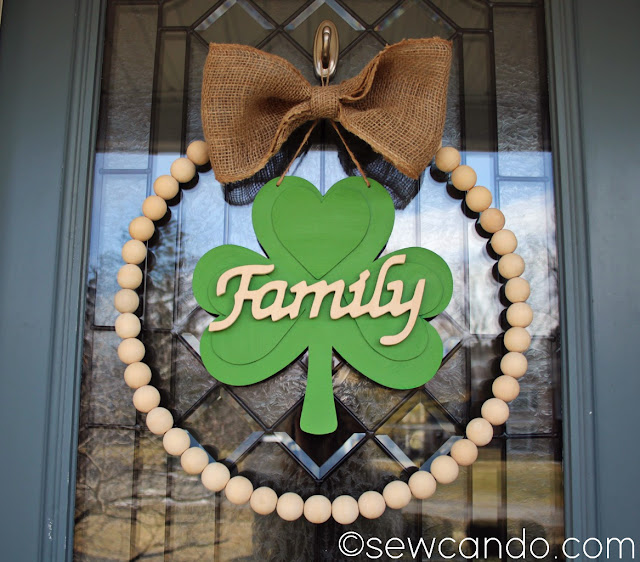
The other said Family. By gluing those to the centers, they camouflaged the asymmetry and also added some nice detail that went with the unfinished wood beads:
Then my wreaths were ready to hang and add some St. Patrick's Day cheer to our front doors!

I have been wanting to try one of these wreaths, but didn't want to have to make the wreath form, and string on all the beads. I didn't know Hobby Lobby had the wreaths already done. I was just there yesterday gathering some glue and scrapbook paper - will have to make another trip over to get one of these - thank you!
ReplyDeleteAlexandra
OnRockwoodLane.com
I felt the same Alexandra! They have several sizes - some are in the wreath section and some are in the wood aisle. I just saw a wreath tutorial after I finished these where they used a wood form and glued wood beads around for the same effect. Must have taken ages and costs at least double in supplies!! Can't wait to try these in a spring version:)
DeleteThese are adorable! I'm featuring them tomorrow on Crafty Creators. Don't forget to come grab your "I was featured" button if you haven't done that yet. I'll be sharing your post over the weekend on my social media.
ReplyDeleteXOXO,
Niki ~ Life as a LEO Wife