

Summer is here and I'm all about easy clothes for my little guy. Rompers are the ideal item: breezy on hot days, easy to get on & off, diaper change-friendly and plenty of wiggle room for a busy baby.

I came up with this pattern by taking what I liked about a number of his store-bought rompers and putting them all together to make the ideal wearable in this
Runaround Baby Romper.
Runaround Baby Romper.

Using soft binding for the tank style top and leg areas keeps it comfy:

And helps add pops of color:

The legs snap apart for fast & easy diaper changes:

The loose stretchy knit style means little ones can keep busy, but still stay cool:

My little guy loves playing outside in his:

It takes just an afternoon to sew one up. I've made a couple and intend to make some more since they're so fun. I did this one with some awesome solar color change knit. It's so cool how it changes from basic black & white into banana yellow with shadowy grey palm trees in the sun!

I was so happy with how this romper has turned out, I'm sharing my FREE pattern for it!

Given limited time and my current personal needs, I've only done the size 12-18mos (UPDATE: quite honestly it'll easily fit bigger as is, as my guy's comfortably wearing it again at 27mos!), but by extending or shortening the shoulder seams and the leg curves 1/2 inch each upward or downward, this could be sized up or down a size to fit 6-12mos and 2T-3T as well. It was hard to snap a full length shot because he loves running around in it!

Runaround Romper Pattern
Materials:- Fat half (36"h x 25"w) or 1 yard of knit fabric
- 1/4 yd rib knit for binding (25% stretch is ideal)
- 5 snaps (I prefer to use plastic KAM snaps)
- My FREE Runaround Romper Pattern
Printing the Pattern: Click HERE to download my PDF romper pattern. Print at 100% (actual size) no scaling. Measure with the test square to make sure the scale is correct. Cut out pattern pieces and tape portions that need to be attached. You'll end up with a front, back and back extender (to be diaper-friendly).


I still sew all my knits on my regular sewing machine - I use a triple straight stitch for the seams so they have the necessary give and a twin needle for the leg hems. Alternatively, everything could be done on a serger.

Cut out front, back and back extender pieces from fabric.

Cut the following strips from the rib knit:
(1) Neck 2" high x 16" wide
(2) Arm scythe 2" high x 12" wide
(2) Leg seam 2" high x 12" wide
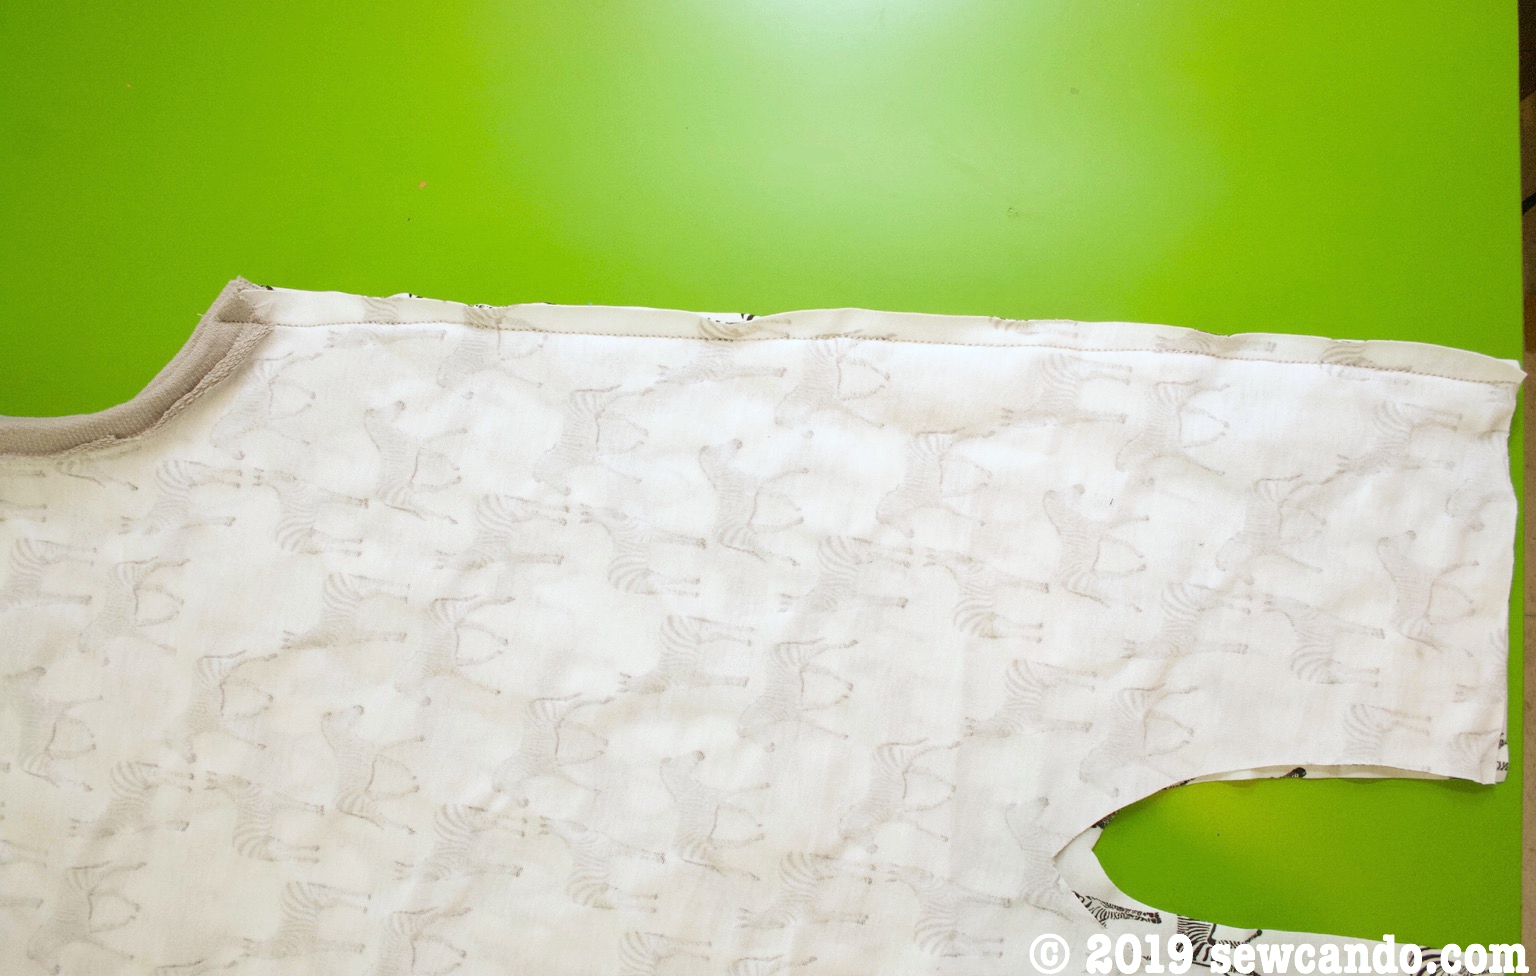
Sew together front and back at shoulders with a 3/8in seam allowance.

Sew the back extender onto the center of the back leg area. Go slow since it's got a lot of curve. Trim down raw edges.

With the right side of the romper facing out, take the arm binding and with its wrong side facing up, match up raw edges, pin then stitch together with a 1/2 inch seam allowance.

Then wrap binding up and over to the wrong side of the fabric and pin. Topstitch with a triple stitch close to the left side of the binding so it catches the folded over fabric on the back too. Repeat this with the other arm.

Take the neck binding and bring the short ends together, right sides facing. Stitch and then mark the circle into 4ths. Pin to the neck hole, matching the back seam of the binding to the center of the back neck and the other markings to the shoulder seams and front center, stretching the binding as you go. Stitch as done with the arm areas.

Turn romper wrong side out, pin and stitch front & back side seams.
Fold up leg hem by 1/2inch and twin needle stitch.

Attach leg bindings, but fold the raw edges on the ends inward (like you would with bias tape). Set snaps as desired. I used 5 to keep it simple.

Enjoy your new romper!


absolutely perfect for an adventurous little guy, he is adorable
ReplyDeletegreat romper and pattern! can't wait to get started. how much overlap should be used when attaching the pattern pieces?
ReplyDeleteThere's no overlap - just butt the edges together and tape:)
DeleteI don't quite get the back extender. Any chance you could show a picture of where it is after it has been sewn?
ReplyDeleteI don't get the back extender either..and in the picture it looks like other seams are sewn before this is put on
ReplyDeleteAll our summer clothes are packed away so I can't easily pull one out to photograph. It's just like the gusset on most baby rompers & footed pajamas - the oval patch that is right under the bum when they sit down. You need that extra bit of fabric on the back of the romper since their backsides are round, not flat like the front. The rounded side of the extender that doesn't have the snap marking is sewn right to the curve of the upside down "U" portion of the back piece (again, right where they'd sit down - the curve where the leg portion becomes the bottom). That is sewn on just before you add the leg area binding.
DeleteSome pictures frighten me but I will certainly try to do it.
ReplyDeleteThanks a lot for your explanations
It's not a complicated sew once you get going. Once you figure out how to do the binding (the whole stitch one edge first, then wrap over & around to the wrong side, if that's new for you), the rest goes very easily.
DeleteI make this with old tshirts and works a dream! Use the seamed ends of the shirt for legs to save hemming and I do my binding differently - I cut the edges off the cut and neck off shirts and use this! Looks gorgeous! Struggle every time with the bum but though...just so fiddly
ReplyDeleteDidn't see this until now, but this is great to hear and I love your shortcut with the seam ends. Yes, the bum bit is a fit fiddly, but it's the best way get the curve to accommodate a diapered backside - especially if you use cloth like I do. Would love to see your finished rompers!!
DeleteBonjour, tout d'abord merci pour ce patron. Je voudrai savoir si les marges de couture sont comprises dans le patron.
ReplyDeleteAmicalement
Mipia
Bonjour Mipia, oui,elles sont comprises. Meilleurs sentiments:)
DeleteI'm going to try this tomorrow with an upcycled T-shirt.
ReplyDeleteGreat to hear - would love to see it when you finish it. You can email photos to cheryl@sewcando.com and I'd be happy to feature it!
DeleteI'm going to be a grandma in a few short month's, and have a ton of baby daddys shirts and thought this would be a great way to upcycle. I am not a seamstress, everything I learned was on Jr high. Or high-school self destruction type of seamstress... but I am willing to give this a shot. Thanks for sharing. I appreciate that.
ReplyDeleteIt would be great for that! I am self taught myself so with a little patience and time, anyone can make them. I'd love to see them when you do:) And congratulations on the blessing of a grandchild!!
DeleteI understand why there is the extender but it is unclear how to attach the binding to it. there are no photos of this step. can you please explain and add photos?
ReplyDeleteThe binding is attached the same way as is done for the arm hole sections . There is a bit more curve to leg portion with the extender, but as the binding is knit, this should not be an issue if you wrap and pin it in place carefully. As this is a free pattern that was created several years ago, time doesn't really permit me to remake the project and add more photos to it. I hope this helps a bit.
Delete