

This summer I'm getting serious about using my hoard of craft supplies. It's a move it or lose it kind of mentality after years of collecting stuff that I've "meant to get around to using" and then well, not. I'm starting with some of my jewelry making supplies and this
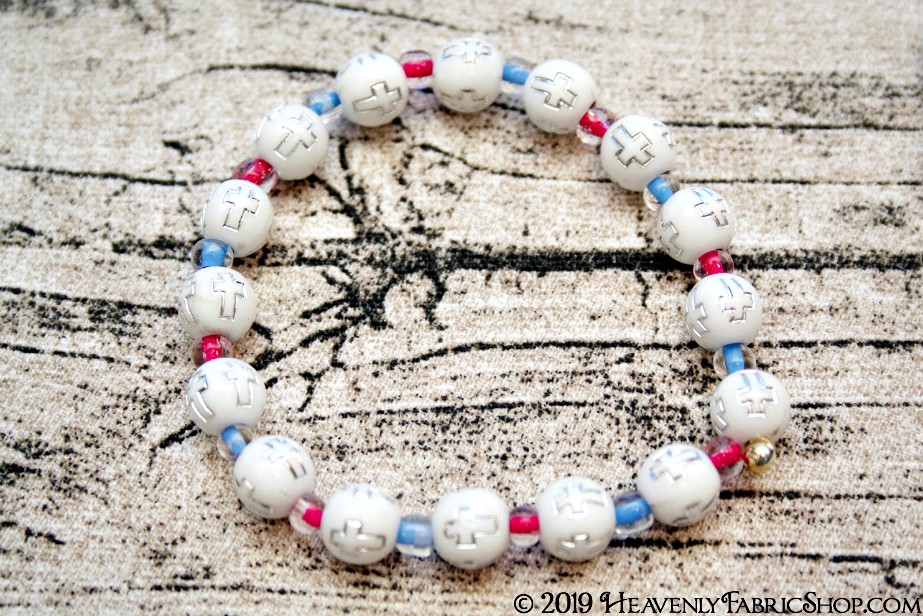
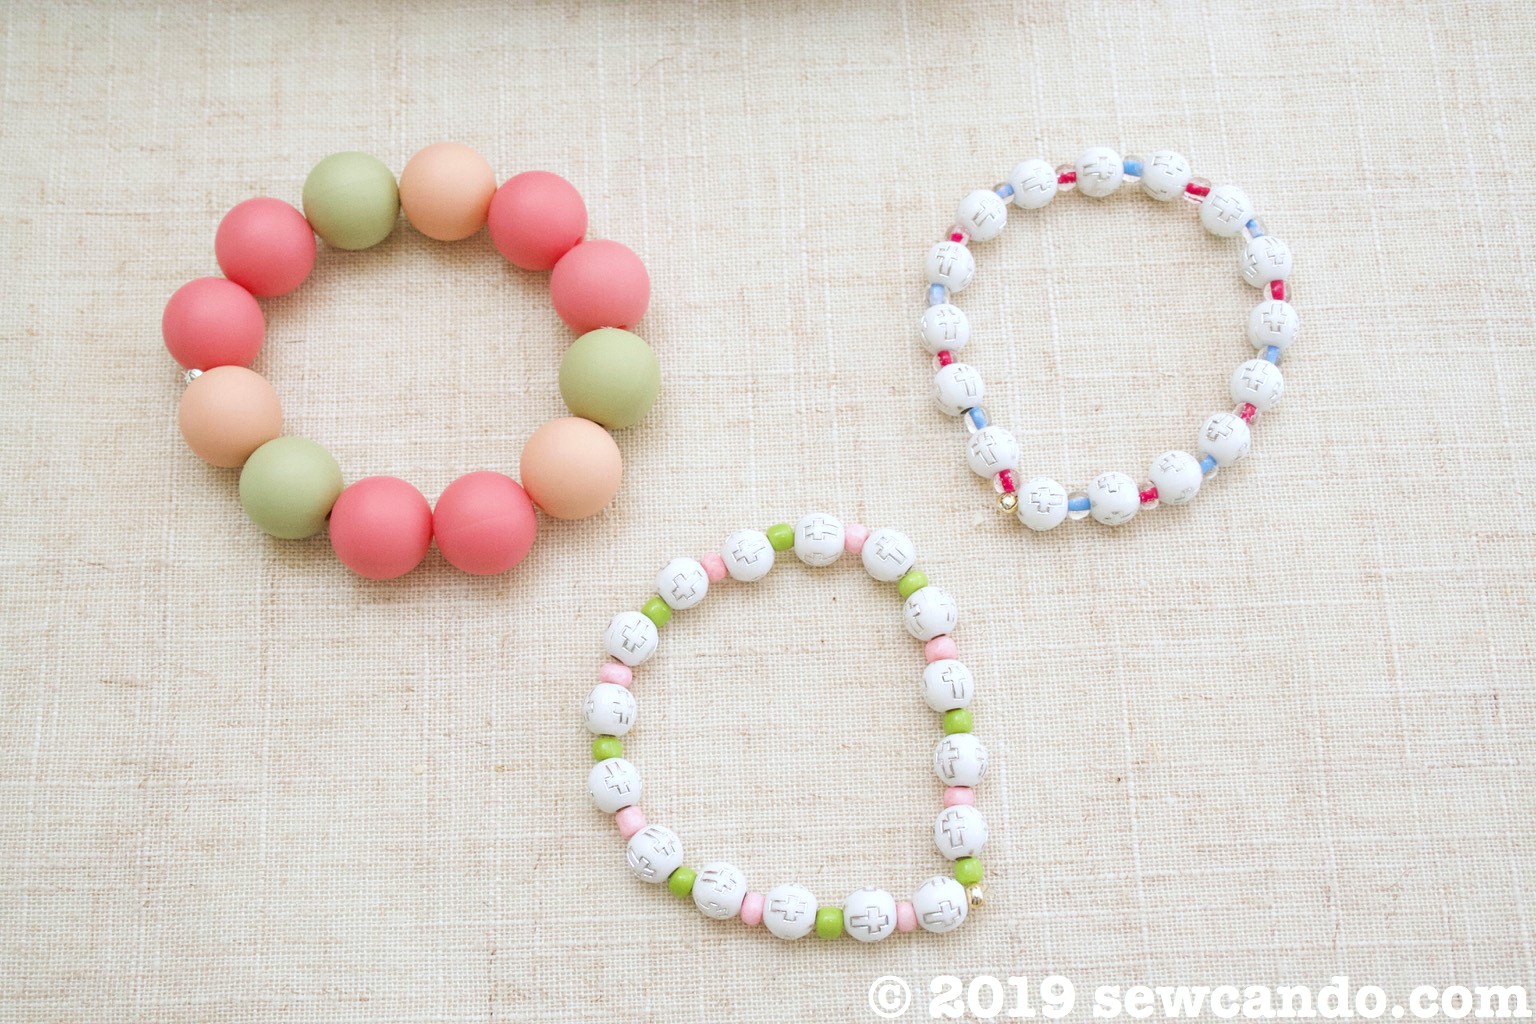
Easy DIY Beaded Stretch Bracelet how-to.
Materials:
- Contrasting seed beads (optional)
- Clear elastic stretch cord
- Round crimp beads
- Pliers
- Ruler

Start by laying out a bead design against a ruler. If possible, measure around the wrist to get the perfect fit. 7 inches is the ideal length for kids or petite adults. Cut a strand of stretch cord that is 2 inches longer than the wrist measurement. String the beads.

Bring the ends of the cord together and wrap them around a finger snugly & tie in a knot like you would a balloon. Pull the cord ends to bring knot as close to beads as possible.

Grab a round crimp bead. It will look like a puffy letter "C".

Cover the knot with the crimp bead so that it is fully inside it. Move the excess cord pieces so that one piece is coming out of each end of the crimp bead. Use the pliers to gently press the crimp bead closed.

It should look like a little ball.

Trim off excess cord and try the bracelet on.

Make more to share. These make a great gift!


0 COMMENTS:
Post a Comment
Getting your comments brightens my day. I'd love if you left one:)