

It's not spring or Easter season unless there's some kind of bunny in the house...why not make it your favorite little person by sewing up a Sweet Little Bunny Hat?

This one's extra fun because the ears stand up on their own:

I made this to go with the rest of my little guy's Easter outfit:

Ours is soft micro fleece so it is stretchy, yet solid, but not too hot in case we have a warm Easter.

It sews up pretty quickly, so there's plenty of time to make one and they are so cute in photos as you can see.

Materials:
- 1/4 yard of fleece (I used micro fleece so it wouldn't be too warm)
- Extra Firm stabilizer
- French curve ruler or small plate
- My Sweet Little Bunny PDF Pattern
- Pins, rotary cutter/shears
Printing the Pattern: Click HERE to download the PDF ear pattern and print at 100% (actual size) no scaling. Cut out inner and outer ear patterns.
Using my ear pattern piece, cut out two front and two back ears from the fabric(s). Using the inner ear pattern, cut two ears from the extra firm stabilizer.


Cut a rectangle that is:
Circumference of the head + 1.5 inches (for the width)
x
Side head length + 5 inches (for the height)
For my 12 month old I did 18.5 inches wide by 12 inches high.
Fold the rectangle widthwise, right sides together, and sew down the side with a half inch seam allowance.

Fold the fabric again, but this time only fold up to the seam so the seam allowance is uncovered. Find the top center of the folded bit. Mine was 4 inches wide folded, so the center was 2 inches in.

From there take a French curve or small round plate and cut a rounded shape down to the fold on the right, 3 inches down at the lowest end.

Do the same from that center point downward on the other side so you end up with a rounded point like this and set aside.
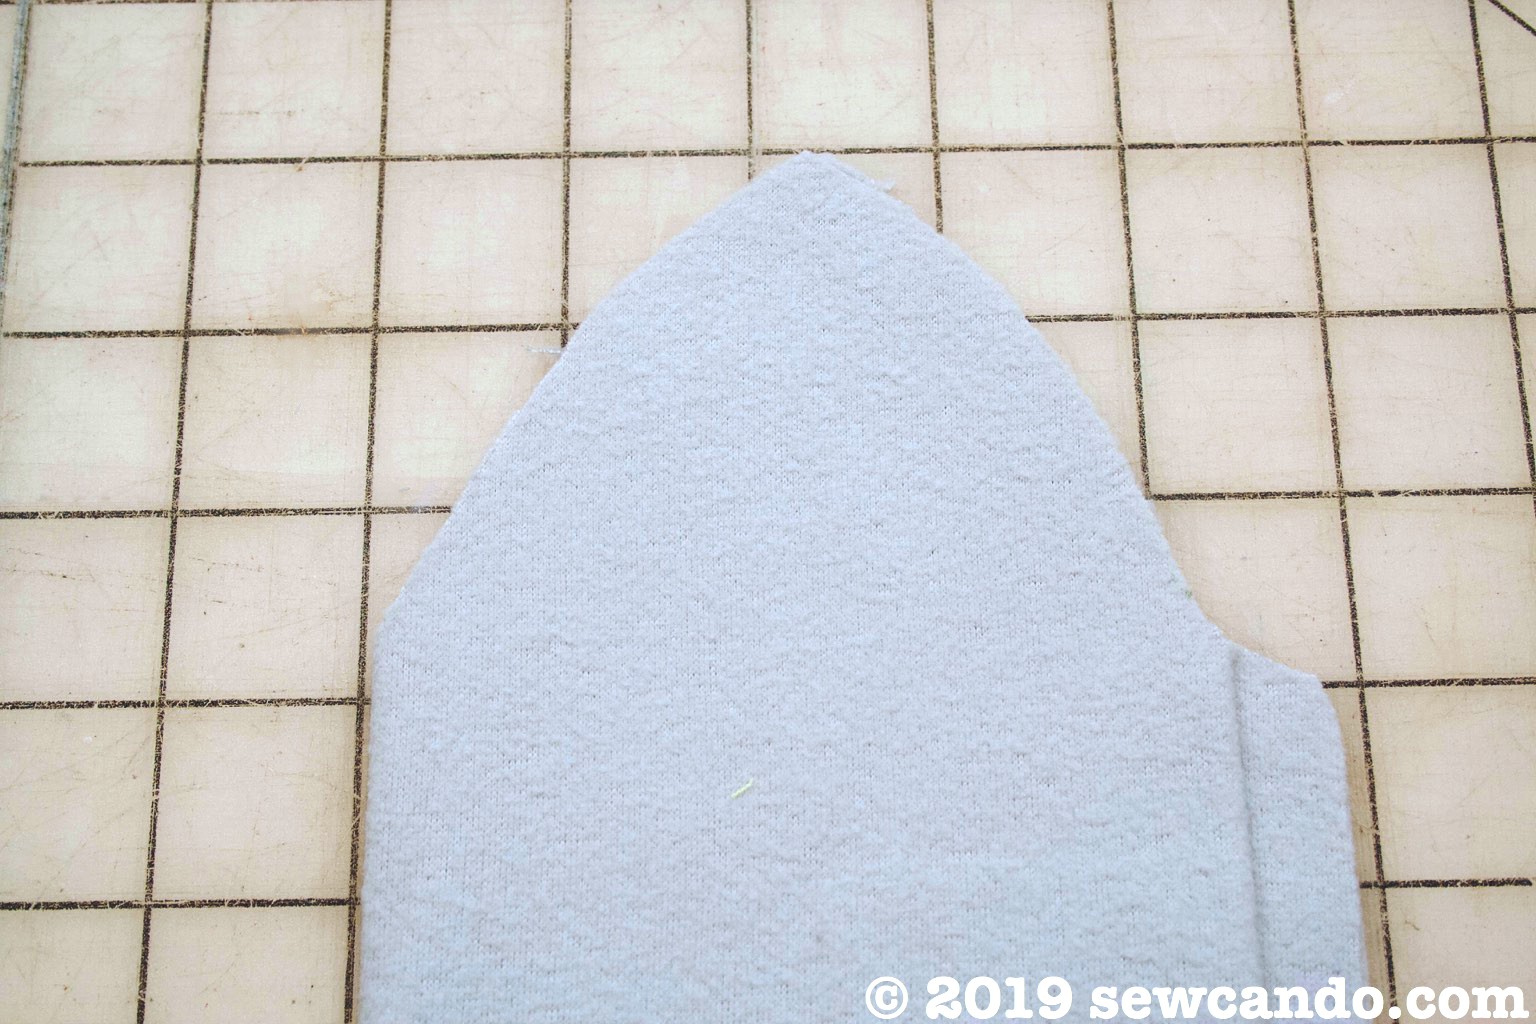
Unfold the hat and stitch the front and back curves as shown, using a half inch seam allowance. Trim down seam allowance.

With right sides facing, pair up the front and back of the ear pieces and stitch together, except for the bottom ends, with a .25 inch seam allowance. Trim or pinking cut the seam allowances down and turn the ears right side out.

Insert the stabilizer pieces into them:

Pinch each ear together at the bottom and baste.

Fold hat so that the front and back seams are lined up.

With ears facing down, facing towards the front side of the hat, insert between the front and back sides of hat, each ear being about half an inch from the center seam.

Pin ears and front & back sides of hat, then stitch all the way across.

If you turn the hat right side out it should look like this:

To finish the folded cuff, with wrong side facing out, fold bottom upward 2 and a half inches and pin. Stitch close to the raw edge with a wide zig zag. This will give the seam the necessary stretch.

It should look like this when done:

Turn right side out:

Then fold cuff up as desired and put on so some bunny is looking cute!


Love this! Made one for my new grandson, one month old. Wish I had some micro-fleece, but I used what I have and I think it'll be okay. That micro-fleece looks perfect for little babies, though. Really reduces the bulk!
ReplyDeleteGreat to hear and you're so right that it does! I'd love to see how it turned out if you take a photo (cheryl@sewcando.com). Happy Easter!
DeleteI just sent you a photo of a fussy baby!
DeleteHappy Easter!
What brand of Extra Firm Stabilizer did you use?
ReplyDeleteAny should do, but I believe I used Pellon. Would love to see if you make one!
Delete