

I've said that 2018 is all about the easy projects around here. With a brand new baby, 3 other kids to homeschool and running my fabric shop, there isn't a lot of time for complicated crafts these days or lots of supply shopping, so today's how-to is ideal: Custom Wall Art On A Budget.

My family room had been in need of some decorating updates, but I wanted to keep it economical. Some new framed art for one wall seemed a simple update, but I couldn't find much in the style & color scheme I have. Definitely nothing that wasn't crazy high in price anyway. So I decided to DIY it. The best part? The concept will work for anyone just using different paper & cut designs!

By using burlap card stock, the simple scrapbook paper layers look richer and more dimensional:

Materials:
- Wood frames (mine were from Ikea)
- Burlap card stock
- Scrapbook paper
- Cutting machine (or scissors)
- Wood tint or acrylic paint
- Tape/glue
Some basic Ikea frames, wood tint, plus paper from the craft store is the extent of the supplies. Super thrifty to make, but still nice to look at & no one would guess you'd made them:

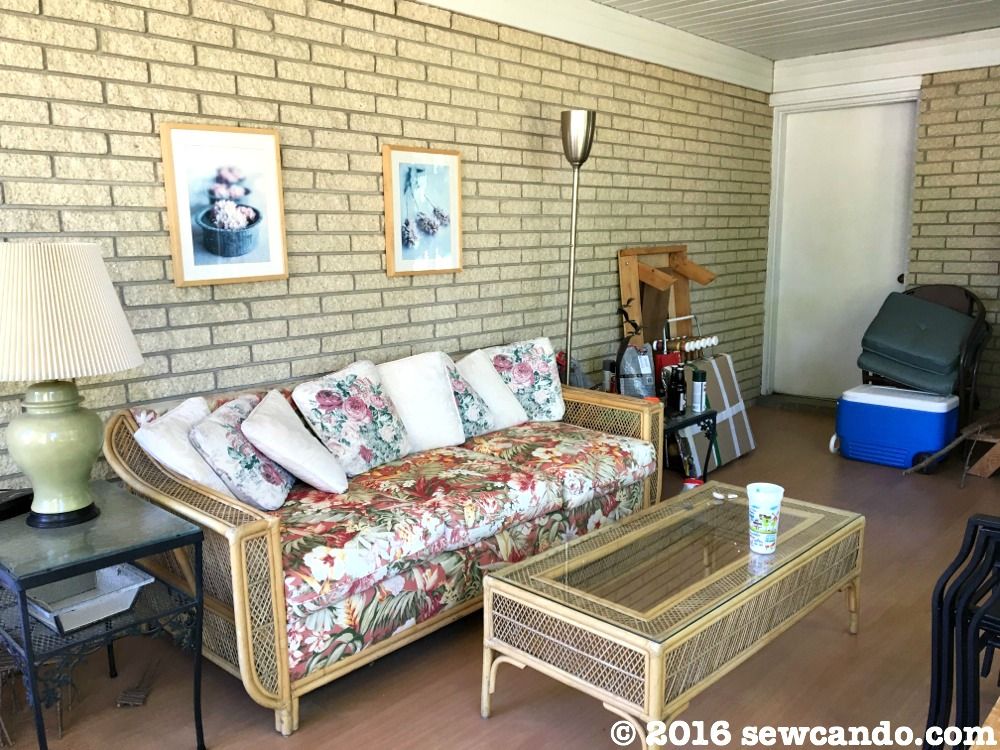
My cheap-y wood frames had spent a decade in my sunroom with some faded photo prints in them. They'd been purchased at Ikea ages ago for a couple bucks each. Of course, I forgot to take some good photos of them in their original state prior to this project....so here's a glimpse of what they looked like in the hideous "before" photo from my DIY Sunroom Makeover done in 2016. Light maple wood, nothing special. Definitely not a good match for my family room space.
My go-to item for upgrading wood cheaply & easily is this craft wood tint in the grey shade. It goes on easy, dries fast & doesn't require sanding. The color is sort of a "griege" (grey/beige), which goes with everything. I love that.

I just brushed it onto the frames. Even though they had a finish on them, it covered great and was dry pretty quick. It did 2 coats for good coverage.

I used this burlap covered card stock as my background to add texture. It was just a couple of bucks, plus a coupon made it even cheaper. It added texture and a nice neutral base for my cutouts:

I taped the burlap card stock onto the back of the mats:

I used some bird-themed scrapbook paper in my peachy/brown/aqua room colors, my Cricut Explore & some free bird clip art to make my art shapes:

I glued the bird cutouts onto burlap:

And stuck them in the frames. That's it.

Since I had the frames & wood tint already, the cost was just the paper - about $5 total thanks to sales & coupons. Buying it all from scratch would be maybe $20 for the two. It maybe took 30 minutes total to make them too. Not bad for customized framed art!


fabulous
ReplyDeleteWhat a lovely effect (easy is good too!) - thanks so much for sharing with Party in Your PJs!
ReplyDeleteNice post! This is a very nice blog that I will definitively come back to more times this year! Thanks for informative post. relojes de pedida para hombre
ReplyDelete