
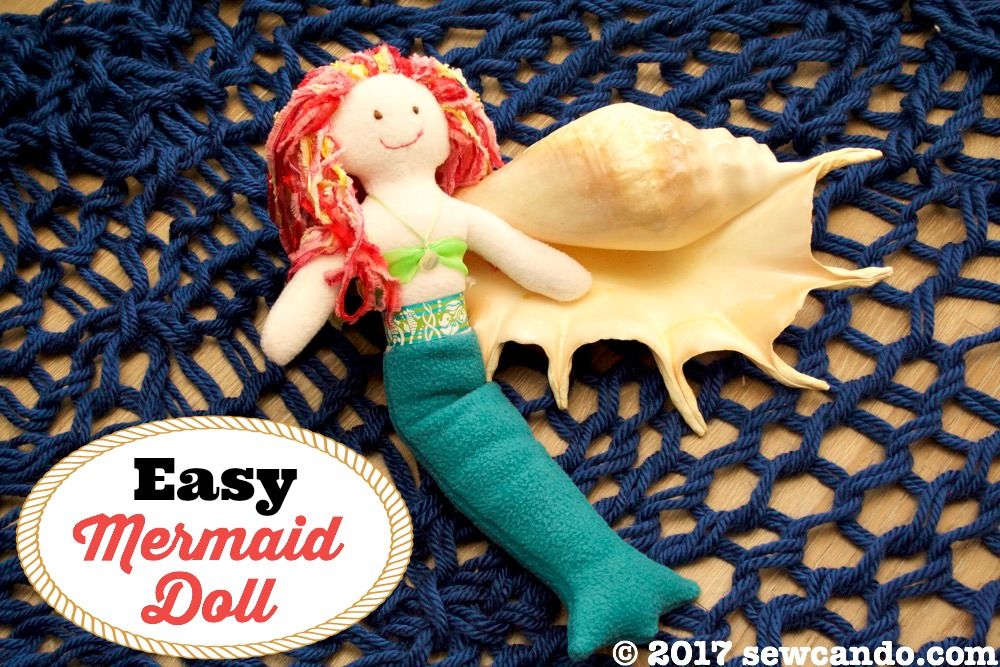
This softie mermaid was a present for my daughter. She'd been asking for a mermaid doll for quite a while. I wanted it to be a simple sew I could do in an afternoon, but she still had to have fun features:

Flowing, full, style-able hair was a definite must:

I was inspired with the general look of the mermaid from the book Fleece Dolls by Fiona Goble, but I actually ignored the book's instructions and made it my own way. The book has a couple of cute soft doll designs, but most of them are variations on the same general design and I hated that they all involved some teeny tiny line drawings instead of actual patterns you can use. In the end I freehand drew out my own pattern rather than trying to wrestle with scaling up her tiny line drawings with a printer just to cut them out at a reasonable size.
I drew a basic doll head and torso piece and used my French Curve ruler to help draw a decent mermaid tail for the lower half. I had just enough peach colored scrap fleece left to cut out the body. Oddly, that color isn't sold in stores and nearly impossible to find online anymore. Ivory or light pink seem to be the only options these days or using super pricey doll-making jersey, which just isn't the same. I can't be the only person in the universe that wants it. Bring back the peach fleece someone!! I cut the tail from some teal fleece and then got sewing.

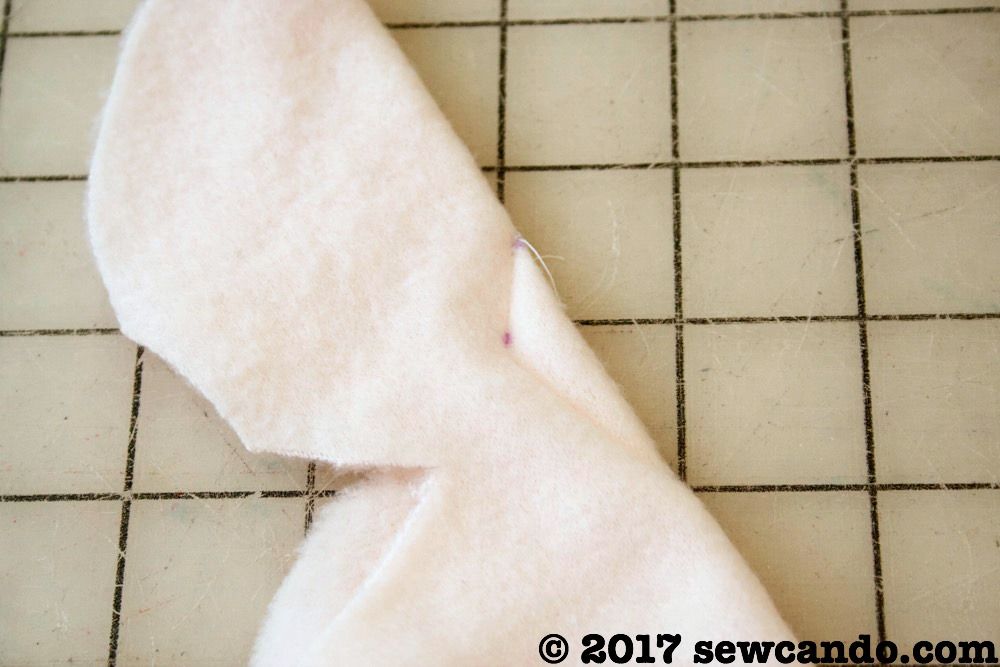
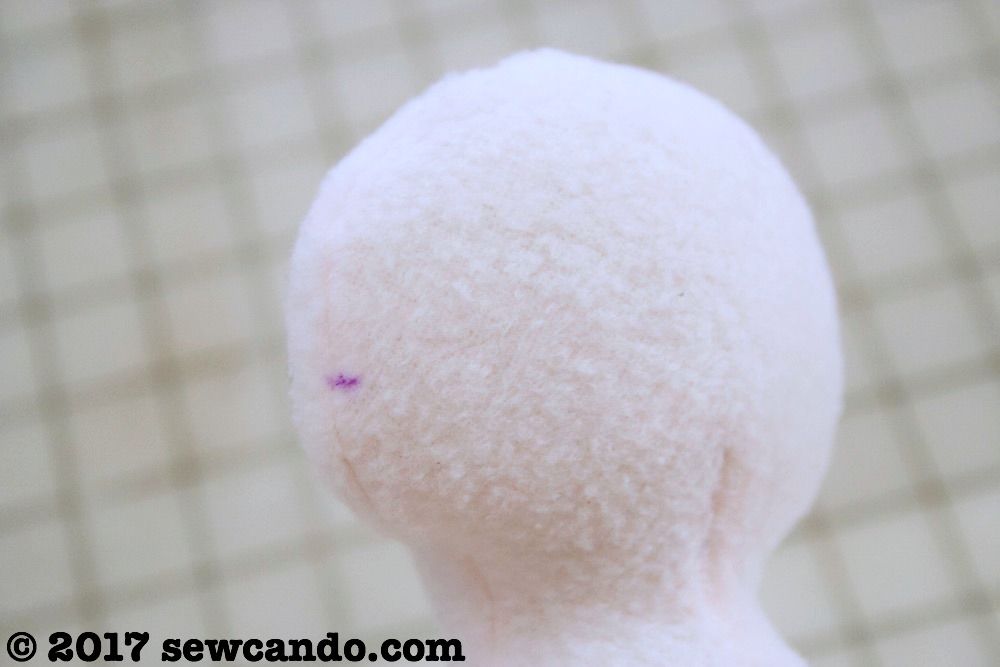
On the body piece that will be the front I marked a elongated diamond shape right at the neck:

I folded it in half, lining up the dots and stitched from the top dot, to the middle dot and then to the lower dot to add some dimension at the neck.
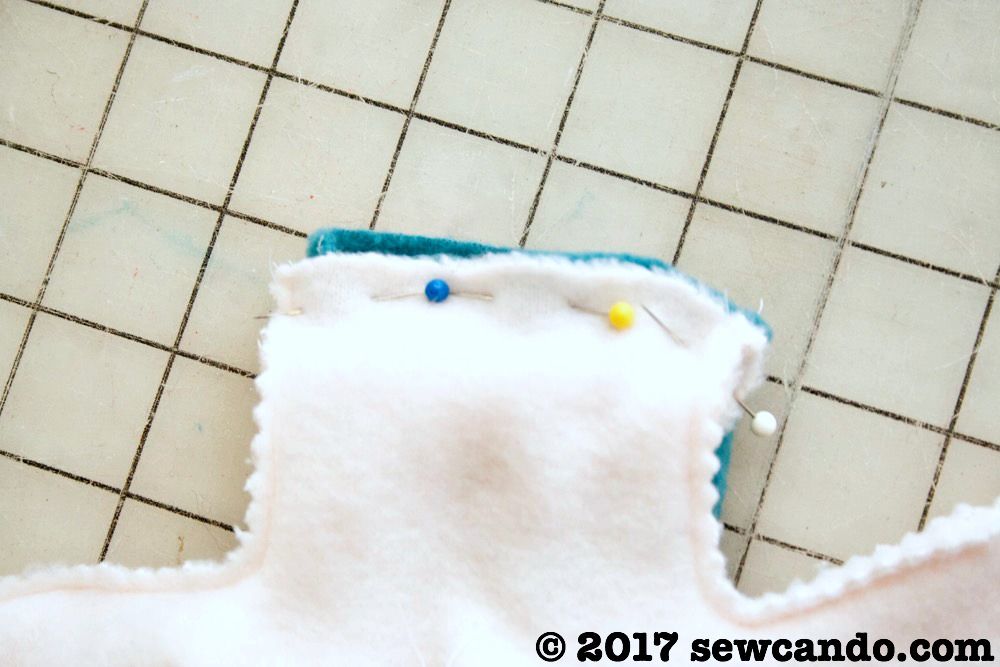
Then I stitched together the body pieces, right sides facing and did the same with the tail pieces and trimmed down the edges:
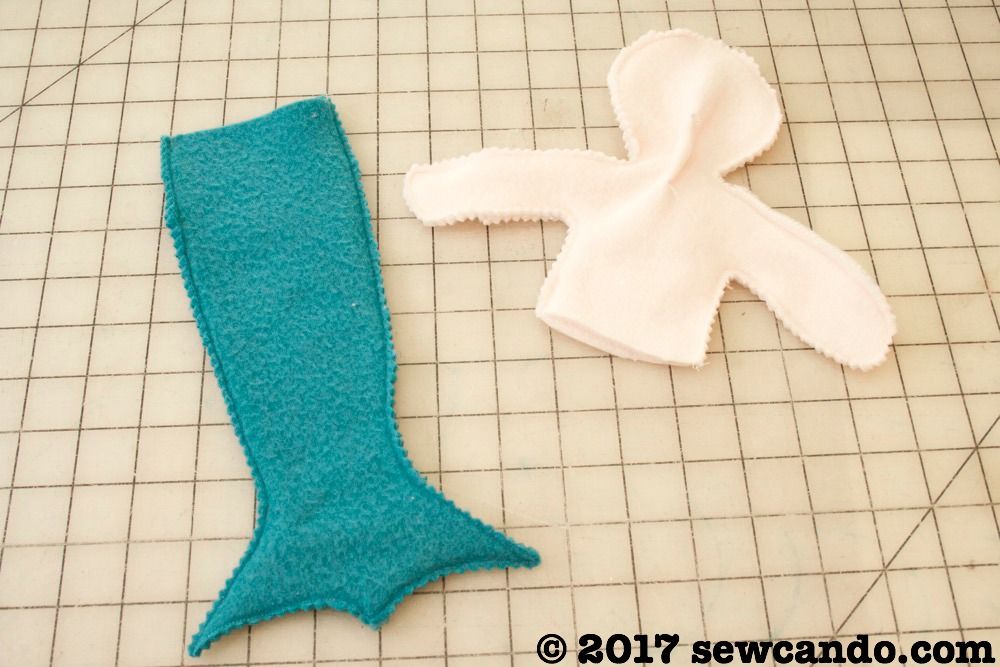

It seems crazy, but hear me out because this is way easier than having to hand stitch it all together. With the body bit facing down, pin and stitch together. Turn the body right side out and then all that's needed is to stuff and then slip stitch one side of the waist closed.
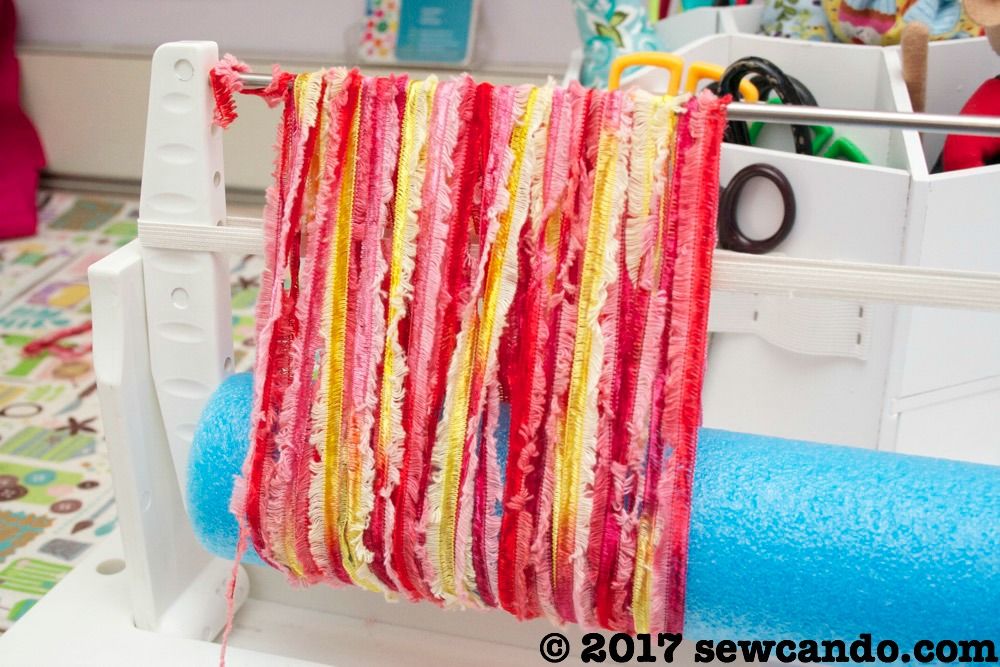
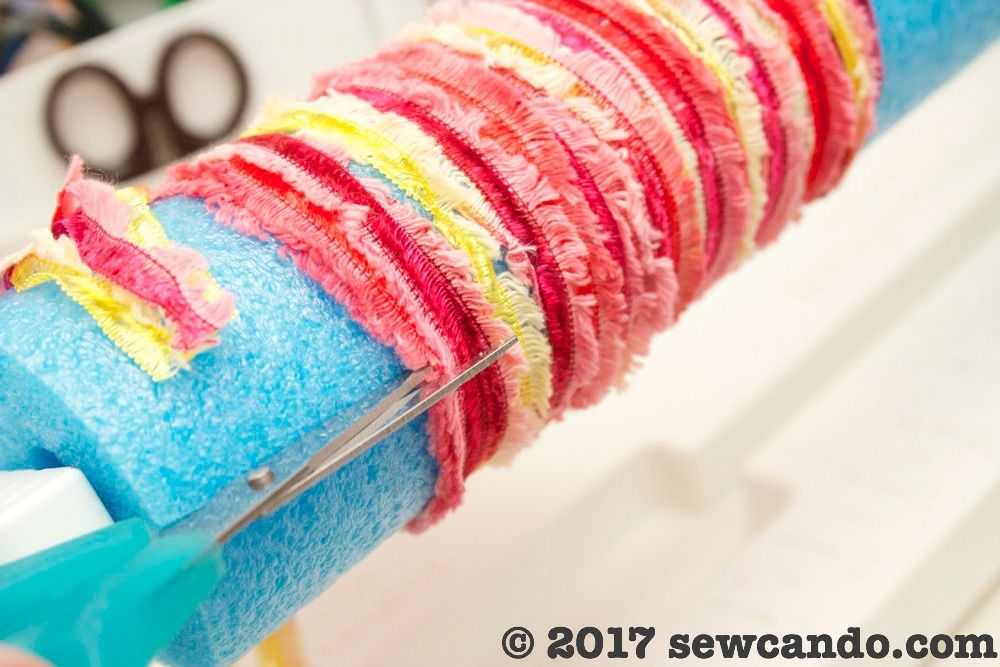
To do the thick, flowing, textured hair, I used some ribbony yarn and a tool called My Own Fringemaker. I did a review of it here. This made it super easy to get the hair thick enough and perfectly even in width and length. I measured the dolls head from "ear to ear" along the top and around the back.
I wound my yarn around the tool to be the same width as each of my measurements.
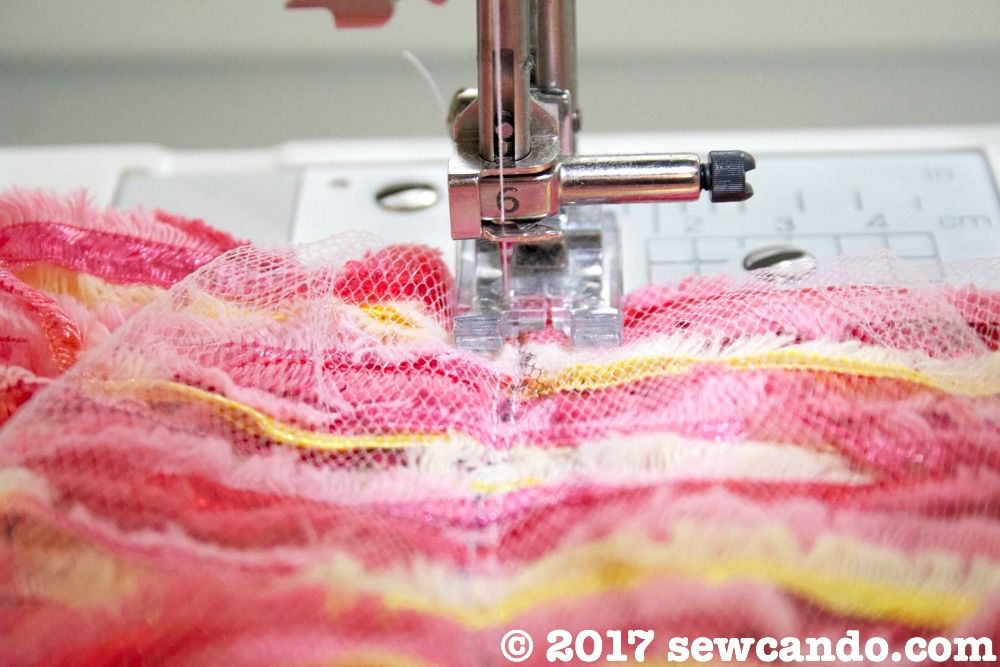
Then I slid a piece of tulle underneath one of the rods and wrapped it over.
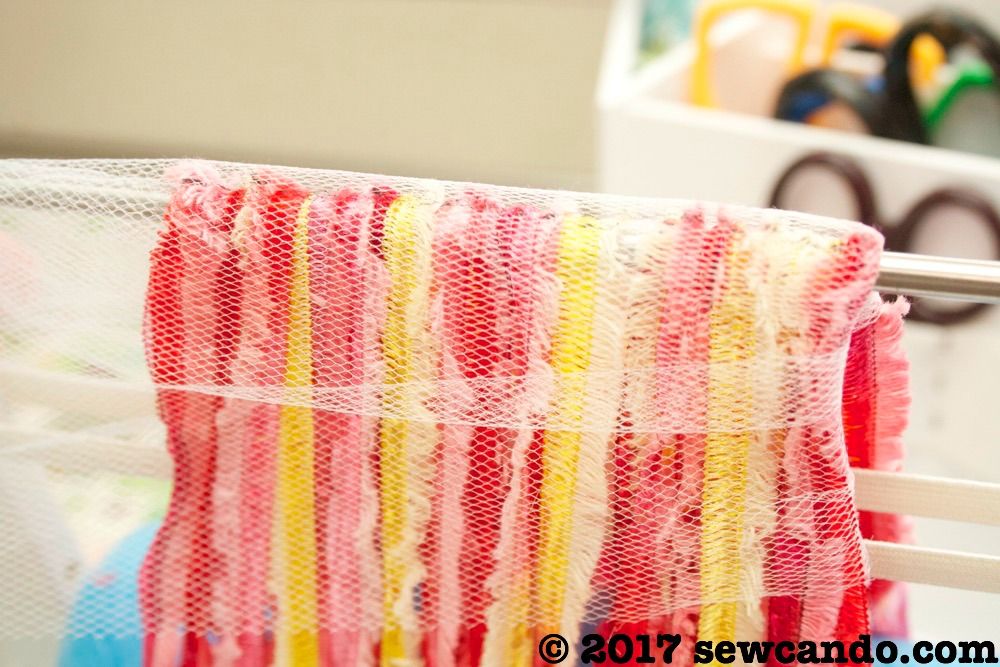
Then spread it out and stitched down the tulle several times to attach the yarn strands.

Then I pinned and hand stitched the other piece from where an ear would be, over the top to the other side. By slipstitching, the hair was solidly attached, but impossible to see the stitching.
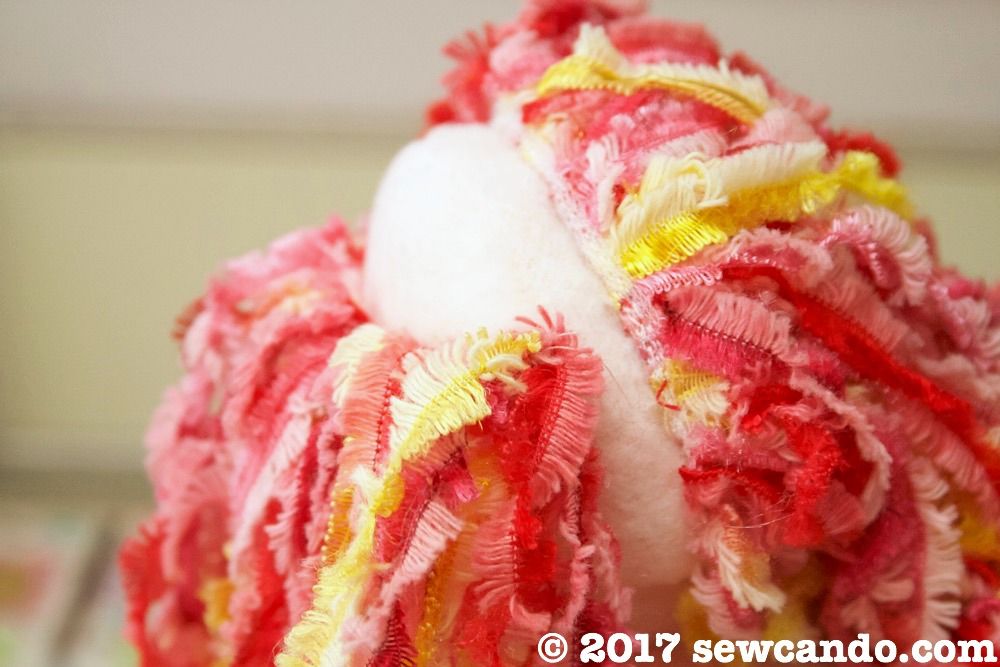
With the hair being so nice and thick and how it's positioned, there aren't any massive bald spots that will peek through.
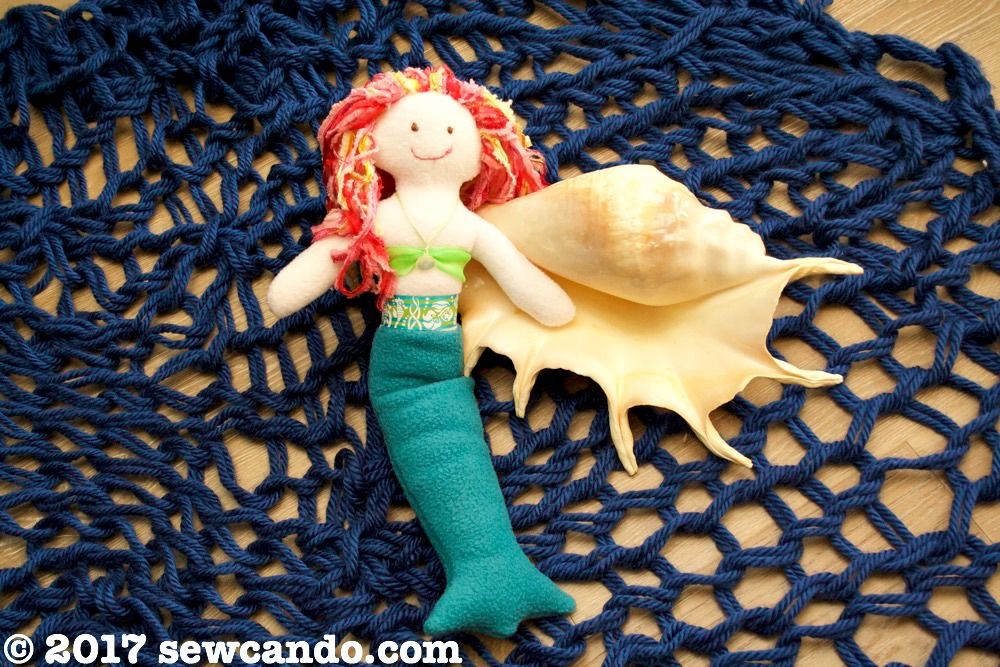
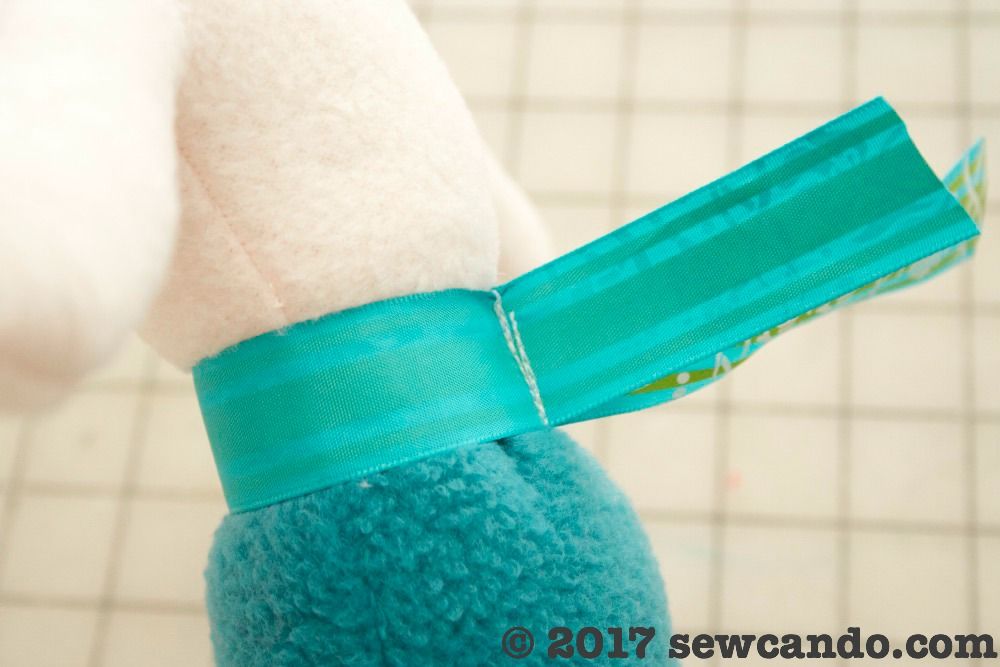
I had some sea-themed ribbon that I used to make a belt. I cut a piece just larger than the waist and flipped it wrong side out. Carefully pinching back the waist fabric, I stitched the ribbon ends together, trimmed and then flipped it right side out.
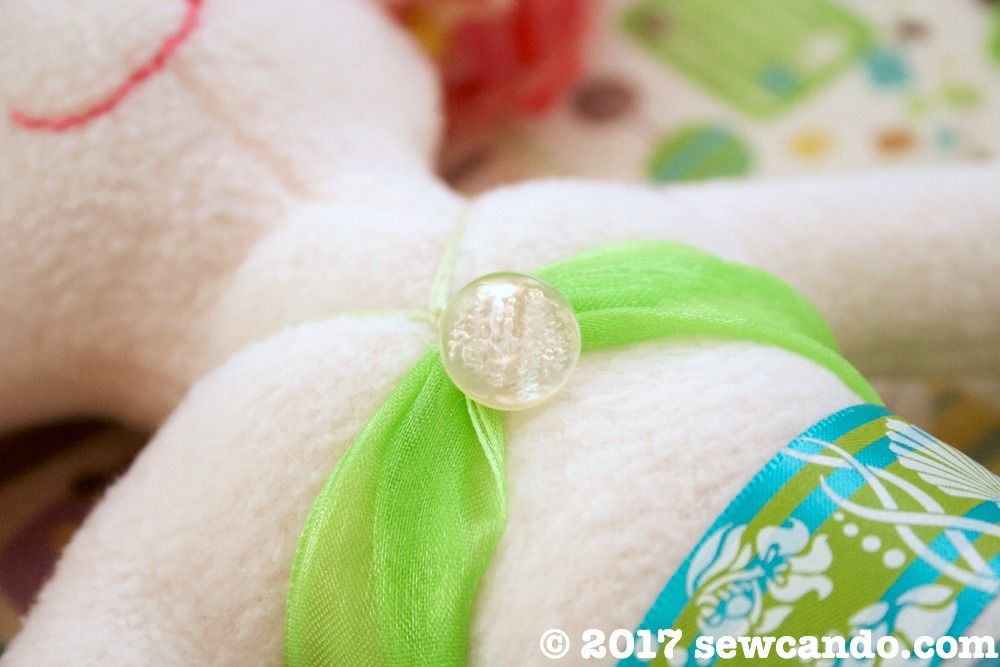
I did the same for the bikini top, except used a wider organza ribbon. I tied it at the center with some embroidery floss and then tied it around her neck.
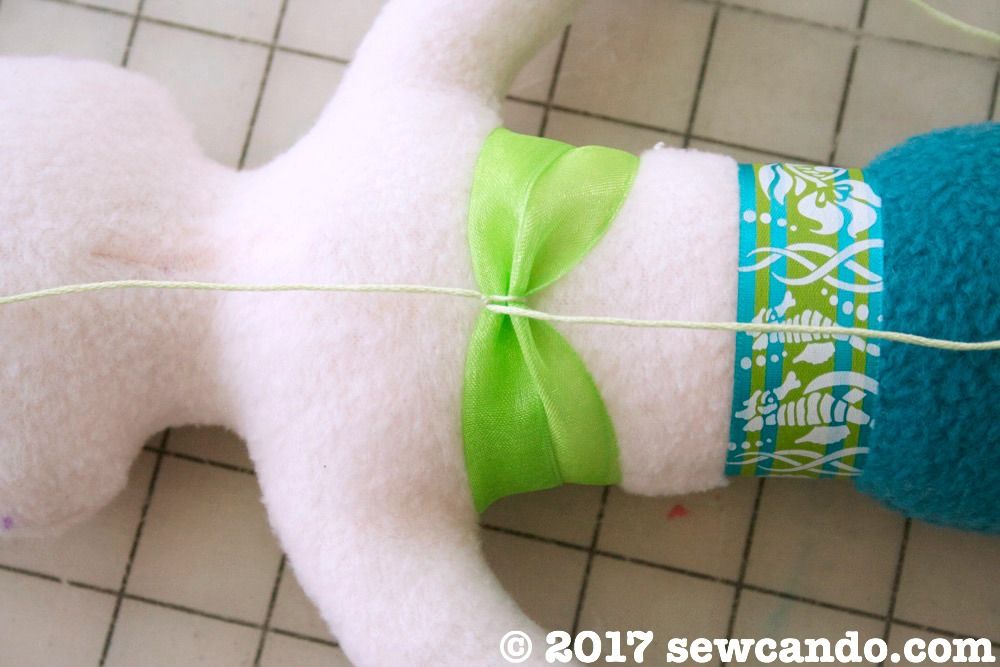
I hand stitched a mother of pearl button onto the center.
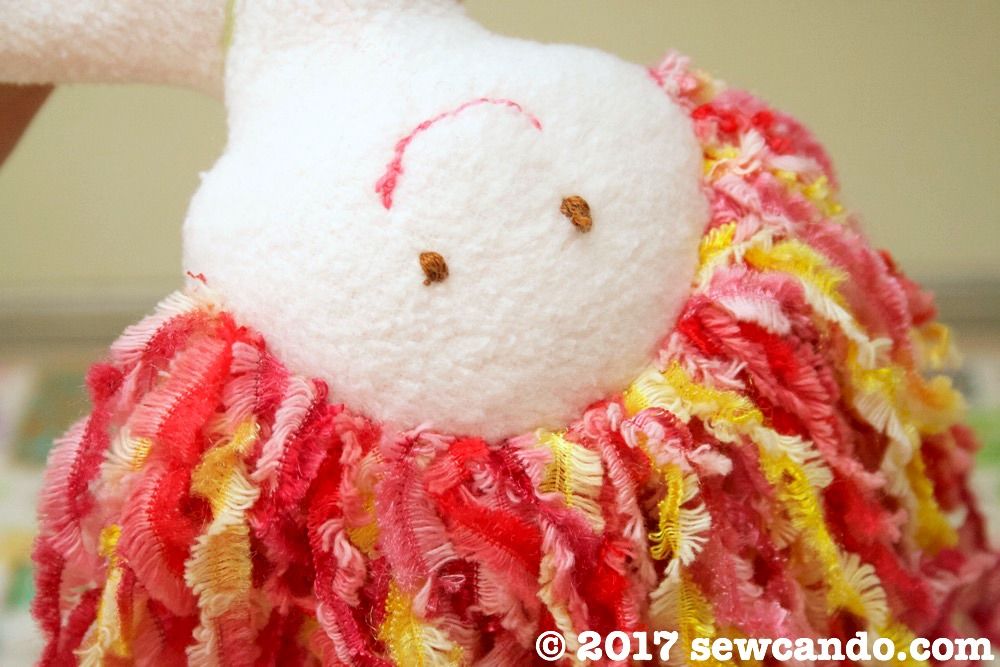
I hand stitched eyes and a mouth with embroidery floss. That's always the part I like the least because I'm semi-terrible at it, but it wasn't the worst stitch job I've done.
It was such a nice feeling being able to make what my daughter wanted with just materials I had in my stash. It might not be perfect, but this new little friend sleeps in her bed every night and is one of her favorite dolls, so it's a success to me.


Love your doll so much! The simplest things are always the best.
ReplyDeleteThanks so much Lynne. I agree - she was pretty quick to make, but she's been loved a lot already:)
Delete