
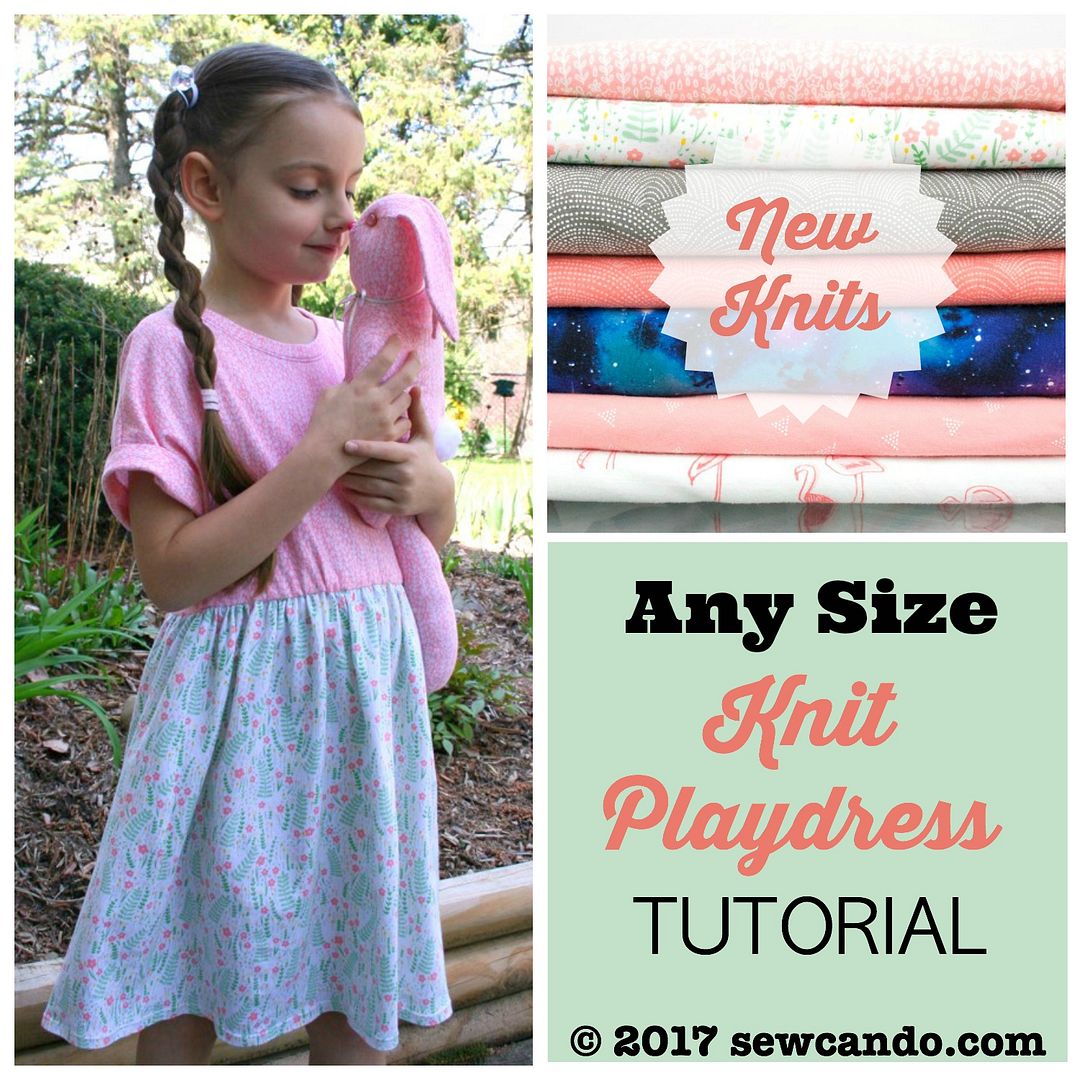
Today's a bit of a twofer for fabric fans: hot fabric news AND an easy outfit tutorial to go with it! Let's start with the news....
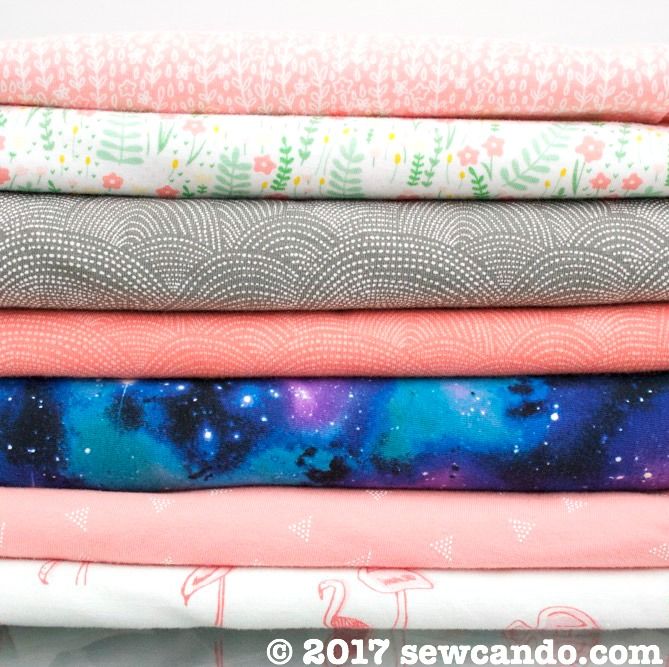
Timeless Treasures, a favorite maker of quilting cotton, and long time sponsor here at Sew Can Do, is now making knit fabric too!
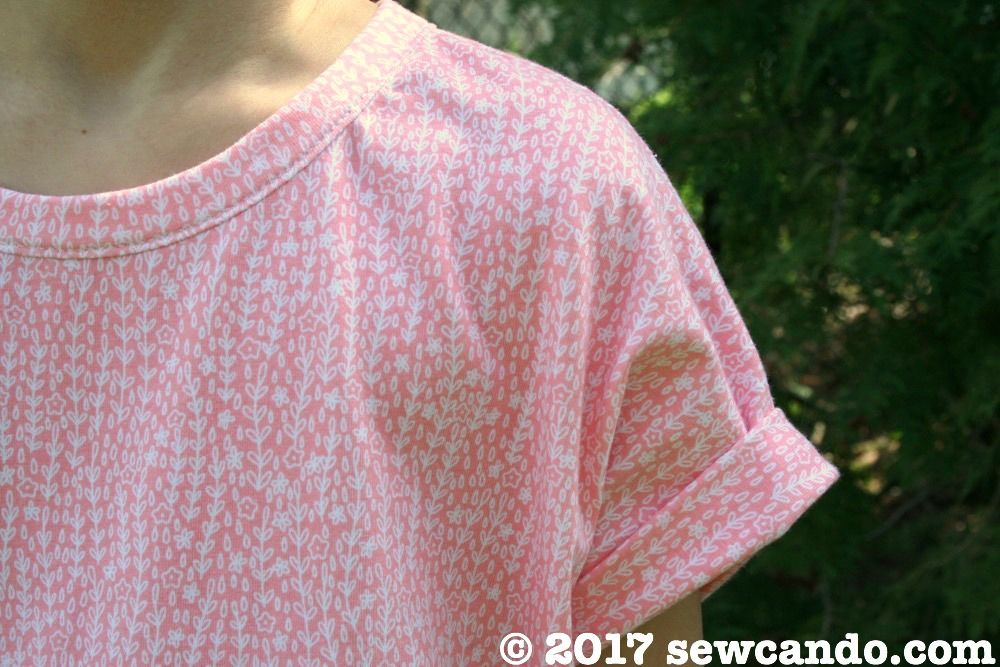
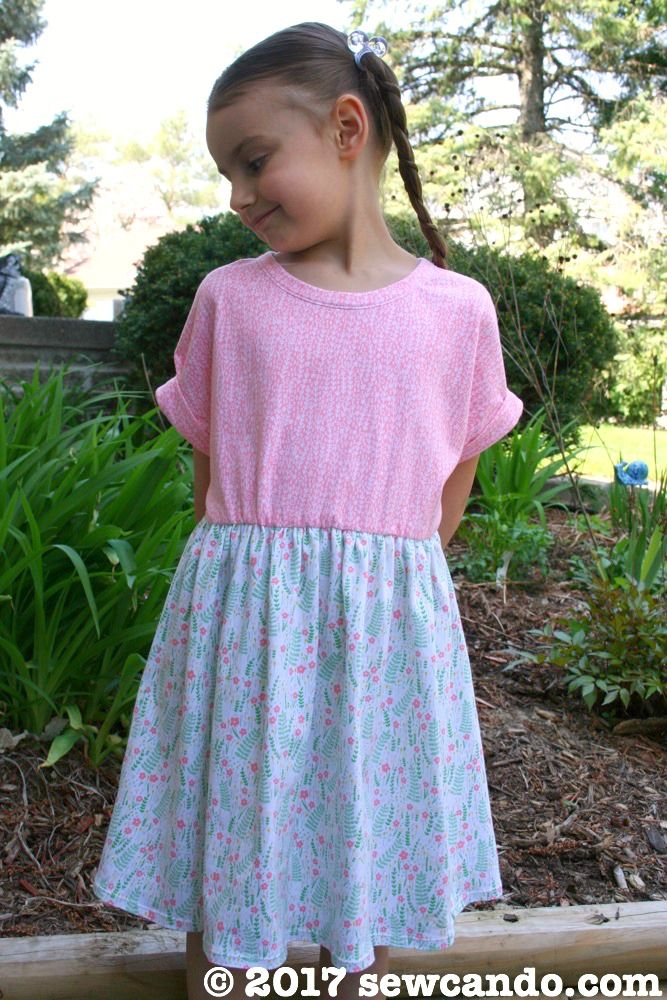
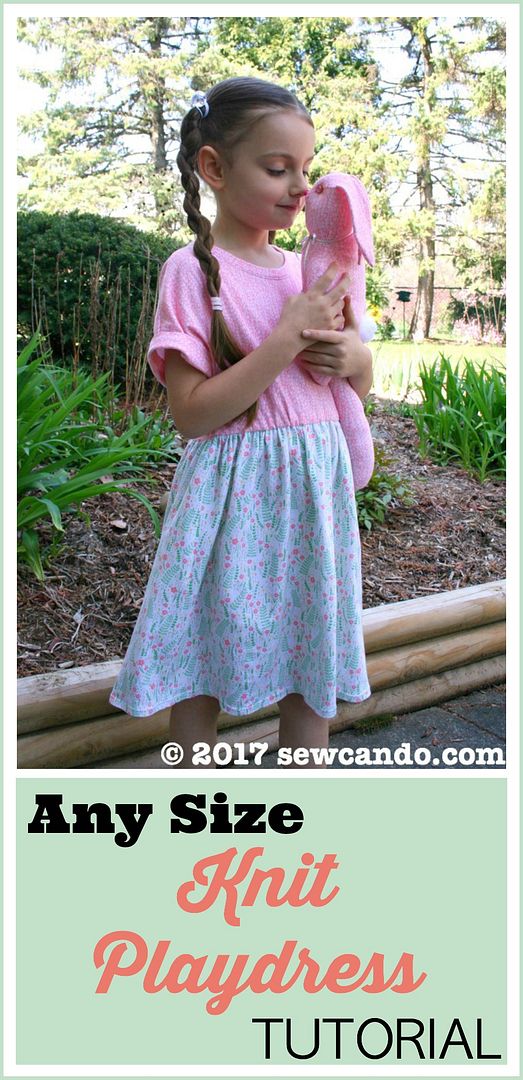
The project design was inspired by the knit play dresses seen at European shops like Hanna Andersson and Boden. Pretty prints paired with comfy loose style. The best part is making the pattern for it, in any size you want, is a breeze!
as it is somewhere like a family dinner or church thanks to the thanks to the versatile floral prints of these knits:
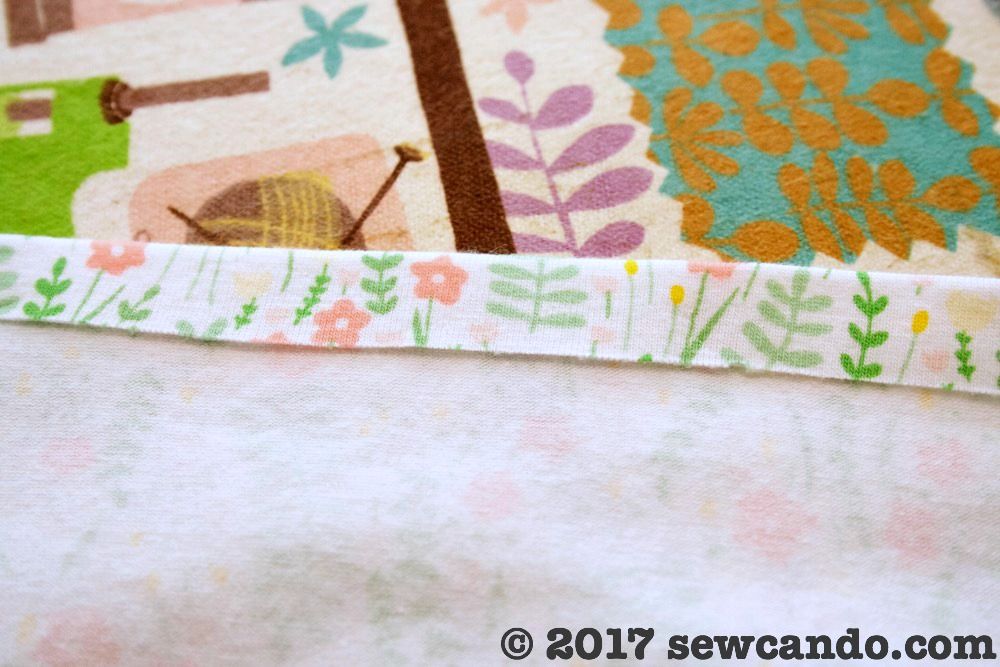
In the Know on these Knits: Both the TT & Dear Stella lines are 95% cotton+5% spandex with a 50%, 4 way stretch and 60 inches wide. They're medium weight (5.6oz sq yd, so about 9.3oz per actual yard) and have a nice recovery, so they work well for all sorts of projects. I found the shrinkage was minimal and the quality very good. The price point per yard is quite reasonable at under $16/yd too.
Now, let's get to the play dress making!
- 1/2 yd* knit fabric for bodice (mine is Fresh Dew Peach)
- 1/2yd* knit fabric for skirt (mine is Secret Garden White)
- Loose fitting t-shirt to trace
- Tracing paper
- Pencil
Notions: pins, rotary cutter/shears, ruler, iron, twin needle, ball point needle, marking pen, thin string, coordinating colored thread.
Optional: Walking foot, paper backed fusible tape
* The amount of fabric needed will depend on the size desired. I made a girl's size 7 with these amounts.
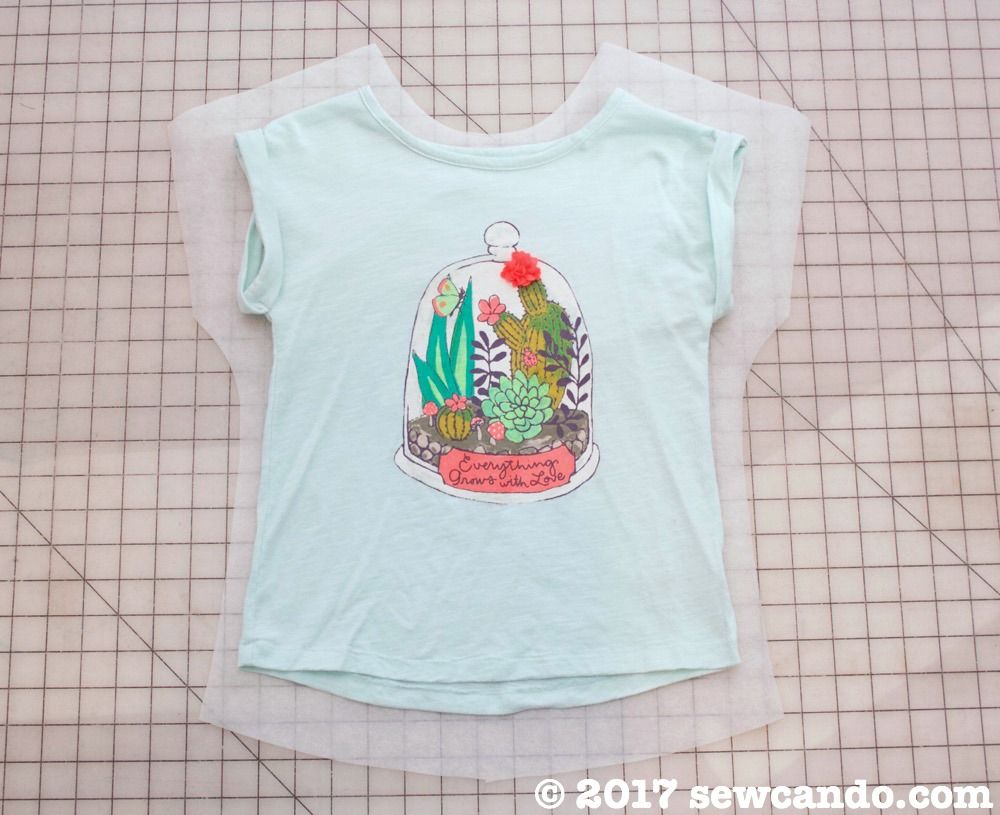
Start with the t-shirt and tracing paper to make an easy pattern. Fold both in half and place the shirt on the paper along the fold.
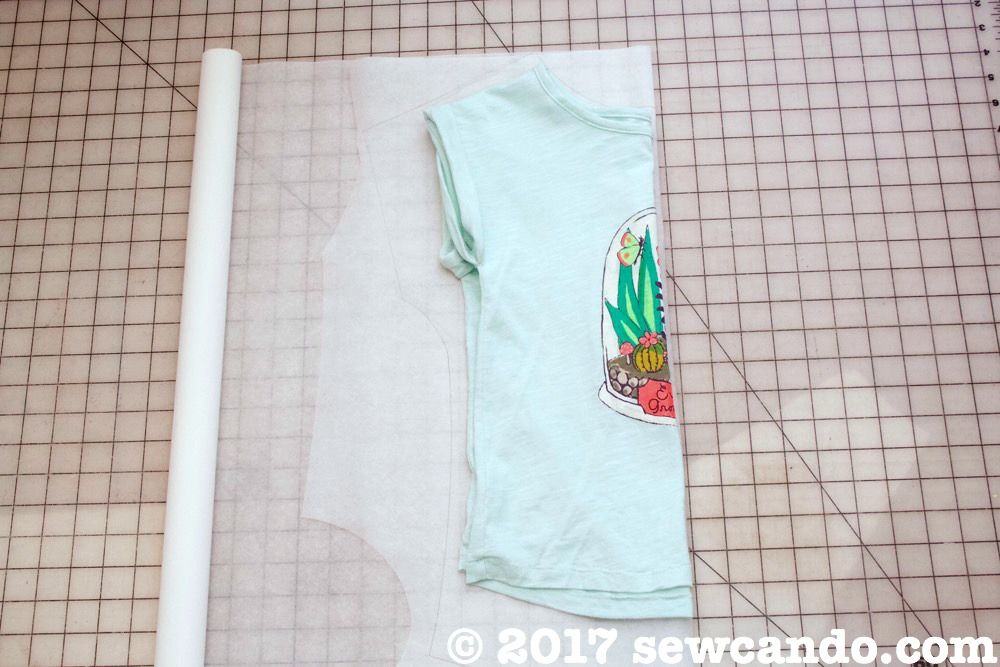
Trace around the shirt, adding about 5/8 inch around the neckline:

Then adding an inch and a half to the shoulder and side areas. Determine the length based on on where you want the bodice to hit (empire, natural waist or drop waisted). For this dress I ended up doing 3 inches below the underarm.
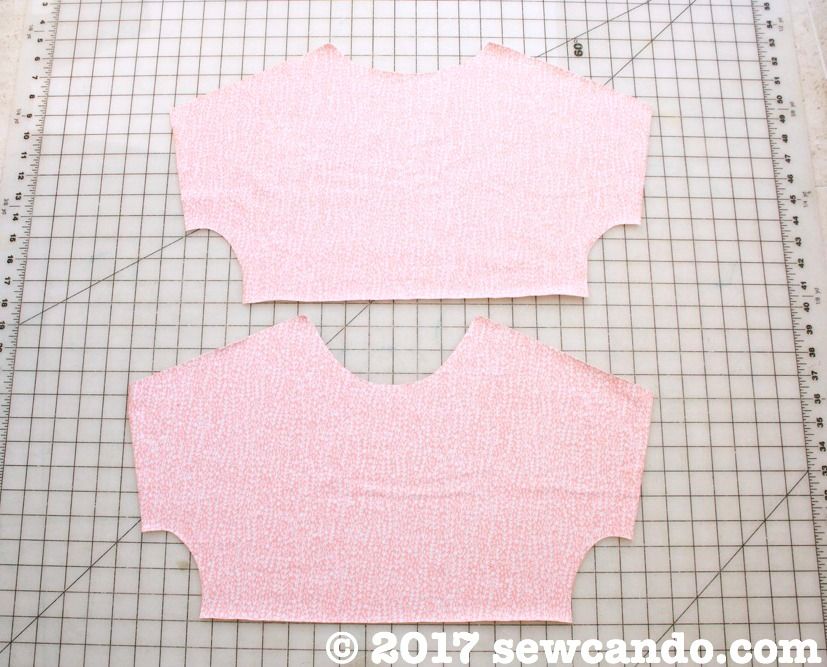
If the back side has a much higher neckline than the front, do a second paper pattern and redraw the neckline for the back by fold the shirt in half with the back side out, using that neckline as a guide. Doing a full piece pattern makes it a lot easier to center on prints like this one. Use patterns to cut a front & back from the fabric:
With right sides facing, stitch front & back together at shoulders and sides using a 3/8 inch seam allowance.
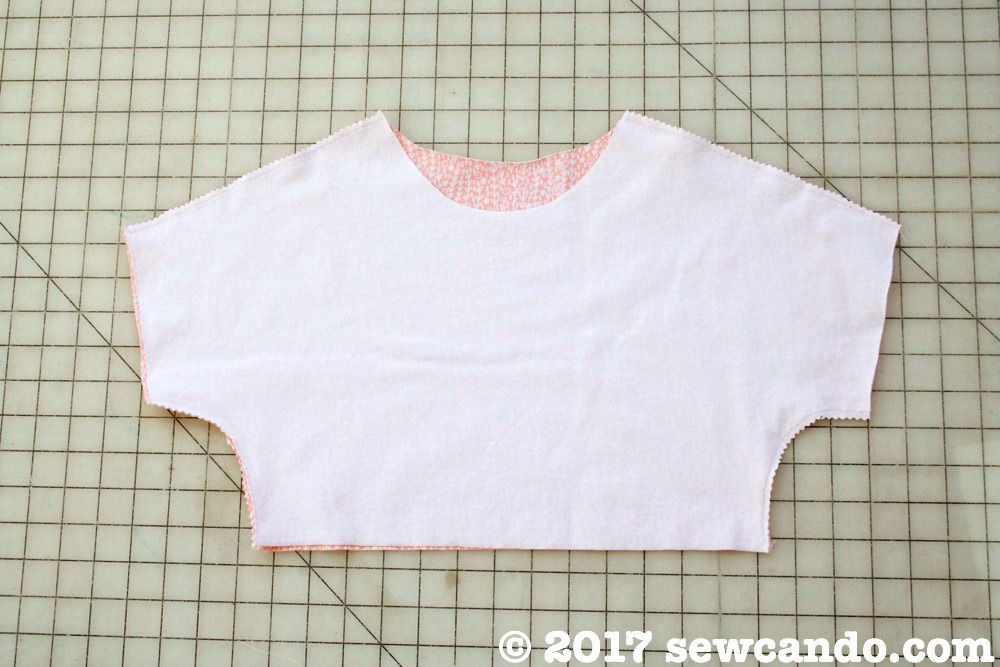
You can use a zig-zag, knit stitch, overlock or serge for the seams. I prefer doing a triple stitch. Like the name says, it's a straight stitch, gone over three times, so it's easy to do and found on any basic sewing machine. Trim down the seam allowances (I always use pinking shears to make it quick & simple).
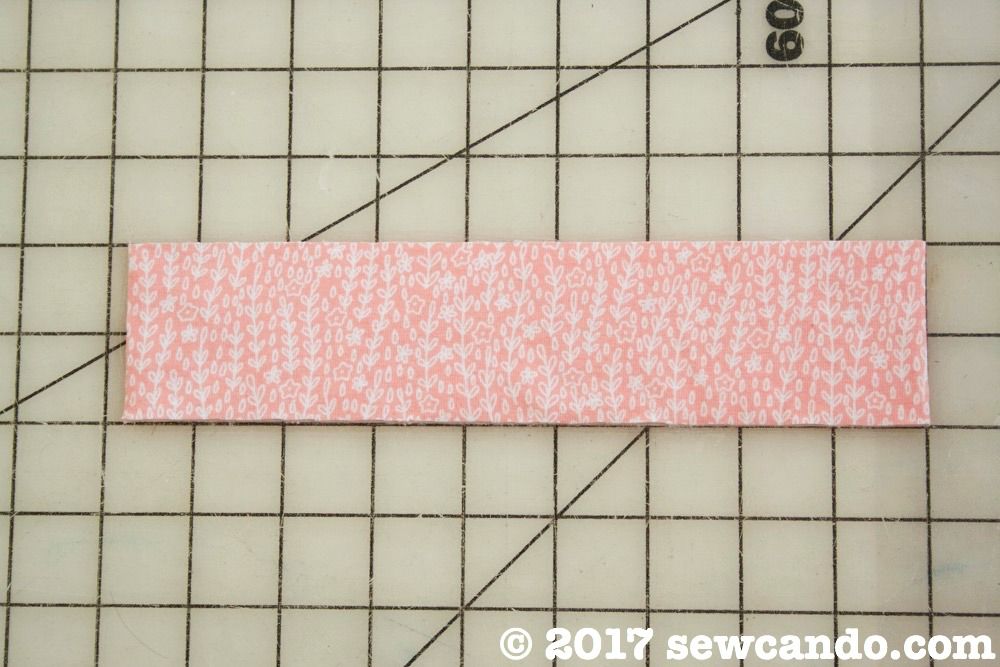
To do the neck binding, lay the neck hole flat, with the side seams matched up to measure it. Mine was 18.5 inches total.

Cut a strip that is 2 inches high and 1 inch narrower than the neck opening.
With right sides facing, stitch together the short ends with a half inch seam allowance. Mark both the neck band and the neck hole into quarters and with right sides facing, pin together at markings. Stitch using a 5/8 seam allowance, stretching the neckband slightly to fit as you go, using a triple stitch.
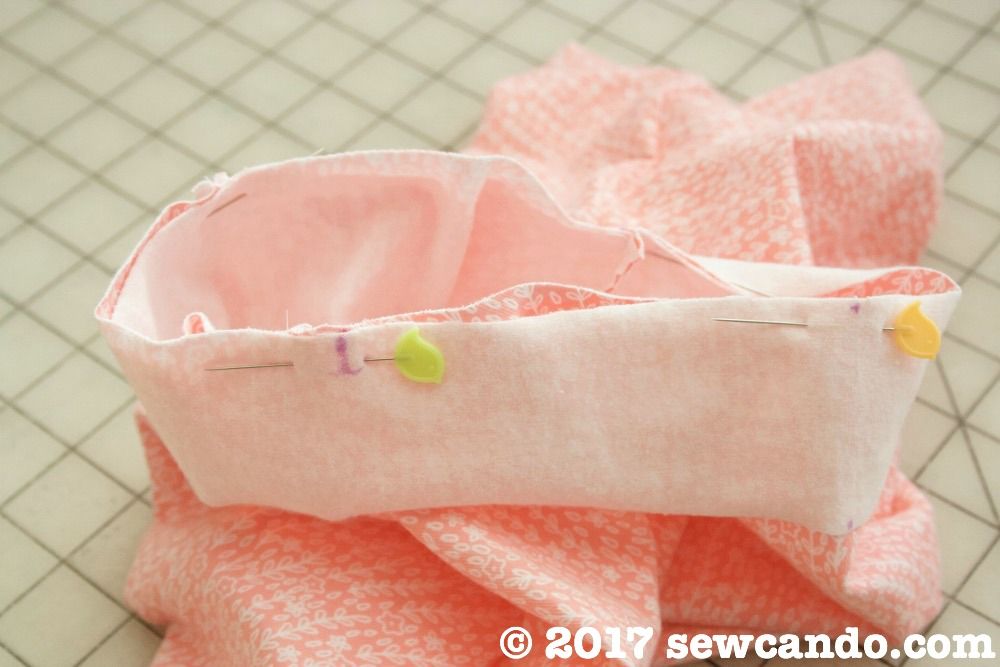
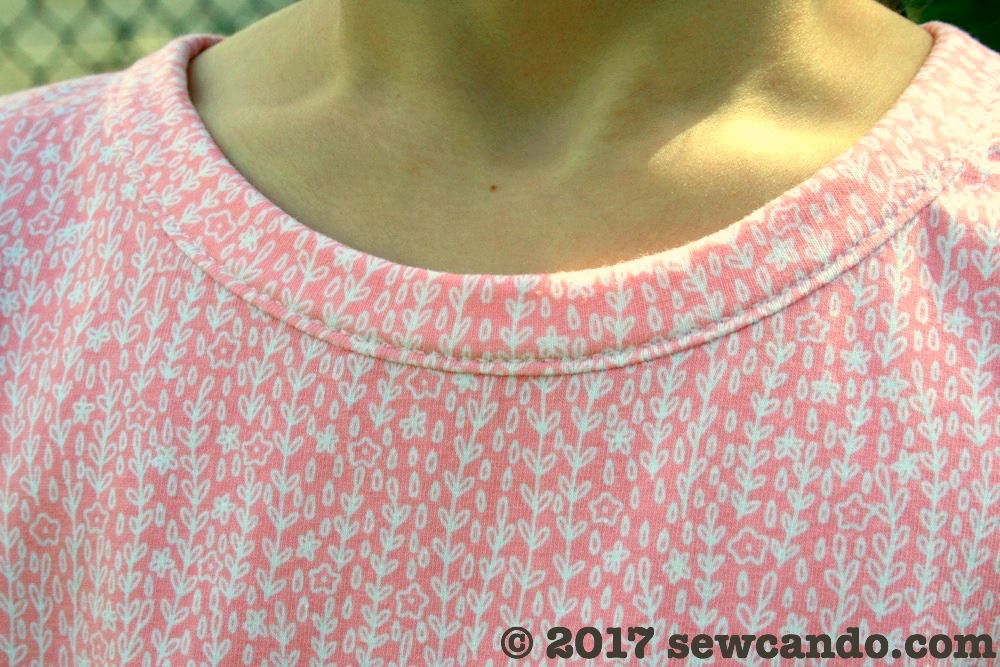
After the band is stitched on, flip it up and over to the wrong side and pin. Edge stitch close to the original seam with a triple stitch. Trim down the raw edge on the inside if needed.

So often a spandex knit is perfect for the main pieces, but distorts or doesn't lie right when used to bind necklines or do cuffs. It can be challenging & expensive to try to find solids or rib knits to match. This was just perfect and blended right in with the bodice.
To add the sleeve cuffs, cut two bands that are 4 1/2 inches high by the width of the sleeve + 1 1/2 inches. Stitch together the short ends, same as the neckband,

This time, fold the band in half once done. Mark the cuffs and sleeves in quarters.
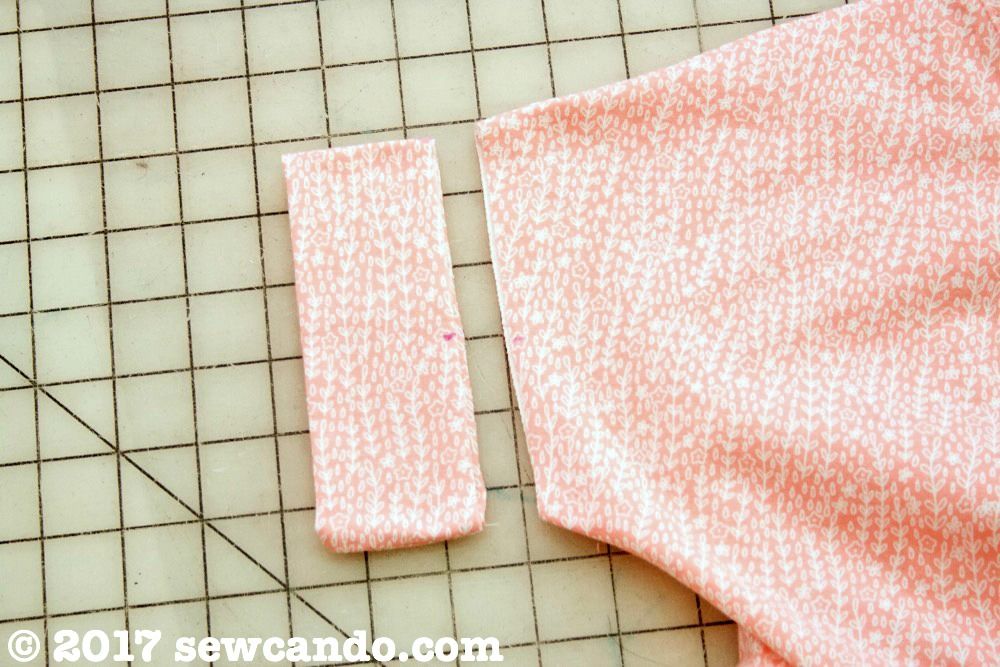
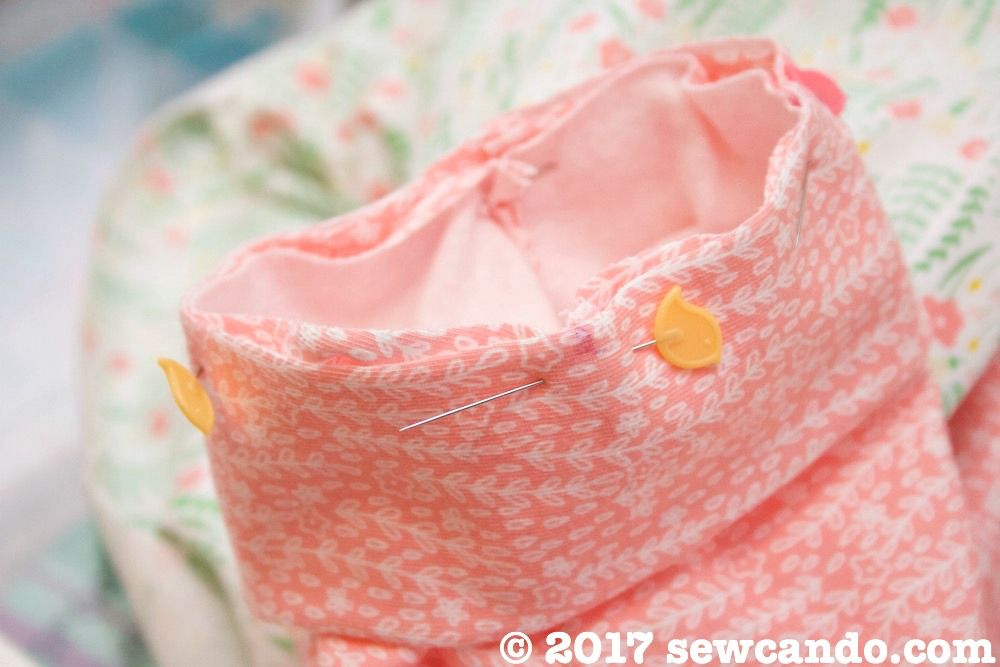
Match up the raw edges of the cuffs to the edge of each sleeve, aligning the cuff seam with the underarm seam and pin. Stitch together with a 5/8 inch seam allowance. Pull cuff down and then fold up to hide the seam and press along the fold.
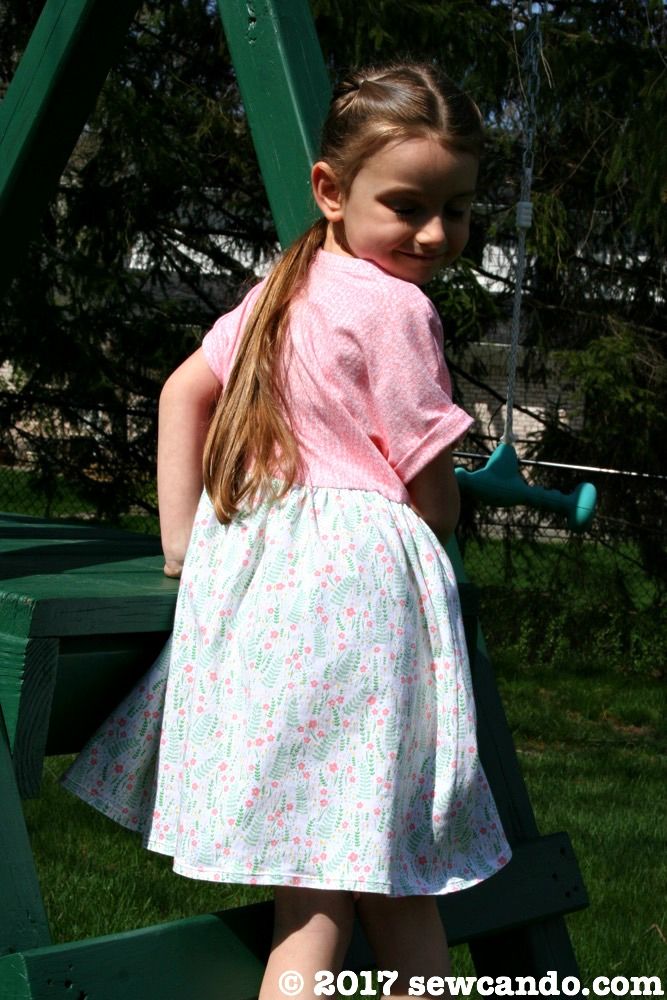
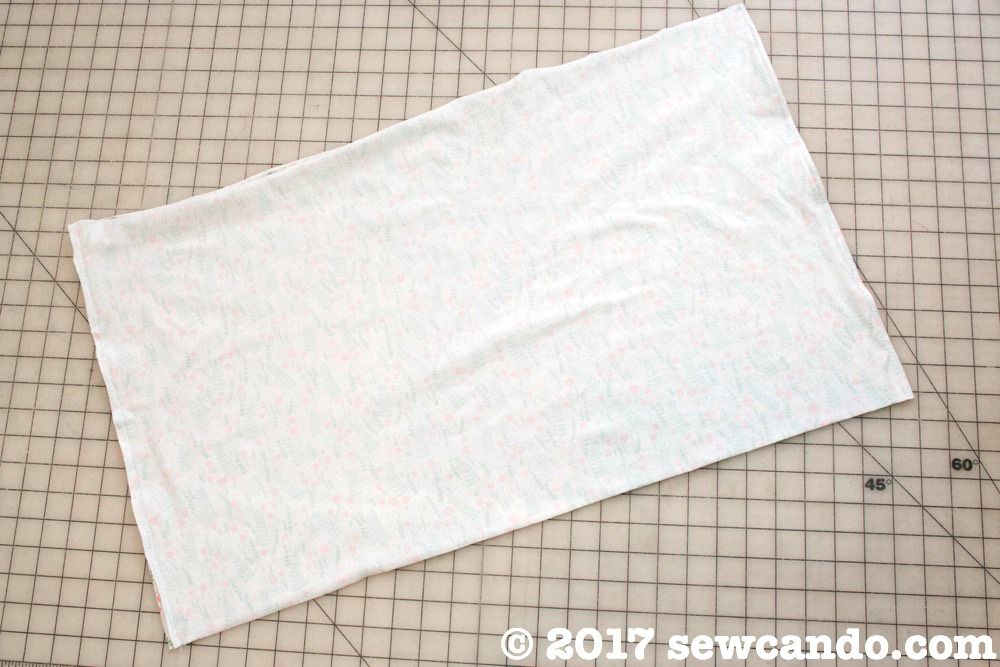
To do the skirt, cut at least double the width of the bodice (ours was 26 inches total so I cut two 27 inch rectangles that would then total 54 inches). I wanted ours to be just below the knee, so did an 18 inch height. Stitch the panels down the sides with a 3/8 inch seam.
To do the gathering, the easiest way is to take some thin string, like crochet yarn, close to the raw edge, and stitch around it with a long and wide zig zag so it encases the string, but doesn't stitch over it:

It will end up like this and be much easier to pull, gather and even out than doing basting stitches or trying to attach elastic:

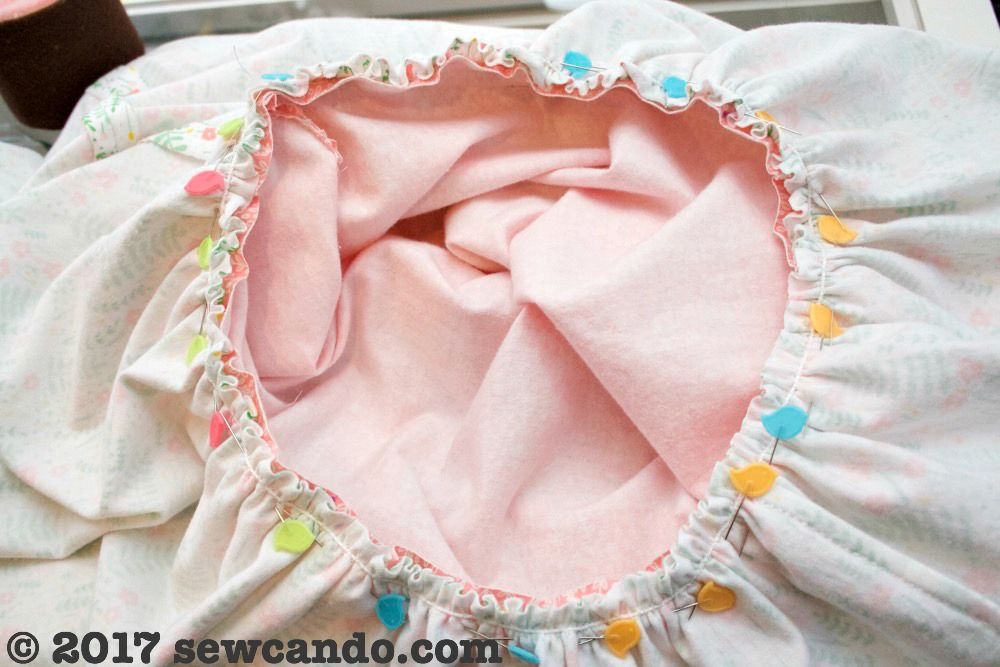
Gather evenly until it is the same circumference as the bodice bottom and then pin together, right sides facing, matching up the side seams. Stitch together with a 5/8 inch seam allowance. Pull out string when done.
Time to finish the hem. I find using paper backed fusible tape makes this super easy. With the skirt turned inside out, press some tape along the edge.

Peel off the paper and fold the fabric down and press. No need for pins! Stitch the hem into place.
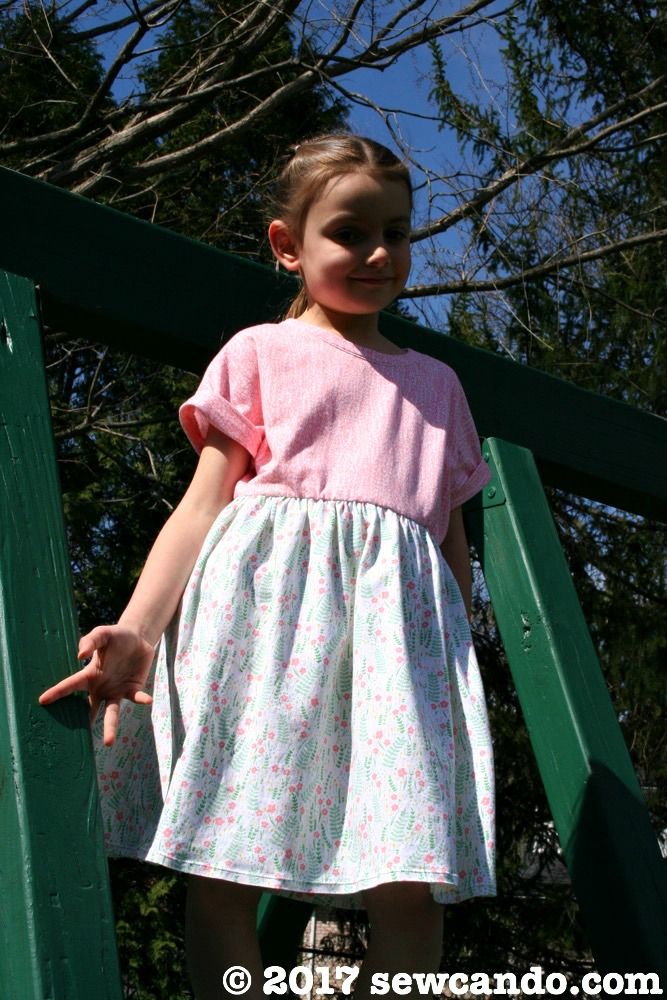
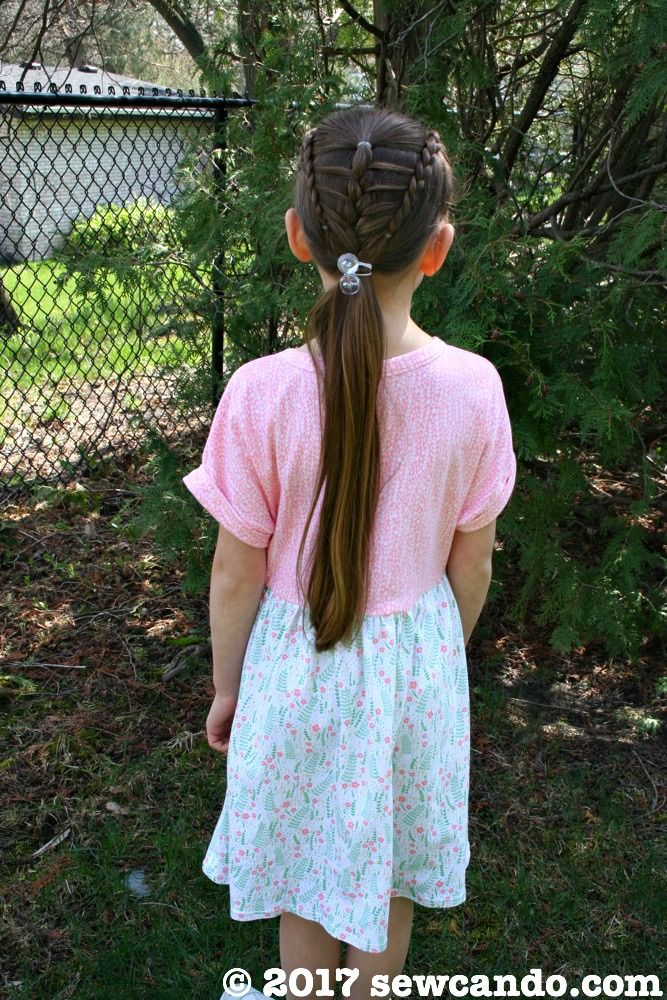
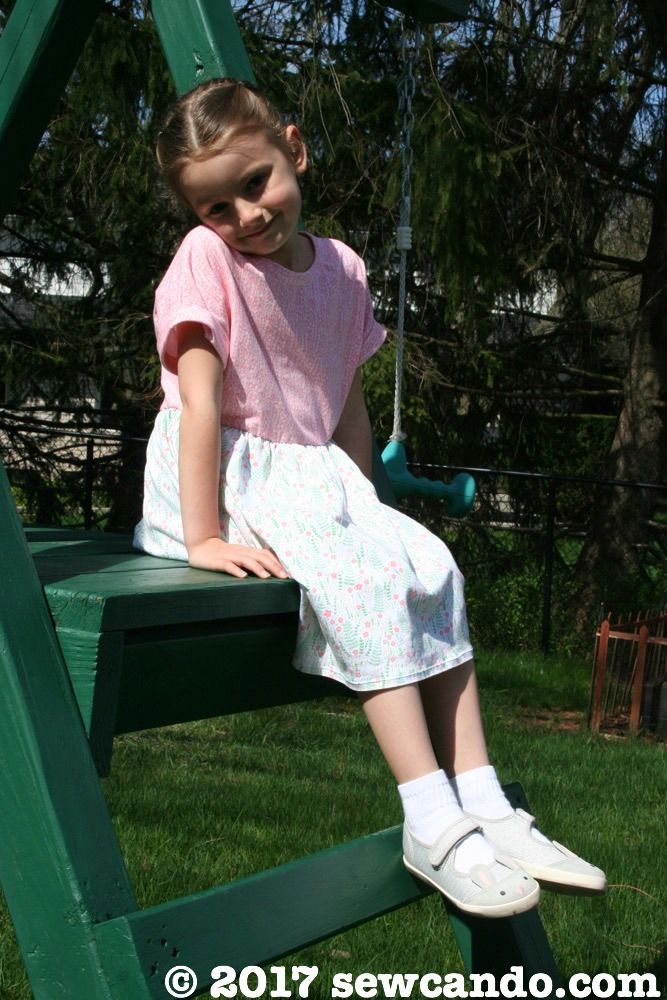
The dress is done and ready for playtime!
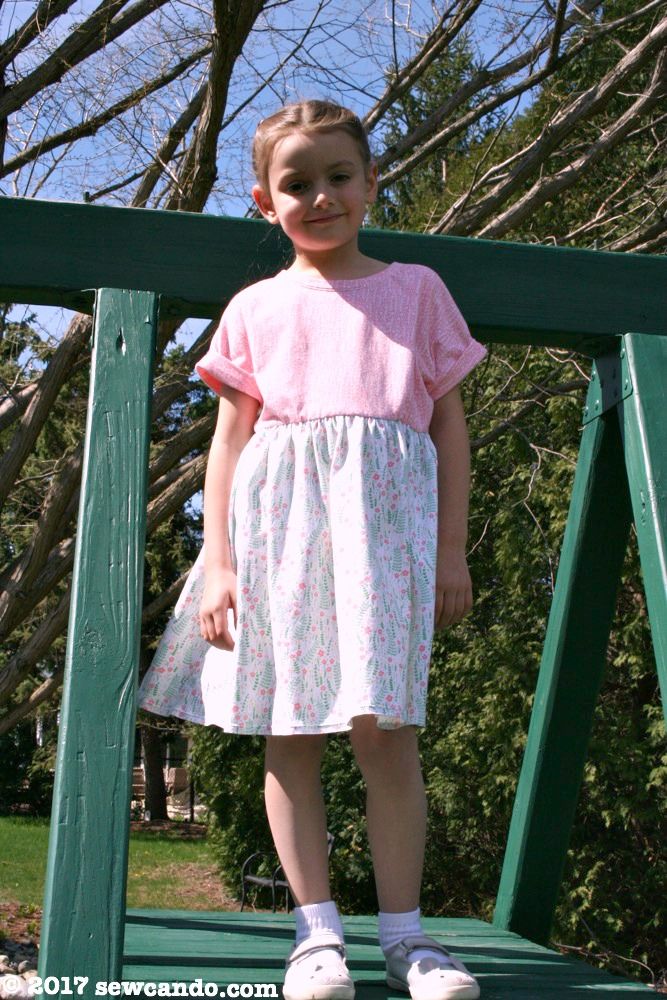
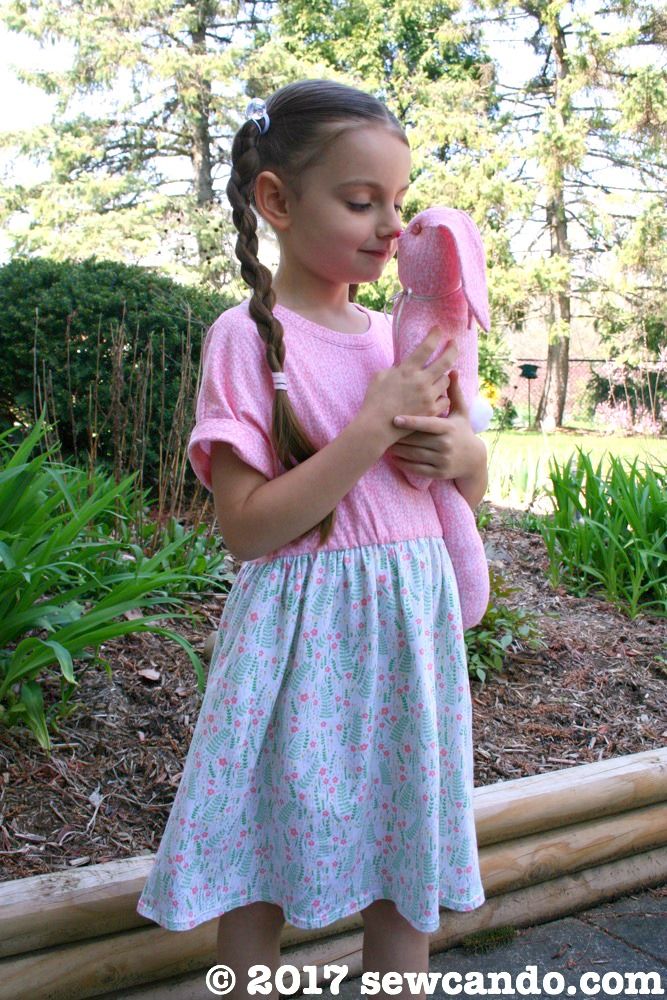
I think they make a pretty cute pair:
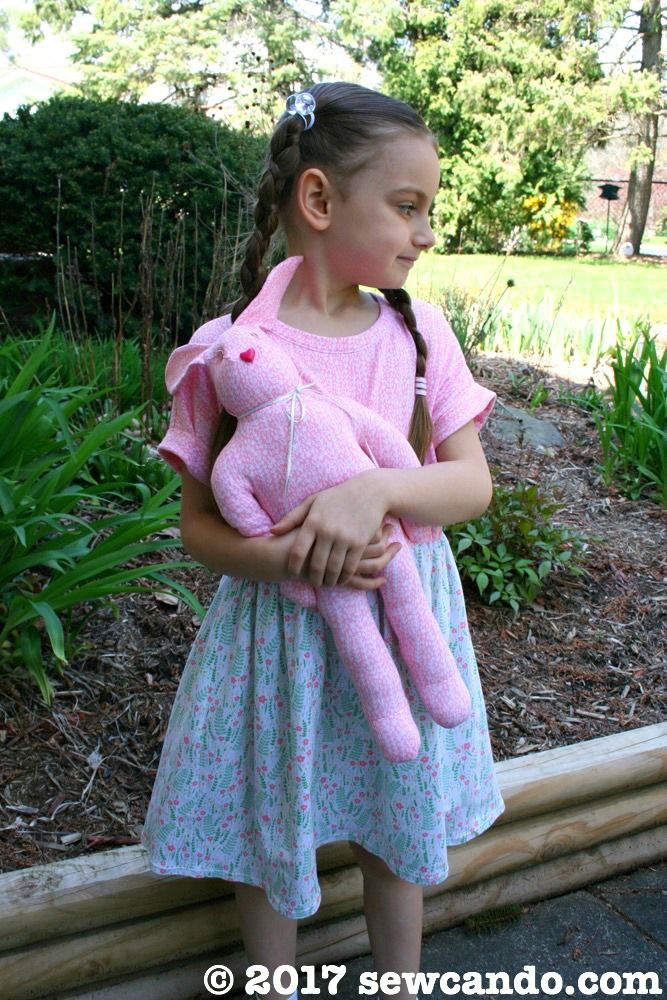
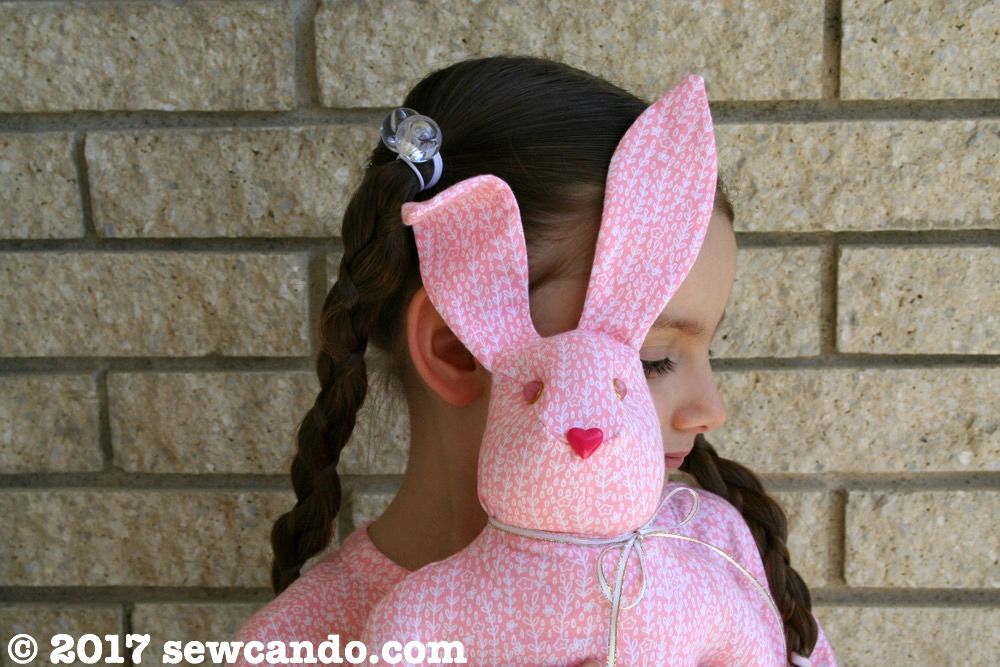
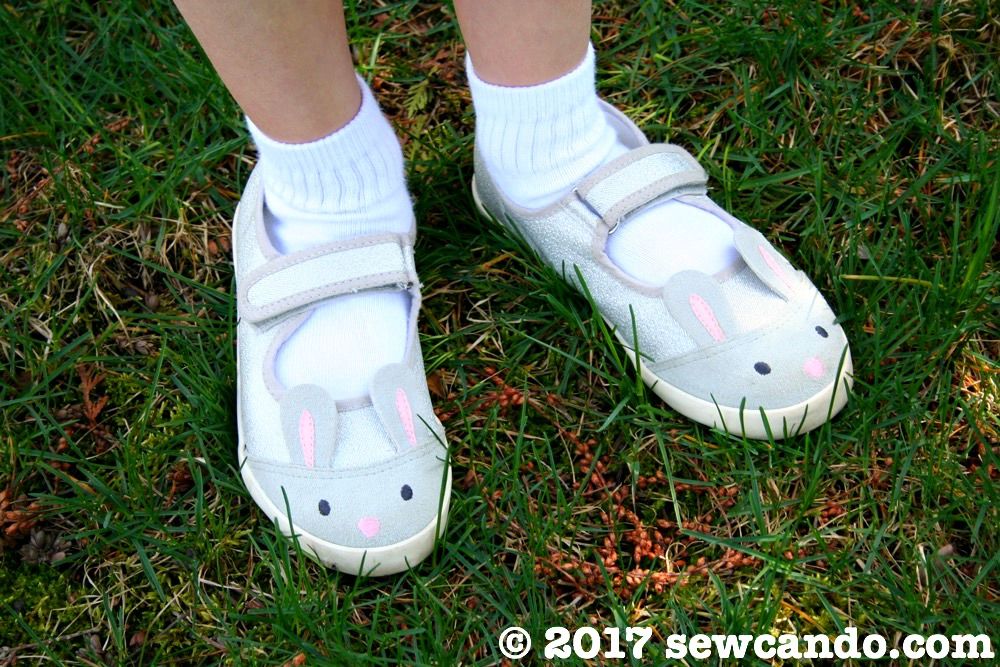
And of course, since I made a bunny softie to go with the dress, we had to have super cute bunny shoes to complete the look. I bought these from Boden and thought they'd be the perfect finishing touch for the outfit. Shimmery silver and cute bunny features, but a nice rubber sole so they're as versatile as the dress:)

I was not financially compensated for this post. I received knit fabric from Timeless Treasures to try out & use as I desired. The opinions are completely my own based on my experience. For my complete disclosure policy, click here.
Super adorable! You are amazingly talented, for sure. Thanks so much for linking up with me!
ReplyDeleteShelbee
Thanks so much Shelbee and for hosting such a sweet party. I'm glad to have a fun fashion to share there!
Delete