
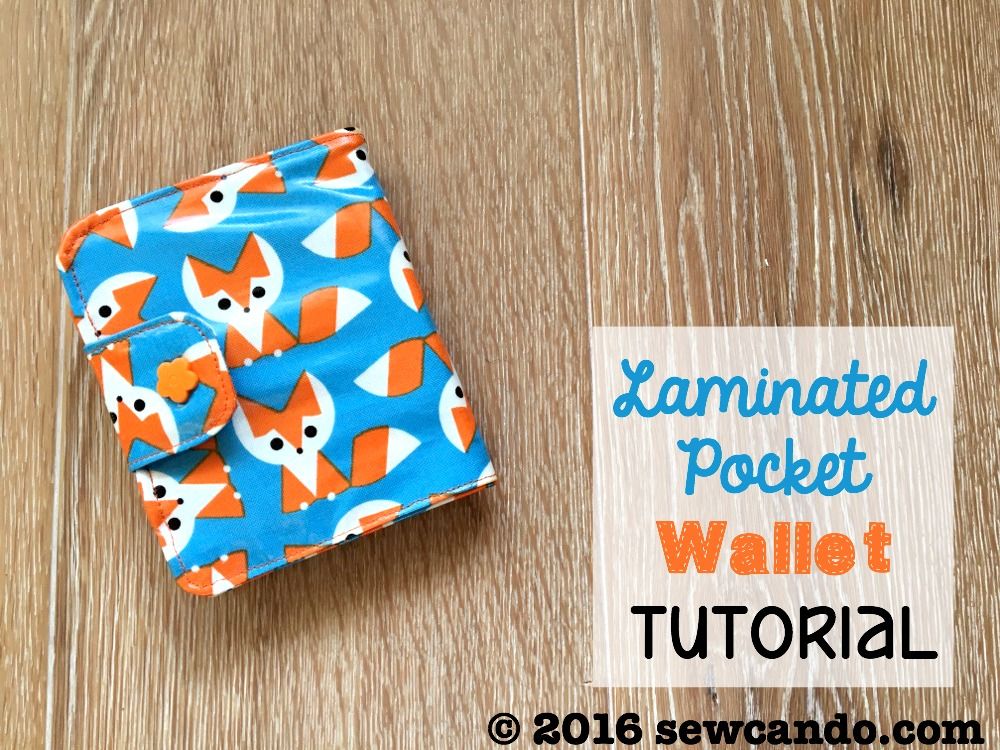
Today's how-to is one that can hold up to serious wear AND while keeping all your cash & cards organized. This is a quick & practical project - you can make one in less than an hour with some lovely laminated cotton and my Laminated Pocket Wallet Tutorial!
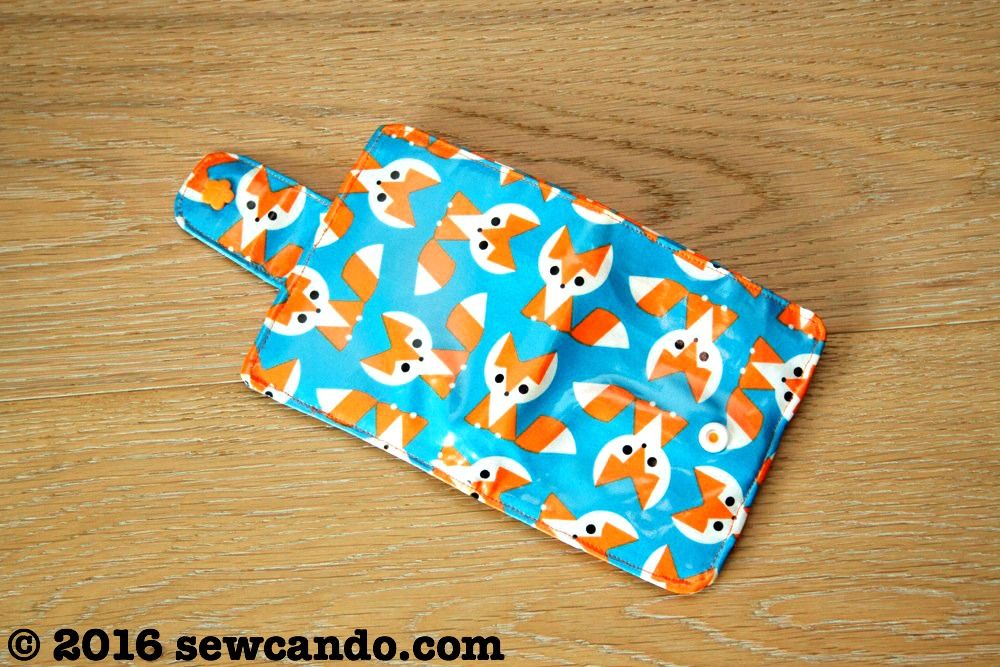
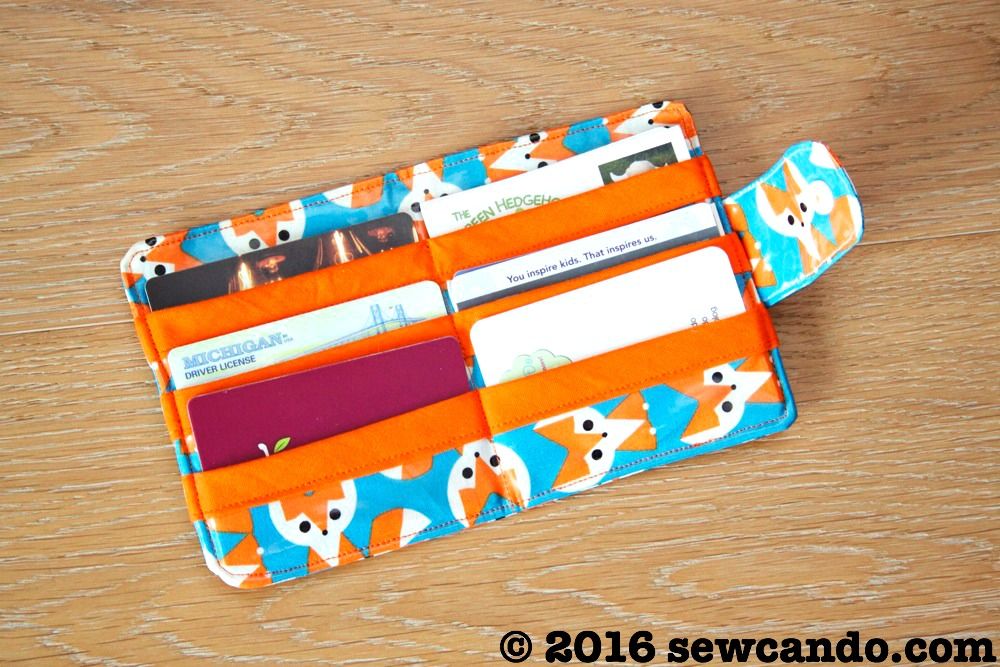
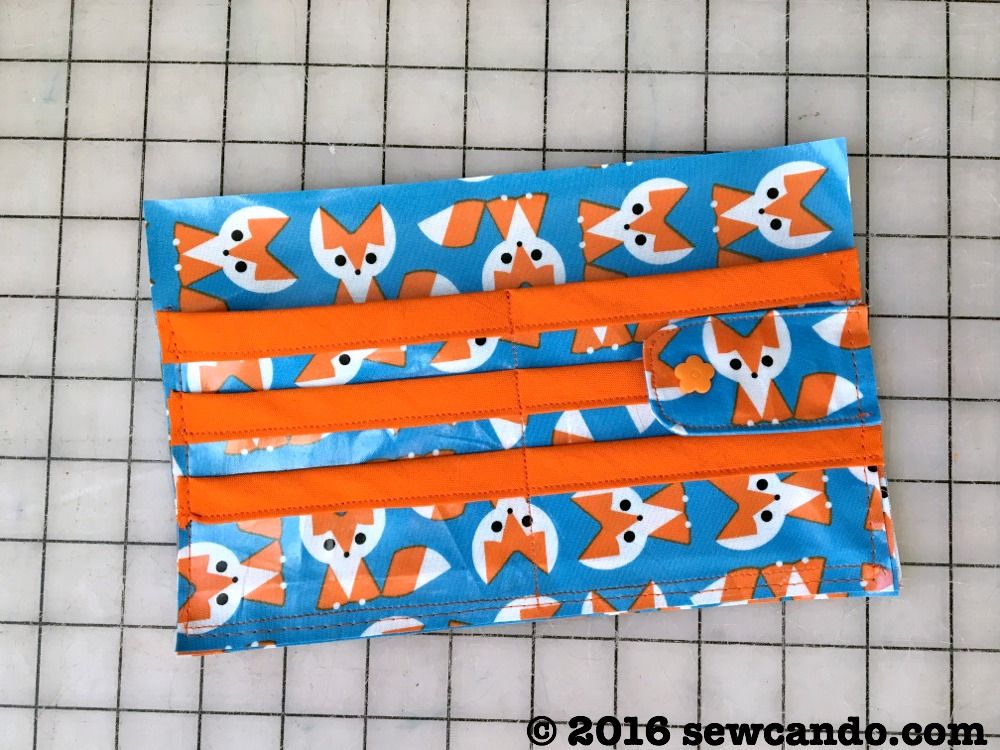
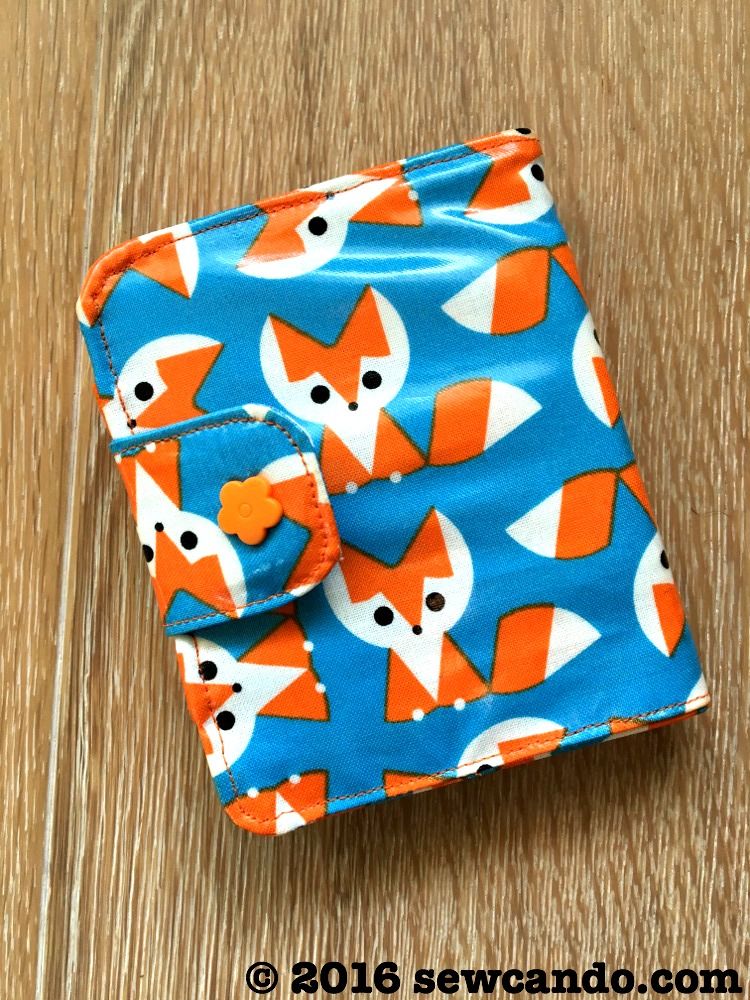
This wallet has any easy open snap closure and plenty of room for cards with 6 full size pockets. Easy to see everything at a glance. The laminated fabric adds a little extra grip to keep everything in place and add some stylish prints in the mix. I wanted a fun look for fall, so I went with this cute fox print laminate to get durability and style:
And because it doesn't use much fabric, it's also a very thrifty sew. Using 56" wide laminate, just a 1/4 yard will make 3 wallets, so super economical!

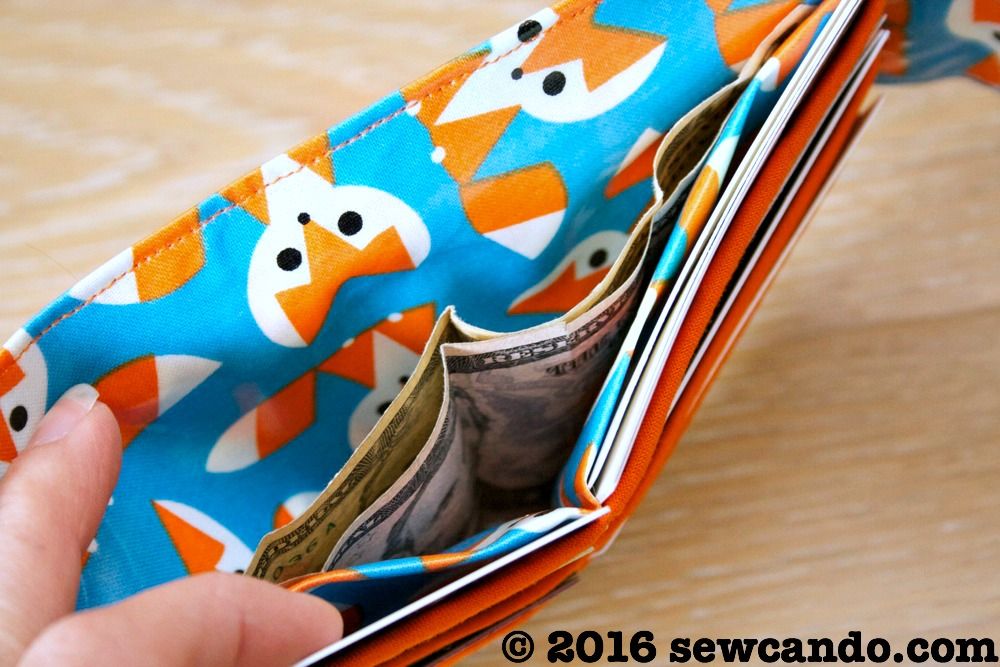
There's even a bill fold section for all your cash (or last couple of bucks in my case).
This actually an update of my previous Chic Pocket Laminated Wallet that I did a few years back, but I've improved it with more step-by-step photos and a little extra on making bias tape to get a perfect match to whatever fabric you're using. Laminate is not only easy to keep clean, but it wears like iron. I used this version every day for over 3 years before making today's foxy one.

Now, let's get to how to make it!

Materials:- 1/4yd Laminated Cotton Fabric (I used Wide Eyed Foxes from Laminates).
- Sewing Notions (shears/rotary cutter, ruler, disappearing marker)
- Flat Clips (I use hair clips, but binder clips, bobby pins or Wonder-clips also work)
- Lip balm (this makes the laminate smoothly move under the presser foot)
- Plastic snaps
- Optional: Walking Foot
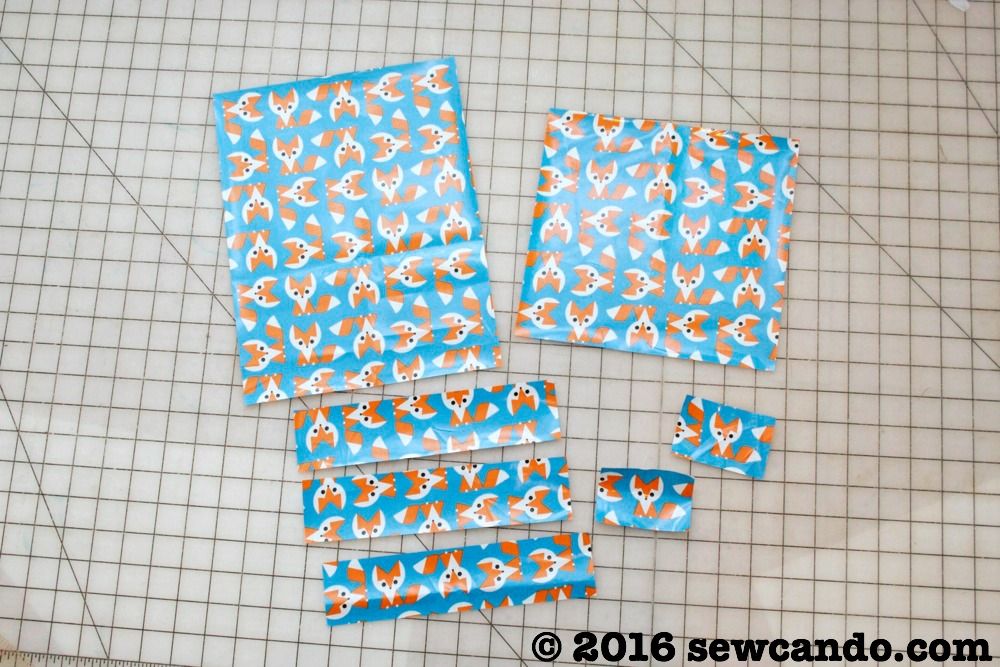
Cutting the wallet pieces:
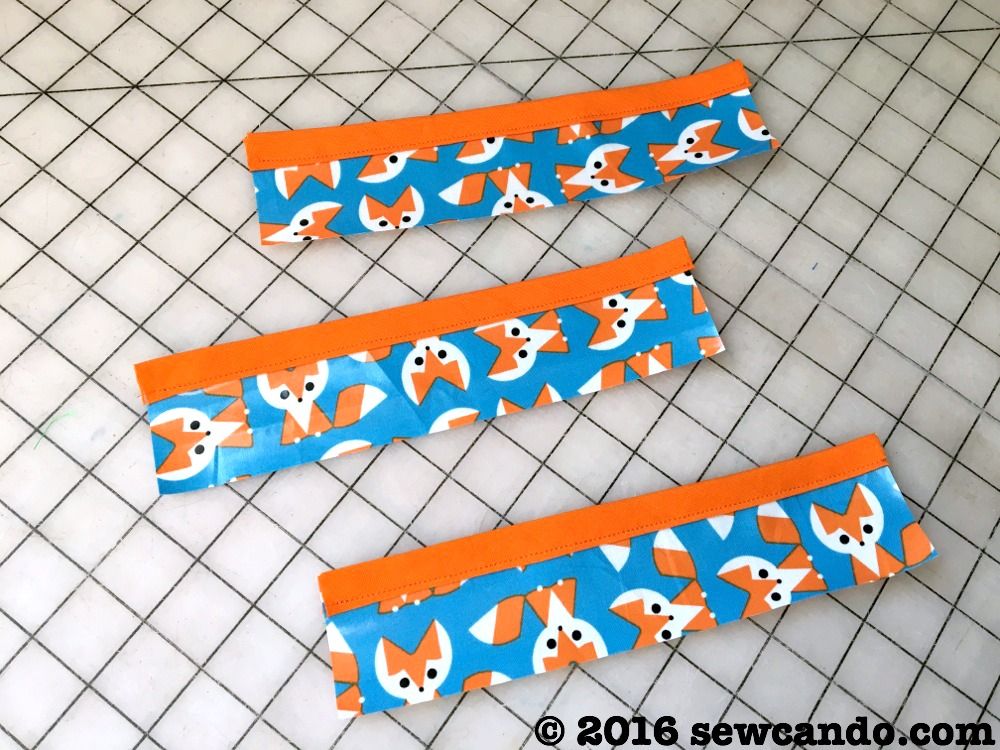
(3) 8.5in wide x 2in high strips for the card pockets
(1) 8.5in wide x 11in high piece for the wallet body
(2) 2in wide by 3in high pieces for the closure strap
(1) 8.5in wide x 8in high piece for the bill pocket.
(2) 1in x 1in pieces for reinforcing the snap areas. I like to use scrap bits of stabilizer, but bits of laminate will also work.
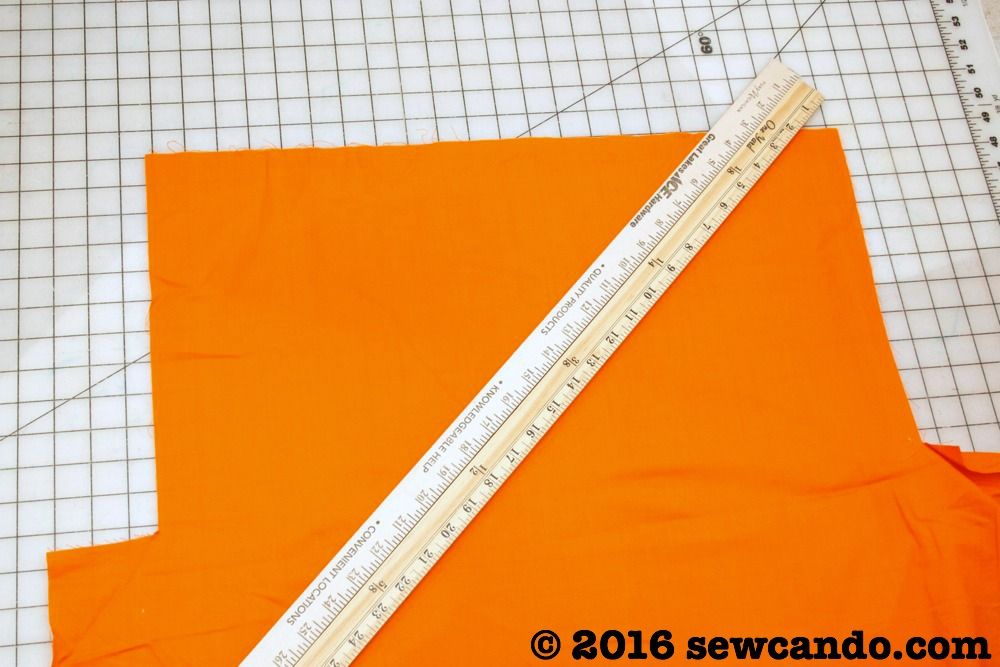
I started out by making some bias tape. I had some cotton that was a perfect shade of orange, so I cut a half yard piece of fabric along the bias (45 degree angle). I cut a strip that was 2 inches wide - very easy when using two yard sticks together:
I folded and pressed my strip lengthwise first and then fold in the raw edges to the fold I'd made and pressed:
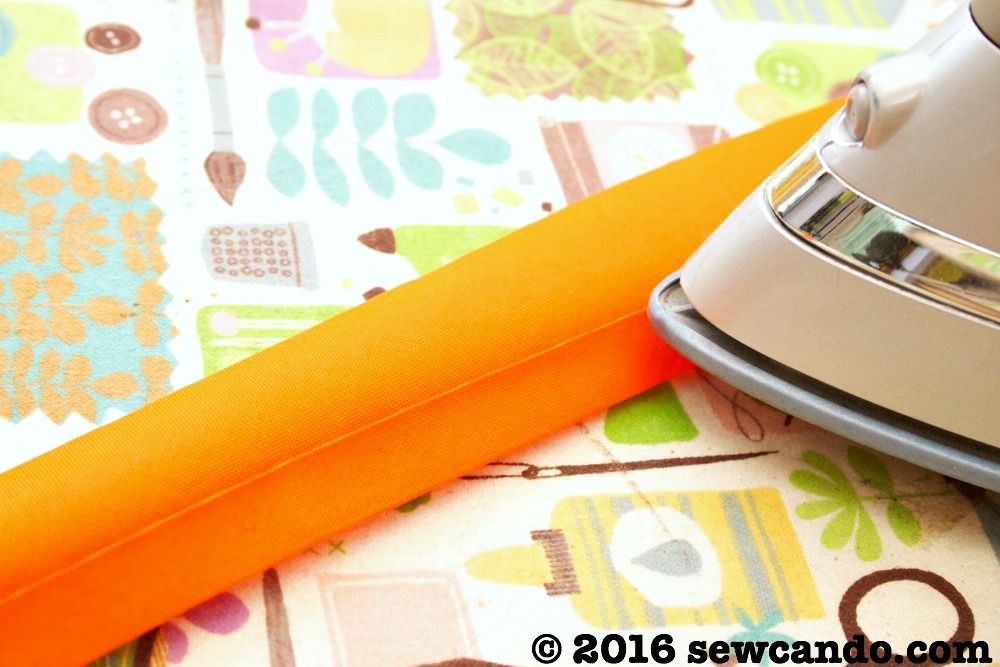
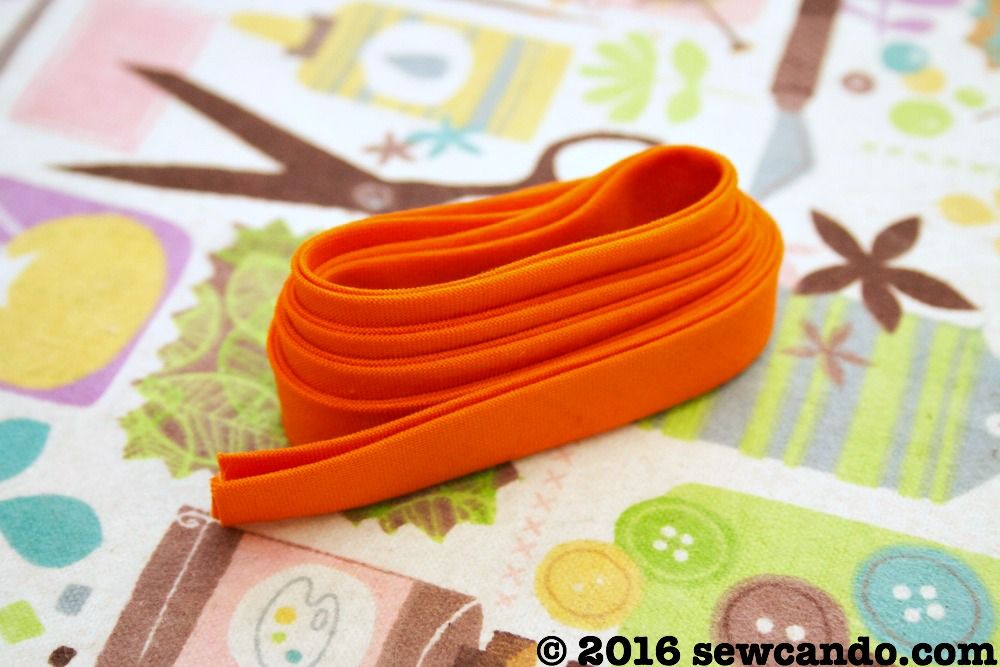
I then pressed along the center fold again and my bias tape was good to go:
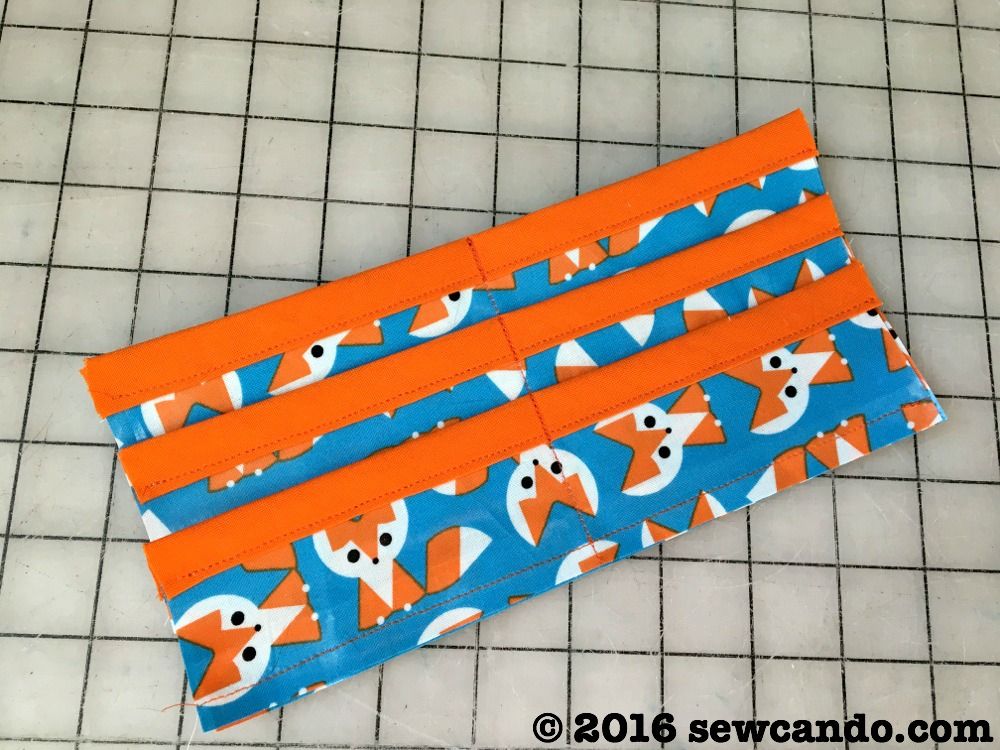
I stitched the bias tape along the top edge of the pocket pieces.
Then I lined up the first strip, bias taped side up along the center of the 8.5in x 8in piece and clip on sides.
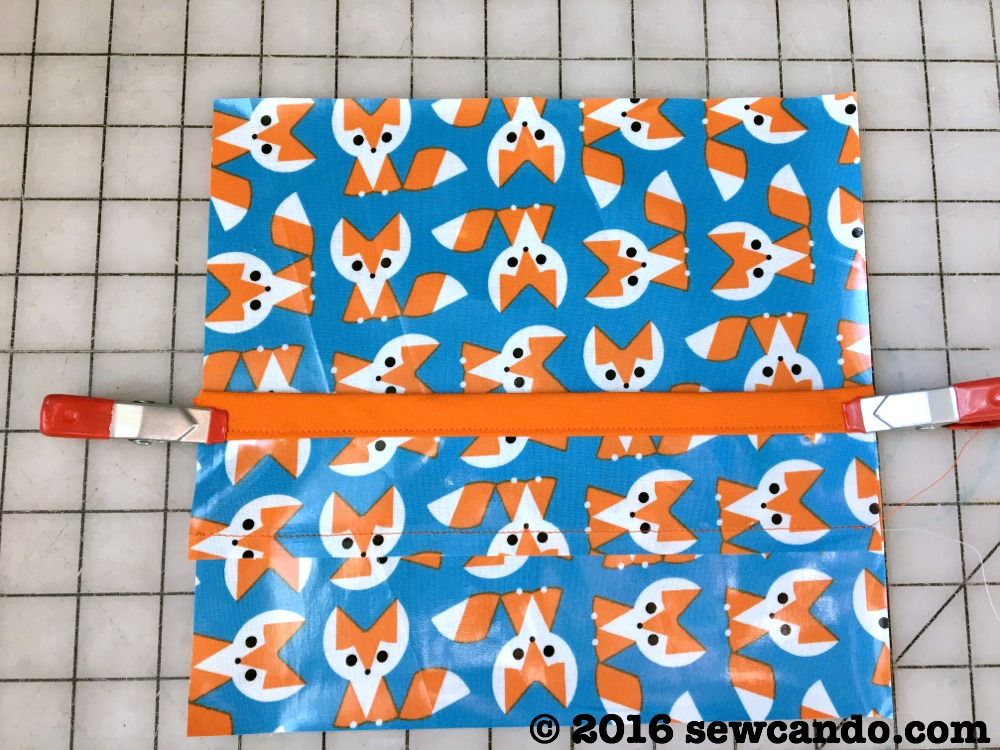
I always run a bit of lip balm along the laminate surface where I will be stitching. This will prevent the laminate from sticking under the presser foot and is easy to just wipe away when done. I stitched 1/4" from the raw bottom of the strip:

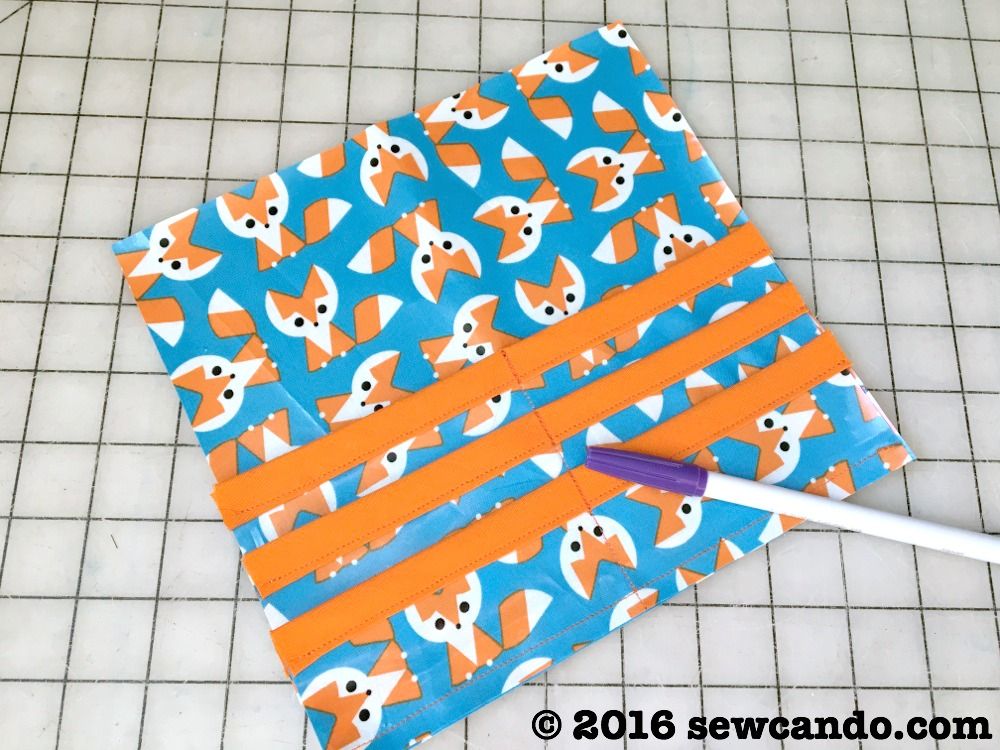
Next I layered second pocket over the first, 1 inch down from the top of the first pocket and repeated with stitching the 2nd & 3rd pockets into place. Next I marked a vertical line down the center of the pocket cascade and topstitch. That partitioned the pockets into 6 card sized spaces.
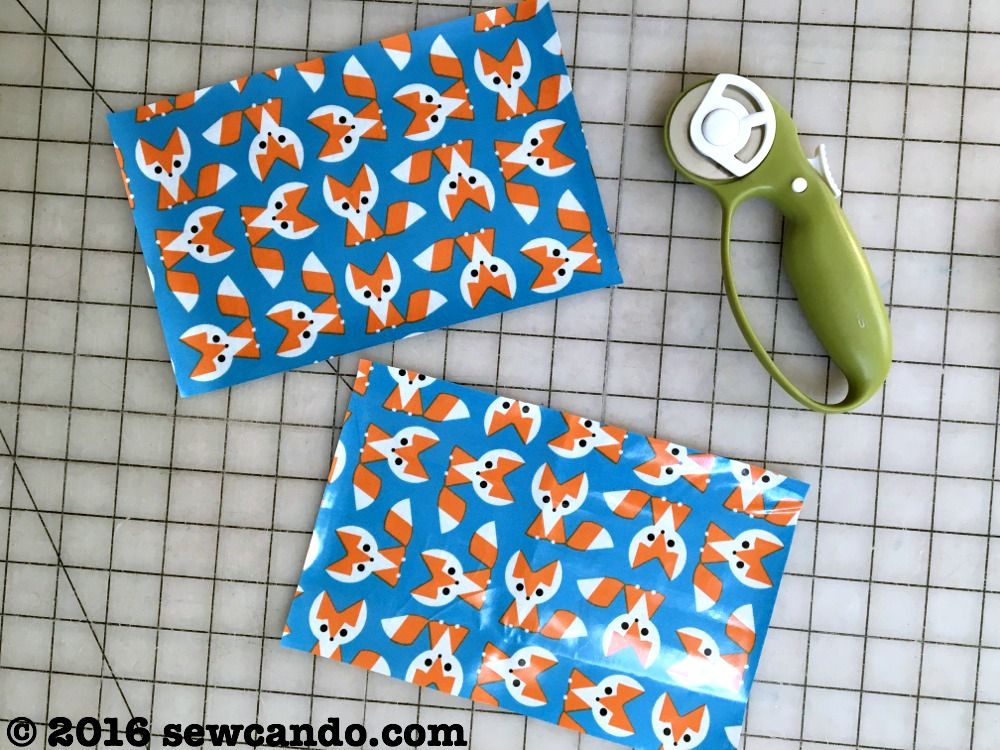
I then took the 8.5in x 11in rectangle and cut it in half widthwise so there were two 8.5in x 5.5in rectangles to make the body of the wallet. Since there are so many rectangular pieces, I find it easier to cut that part at this point so nothing would accidentally get mixed up as I worked.
I folded the pocketed piece in half lengthwise with the wrong sides together, so there was only the pocketed section showing:
This piece was laid on top of one of the newly cut body pieces, lining up the bottom edges, and then clipped together.
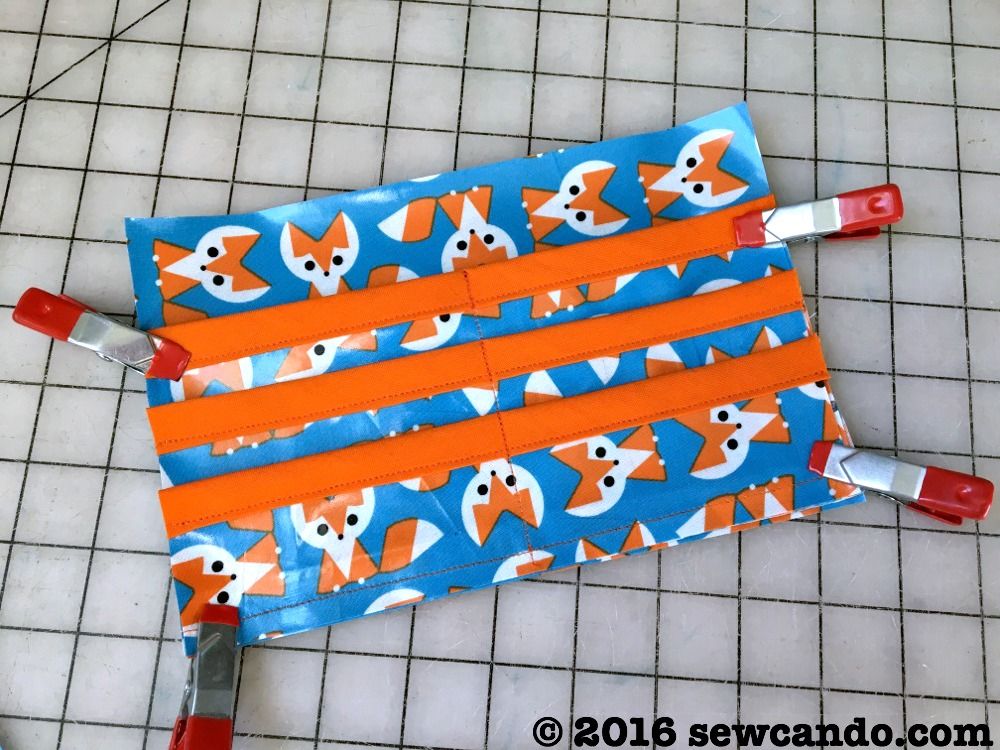
The layers were basted together along sides and bottom 1/8 in from the raw edges. This created the bill pocket behind the card pockets.

I took the two strap pieces and, with right sides facing, stitched together with a 1/4 in seam allowance. I curved the corners for a softer look, and then trimmed & clipped around them so they'd round when turned right side out.
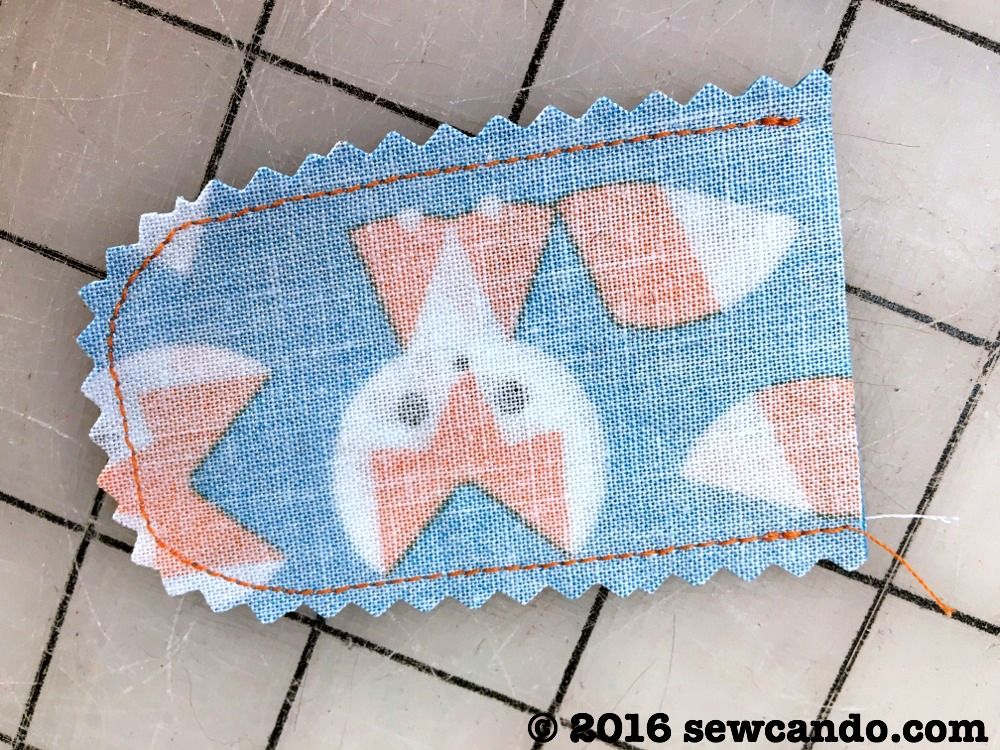
Then ran a quick dab of lip balm along the edge and topstitched:
I inserted my 1in x 1in square for stabilizing into the strap and attached the male portion of the snap through the closure strap. I also attached the female portion of the snap to the remaining wallet body piece (2in inward from edge and with a bit of stabilizer behind it too).
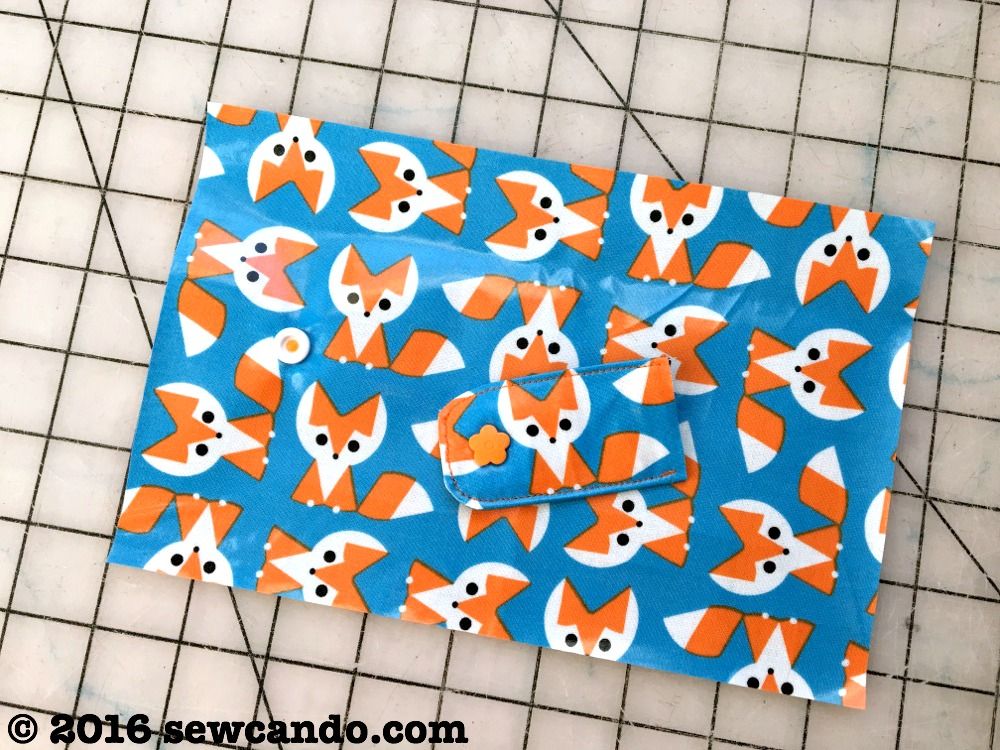
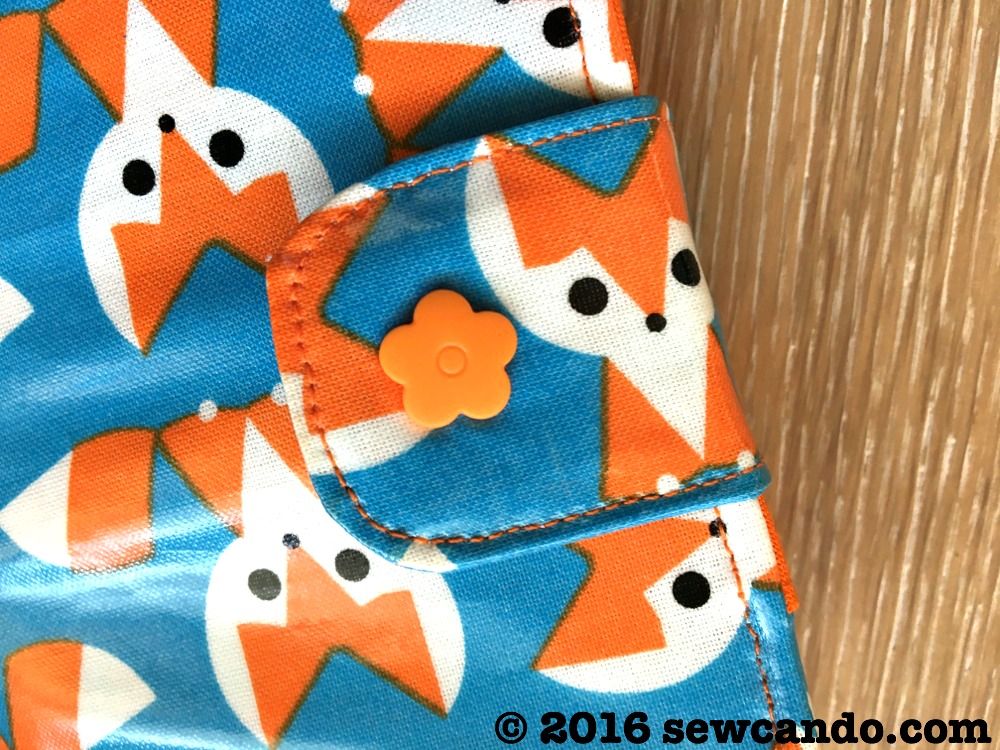
For a little extra whimsy, I used a fun flower shaped snap:
I clipped strap to center of the right side of the pocketed piece. The end with the snap was on the left, while the piece below had the strap on the right, so when it would be turned right side out everything will be in the right spot.
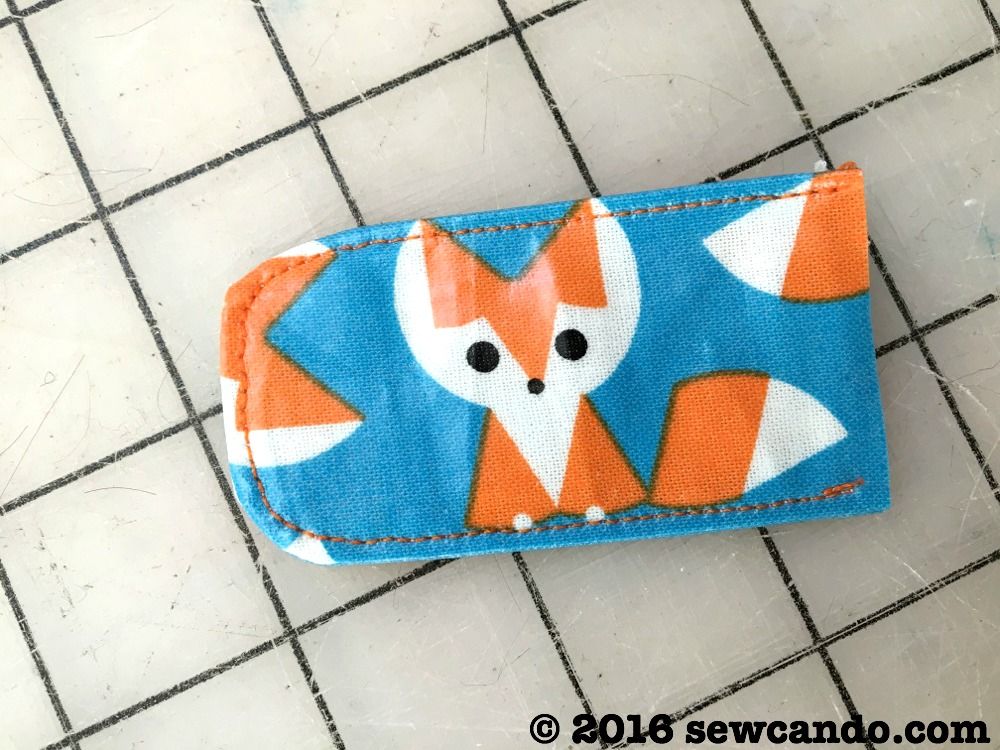
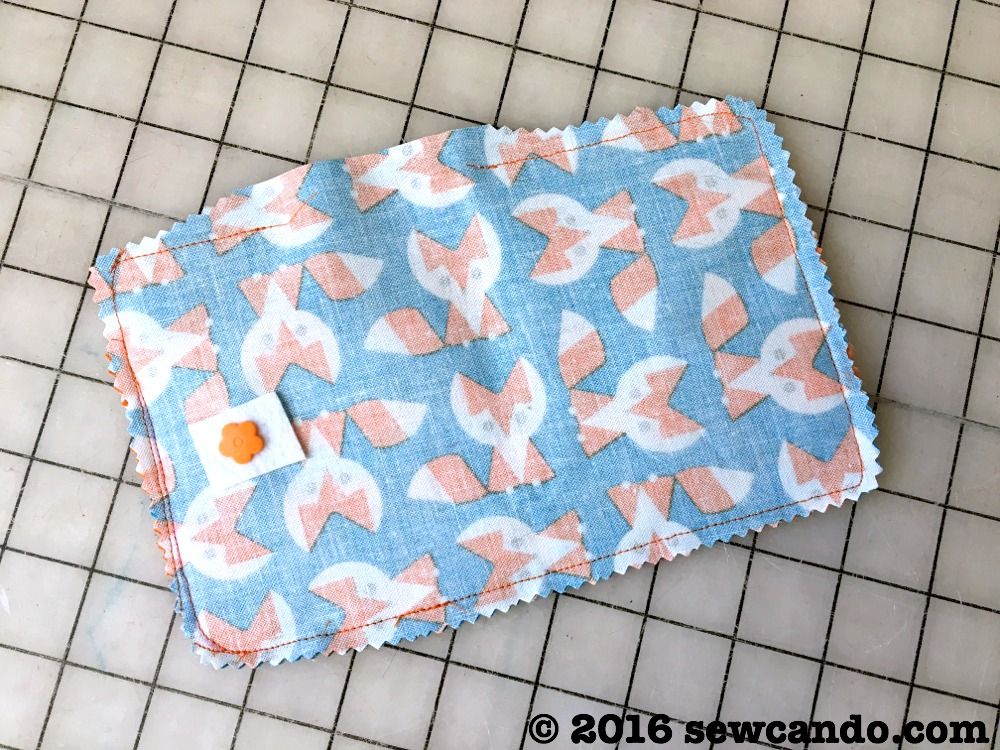
Then I put the remaining wallet piece face down over rest of wallet & clipped everything together. I stitched all the way around, with a 3/8in seam allowance, rounding the corners as I stitched (and leaving a 2 inch gap for turning on one of the width sides). I clipped around the edges with pinking shears and turned it right side out, poking out corners with a pencil. I ran a bit of lip balm around edge, topstitched to close the gap.
Then the wallet was ready to use. Cute fox fun, easy to find in my purse and guaranteed to last for many seasons of use.

Cute wallet! I love the foxes!! I've got a Craft Gossip post scheduled for tomorrow morning that features your tutorial: http://sewing.craftgossip.com/?p=90064 --Anne
ReplyDeleteThanks so much Anne! Foxes are one of my favorite Fall animals:)
DeleteThat is absolutely adorable! I love those foxes! :) Lisa
ReplyDeleteThanks Lisa - I love them too!
DeleteVery nice vallat, thanks for sharing the turorial. And I really like that you added the lip balm to the materials, it is both funny and helpfull.
ReplyDeleteCheers,
Emese
It's surprising something like that works so well. Got to love sewing hacks!
DeleteGreat tutorial - pinning!
ReplyDeleteMuch appreciated Roseann:)
DeleteThis looks so adorable - love the fabric and your how to step-by-step is really easy to follow - will certainly be having a go. Nice to meet through Justine's Creative Mondays linky :) Special Teaching at Pempi’s Palace
ReplyDeleteThanks for the wonderful compliment. I'd love to see yours when you do!
DeleteThis is so lovely, what a great pattern too :) Thanks for sharing at Creative Mondays last week, you are one of this weeks features :)
ReplyDelete