
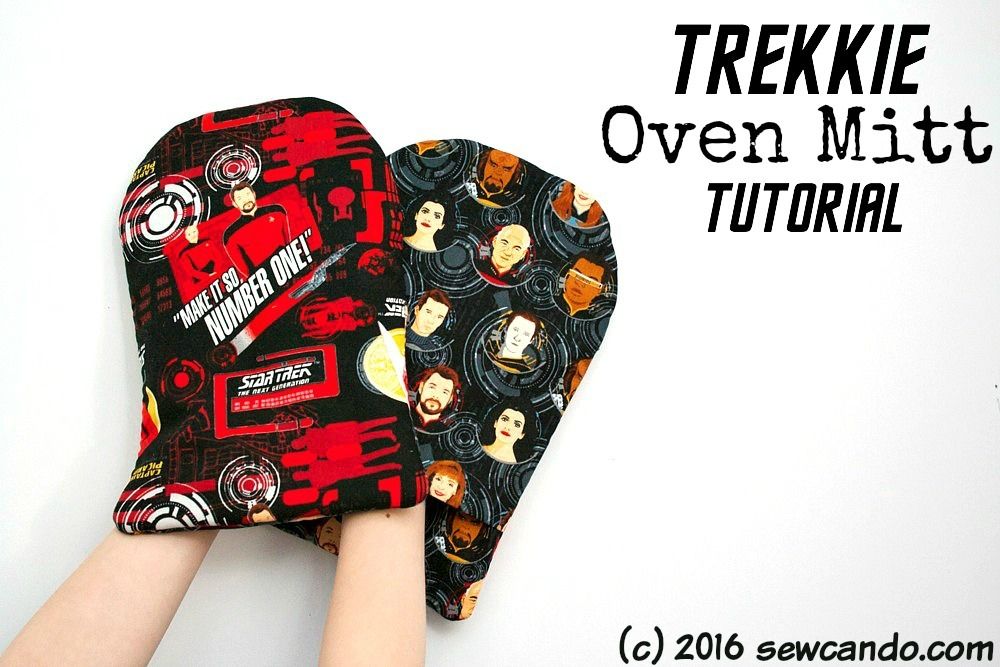
It's been a while since I've done some geek-themed crafting, but I'm back in action now and starting off a new month with this project: Trekkie Oven Mitts.
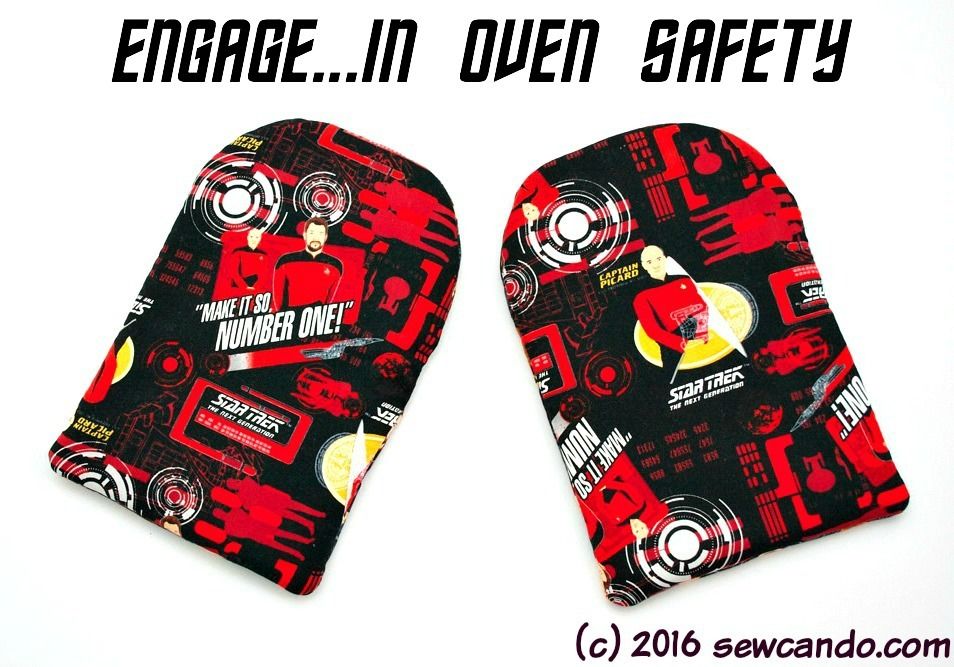

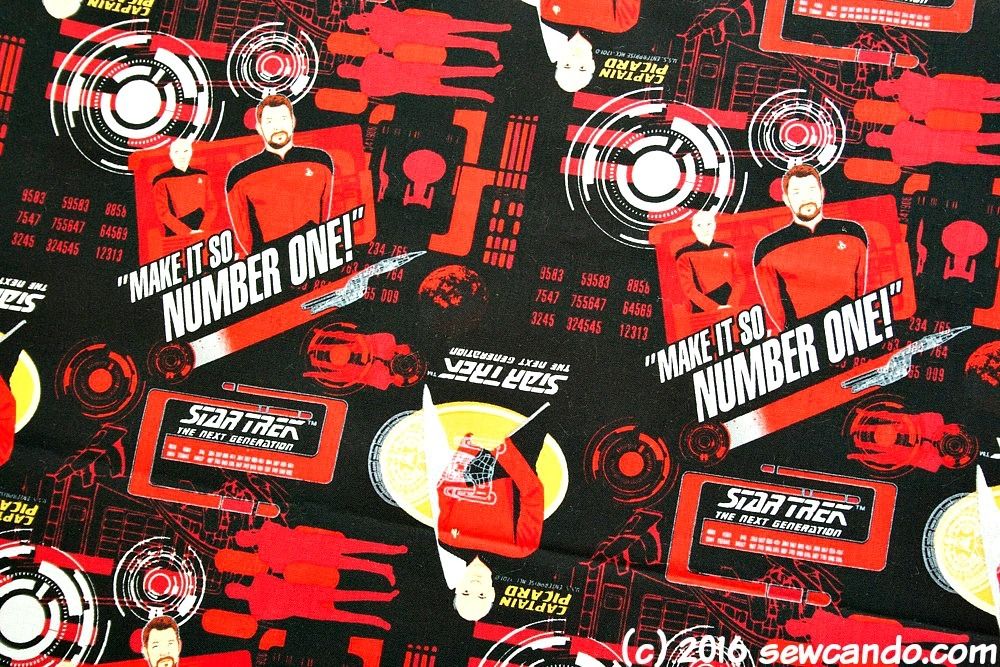
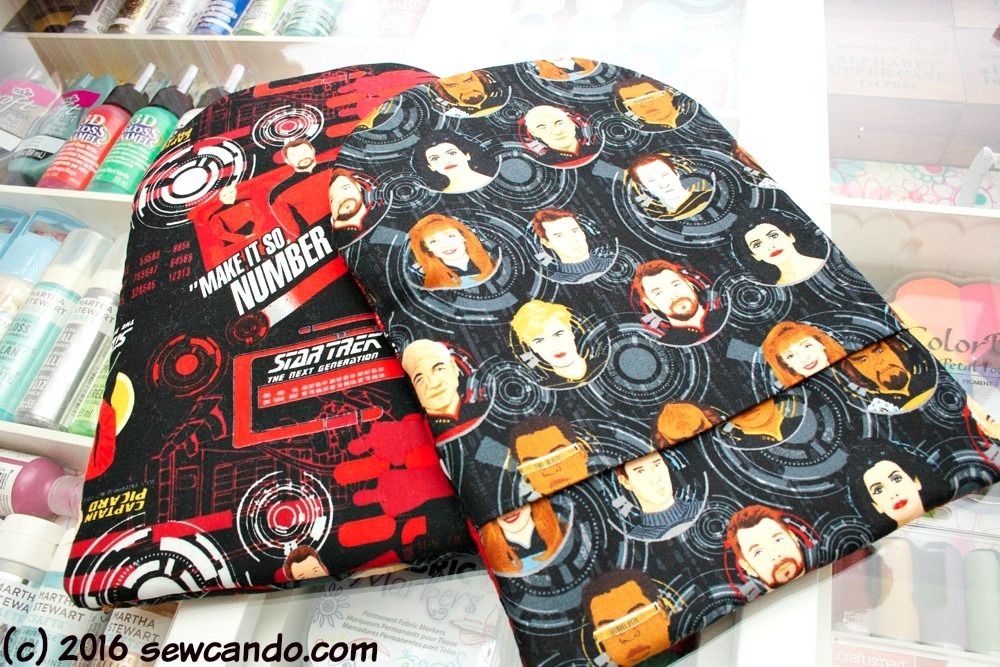
My Dad is a huge Star Trek The Next Generation fan, so when I stumbled across these fabrics I couldn't resist buying them. He does a lot of grilling and oven cooking, so new mitts seemed right up his street. This print's got the classic catch phrase for Captain Picard and his Number One, Will Riker:
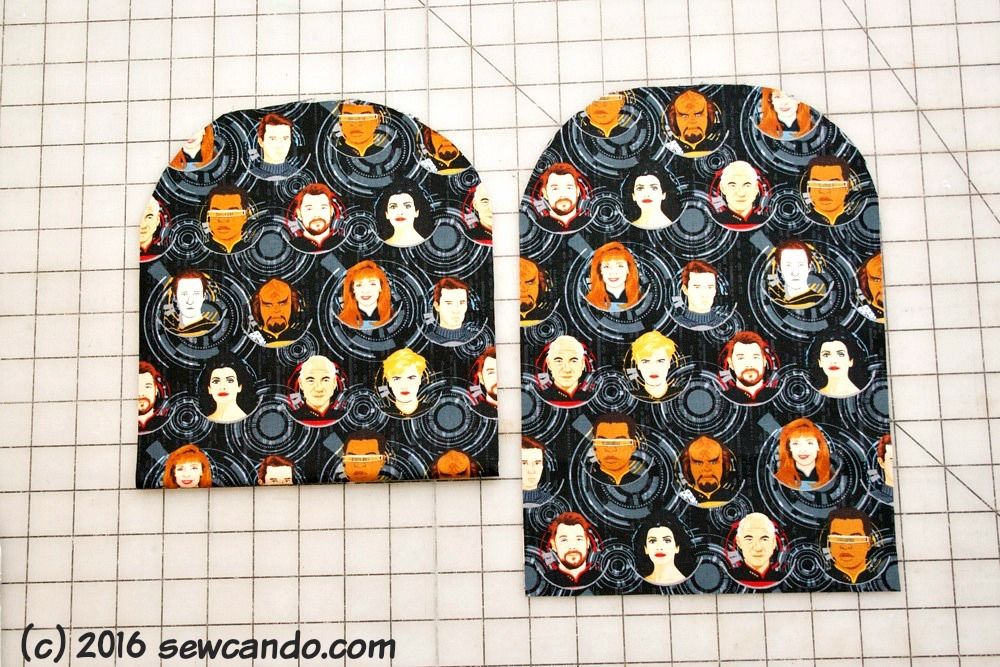
and this awesome print had the full cast:

FYI, these oven mitts could be done in any motif/print, so if you're not a Trekkie or sci-fi fan, they'll work just as well with any other theme.
Here's how to make them....
Materials:
- 1/4 yard Insul-Bright
- 1/4 yard Cotton batting
- Shears/rotary cutter, pinking shears
- Heavy duty needle + hand sewing needle
- Small clips/clothespins
- Paper & pencil
- Optional: walking foot
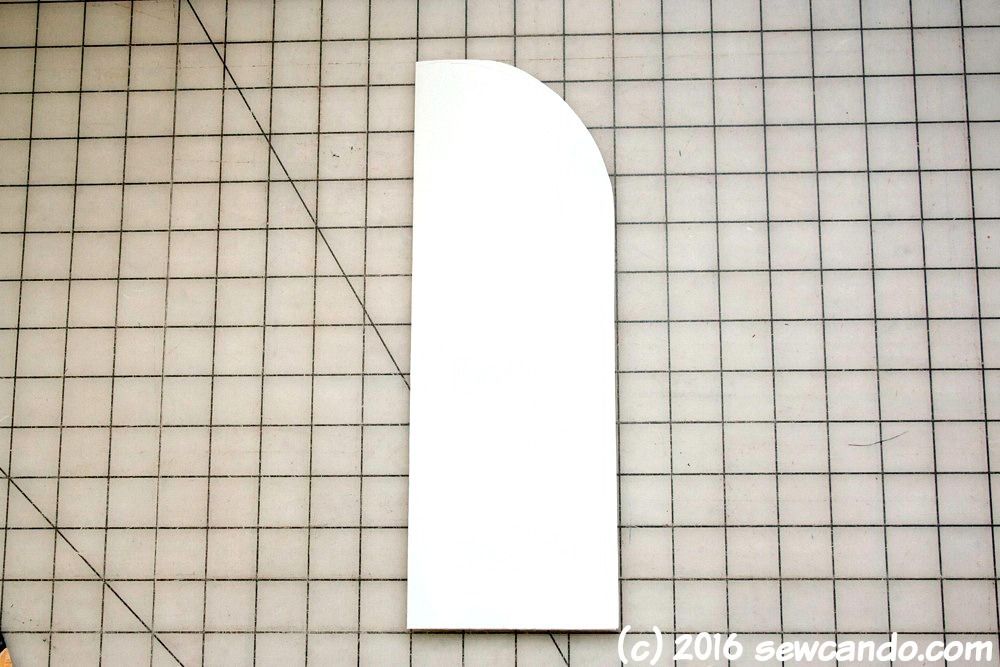
I started by drafting a basic pattern. I folded a piece of paper and cut it to be 4 inches wide by 11 1/2 inches high. I rounded the top corner using a plate about 2 1/2 inches from the top. Opened it up and oven mitt pattern was now ready.
I cut out pairs from both fabrics, batting and insulating fleece.
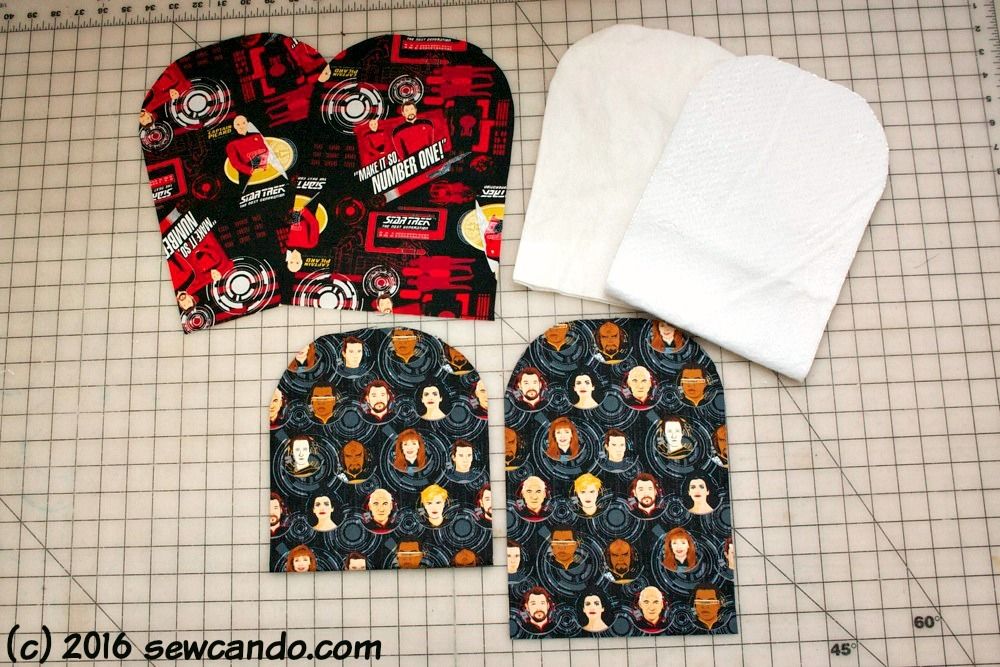
For the hand pocket, I also cut an extra pair from the Star Trek TNG Badges in Black, but made each 2 1/2 inches shorter and cut them with the fabric folded, so that the fold is the straight bottom (this makes for super easy pockets):
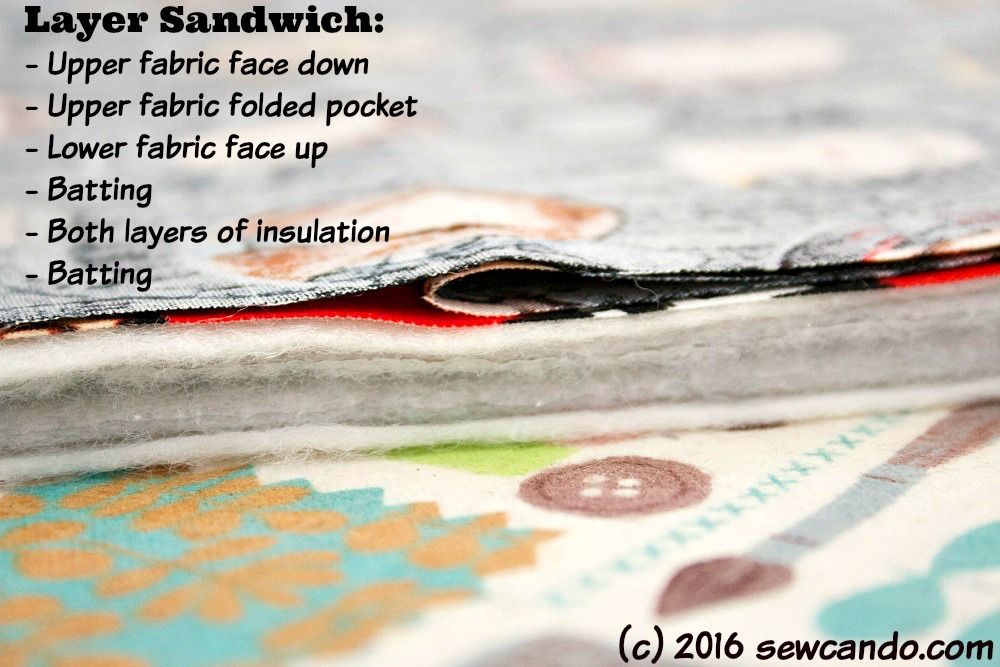
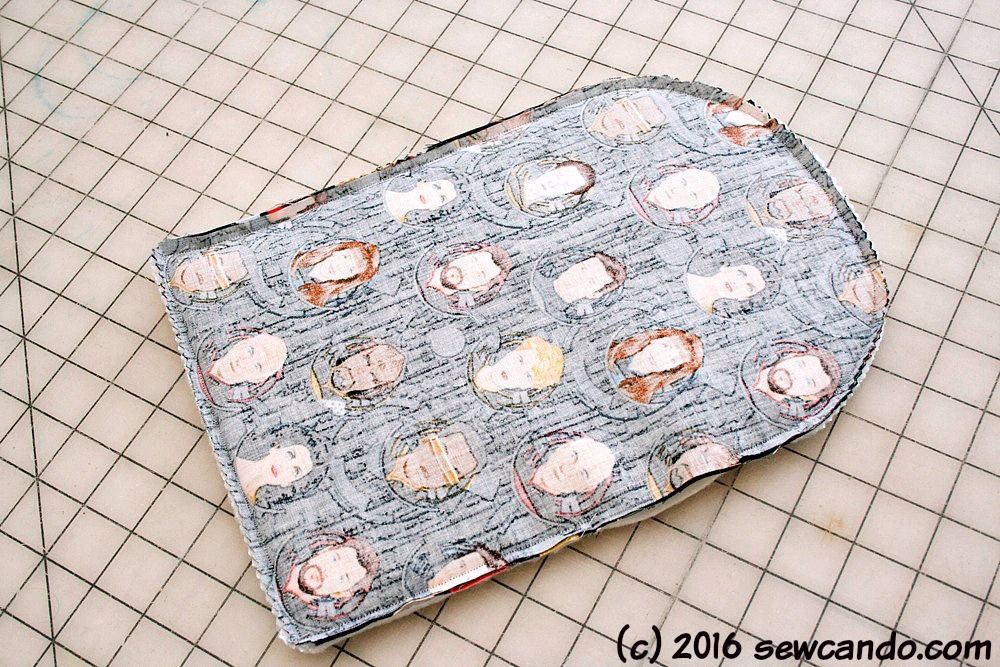
Now it's time to layer all the bits together:
Since this is a pretty thick stack, I used clips all the way around instead of pinning:
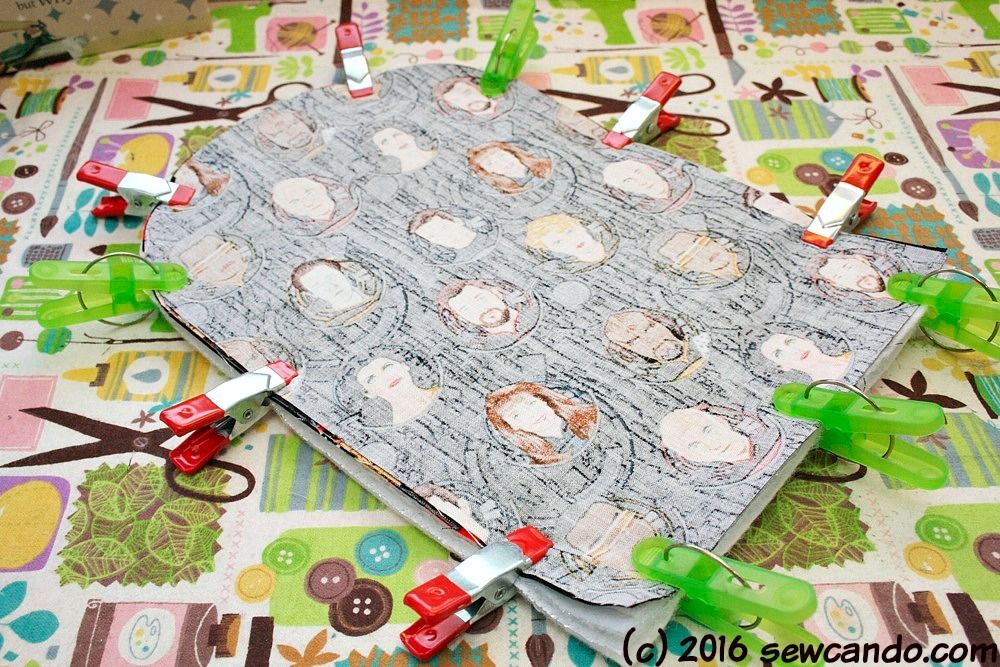
I stitched all the way around with a 1/4 inch seam allowance, leaving a several inch gap on one side for turning. I highly recommend using a walking foot when sewing this many layers. It really keeps the fabrics from shifting.
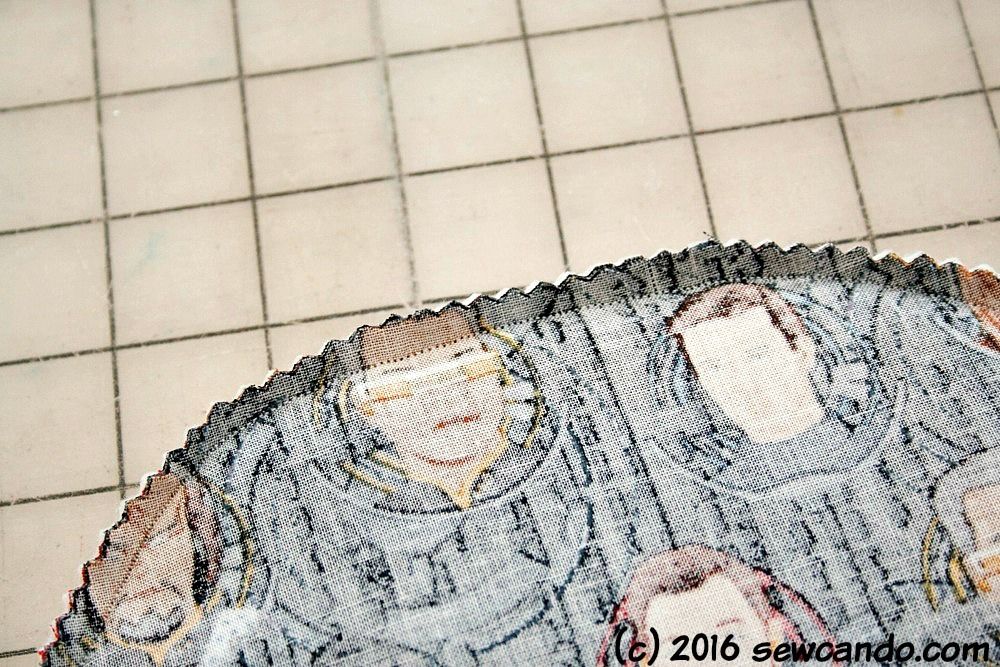
I trimmed the seam allowances with pinking shears. It's quicker and just as effective as clipping into curves and there's no danger you'll clip through your seam:
Then I turned each one right side out and slipstitched the openings closed by hand. These were a great birthday surprise gift and are sure to get my dad's cooking to boldly go where no one has gone before. Yes, that was super corny, but I couldn't resist! Now, I'm feeling the geek craft vibe again, it's time to think up some other geektastic projects...

These are so cute! I never thought of sewing my own pot holders. I could make them to make my kitchen decor!! Thanks for sharing with us at Thursday Favorite Things blog hop!
ReplyDeleteCheers,
Jennifer
http://awellstyledlife.com
They are so easy and then you can make them exactly the style and print you want:)
DeleteCapitan Picard was just the coolest! I love your pun at the end too - had to be done!
ReplyDeleteI bought some avengers fabric (just because) and need a simple project , this might be just the thing.
Thanks Julia! This would be great for that - would love to see them when you do!
DeleteI go through potholders! End up using kitchen towels... Need to find me some geeky fabric and do this. Hmmm...wonder what's in my stash.
ReplyDeleteI need to make some for myself - the old ones I've been using are just shameful. Looks like we both need to surf our stashes.
Delete