
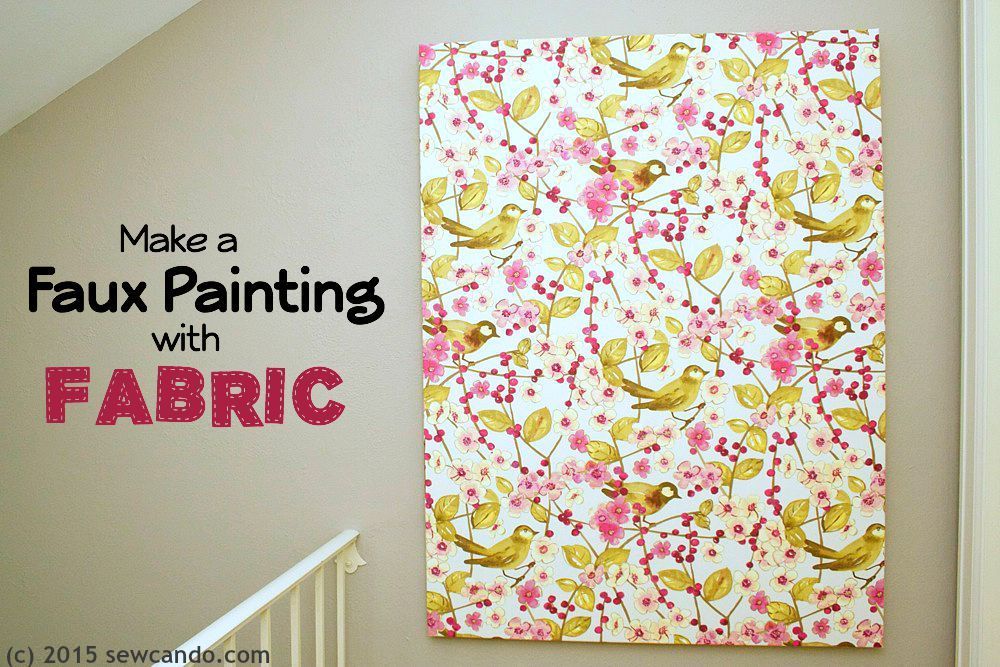
Got a space that needs some interesting wall art, but you aren't very artistic? Or don't have that casual/modern look most DIY art tutorials seem to show (Note to DIY people: we don't all have homes that are chevron, wood pallet or bright yellow friendly!)? Today I'm showing how to use some fabric to make beautiful painting-esque wall art with 3-D details. And did I mention it's cheap and easy?
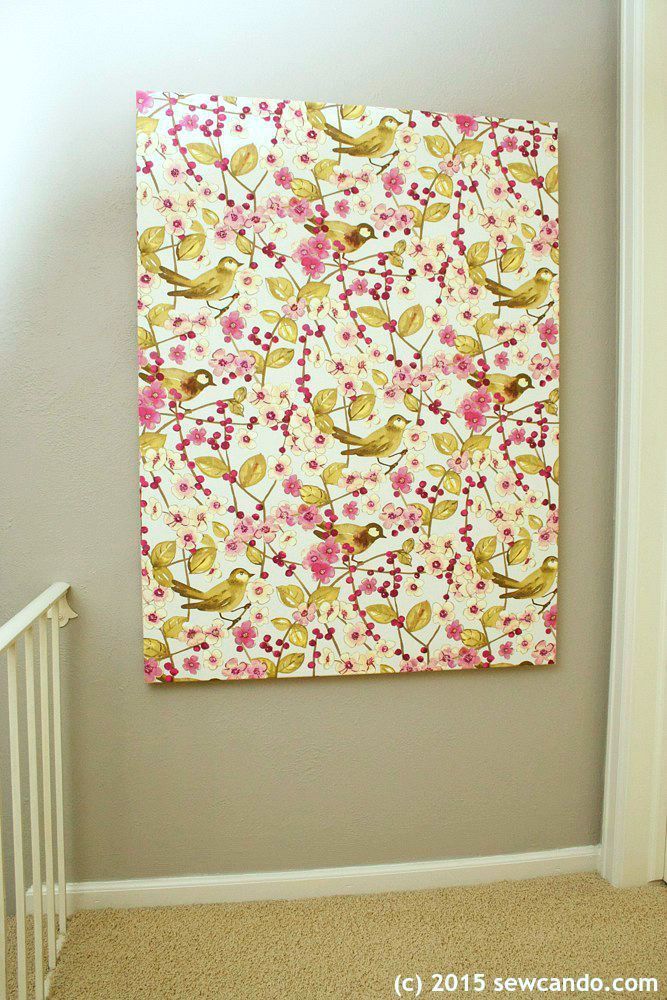
It's got the raised details of a real painting, but didn't require the artistic skills:
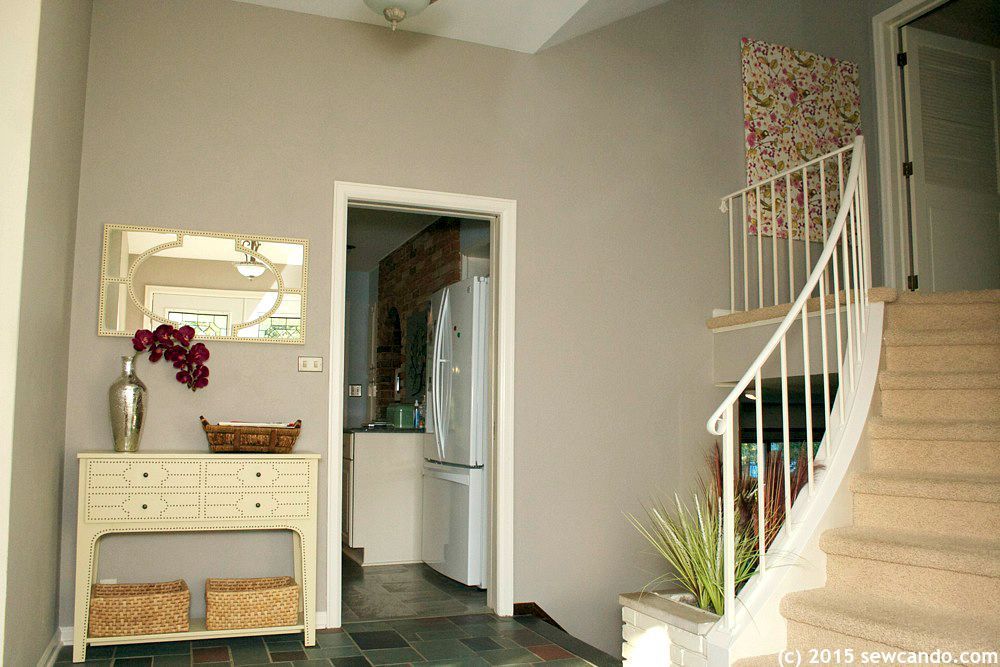
Here's a little backstory on my project: we recently had our already textured foyer repainted a nice neutral grey color. I love the change, but that meant the sage green painting I'd had at the top of the stairs didn't match anymore. I wanted to add punches of color that coordinated with the adjoining plum walled living room and other accents in the foyer, but I couldn't find anything that worked. Covering a canvas was an option, but I wanted it to still seem like a painting so here's what I did...
Materials:
- Large blank canvas (mine was 4' by 3')
- Home decor fabric (I needed 1 1/2 yds)
- Staple gun
- Fabric paint
- Iron
I started by picking out a fun home decor fabric. The moment I saw this bird print I knew it was The One. It had all my colors, a soft watercolor print on a canvas fabric. This meant it would look more like a real painting when hung and less like I was just stapling fabric onto a frame (shhh don't tell okay?):
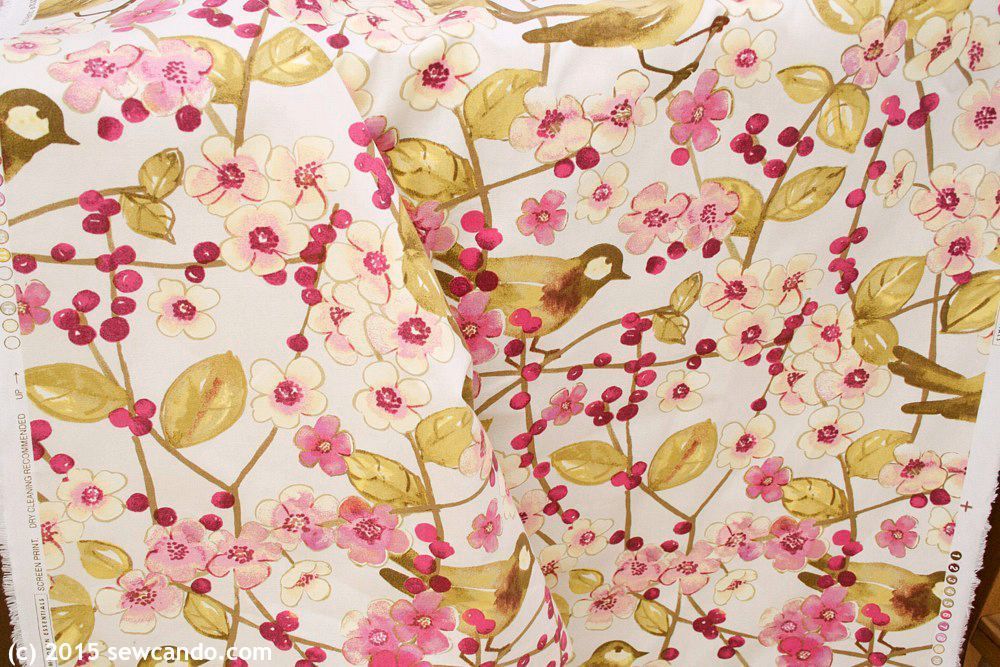
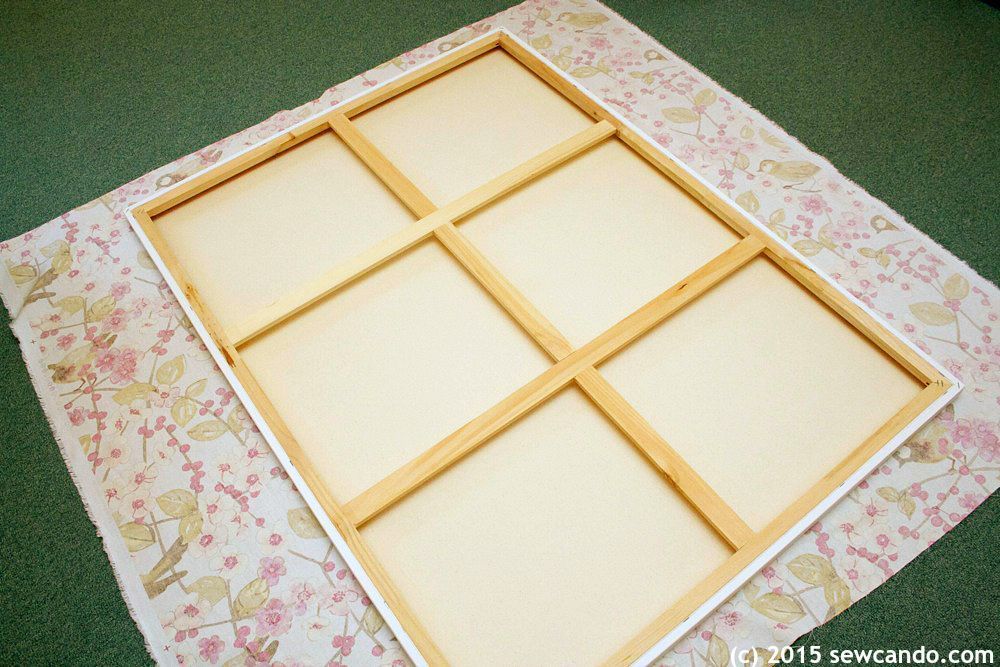
I also grabbed a blank canvas while I was at the store. I used a 50% off coupon to get the price down to about $25. I needed the giant 3 foot by 4 foot size so this piece was a big chunk of the cost. I trimmed my fabric and gave it a good press with the iron. The crease at the fold of my fabric was super stubborn and would not come out. Of course, my fabric was "dry clean only"! The solution? I carefully misted the backside with a spray bottle and steam pressed it to give that crease the slip.

I laid out the fabric face down and centered the canvas over it. I checked it multiple times before I started stapling to make sure it was nice & straight.
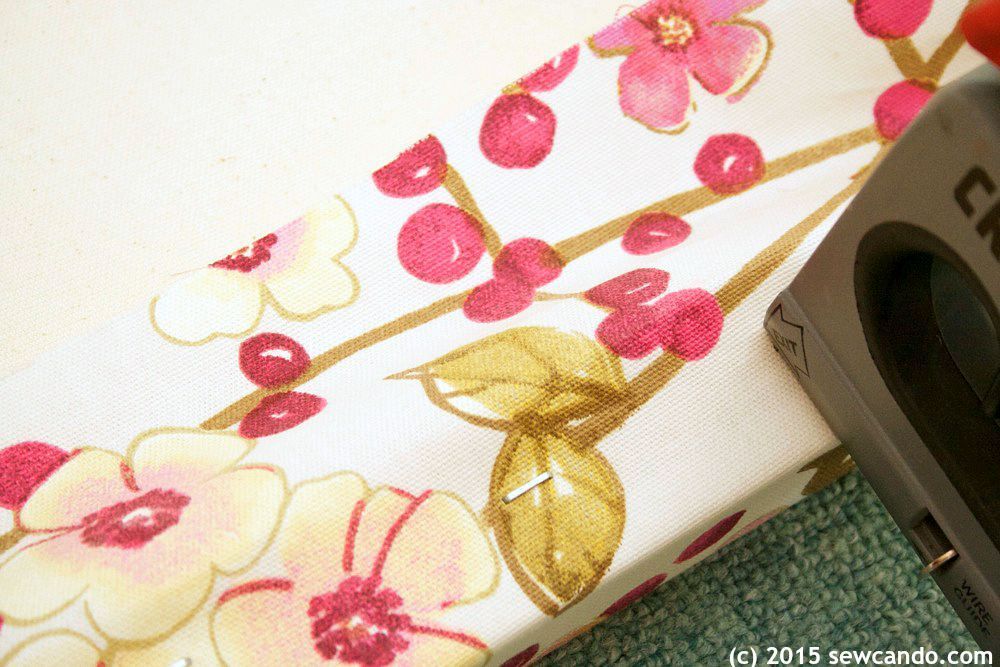
Then I pulled the fabric up on one side and began stapling along the frame every couple of inches. I repeated on the other sides, pulling the fabric as taut as I could while I stapled.
For the corners I pulled one side down and then did a fold over with the other:
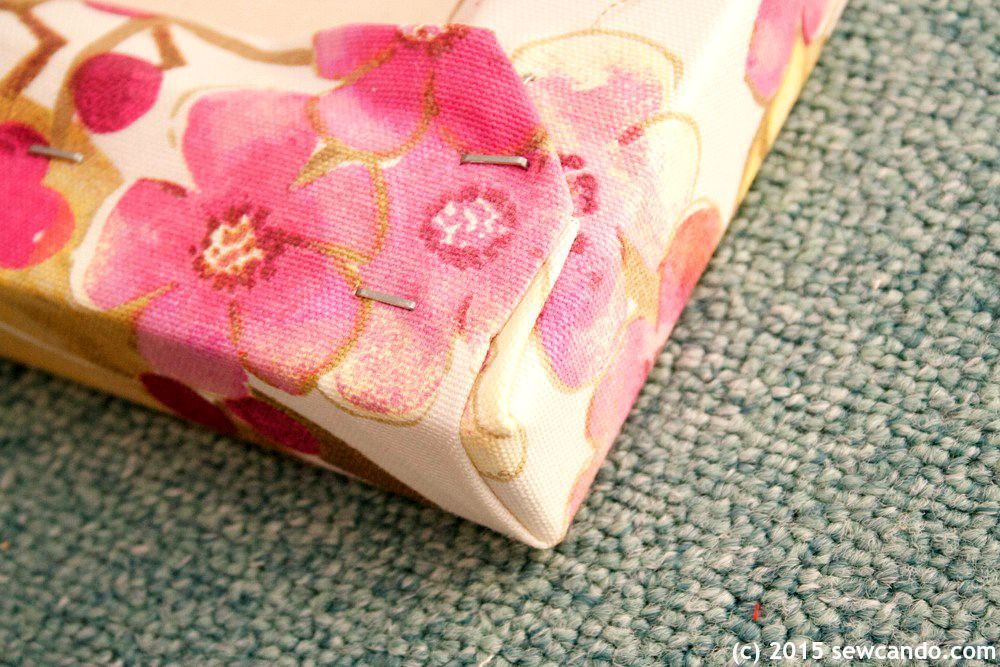
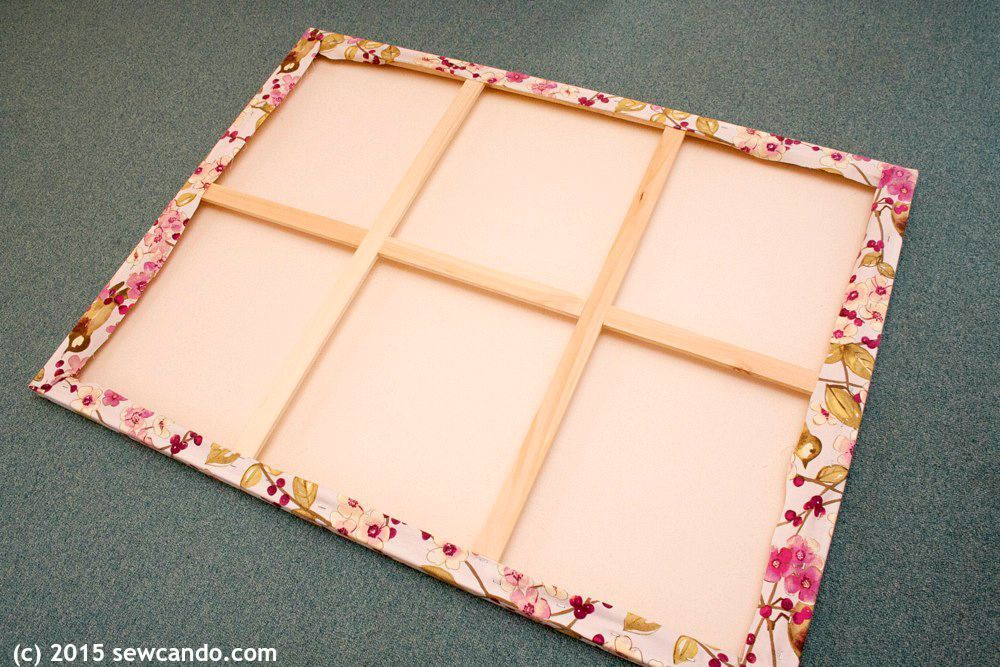
I trimmed off the excess fabric and the first phase was done.
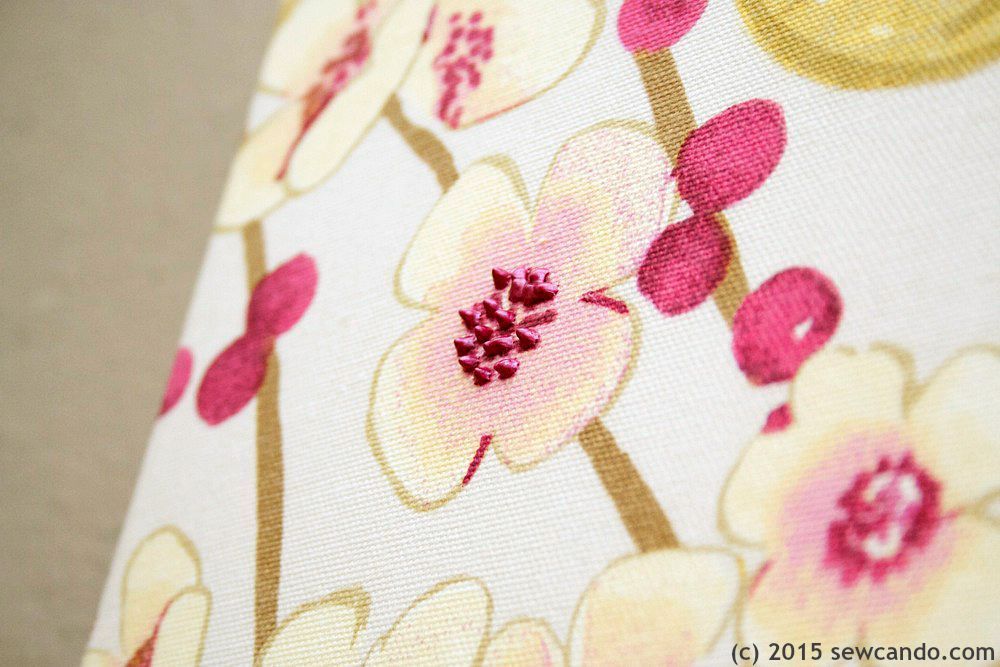
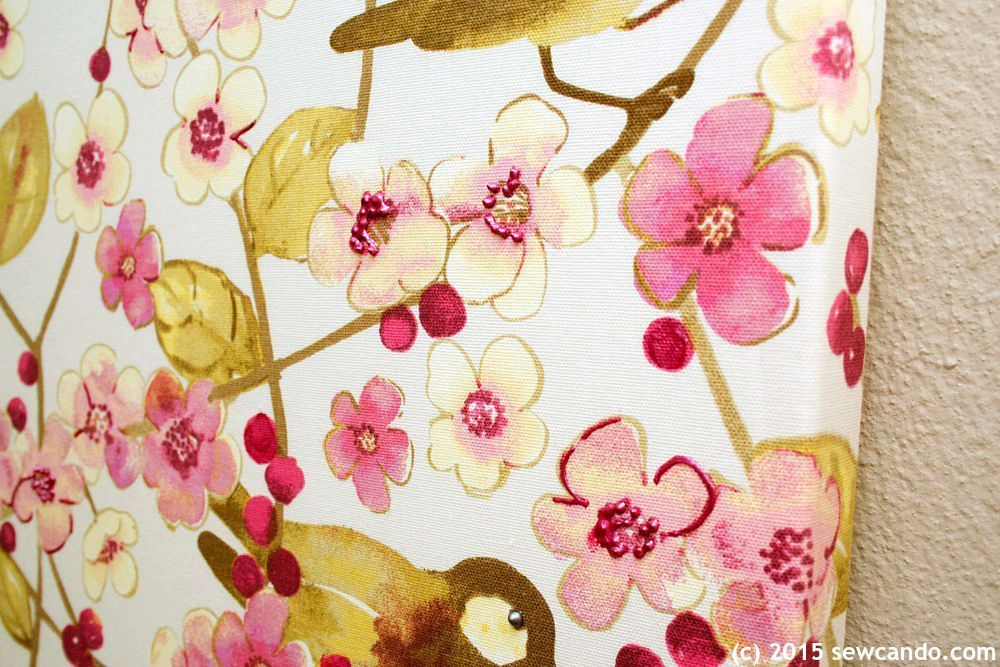
I wanted to add some texture and dimension to make this look like a real painting, so I added some fabric paints. I used a squeeze bottle to do some outlining on a lot of the flowers:
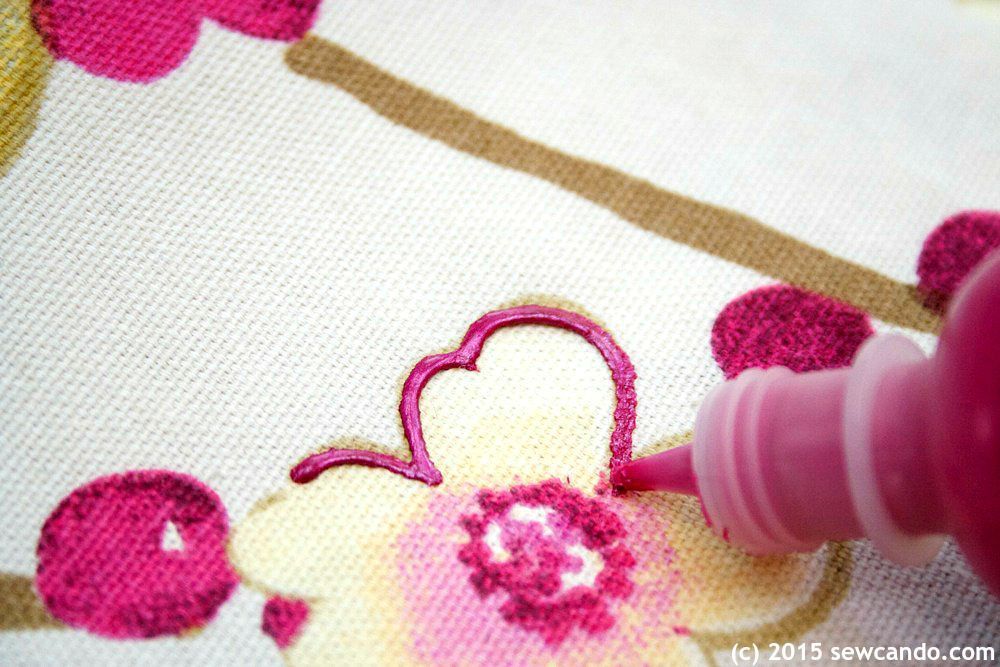
I brushed over a few berries with the paint too and dabbed it to make some raised flower centers as well:
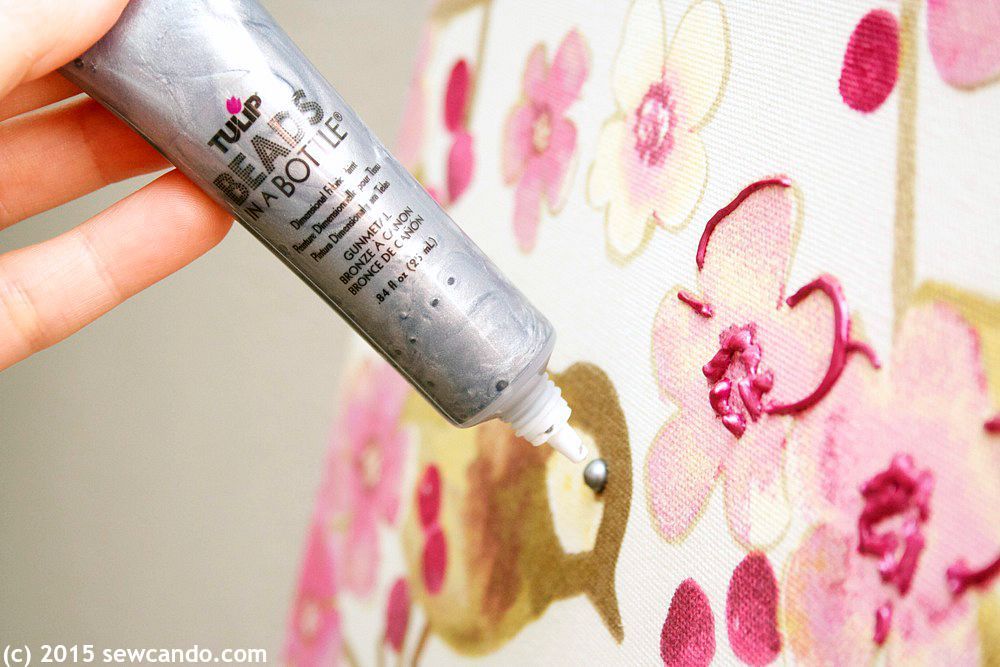
To do the birds' eyes, I used some Beads In A Bottle I had leftover from my Halloween Bats In The Belfry Mobile project. This stuff makes a metallic faux bead effect and self-rounds so it doesn't have peaks like puff paint usually does. Just what I needed for my birds:
The total cost for my faux painting was under $50, which is way less than even the cheapest store bought wall art I could find and this one is exactly the style and colors I wanted.
I'm really pleased with how it adds some color and visual interest to an otherwise challenging space.
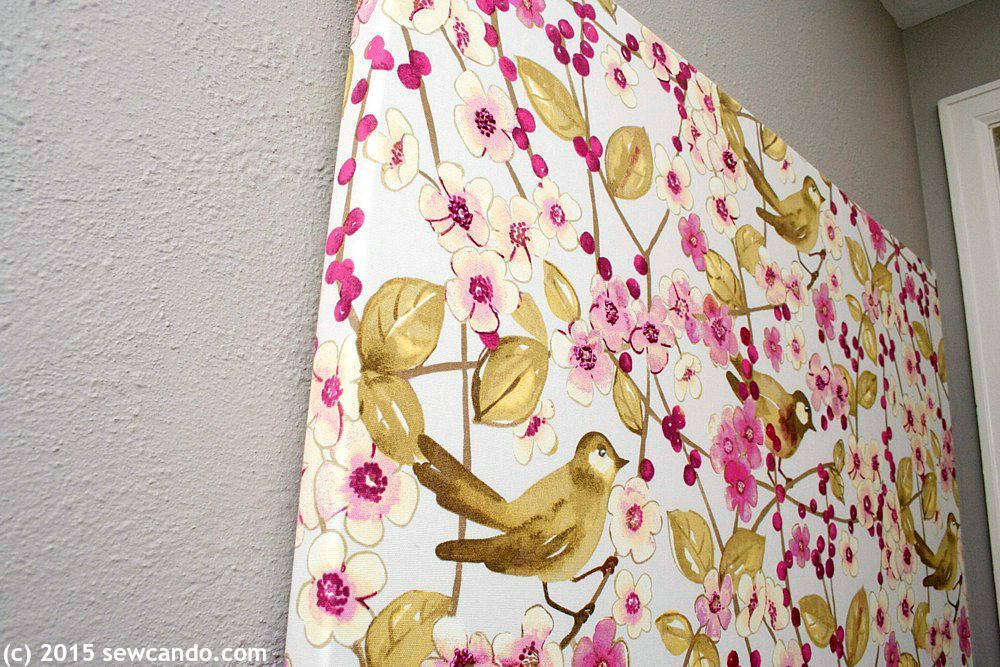
And it's got some nice dimension when you're up close too:
Now I'm wondering where else I can faux-painting it up in my house;)

That's a great idea!
ReplyDeleteIt's super easy - I don't know why I wasted time trying to shop for art first!
DeleteBrilliant! Sharing to my fb page. :)
ReplyDeleteThanks for the share:)
DeleteGreat project! I love the dimension details you added!
ReplyDeleteI feel like that makes it look more like real wall art & less like something you really made yourself.
DeleteI love this fabric "painting" idea. Great tutorial, Cheryl!
ReplyDeleteIt's great for getting the custom look you want without the high price tag.
DeleteWow, what a brilliant idea! It looks great! Thanks for linking up with us at Thursday Favorite Things!
ReplyDeleteThanks so much - this is one of my favorite projects this summer.
Delete