
This week I'm on a fringe project kick, thanks to my new fringe making abilities. On Wednesday I shared how I've learned to use the My Own Fringemaker® tool and how I can now turn any string, ribbon or yarn into gorgeous fringe. Today I'm showing how to make extra long, 12 inch fringe with it and how to turn that into a Fanciful Fringe Skirt in just minutes.
Why Make A Fringe Skirt?
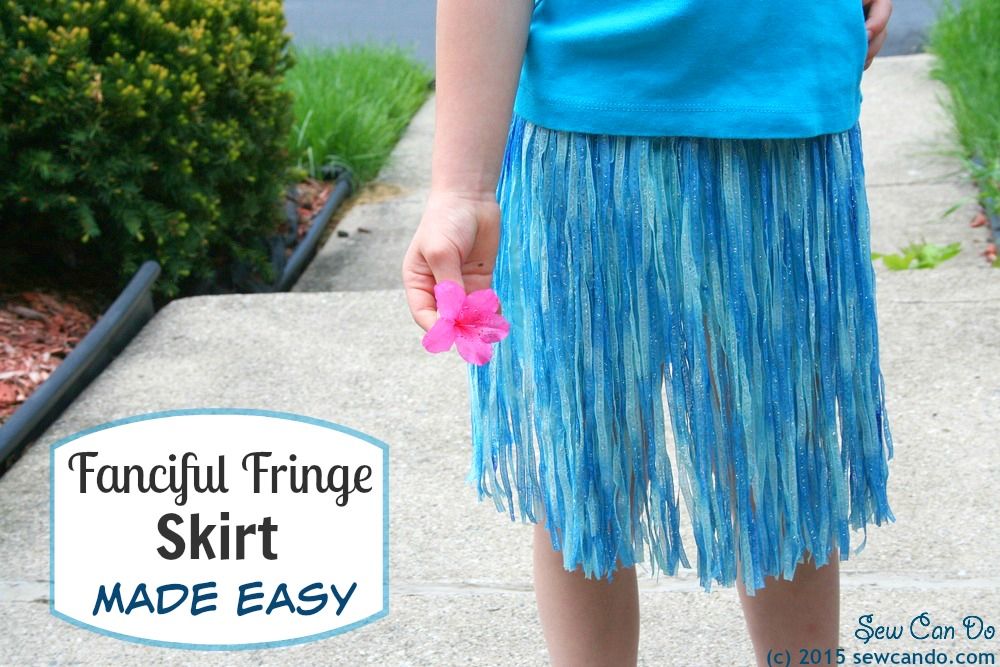
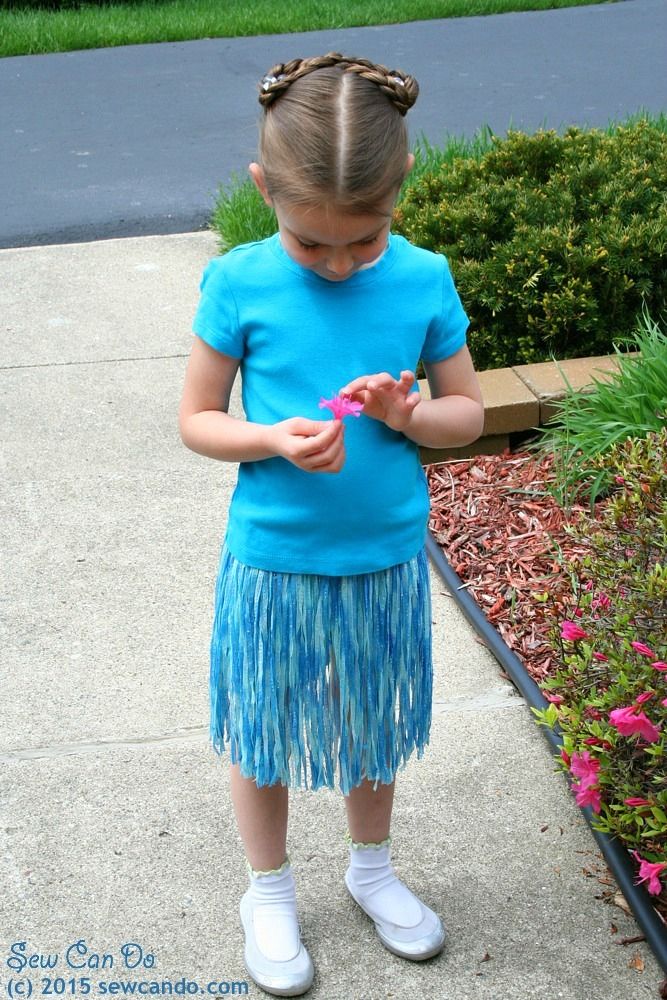
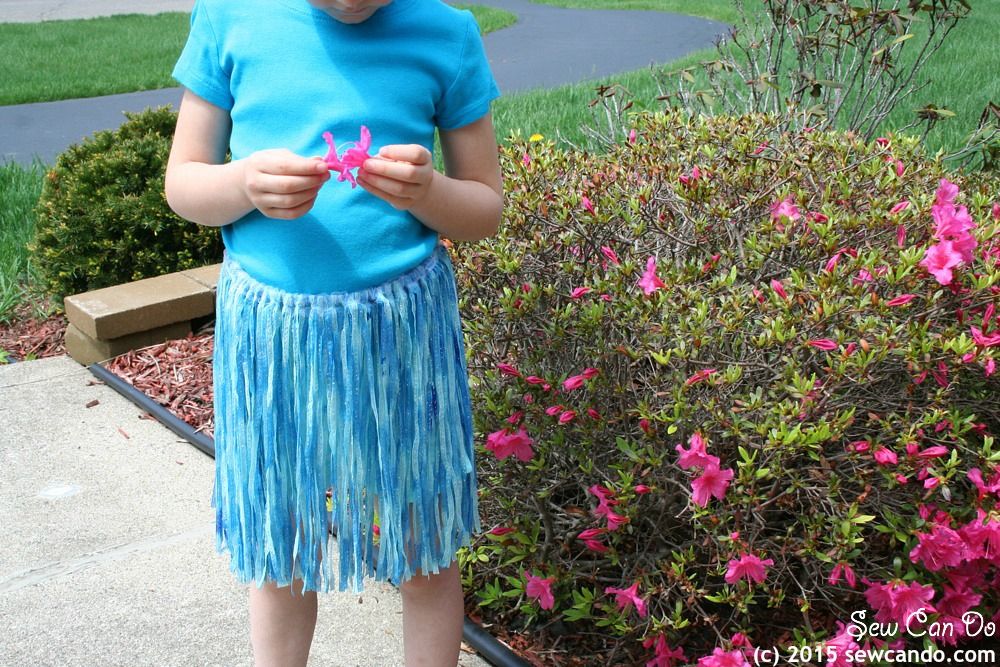
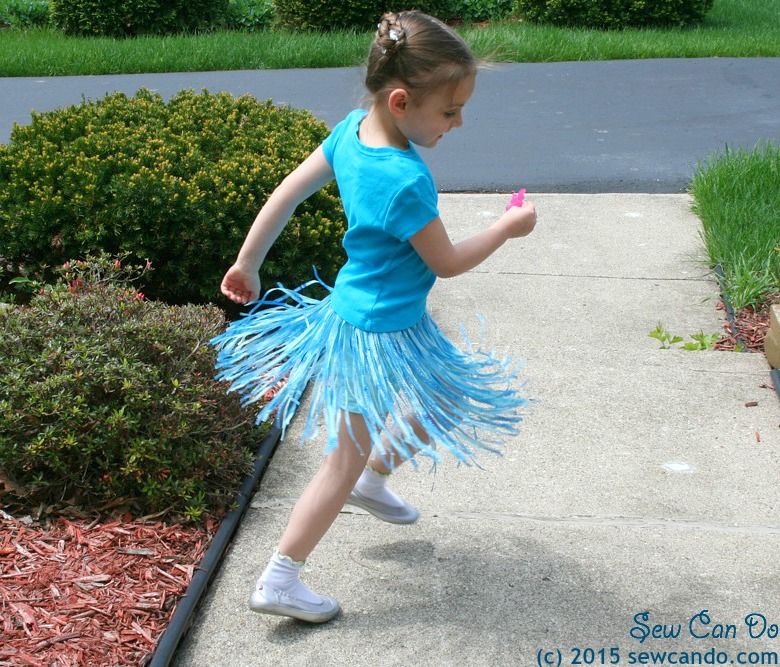
With a pair of shorts underneath, this little skirt makes an everyday outfit look way more fun.
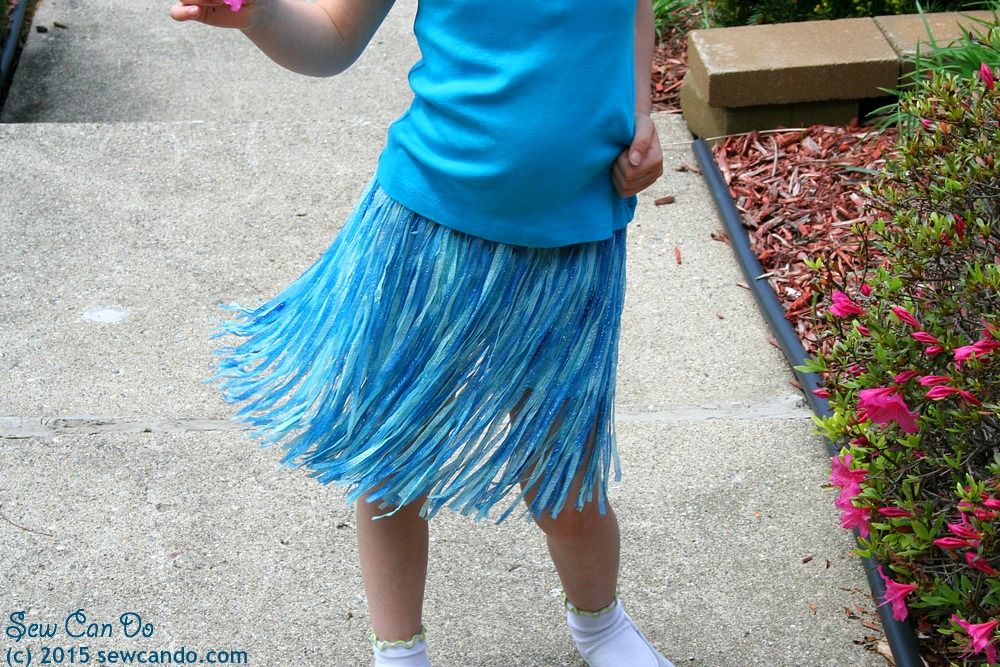
It's got a nice bit of sway - perfect for doing the hula:
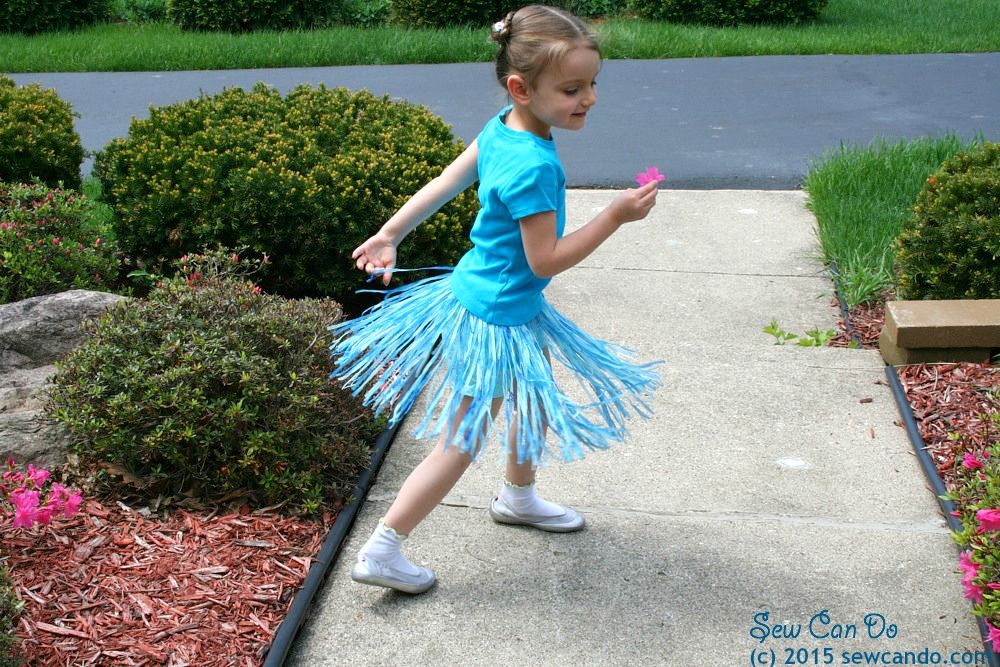
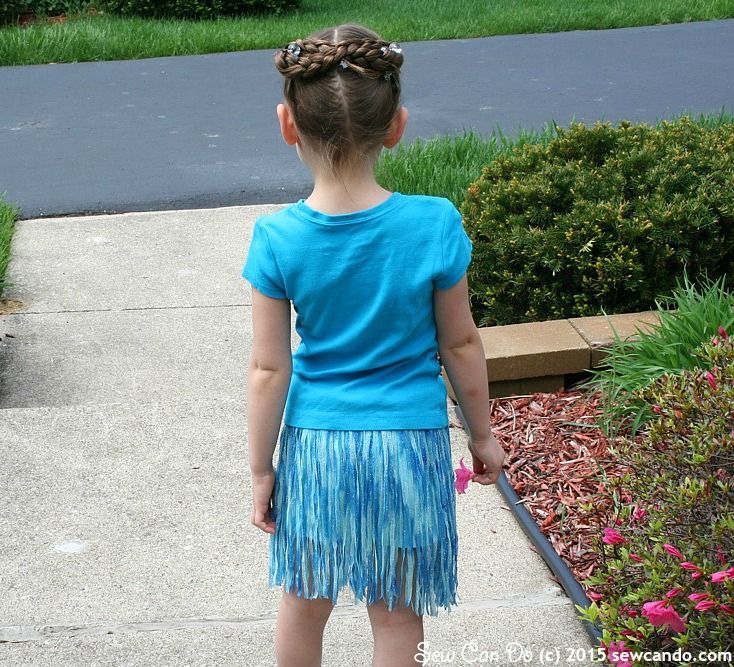
And plenty of movement for pretty twirls:
It's also great for dance class, costumes and playing dress-up. The looks change depending on what type of ribbon you use. Green raffia makes a great Hawaiian grass skirt, silky strands a perfect for a 1920s flapper, metallic or variegated to make fun fairy looks. Lots more options and way cheaper than buying fringe by the yard or ready-made skirts. And by using the fringe's header as a casing, there's no complicated waistband to sew. Beyond easy!
Added bonus: the elastic waistband means it's easy for kids to put on & take off too.
Materials:
- Skein of ribbon or yarn (1 should be plenty - exactly how much depends on the thickness)
- My Own Fringemaker® tool (foam noodle & tulle is included)
- Sewing machine
- Shears
- 1/4 inch wide elastic and safety pin
I got this spool of metallic tie-dye ribbon with the My Own Fringemaker. I thought this would be perfect for a fairy-style fringe skirt:

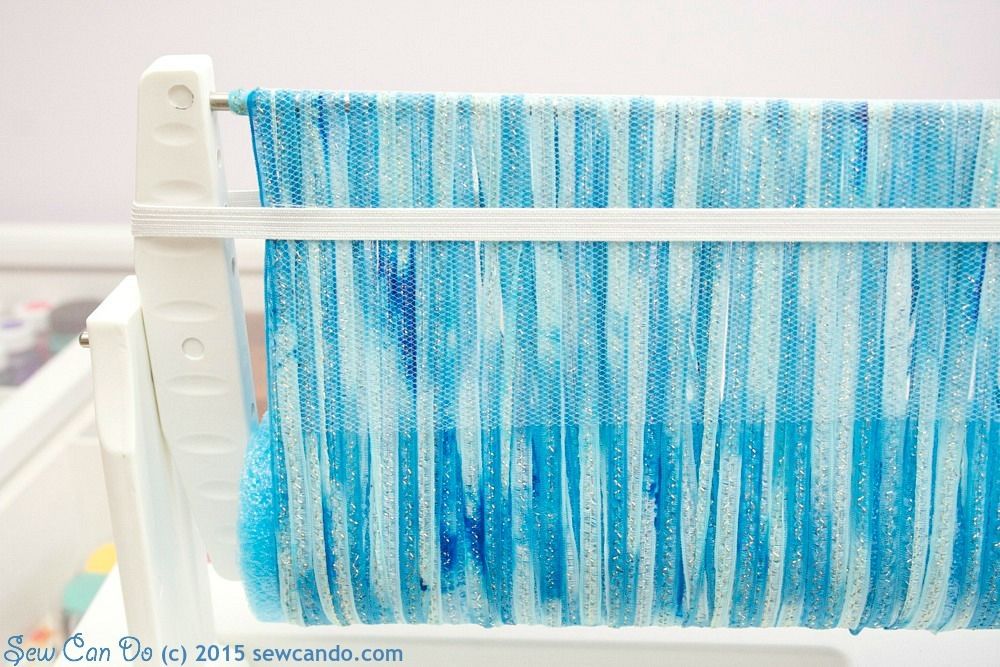
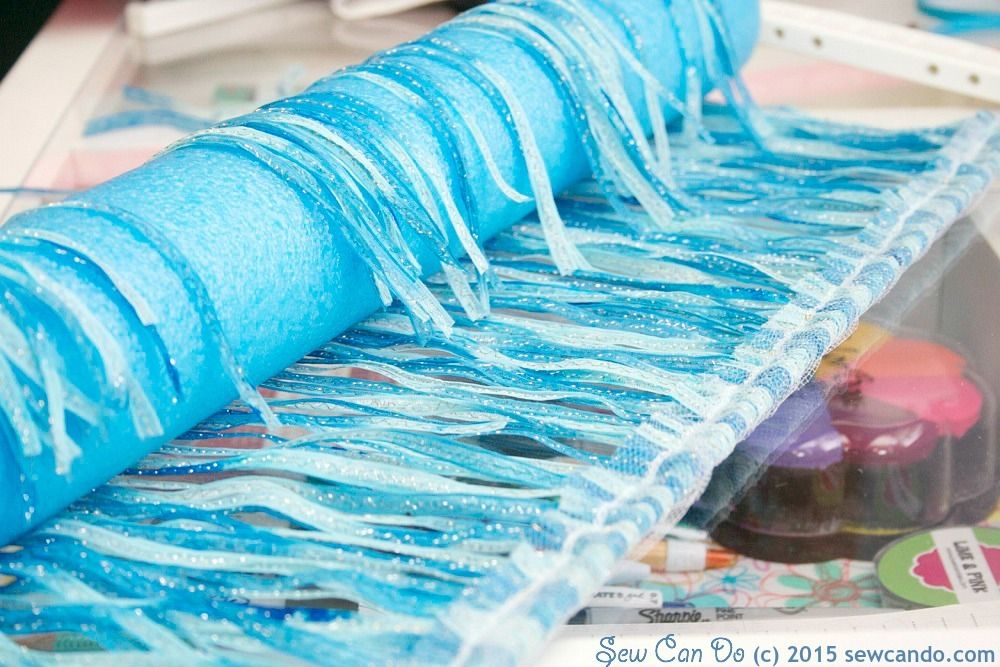
The technique to getting the extra long fringe length uses a pool noodle on the bottom rod of the My Own Fringemaker. A perfectly sized foam noodle was included with the tool, so it was super easy to just slip it on the bottom rod and start working. I started by knotting the ribbon on the top rod at one end and then winding my ribbon on as I did with my previous fringe projects:
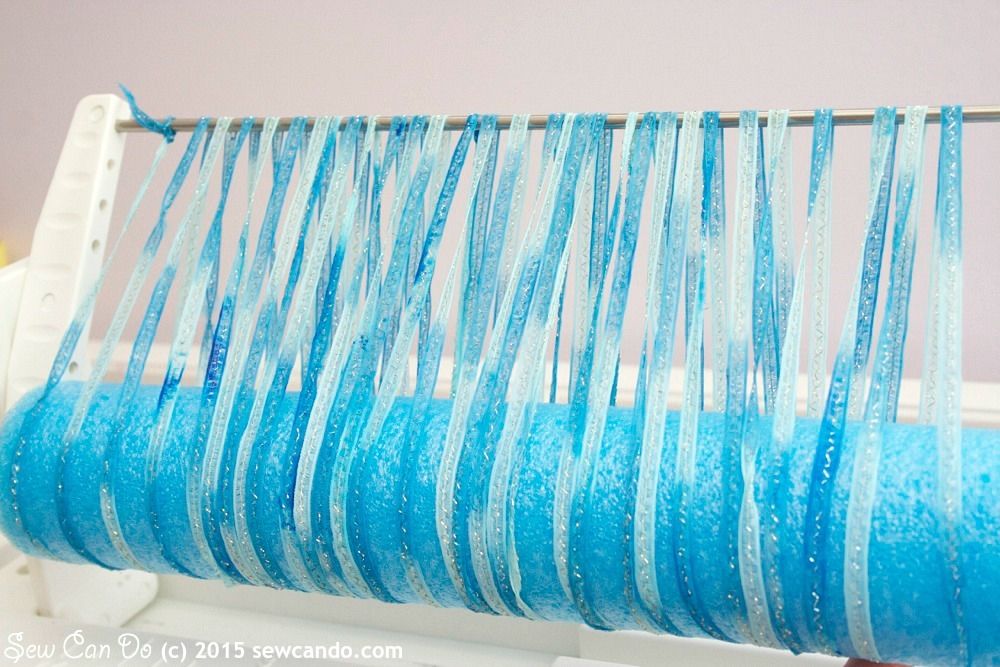
I made sure to cinch up & wrap the strands close together as I wanted to make it nice & full. I used the built-in ruler on the My Own Fringemaker base to get it the exact width I wanted - 24 inches - and then tied it off when ready.
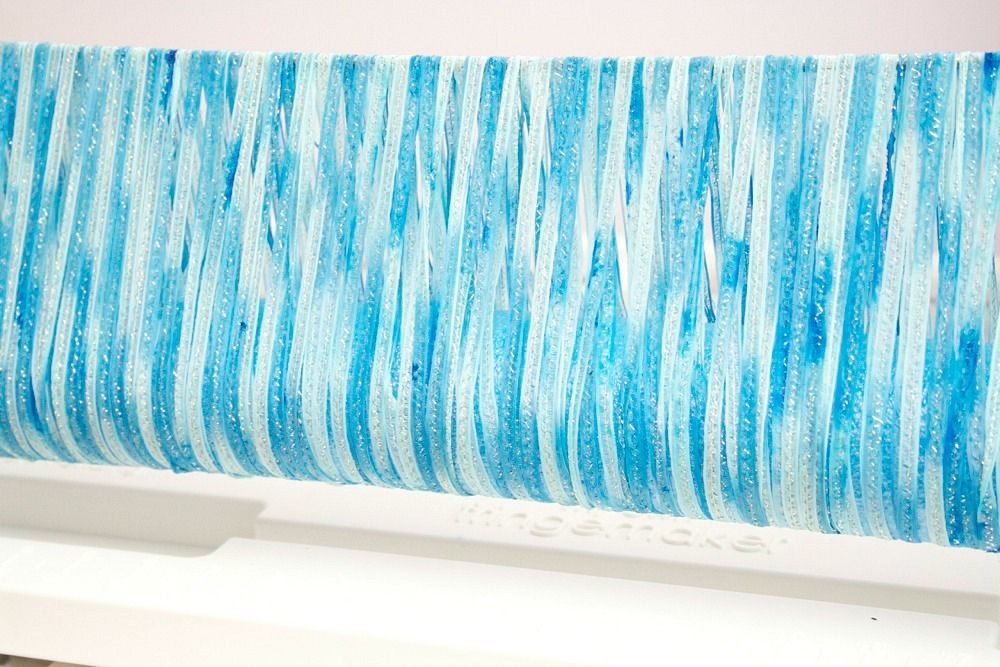
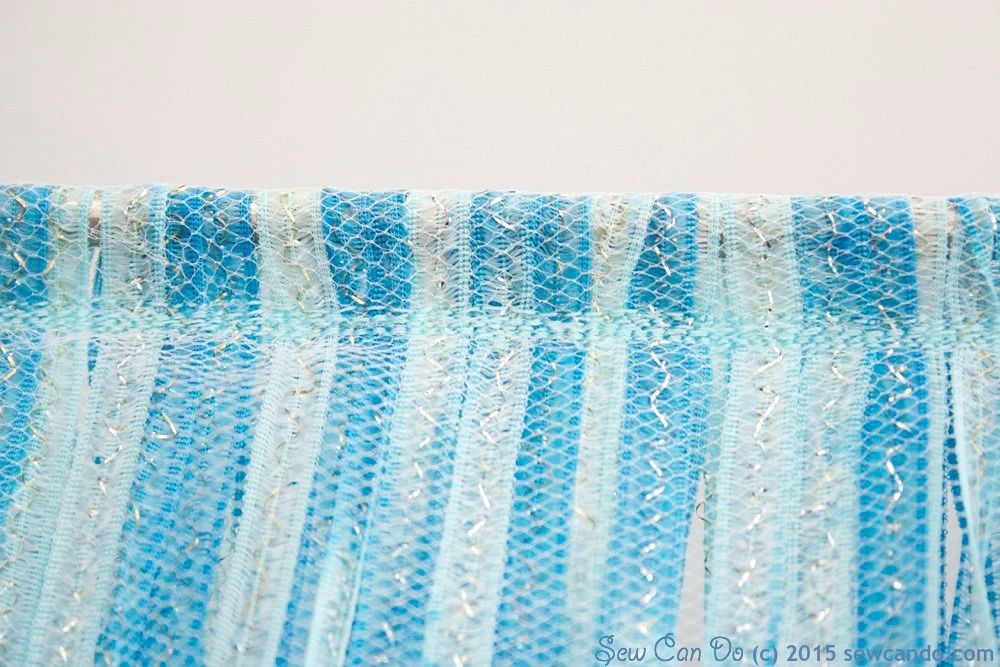
To easily sew it up, and create the waistband casing, I placed a piece of tulle over the top fold and held it in place with the tool's elastic band:
Then I removed the rod unit from the base and it was time to sew it up with a zipper foot (while everything is still on the rods).
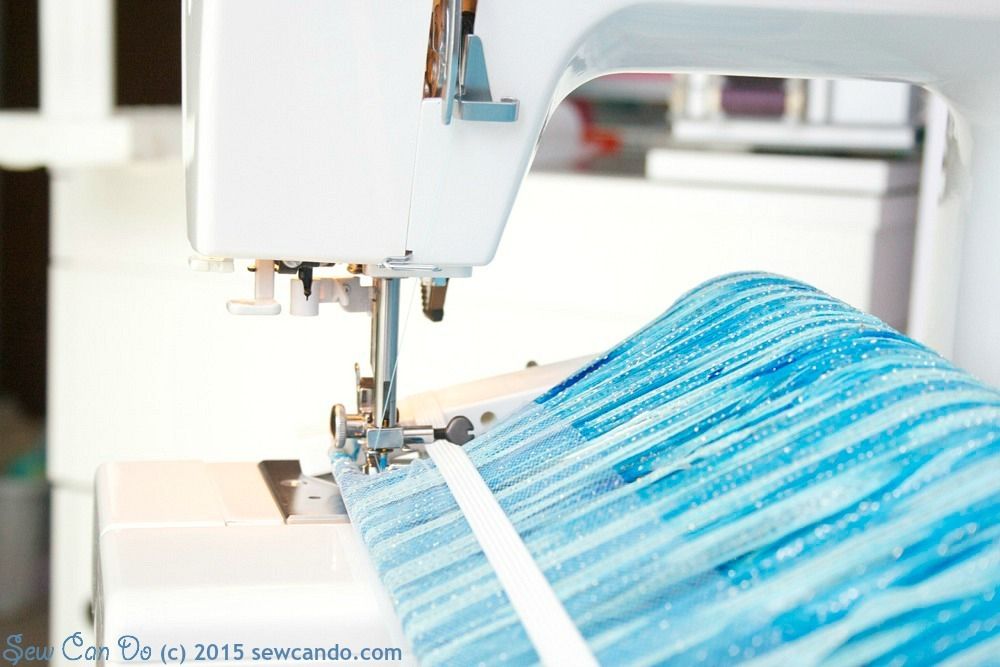
About 6 overlapping passes is just right to make sure every strand is strongly sewn down in place:
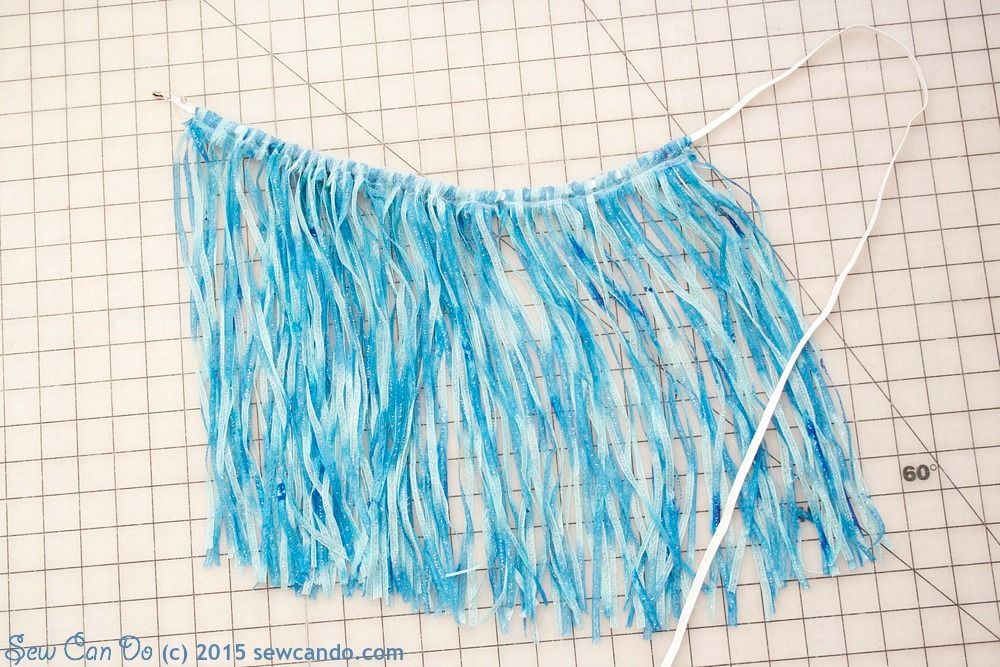
Time to cut! My daughter is 5 and I wanted it to fall at her knees, so I carefully cut the ribbon on one side just under the stitching (cutting further away would make it shorter):
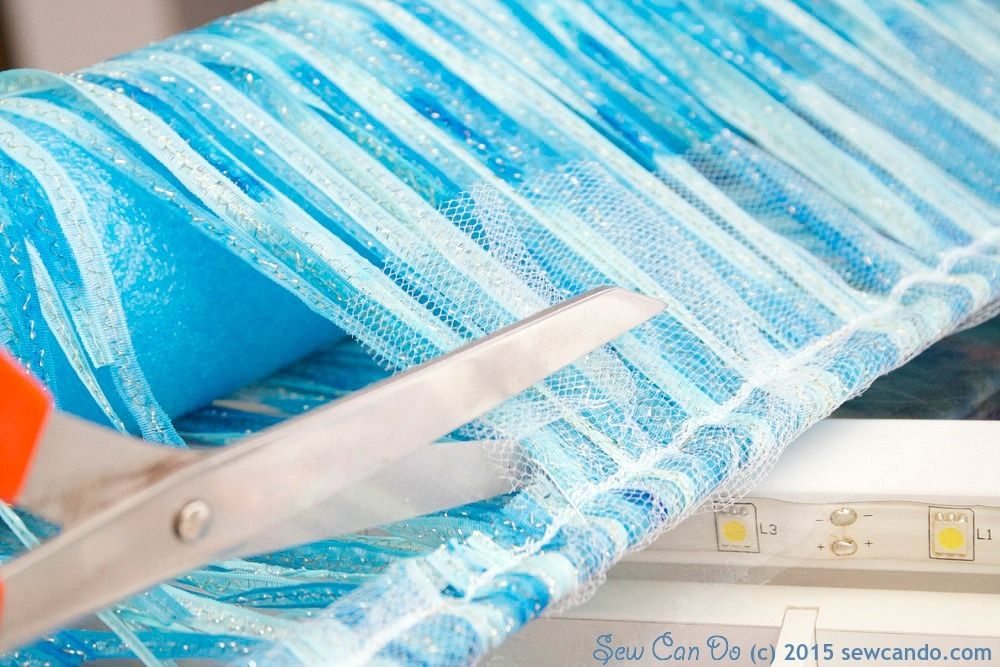
The ribbon fringe simply fell away from the noodle covered rod in perfectly even pieces. Then I trimmed off the excess tulle from either side to neaten things up.
Now there's a nice, extra long fringe that's ready to be made into a skirt in a hot second. This could be sewn onto fabric or a ready-made skirt to simply add a fringe top layer, but thanks to ithe built-in casing, it can be made into it's own skirt:

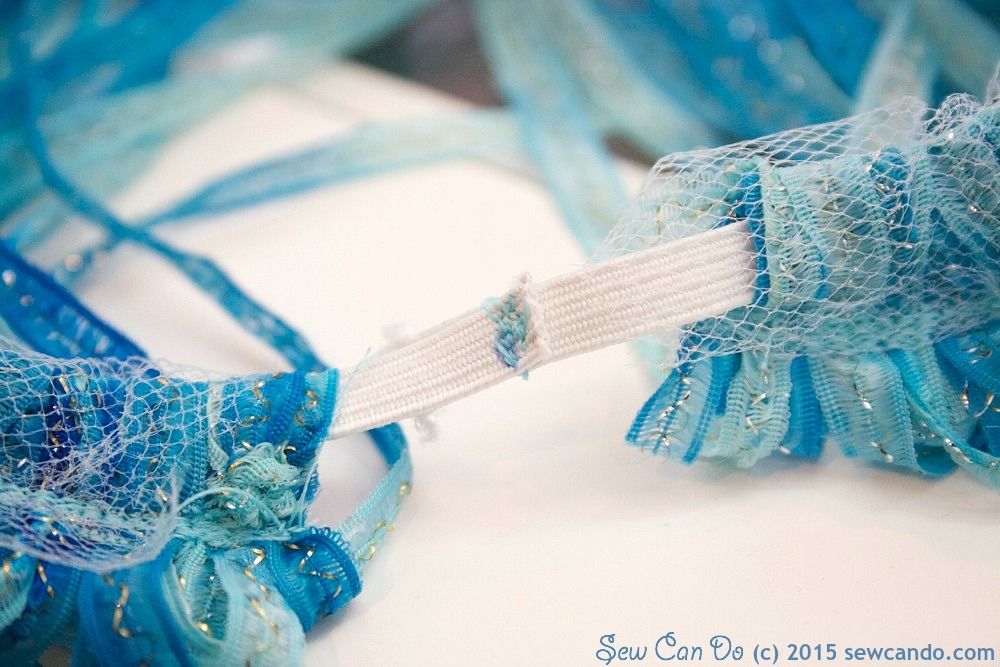
I cut a piece of elastic to the waist size I wanted - my daughter was 22 inches. I used a safety pin to snake the elastic through the casing. I found it was easiest to put the safety pin right up to the rod and pull the fringe off the rod and directly onto the elastic. I made a second 24 inch wide piece, following all the previous steps, to get the fullness we wanted.
 |
| One half of the skirt |
All that was left was to overlap and stitch together the ends of the elastic and then evenly spread the waistband to conceal it.
Now it's ready to add a little dazzle to any outfit:
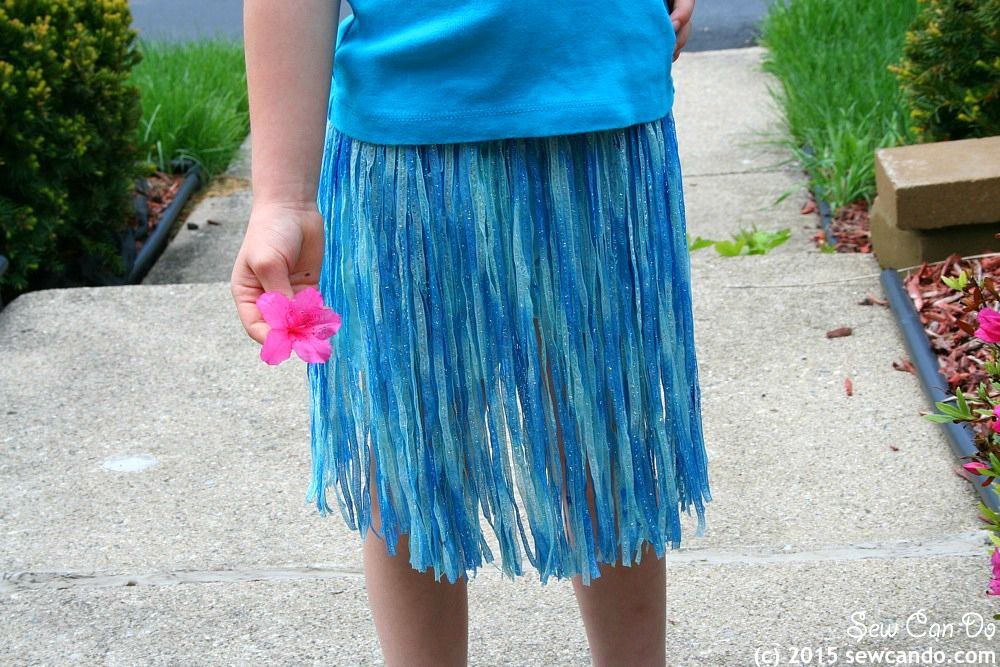
And little legs can't help but dance & prance while wearing it:
Now I'm combing my stash looking for more fun materials to fringe up into skirts. What kind would you make?

I was not financially compensated for this post. I received the My Own Fringemaker® tool to review. The opinions are completely my own, based on my experience. For my complete disclosure policy, click here.
I love this little hula skirt. The shaded blue ribbon is gorgeous and it makes such a pretty twirl! What you've created with this fringe machine makes me want one of my own!!!
ReplyDeleteAfter making this one I want to make one in every color!
DeleteThis is so cute! My five year old granddaughter would love this also. Thanks for sharing.
ReplyDeleteMy 5 yr old is constantly putting it on since I made it - it'll be a definite hit.
DeleteAdorable! My granddaughter Chloe would love this! Pinned.
ReplyDeleteThanks AnnMarie and I'm sure she would - my daughter is in love with it:)
DeleteThis is so cute! Thanks for linking up at the Stitch It, Blog It, Share It Link Party. I hope you will come back each Sunday night at 7 to share more of your amazing sewing talent!
ReplyDeleteI lknow many a little girl who would love, love, love this! Thank you so much for sharing with us at the Brag About It link party!
ReplyDelete~Laurie
Thanks for hosting. I know I wish I had one when I was little:)
DeleteGreat idea!! My daughter would love this :)
ReplyDeleteIt's so simple too - makes it easy to create a rainbow's worth of them.
Delete