
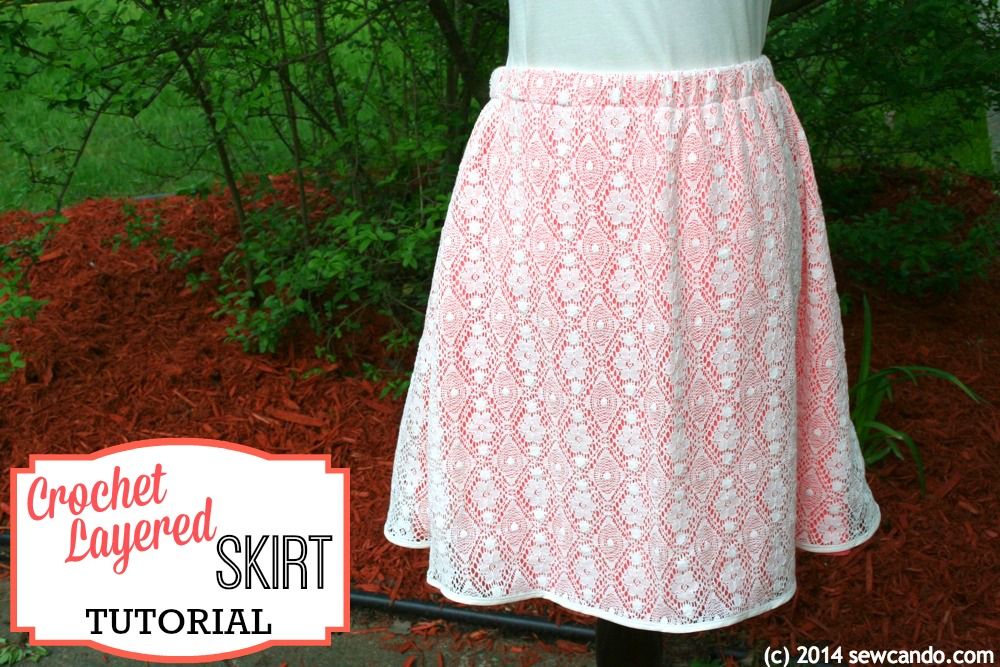

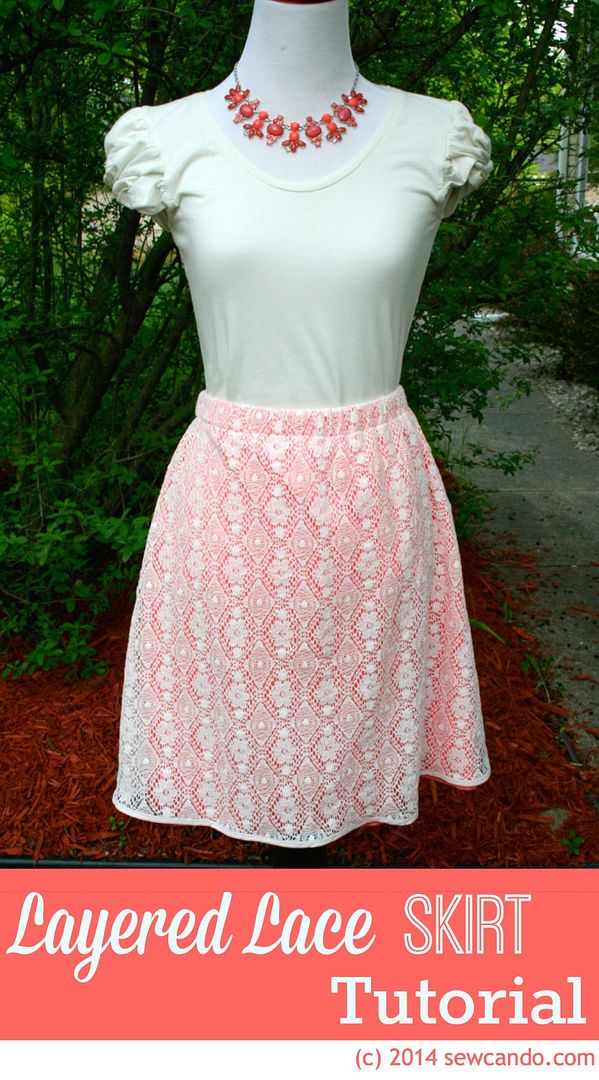
This is also a great way to add some bright colors to your wardrobe without feeling like a neon sign. The overlay softens the color and adds some nice texture:
Here's how to make one...
Materials:
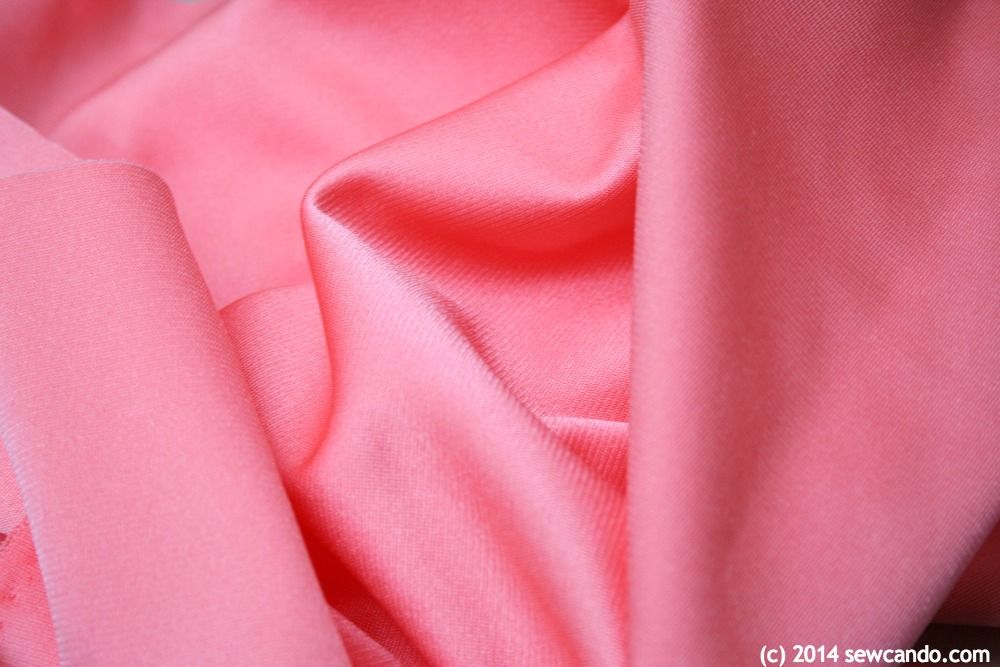
- Colorful lining fabric (this could be something silky or just plain cotton)*
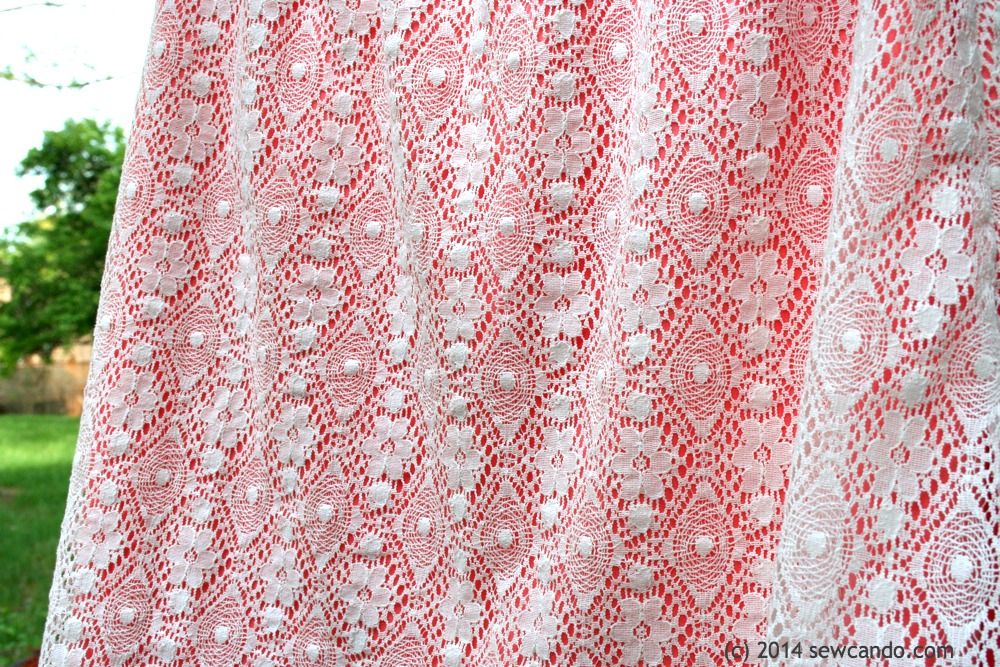
- Crochet lace fabric
- 1/4 inch wide double fold bias tape
- 1 inch wide, no-roll elastic
- Paper, pencil, yard stick, tape measure
- Sewing notions (pins, matching thread, safety pin or bodkin)
* Exactly how much fabric you'll need depends on desired the length and size of your skirt. I'm about a size 4 and wanted mine to be 18 inches long, so about 5/8yd was enough.
For my lining I used some scraps of peachy-pink vintage fabric leftover from a dress my mom had made years ago. It was some sort of synthetic with a silky sheen and a little bit of stretch. On it's own it would have been a bit too much as a primary fabric, but it was perfect as the under layer for this skirt. Don't be afraid to try a color or fabric outside your usual comfort zone!
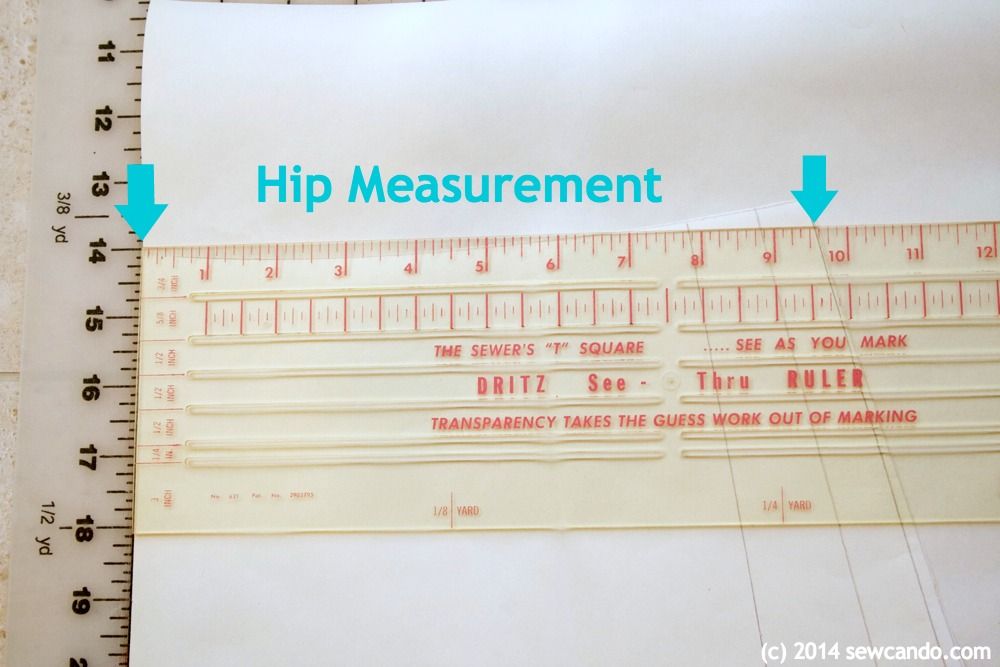
To start, we'll need to make a paper pattern based on measurements. It's quick & easy - I promise! Start by taking a hip measurement and deciding on your skirt length.
To calculate the waist, take your hip measurement and add 4 inches (this is seam allowance + ease), then divide by 4. So for a 34 inch hip, the measurement would be 9 1/2 inches. Make a mark on the edge of the paper and this number of inches to the right of the edge.
Then mark 1/2 inch above the outer marking:
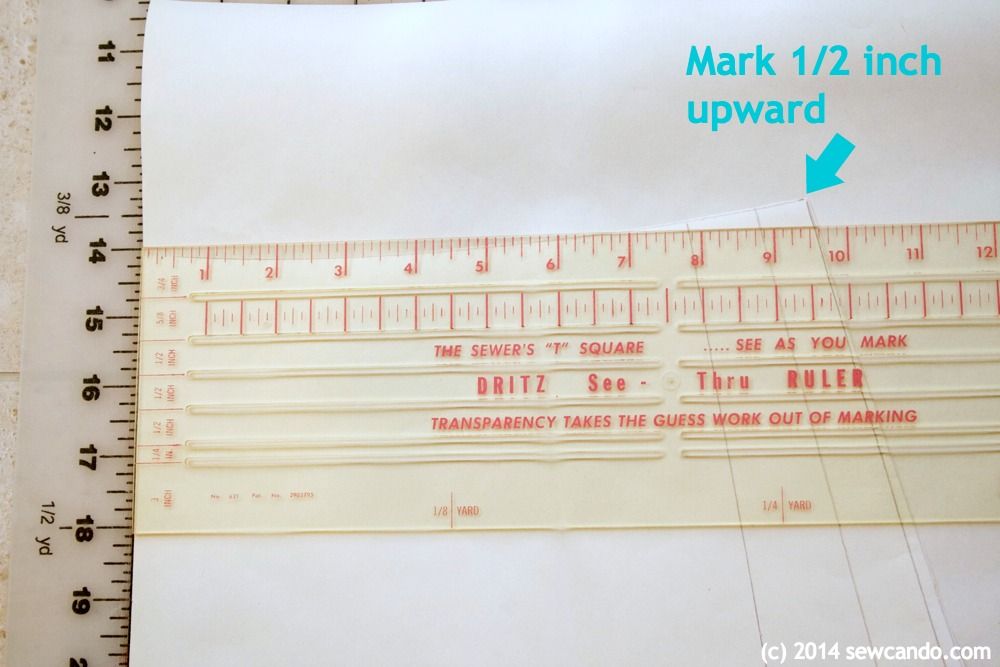
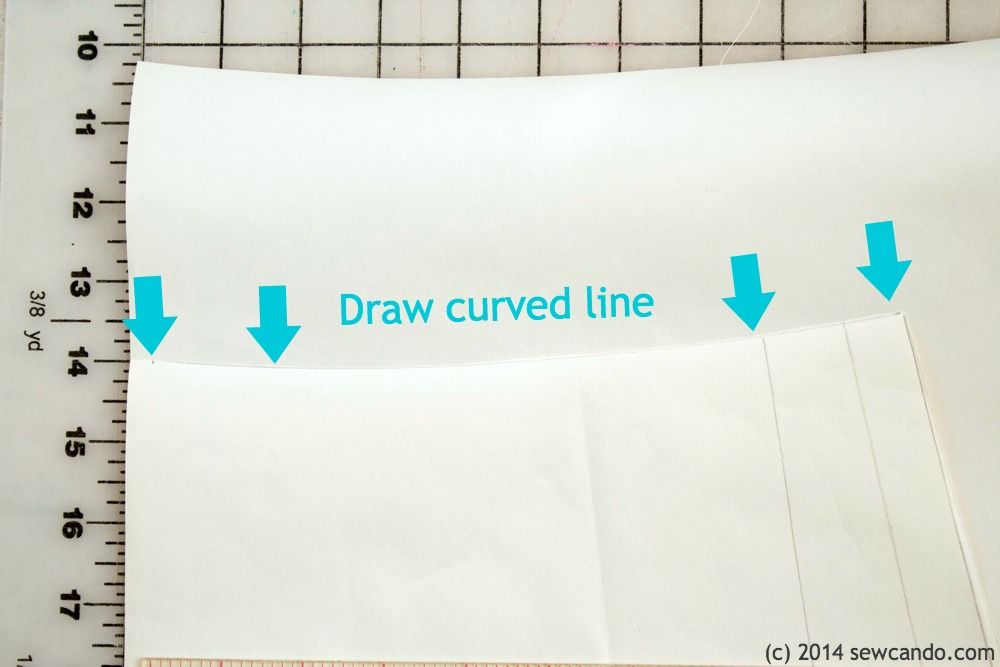
Next, connect the edge mark and top mark with a curved line to create the waist (a design ruler can make this super easy, you can find more info on those here).
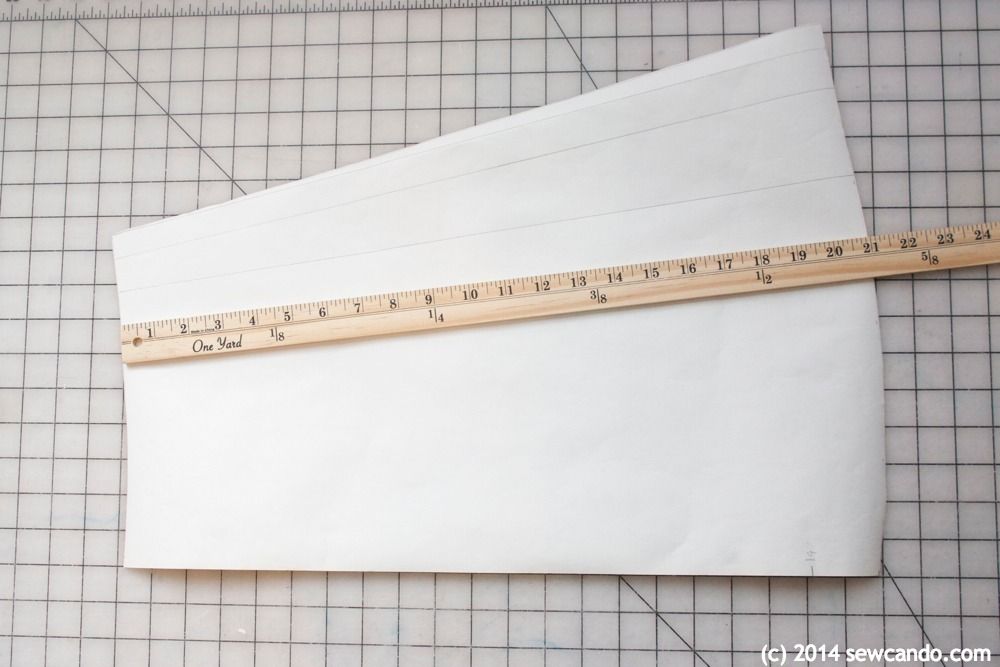
Take the desired length measurement and add 3 inches for the waistband and mark this far down from the waist. Use a yard stick to make and flare out as much or as little as desired from the outer edge. Cut out and your new, custom fit, skirt pattern is ready to use.
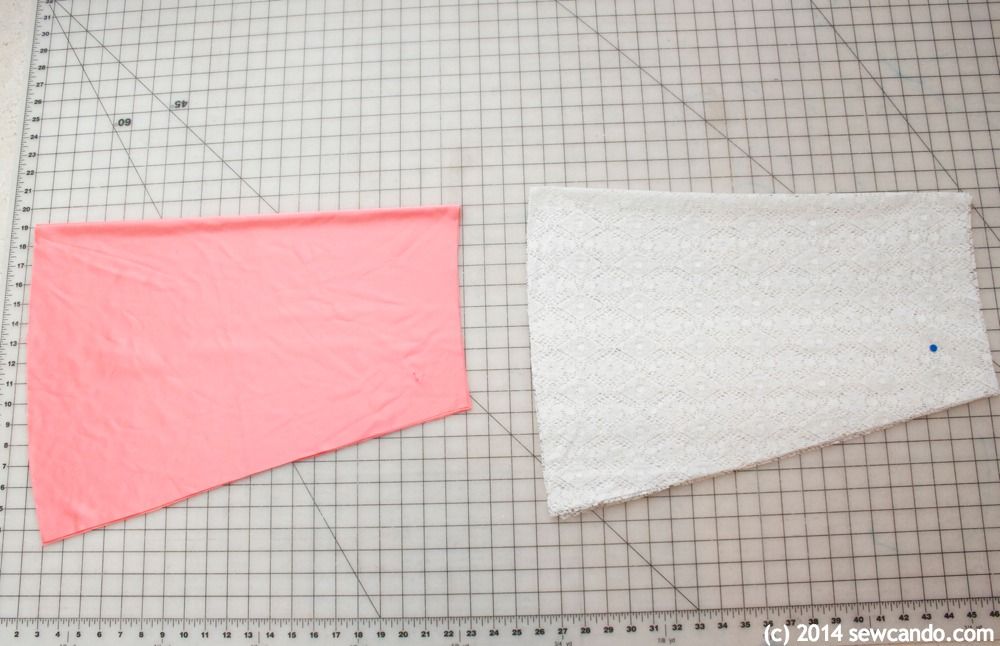
Now cut out two pairs of skirts - one from the lining, the other from the crochet lace. Each piece will need to be cut on the fold. I stuck a pin through the wrong sides of my lace since it can be tricky to see which side is which after you've cut off the selvage.
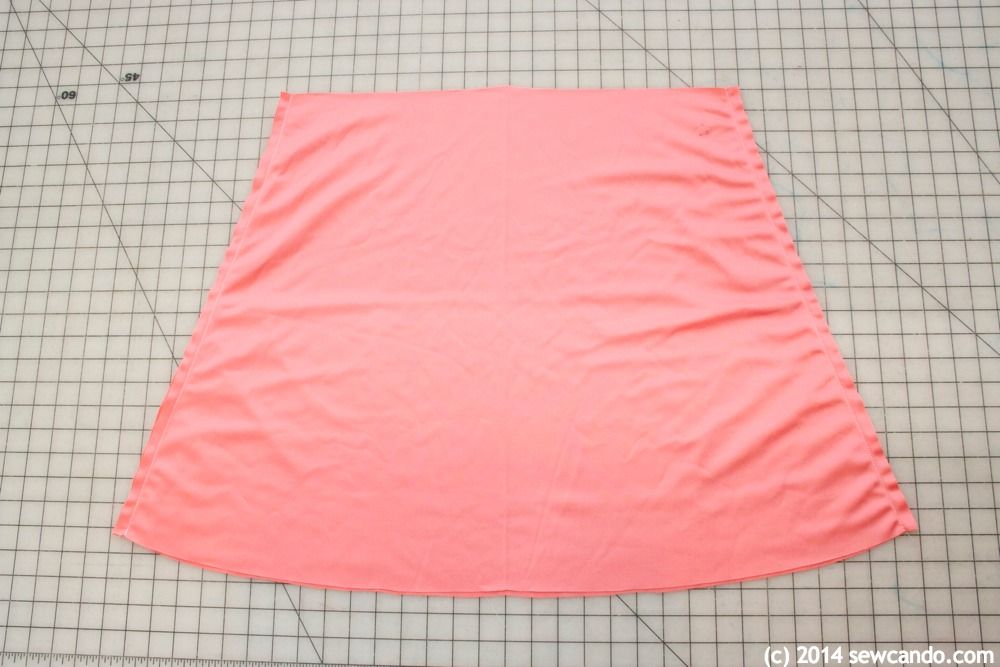
With right sides facing, stitch together the side seams of each pair with a 1/2 inch seam allowance.
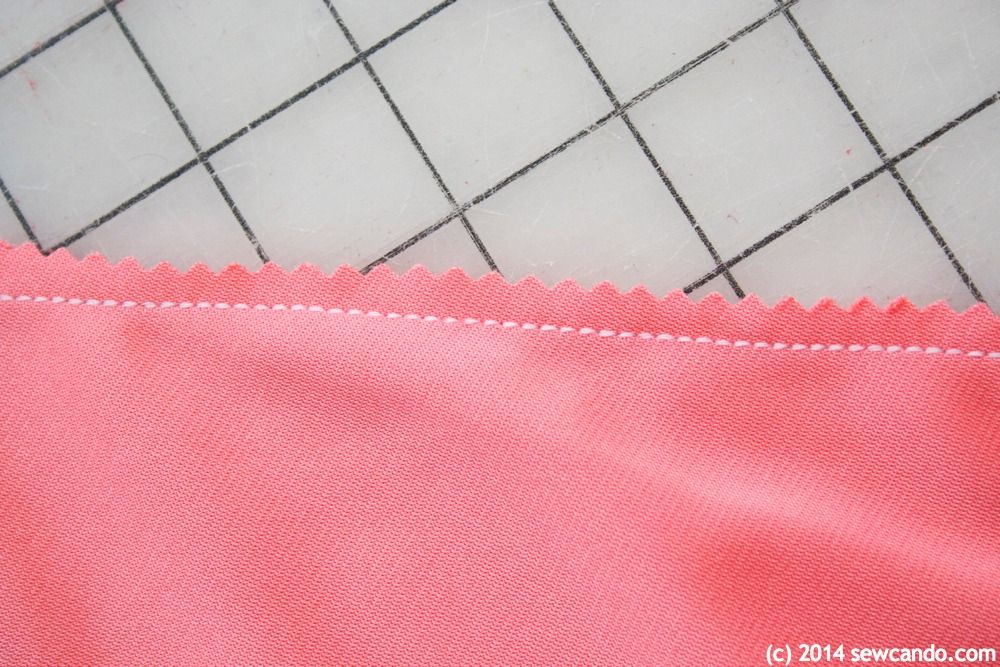
On my lining I just trimmed my raw edge with pinking shears since that fabric was no-fray. I trimmed and then did a short zig-zag over the edge of the lace to keep that from fraying. I'd show it, but it's impossible to see the thread through the lace (which is good since it makes the seams pretty hidden).
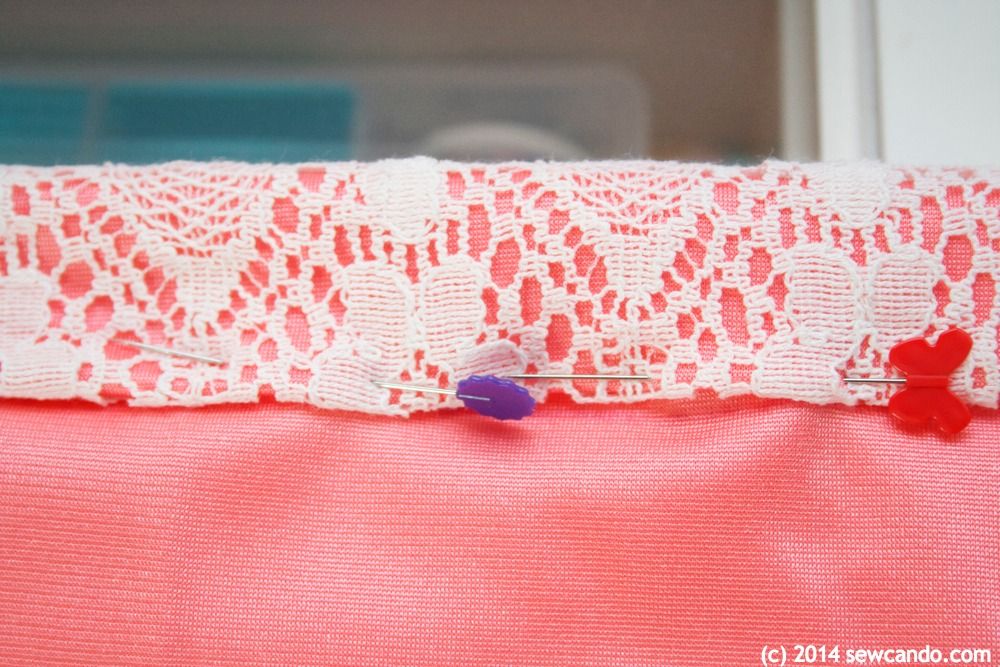
Now pull both skirts right side out and place the crochet lace over the lining and pin at the waist. Baste all the way around 1/4 inch from the edge.

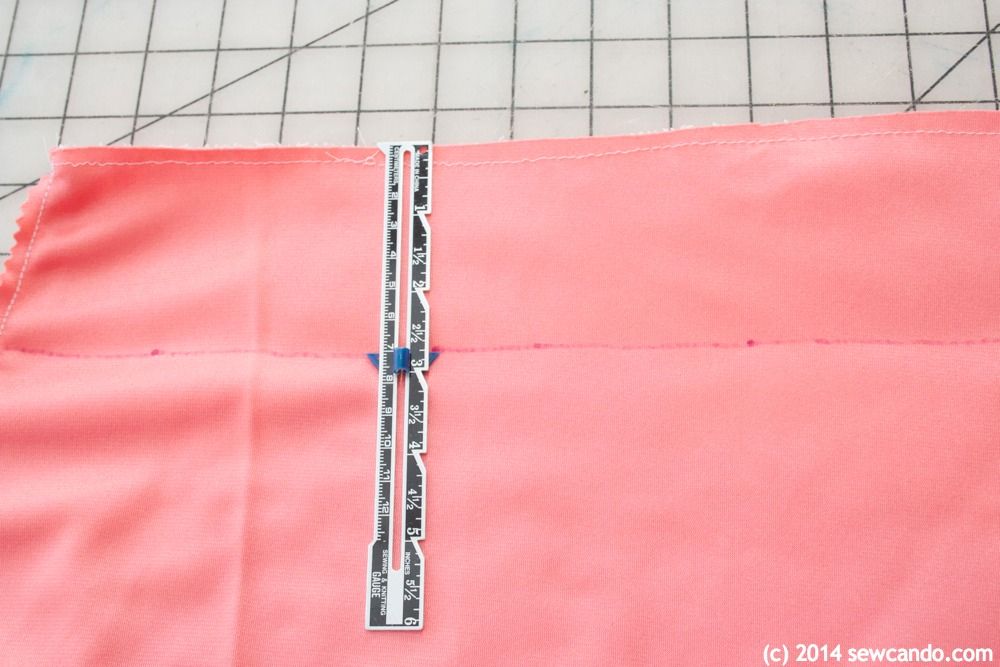
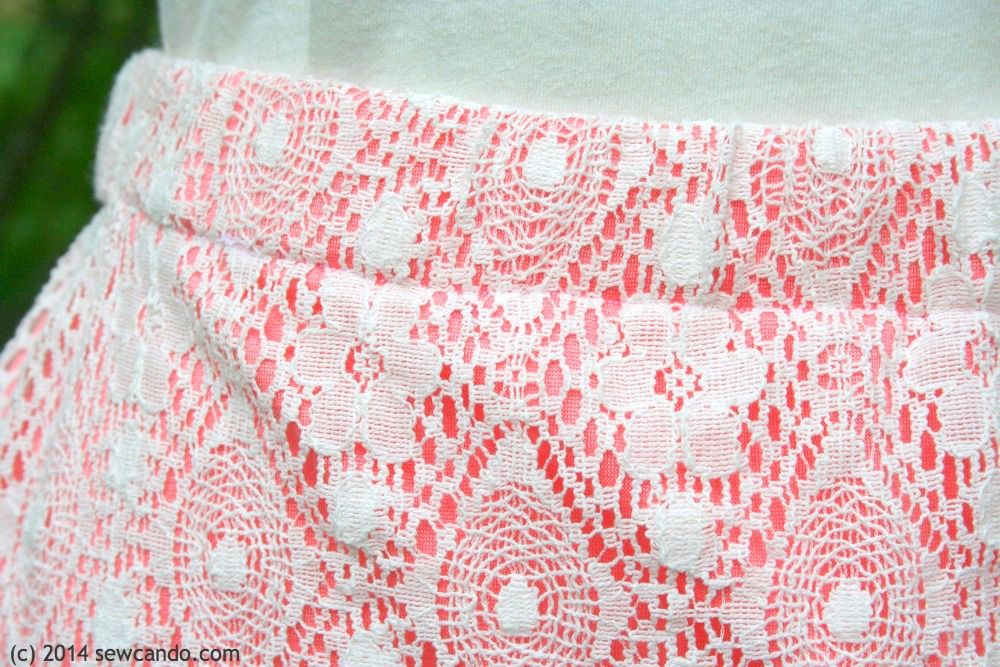
Time to do the waistband! Since my lining fabric was vintage scraps, I wasn't sure how iron-friendly it was to press the waistband folds & didn't want to risk ruining it. I measured 3 inches down from the edge and drew a line all the way across each side with my disappearing pen.
Then I folded the raw edge down 1/2 inch by hand and then folded down again to the marked pin and pinned.
I stitched all the way around, 1/4 inch from the fold edge, and left a 1 inch gap to snake my elastic through (using a safety pin on one end). Then I overlapped & stitched the elastic ends together, then stitched the gap closed.
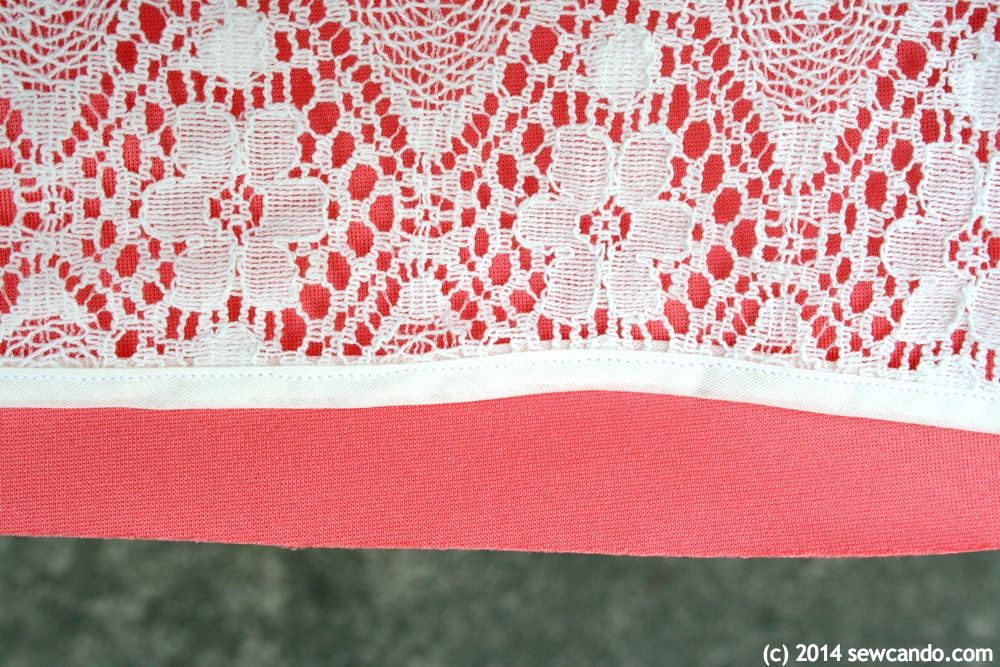
To finish off the hem I kept it simple. Since the lining won't fray I left it raw. It's underneath so it's not noticeable. For the crochet overlay I used some cream colored 1/4 inch wide double fold bias tape. I worked slowly to make sure the lace was well and truly encased all the way around.
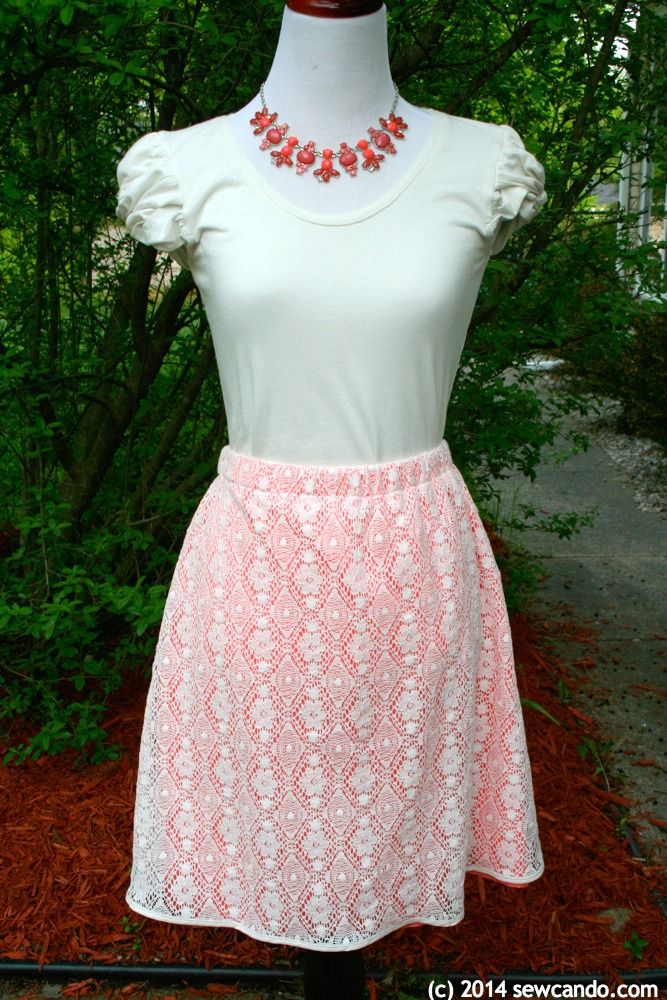
I really like how it looks and it also gives a nice effect so the skirt's folds flare slightly instead of just hang straight down. By changing the length, flare of skirt, lace style and lining color you can make loads of different versions. Summer fashions sorted!

I'm also sharing this project with my FAVE LINK PARTIES.
Click HERE to check them out!
This really is beautiful and it looks like a simple pattern! Thank you for sharing the tutorial. I definitely need to work on my sewing skills! Have a wonderful day!
ReplyDeleteIt's very easy to make - even for a beginner. If you can sew a straight line, you can make this!
DeleteSuch a pretty skirt!! I've got a Craft Gossip post scheduled for this morning that links to your tutorial:
ReplyDeletehttp://sewing.craftgossip.com/tutorial-layered-crochet-skirt/2014/05/21/
--Anne
Lovely skirt, Cheryl! Love it! Thanks for sharing!
ReplyDeleteHave a wonderful week!
Hugs from Portugal,
Ana Love Craft
www.lovecraft2012.blogspot.com
I absolutely love this lacy skirt. Thanks so much for the tutorial, Cheryl!
ReplyDeleteWonderful tutorial. The skirt is darling. I think I'll try making one. Thanks.
ReplyDeleteI hope you do Ann - would love to see it!
DeleteSo pretty! Pinned:)
ReplyDeleteThat is really cute! I love the lace over the brighter color. =)
ReplyDeletevery pretty! Thank you for sharing your sweet blog at the Thursday Favorite Things Blog Hop. Your participation helps to make it extra special ♥
ReplyDeleteSew pretty ( see what I did there!) love your simple instructions too. thanks
ReplyDeleteLove it Julia! I know I like to try things more when the instructions are easy to follow, so I try to do that too:)
DeleteVery pretty...I wish I could sew! Thanks for sharing on the Thursday Blog Hop!
ReplyDeleteBeautiful! Love this skirt and the crochet lace!!
ReplyDeleteThis is gorgeous! I love it and have already pinned it. I don't usually make clothes for myself--just the kids--but this makes me want to make something for me!
ReplyDeleteSo glad to hear that Jennifer!! I'm the same way, but this skirt was such a fun project I can't wait to do more!
DeleteThis is so cute! Pinned. Thanks for being a part of our party. Please come and party with us tonight at 7 pm. We love having you. http://loulougirls.blogspot.com/
ReplyDeleteHappy Monday! Lou Lou Girls
This is so pretty! Thanks for the tutorial.
ReplyDeleteI have some old net curtains that would look great as a skirt!
That's a great idea Lisa. Would love to see it when you do!
DeleteCheryl - Thank you for answering my question regarding lace overlays - this was very helpful and I appreciate you.
ReplyDelete