
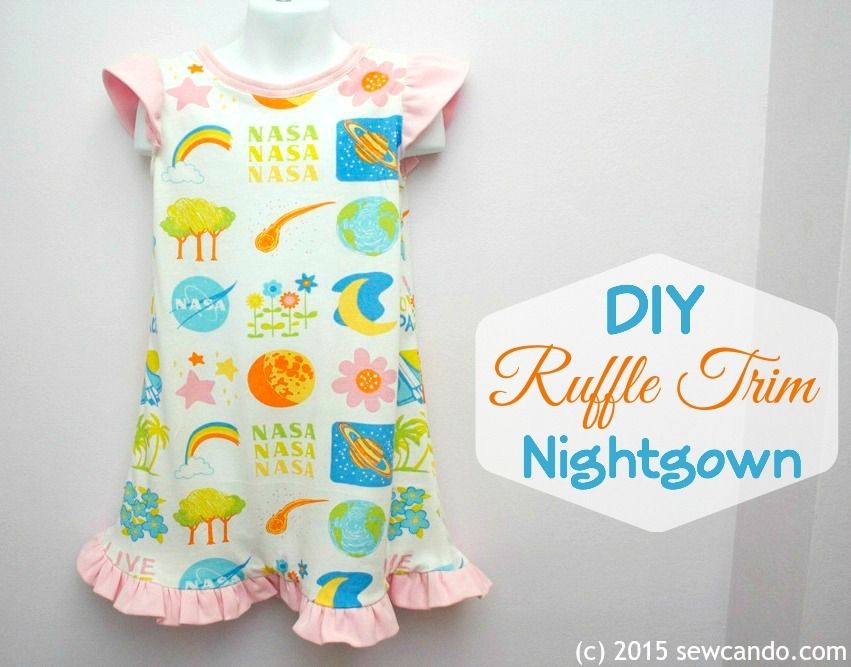
How about fairly easy DIY version that offers whatever fabric you want and some sweet fluttery sleeves like this:
We got this old school Strawberry Shortcake version on a deal site a while back. My daughter & I are both huge Strawberry fans (as proven in our numerous past Strawberry Shortcake projects). She wanted to wear it almost every night, which meant we needed more, but finding them was elusive. So I did what we crafties tend to do...I decided to make our own.
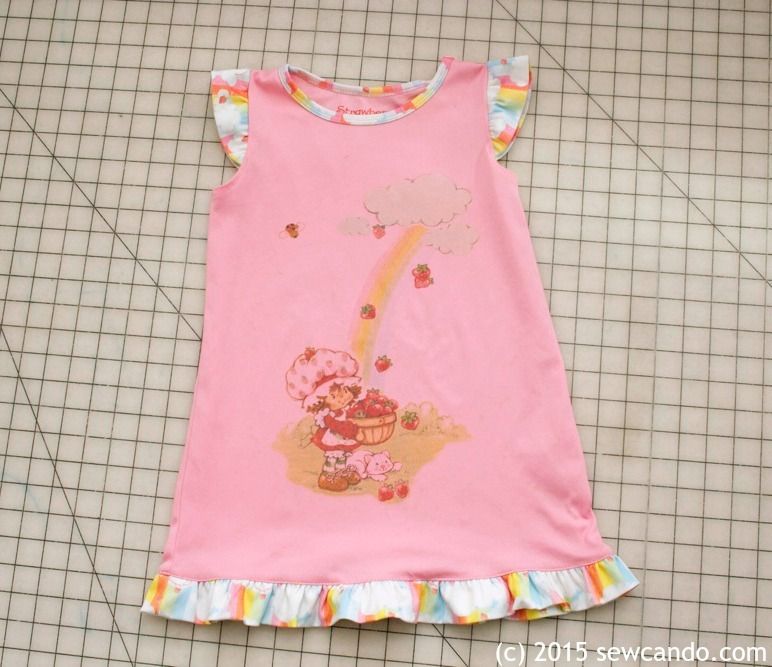
Sometimes the best pattern can be no pattern - just reach into your closet. That is to say, if you've got something that fits great, and has a fairly basic shape/design, why not use that as a base to make your own pattern? That's what I did with that little nightgown and it worked like a charm!
Here's how to make it:
Materials:
- 1 yard (or less) knit fabric - jersey or interlock
- 1/2 yard rib knit for binding and trim
- Pattern material (quilter's grid or swedish tracing paper) & pencil
- Notions (rotary cutter, pins, iron, ball point needle, yardstick)
- Optional, but helpful for sewing knits: walking foot, nylon thread, lightweight interfacing
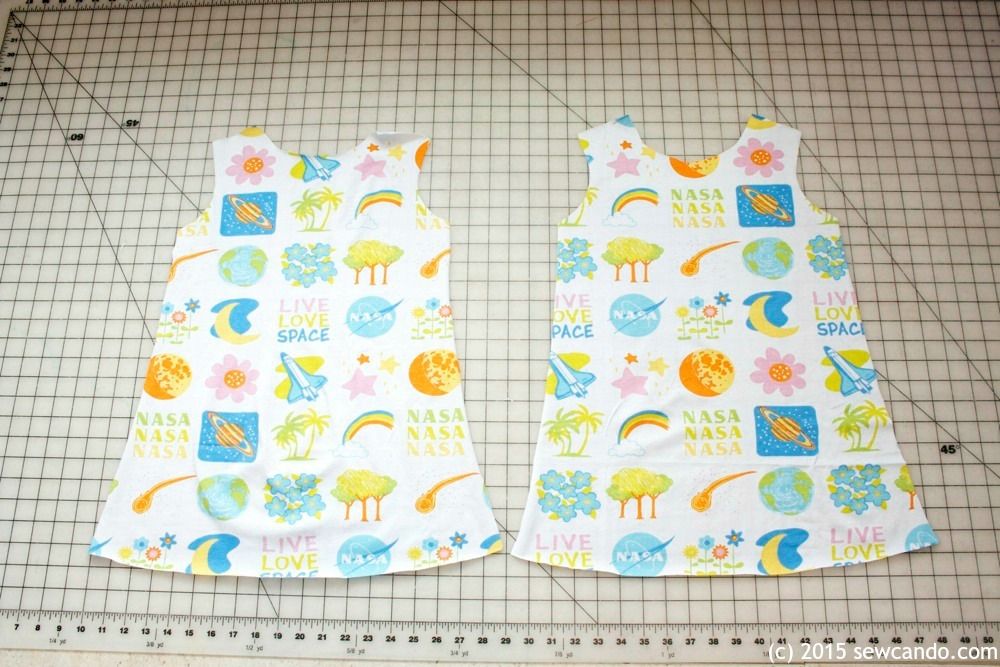
I started by laying the nightie out flat and tracing the back and the front sides onto quilter's grid material (adding a 1/2 inch to all edges - except neckline - for the seam allowance). If you don't have something similar to trace, use a t-shirt and just flare the tracing out to a longer A-line shape.
Side note: you could use paper for the pattern, but not only is the quilter's grid/Swedish tracing paper more durable than regular paper, it's transparency is also extra handy. It made it super easy to perfectly center my pattern on the print of the fabric:

I measured the neckline to determine how wide & tall to make the binding. I didn't add a seam allowance so it would be slightly smaller to curve inward instead of standing up. I measured the bottom of the front & back sides, added my allowance and then doubled the width so I'd be able to make the ruffle. For my 4-5T daughter, we ended up with a neck piece that was 15 inches wide by 1 1/2 inches high and two pieces for the hem that were each 36 inches wide by 4 inches high.

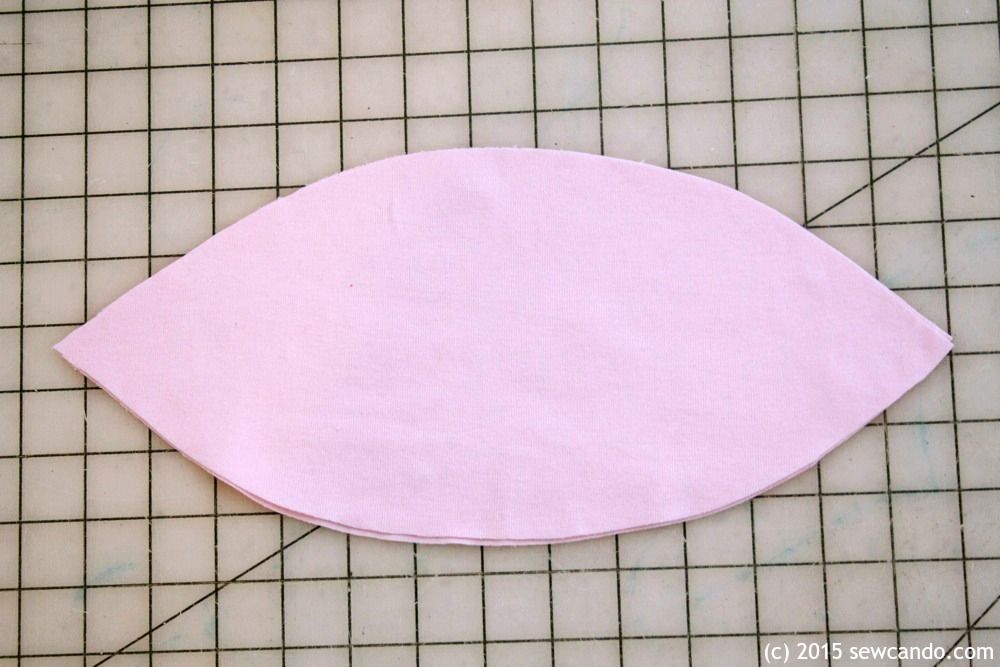
To make the flutter sleeve pieces I measured the ruffled sleeve width (then doubled it) and measured the depth of the sleeve at the widest point to figure out how wide and long it should be (ours was 13 inches by 6 inches). Then I folded my pattern material in half and drew a sort of elongated rainbow shape so when I cut it out on my folded rib knit it ended up like this:
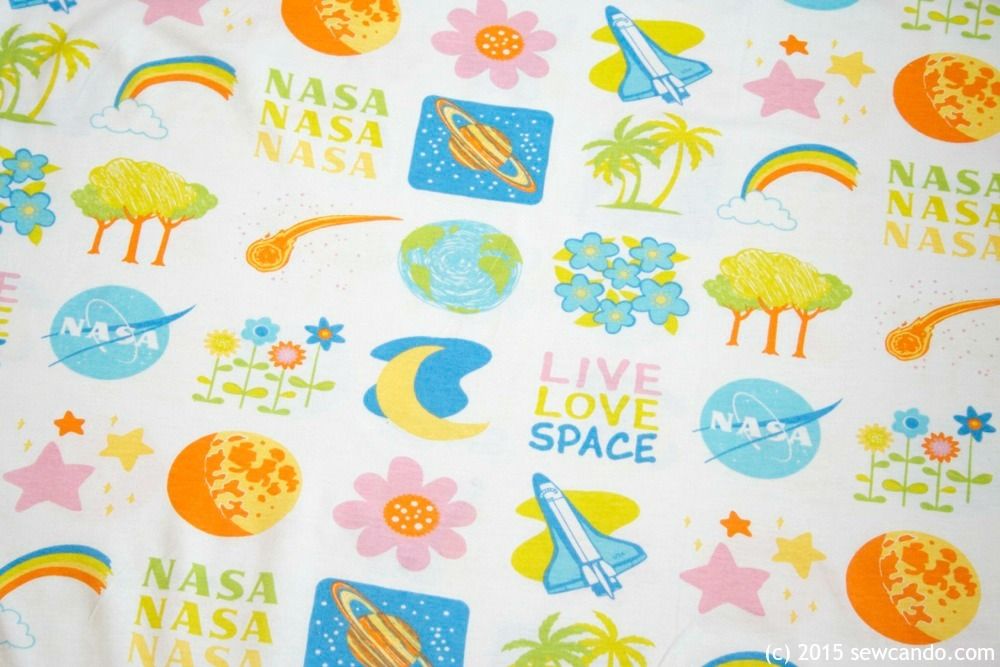
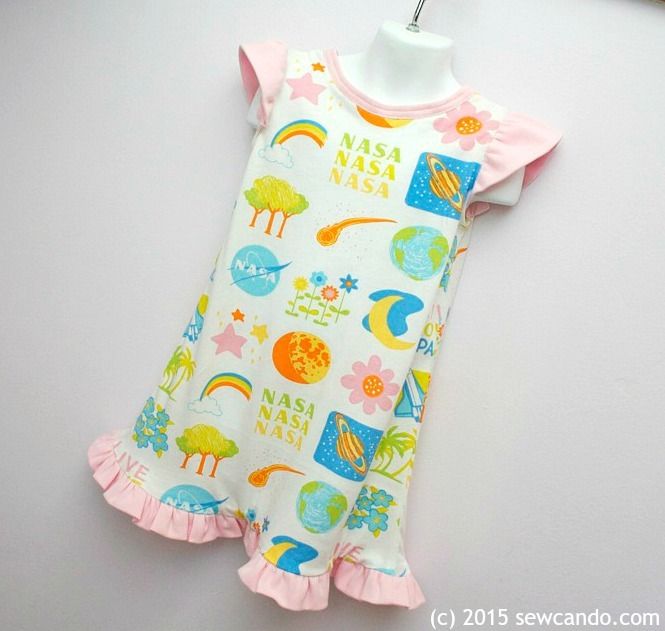
I was so glad to figure out a good project for this awesome fabric I bought last year. I loved that it was girly & space-themed, but wasn't filled with hot pink, purple or glitter. (Note to fabric manufacturers - we like a bit of those things, but a little more variety in colors & themes for girls would be nice.). It seemed a little busy for a dress, but perfect for a nightgown!
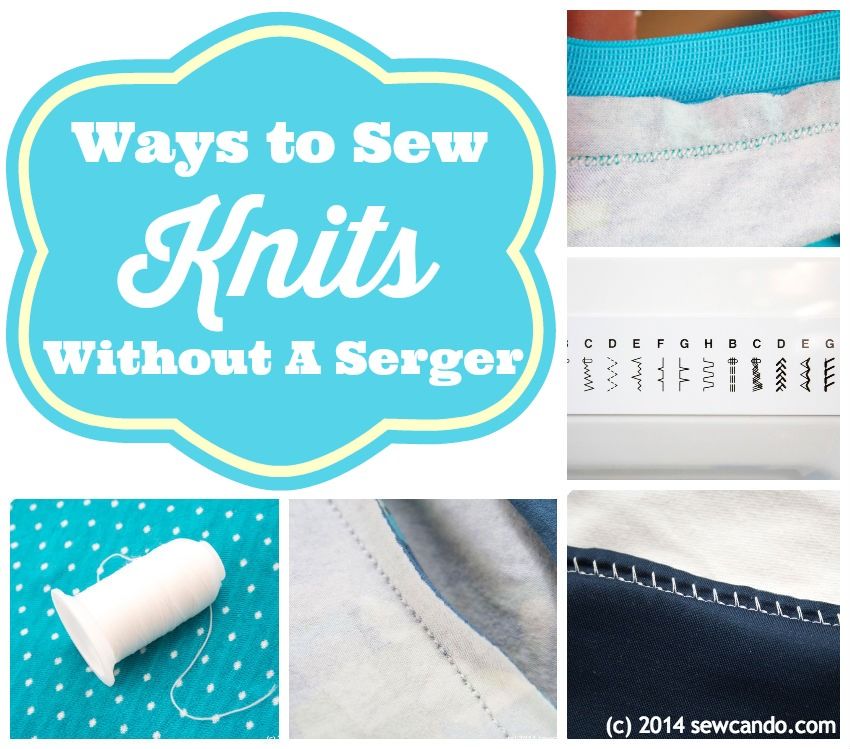
Since this was knit fabric, and I'm still too lazy to learn how to serge, I used stitches that are all knit-friendly on my sewing machine. Either a knit stitch (the wavy zig-zag), a triple stitch or an overcasting stitch will work. You've got to have seams that'll stretch! I also like to use a walking foot too so the fabric layers don't shift or stretch. I've got all my tips & tricks for sewing knits without a serger here.
I stitched together the front & back pieces at shoulders (right sides facing obviously). This fabric was a thin jersey, so to prevent pulling I used a small strip of light stabilizer underneath.
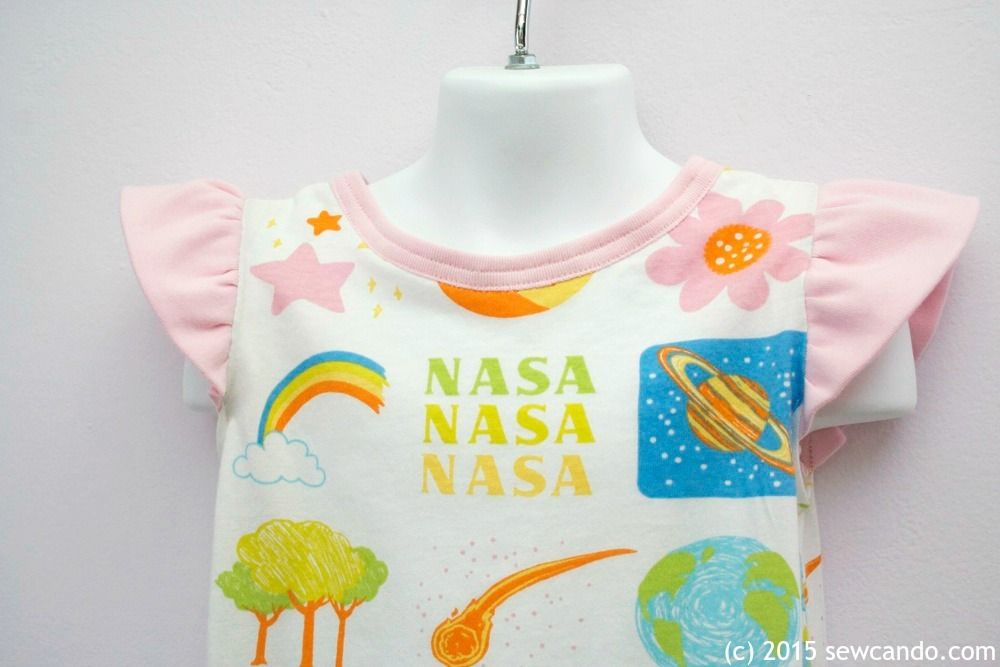
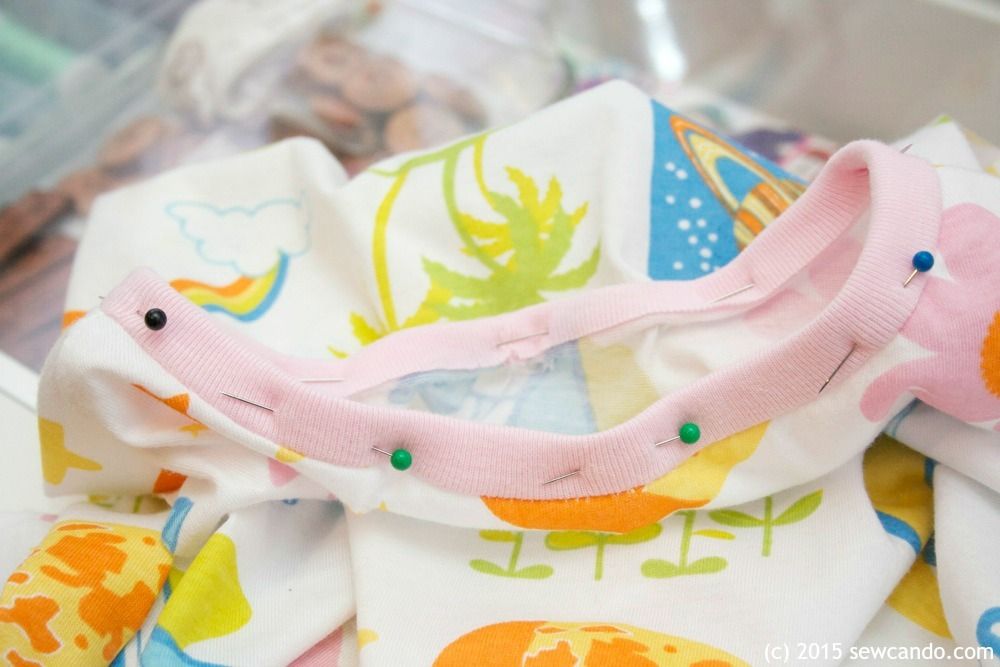
Next it was time to bind the neckline. With right sides facing I stitched the short ends together. Then marked it and the nightgown's neckline quarters. I pinned them together, right sides facing, matching up the markings.
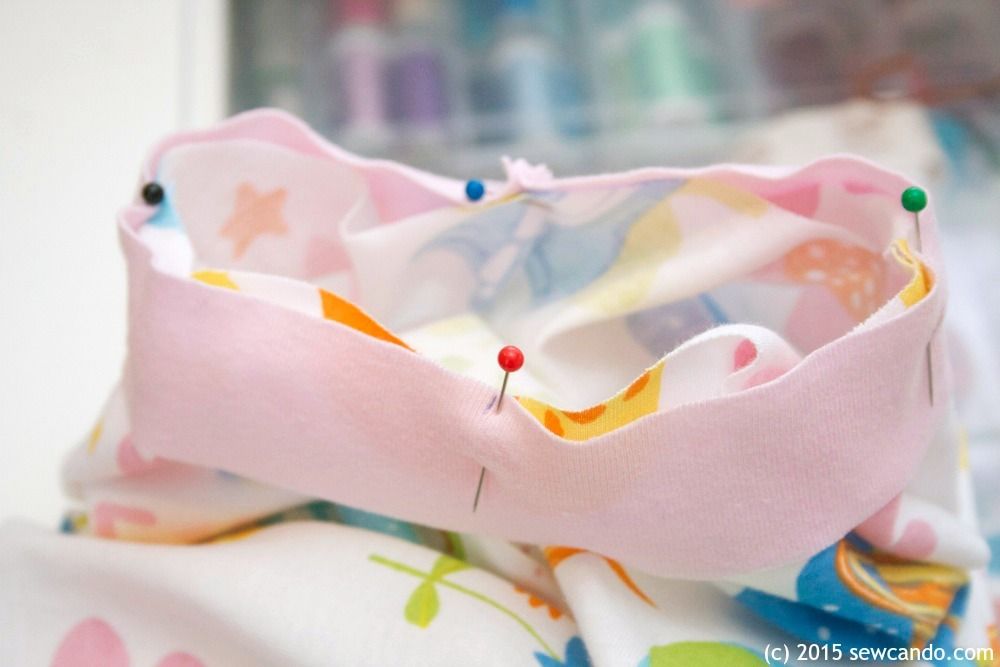
While stretching the binding slight to fit, I stitched them together with my handy triple stitch using a 3/8 inch seam allowance.

Then I folded the binding up and over the raw edge and pinned. Then I stitched it into place.
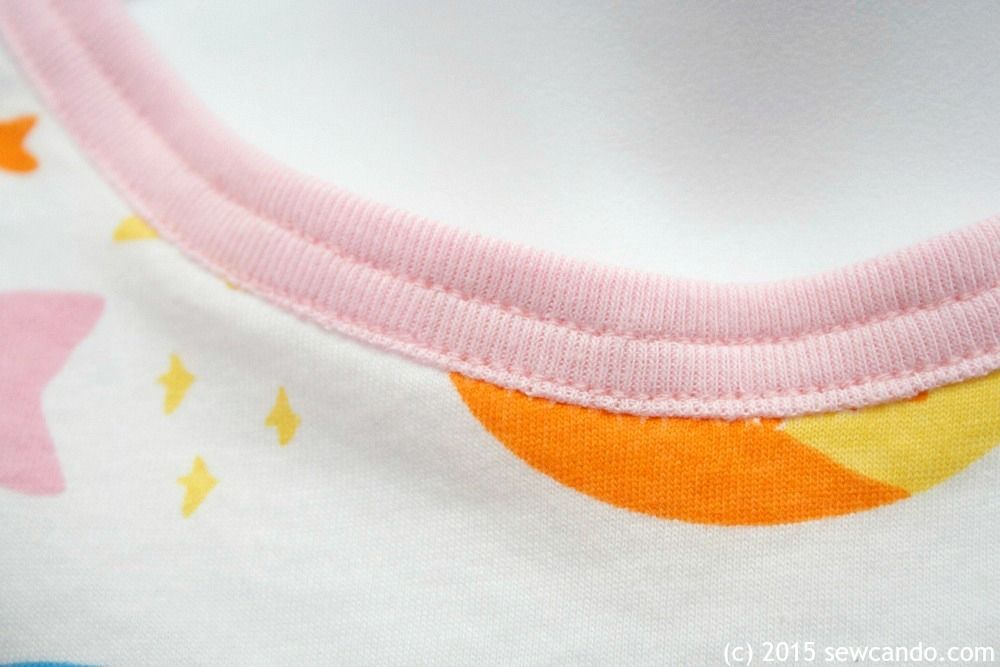
Using a twin needle is quickest, but I didn't have two spools of the pink thread I was using, so I just did two rows of my triple stitch.
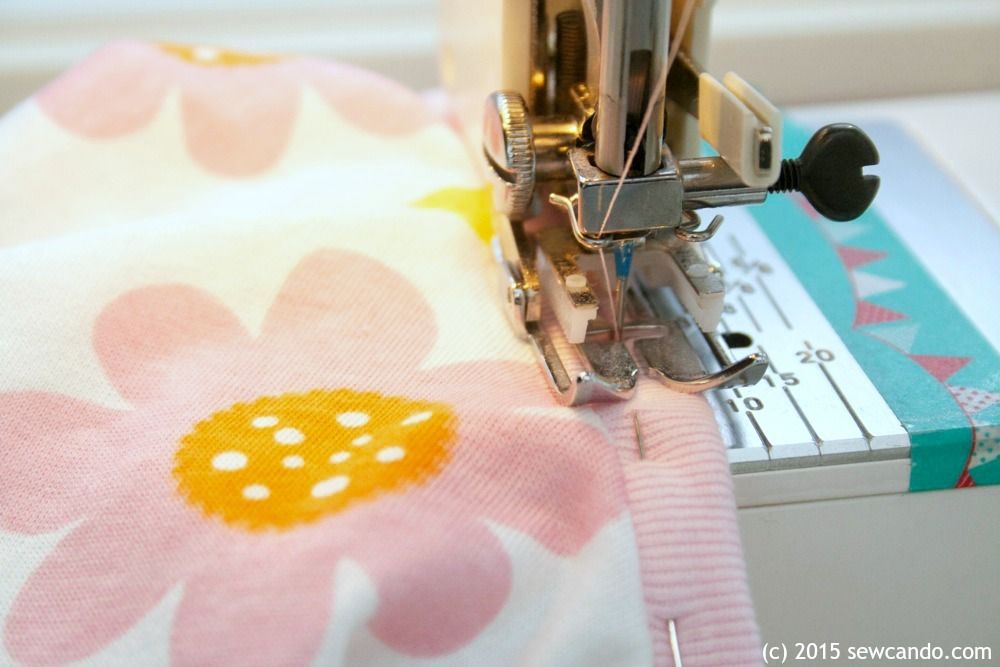
and it looks & stretched just the same as a twin needle on the outside:
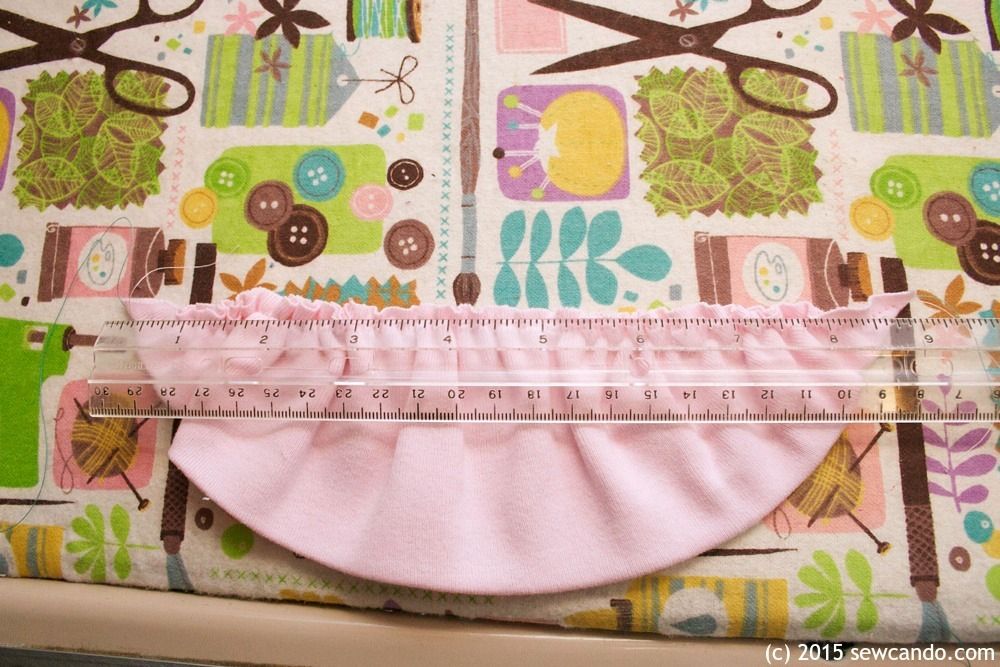
Sleeve time! I started by folding each sleeve in half (wrong sides facing), pressing, then basting along the curve like this:

I pulled up the bobbin threads and evenly space the gathering so each would end up being 9 inches:
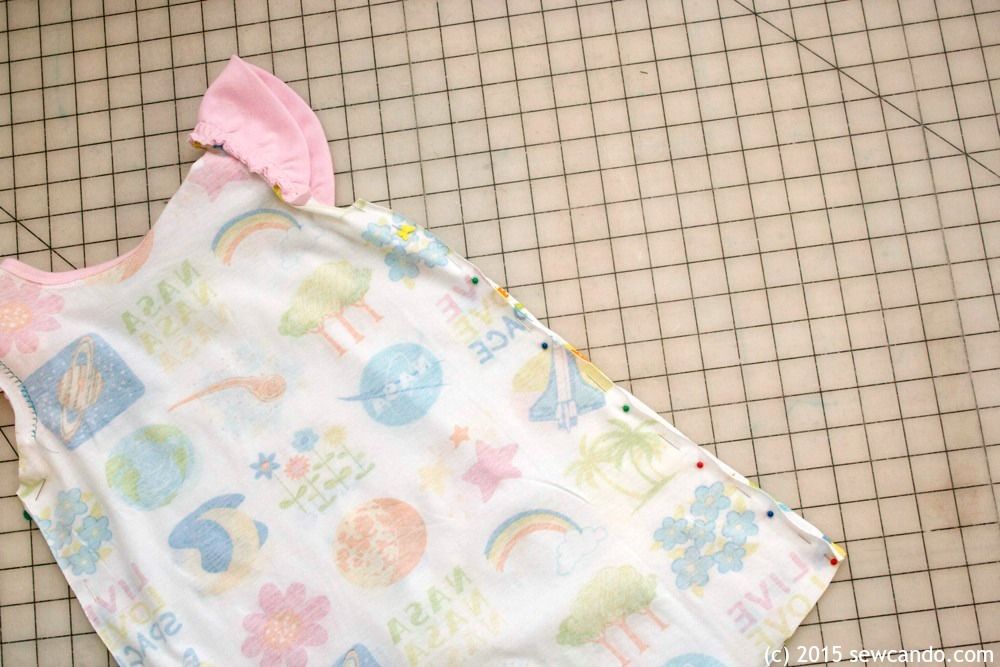
Next I pinned each sleeve to the shoulder area of the nightgown, matching the middle of the sleeve to the shoulder seam, pinned then stitched with my 1/2 inch allowance.
Bringing the front & back sides together I stitched down each of those. Since knit doesn't fray, I took the easy route for finishing the bottom of the armhole and just folded the raw edge down and topstitched about 1/4 inch from the fold.
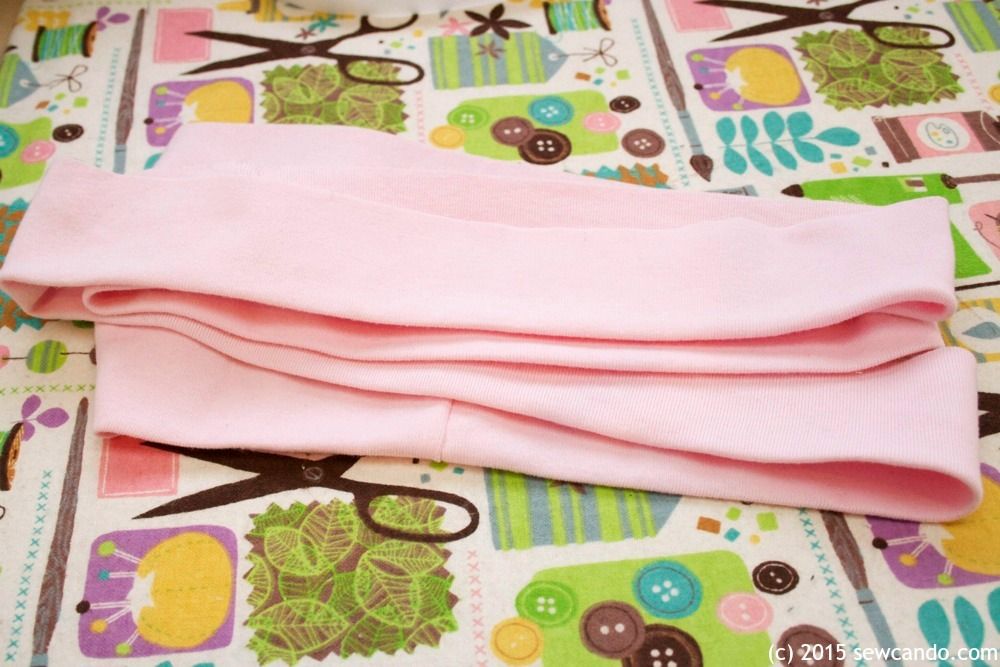
Almost done - last was the hem ruffle. I stitched together the short ends of my two strips so I ended up with a big circle.

I folded it in half (wrong sides facing) and pressed.
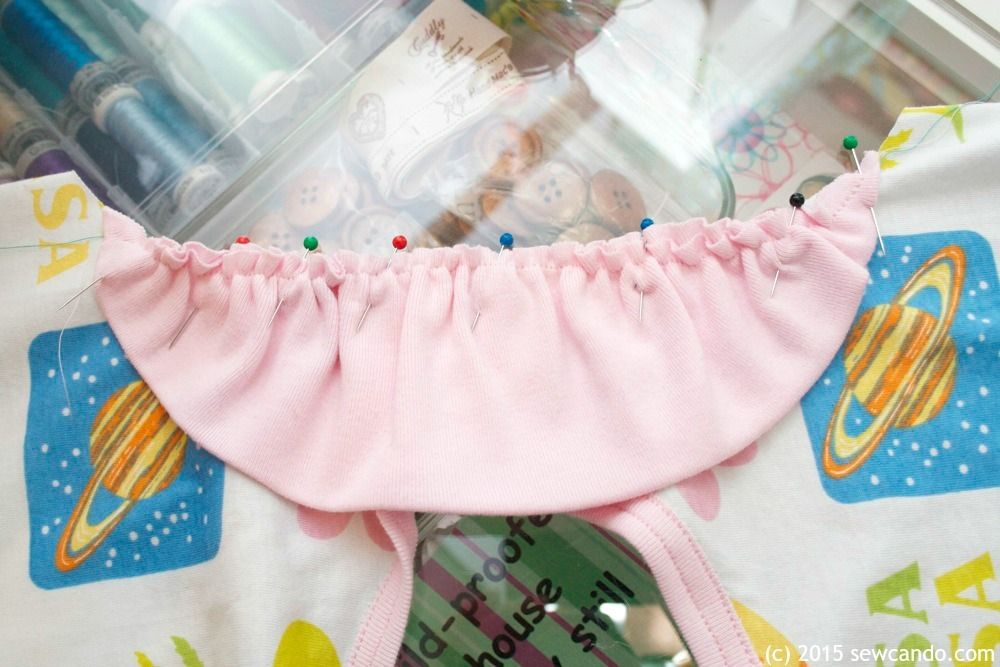
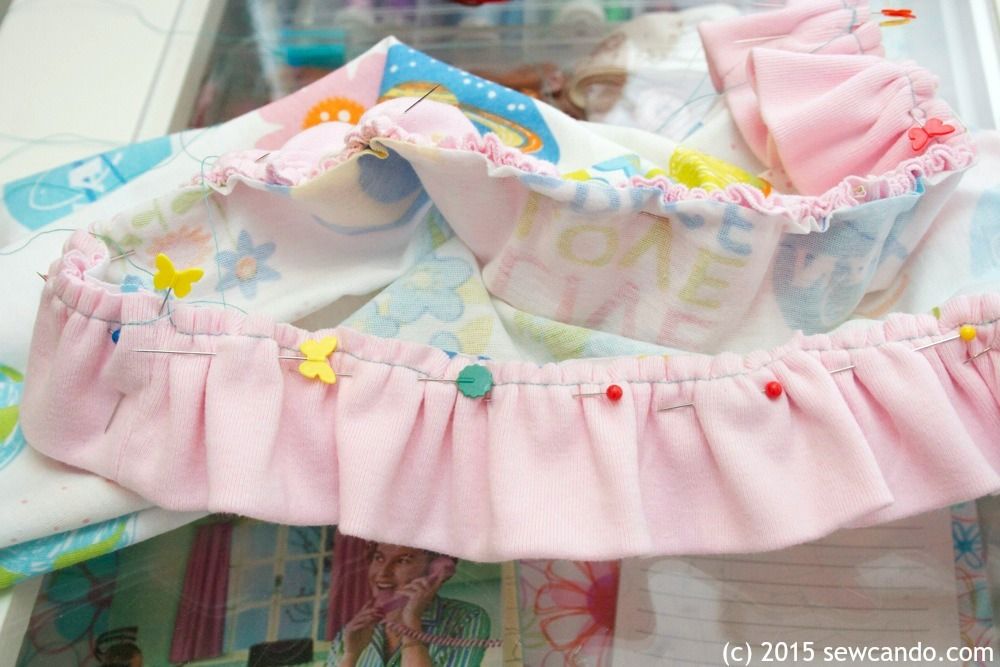
Then I basted all the way around and gathered it to fit the hem. Pinned and stitched in place. Then pressed the seam allowance upward so it would lie flat.
Now we've got a sweet little space-style nightgown for dreamtime:
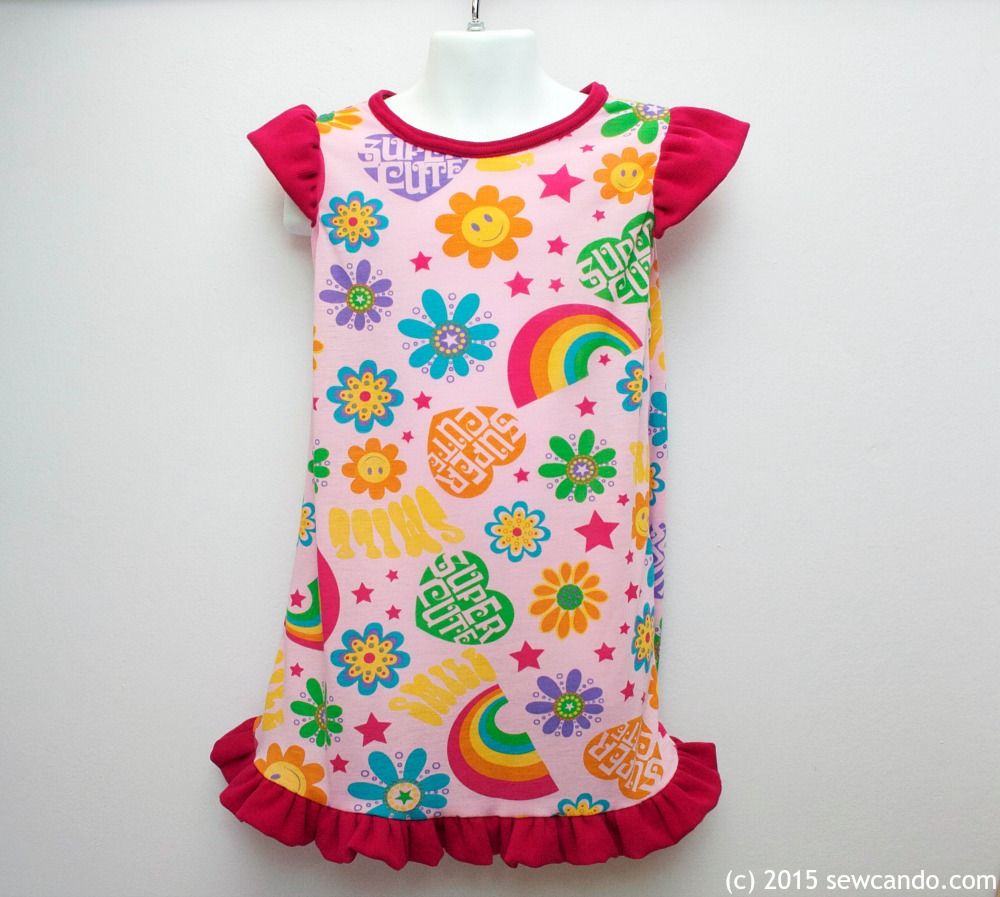
Plus I've also got a great new pattern I can use over and over. I made this fun version as well and plan to do a few more...maybe one for every day of the week;)

Soft and adorable nightie for any little space princess!
ReplyDeleteWill have to remember to take a picture of her in it with her Space Princess Hairdo Hat!
DeleteAs someone who hasn't sewn much in the way of clothing, a very visual learner and the mother of a 5 year old daughter who would LOVE it if I made her some pj's, I thank you for this great tutorial! I will now feel confident enough to tackle a nightgown (or 2 or 3) for my little one. :) Thanks for all your help!
ReplyDeleteI'm so thrilled to hear this will help. I too am a visual learner and even with a few years experience I still need to see things for them to make sense, so I try to make my tutorials as clear as I can. Will love to see yours when you make it!
DeleteSO cute! I just love little nighties and I'm thinking my almost 2 year old will soon love them too!
ReplyDeleteI was surprised by how much mine loves them - even when it's freezing cold she asks if she can wear them!
DeleteAmazing tutorial with great results! thanks so much for sharing on craft schooling Sunday!
ReplyDeleteThanks so much. I love when I copy something and it turns out like the store bought one - that's a big win for me:)
DeleteLove this! I agree, I hate the Disney price tag! Crazy! My daughter would love a few of these!
ReplyDeleteIt's so nice to be able to create the things you can't find in the stores - even using a big t-shirt works to make whatever theme/print nightgown you want.
DeleteThis is so adorable! I really regret not ever learning how to sew when I see things like this!
ReplyDeleteThanks so much for sharing on Something to Talk About! Pinning!
Karen
It's never too late to learn Karen - I only started sewing 7 years ago and now I love it!
DeleteI'm not seeing a pattern available for this nightgown, am I missing the link?
ReplyDeletePlease read the post - it indicates to make the pattern is to trace a basic A-line dress, a t-shirt or nightgown to get the general shape.
DeleteI have a question how could I substitute the flutter sleeves for long sleeves?
ReplyDeleteDo you mean put flutter sleeves in place of long sleeves or put long sleeves instead of the flutter? If substituting long sleeves instead of these, this might be easier to follow: http://www.sewcando.com/2016/02/make-your-own-knit-fabric-nightgown.html
Delete