


Hitting the water this summer? Be it beach, lake, pool or backyard, today's tutorials will help you make a splash! I'm sharing some projects: a new Bucket-style Tote and a Beach Towel Mat. Both with a bit of nautical fun;)
I first shared these last week, as a special guest post for Timeless Treasure's blog, Sew Timeless. They asked me to create some fun H2O-themed projects to celebrate their new Splash collection:


My nautical-style fabric bucket has a useful size for hauling water toys & towels, but not overwhelming for a little helper to carry. It features a bricked, strip design on the outside that makes it easy to mix so many fun prints together.
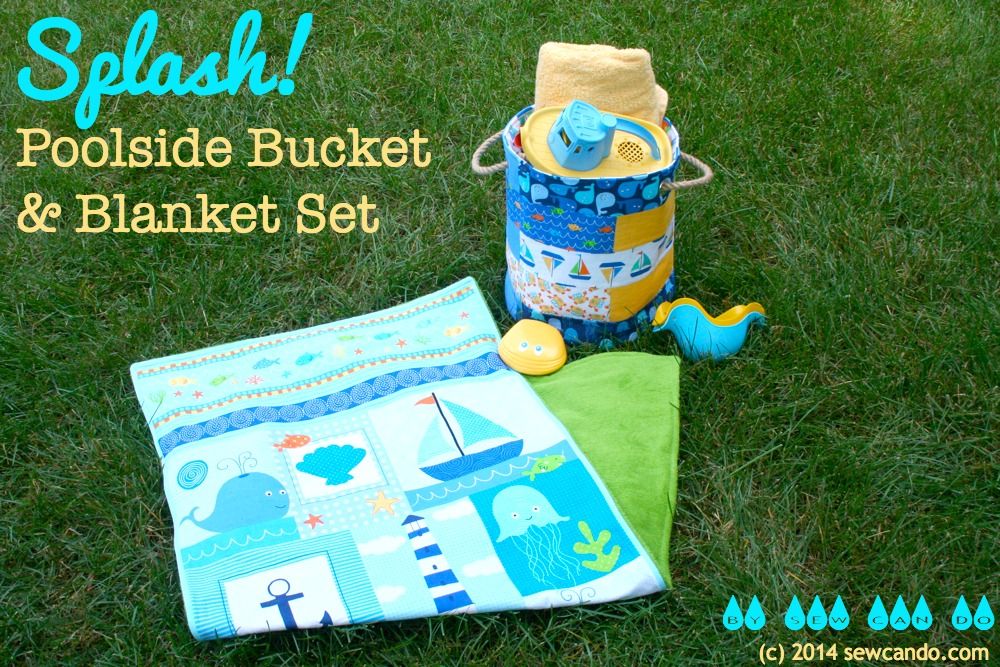
Fusible fleece gives the bucket a solid structure, but keeps it soft and flexible for whatever get tossed in it. The interior is the colorful sailboat print and the grommet & rope handles compliment the overall sea theme.

The prints in this collection are so bright & fun. Even the selvage is super cute! Now let's get to how to turn them into some stylish accessories for the pool or beach....

Materials:
- 1/4yd each Jellyfish, Whales, Crabs, Fish, Mini Dot Sun, Mini Dot Blue (Fun - c2625, c2629, c2627, c2623, c2114)
- 1/2yd Sailboats (Fun - c2630- White)
- 1 Splash 24 inch panel (Fun- c2622 - Aqua)
- 5/8 yd terry cloth fabric
- 1 yd Fusible Fleece
- 4 extra large grommets & setting tool
- 1 yd jute rope
- Notions (pins, rotary cutter, iron, hand sewing needle, matching thread)

With right sides facing, pin the panel to the terry fabric. I left my terry uncut so it would be easier to keep the layers together while stitching. Sew 1/2 inch from raw edge of panel all the way around, leaving a 3 inch gap at the bottom. Trim terry down to panel size and clip corners.
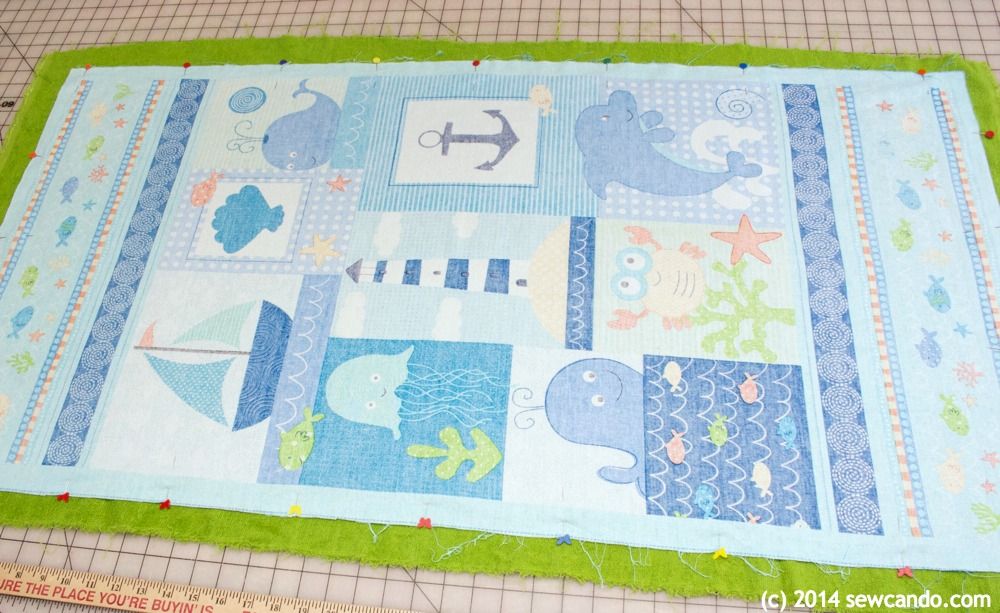
Turn blanket right side out and fold gap opening inward. Topstitch all the way around. The mat is now done, let's start on the bucket tote.

Cut the following pieces from the fabrics and fusible fleece:
- 10 1/2 inch diameter circle: (1) Mini Dot Blue, (1) Sailboats, (2) Fusible Fleece
- 33 inch wide by 13 inch high rectangle: (1) Sailboats (2) Fusible Fleece
- 16 1/2 inch wide by 3 inch high strips: (2) Mini Dot Sun, (3) Mini Dot Blue, (1) Whales, (1) Fish, (1) Sailboats, (1) Crabs, (1) Jellyfish


Align loops as desired while flattened. Mine alternated color and were offset so each mini dot section was 5 inches from each edge and the print would be 11 inches from the other edge (and would then be the reverse on the other side):

With right sides facing, pin together the top long side of the lowest loop to the bottom long side of the loop above it. Stitch together.

Press seam to one side and repeat with remaining loops until outer tube is complete.

Fuse fleece to wrong side of tube, starting on one side and working all the way around. Fuse fleece to lining rectangle and to both circle bases. Trim away the small amount of excess. Stitch together short sides of lining rectangle.

Pin circle base to the outer tube and stitch together. Repeat with lining, leaving a 3 inch gap for turning later.

Trim down seam allowance with pinking shears or clip around curve:

Insert bucket lining into outer with right sides facing:

Pin together, then stitch along the top edge.

You'll end up with something that looks like this:

Pull fabric right side out through gap and push lining down into outer and hand stitch gap closed.

Now it's time to install the handles. Grab 4 grommet sets and the jute:

Fold bucket flat and find the center. Measure 2 inches out on either side and 1 inch down and mark. This will be the grommet placement. Repeat on other half of bucket. Install grommets according to package instructions.

Cut jute in half and insert raw ends through grommets on knot. Add a little glue to the knots for extra strength:

Load up the bucket with towels, toys & sunscreen, lay out your new blanket mat and be ready to hit the pool!


I was not financially compensated for this post. I received fabric, to use as I wished, from Timeless Treasures. The opinions are completely my own based on my experiences.
These are bright, splashy, and perfect for summer beach trips! Great tutorial, Cheryl.
ReplyDeleteNice pool set!! I've got a Craft Gossip post scheduled for tomorrow afternoon that links to your tutorial:
ReplyDeletehttp://sewing.craftgossip.com/tutorial-splash-poolside-bucket-tote-and-blanket-set/2014/08/01/
--Anne
Really, really cute! Thanks for sharing with the Thursday Blog Hop!
ReplyDeletewow love both the tote and the blanket! such cute fabric!
ReplyDeleteVery nice and practical. I think the bucket would be nice in laminated fabrics as well.
ReplyDeleteThats a good idea too Tracy!
Delete