

%20fabric.)
Usual Binding Methods:
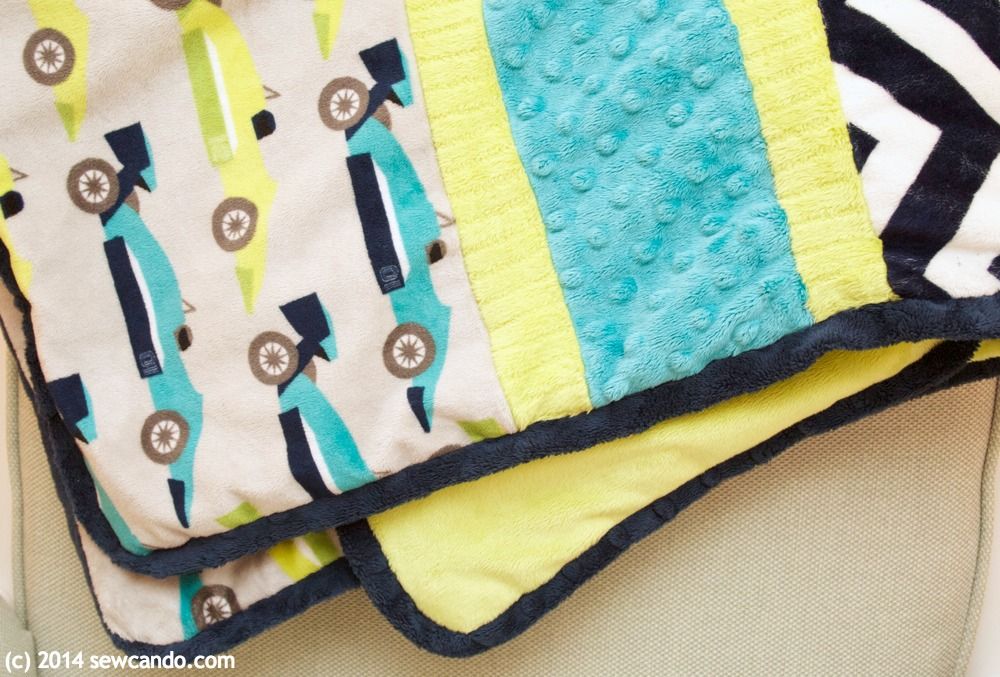
Traditional binding involves stitching a strip to the edge of the blanket and then wrapping it around the raw edges and topstitching into place, much like using bias tape. Last summer I won a Cuddle 8 quilt kit from Shannon Fabrics (the leading distributor of plush fabrics) and made it into a super snuggly comforter for my middle son. While the quilt body came together fast, I struggled a bit binding it. Sometimes it doesn't fold around evenly and it's easy to end up with some gaps where stitching doesn't quite hold it when working with such a big area. The backing, binding & thread were all the same color so my imperfections don't show much, but I wanted to do a better job the next time around.
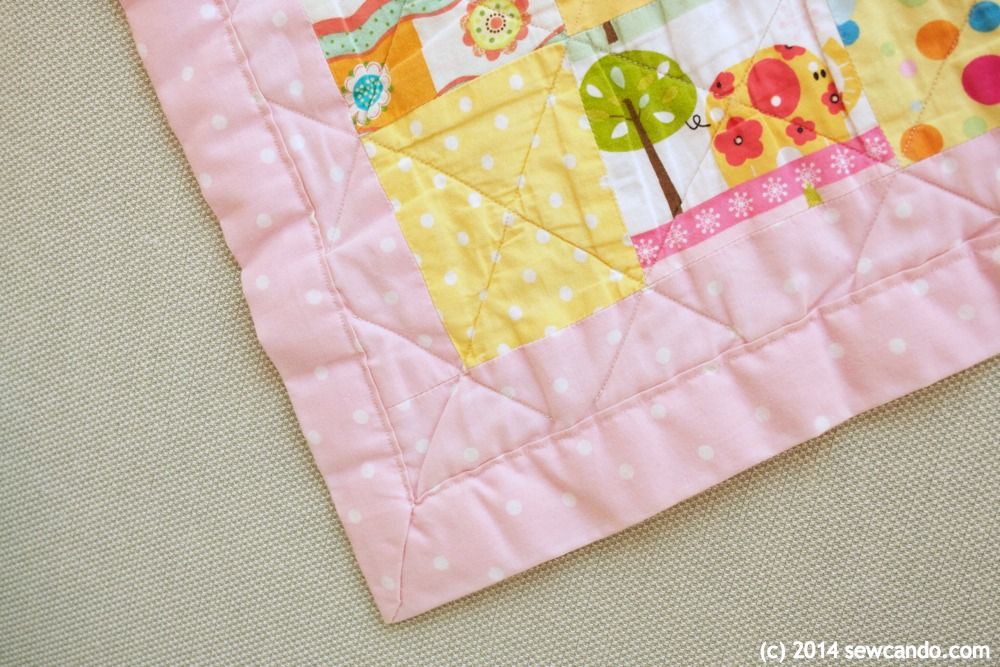
Self binding, the usual alternative, (aka using a larger back piece that folds over to the front) only works if you have a much larger backing, like on this traditional cotton quilt I did a few years ago:
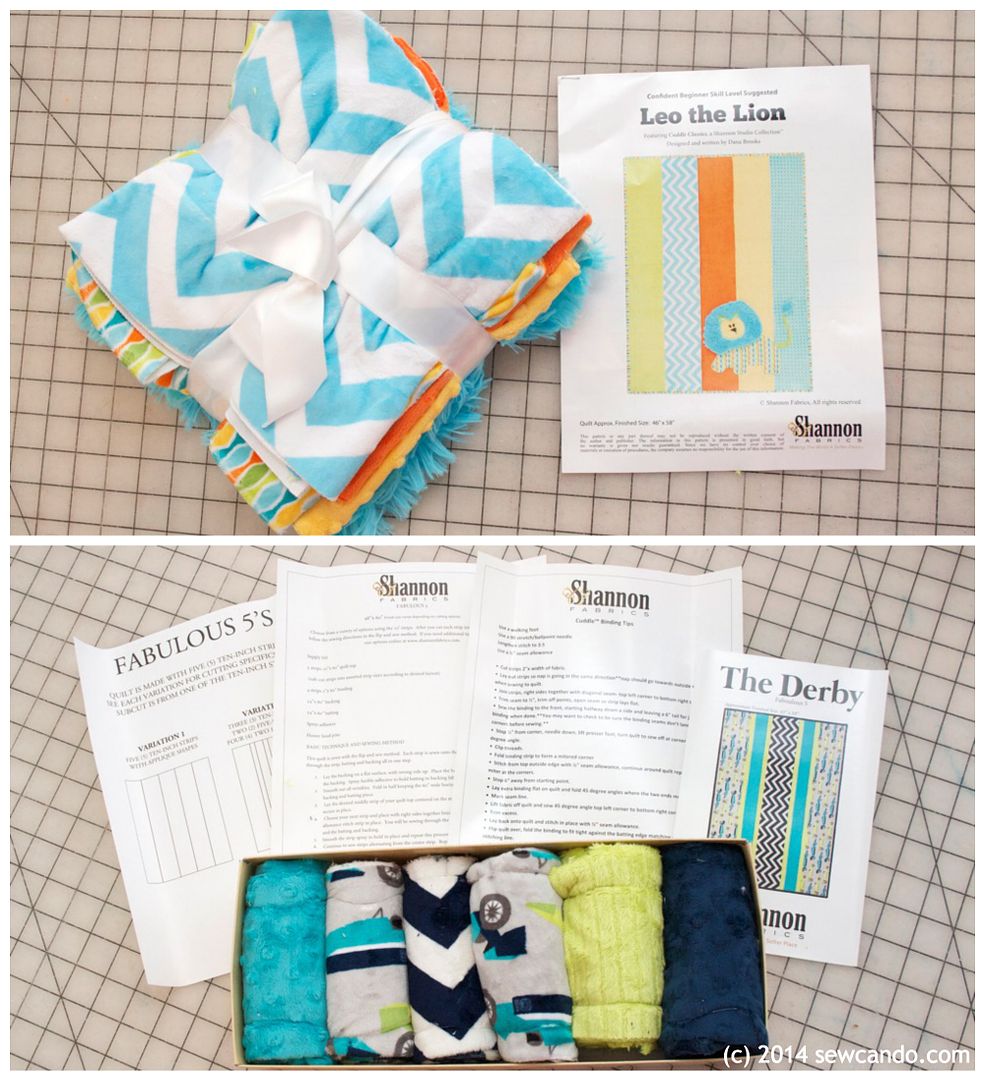
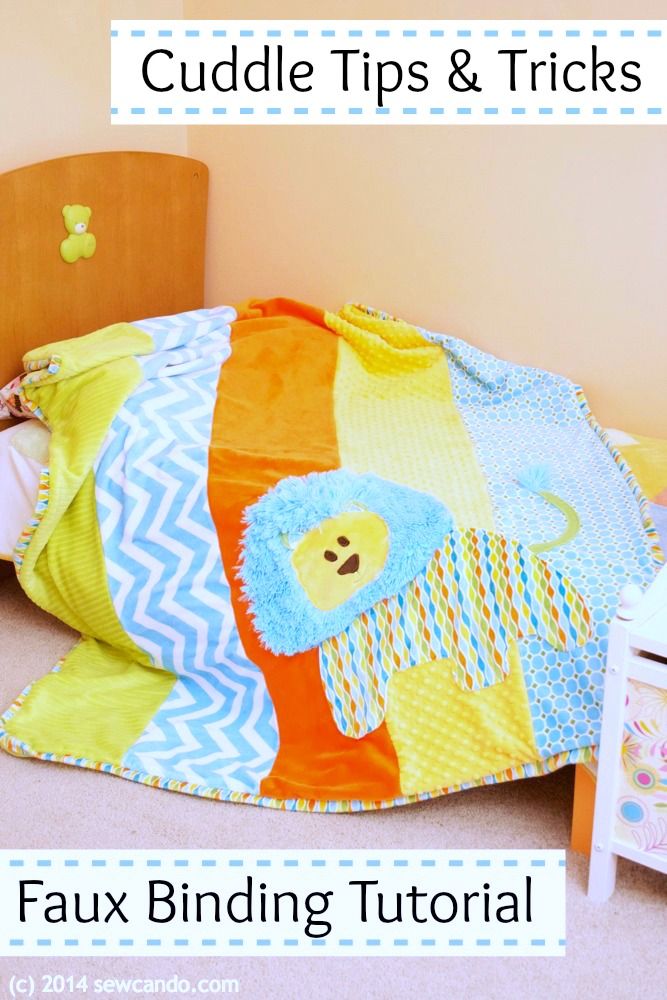
I recently got two new Cuddle Quilt Kits from Shannon Fabrics, a cute Leo the Lion applique set & The Derby race car themed kit for my oldest son. Both had a fun mix of textures & coordinating prints and were beyond snuggly soft. Self-binding from the back wasn't an option because the fabrics were cut width-wise (so back & front were the same size). I really wanted a perfect finish for the binding, so I went with my faux method instead and it worked great.
Tips on using Cuddle Fabric:
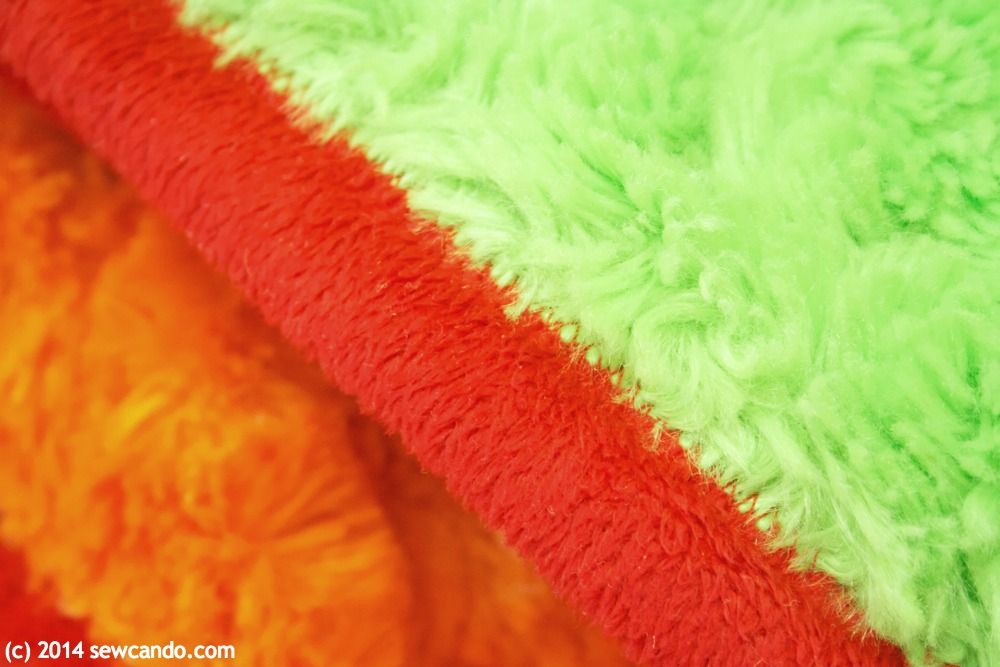
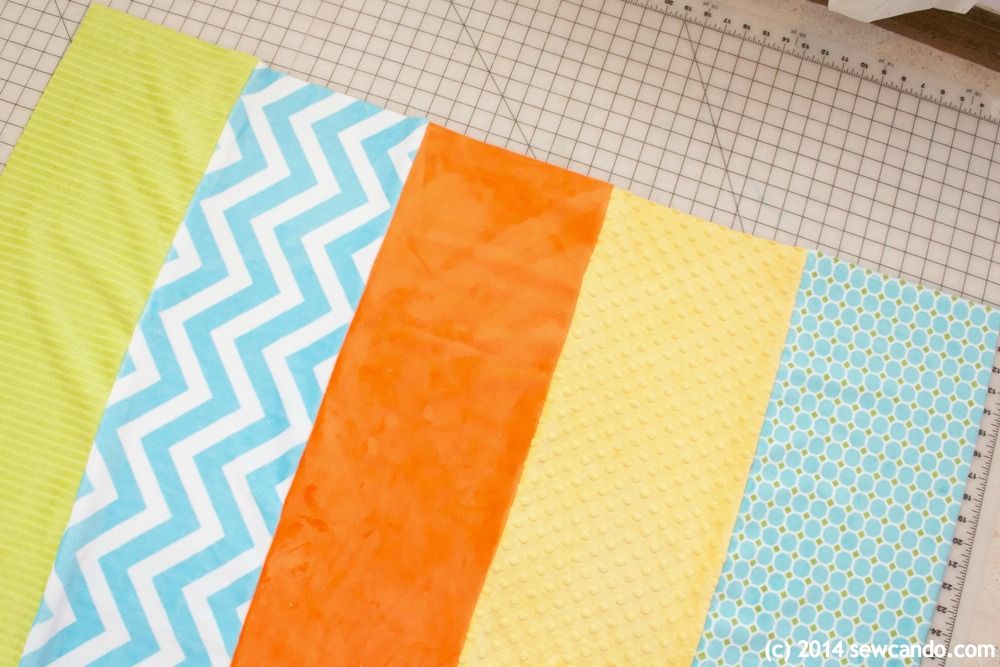
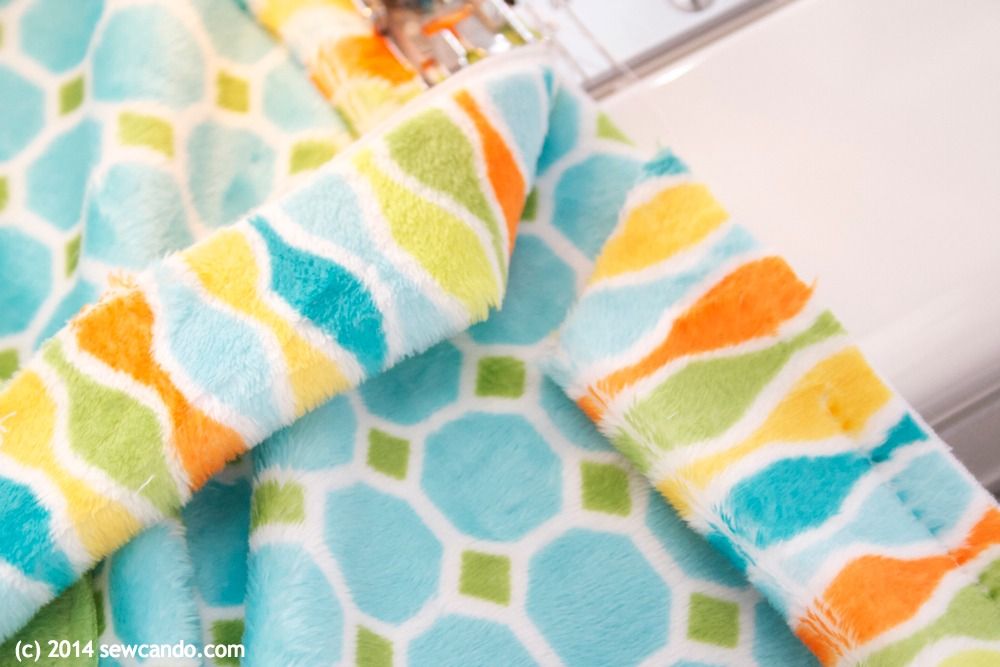
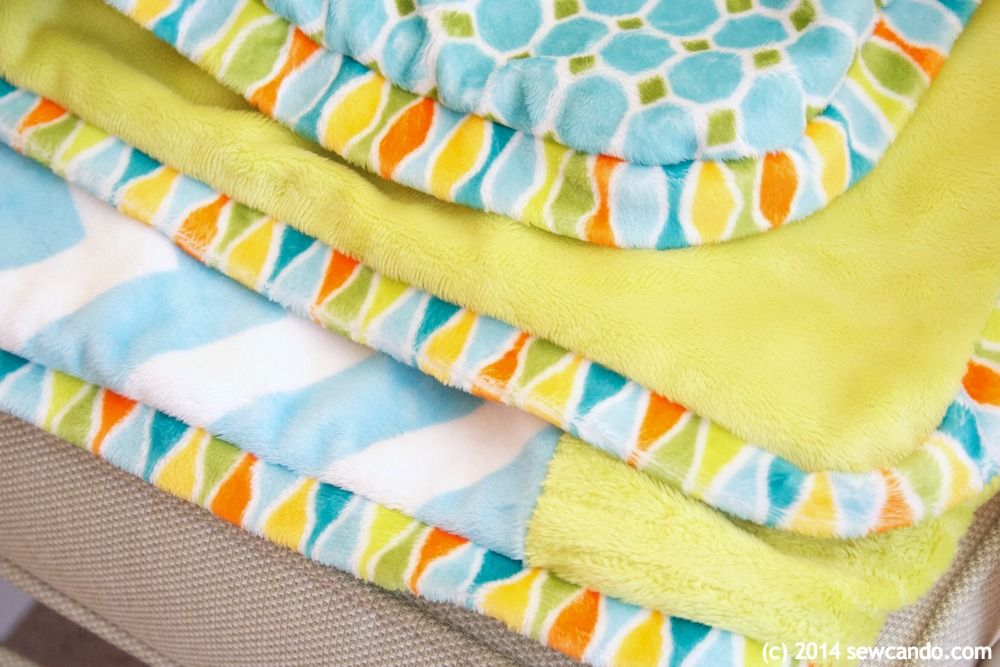
- If you're using a kit or multiple types of Cuddle fabric (like dimple, embossed, rose, etc.), like I was, the first piece of advice I have is to make sure they are all the same width before you start sewing them together. While they'll all be the same height, they may be different widths - anywhere between 56-60 inches.
- Cuddle (aka Minky) gives off a lot of fluff when cut, so have a vacuum & sticky roller on standby!
- Cuddle fabrics can also have slightly different amounts of stretch as well (dimple stretches A LOT more than smoother Spa or Cuddle 3), so I always cut my backing piece after I've stitched together my front, because there's usually some edge trimming required to the front when it is done.

Bonus Tip:
The biggest sanity saver when quilting, or sewing with plush or slippery fabrics like these, is to use a walking foot. It provides even pressure to feed multiple fabric layers at the same speed, so they won't shift or stretch while you stitch. Most machines don't come with them, but believe me, it's worth the investment and your work will look so much nicer!

Get the quilt front all completed first. The Leo the Lion Cuddle Quilt also came with extra fabric & pattern pieces to do the lion applique. I sewed those on as soon as the front strips were sewn together. Once the quilt front is ready to go it's time for the faux binding. You can do this with any type of fabric, but it's ideal with cozy plush fabrics like Cuddle.
Here's How To Do It:
Take the fabric for the binding, but instead of cutting it in 2 inch wide strips, make them 2.5 inches wide:
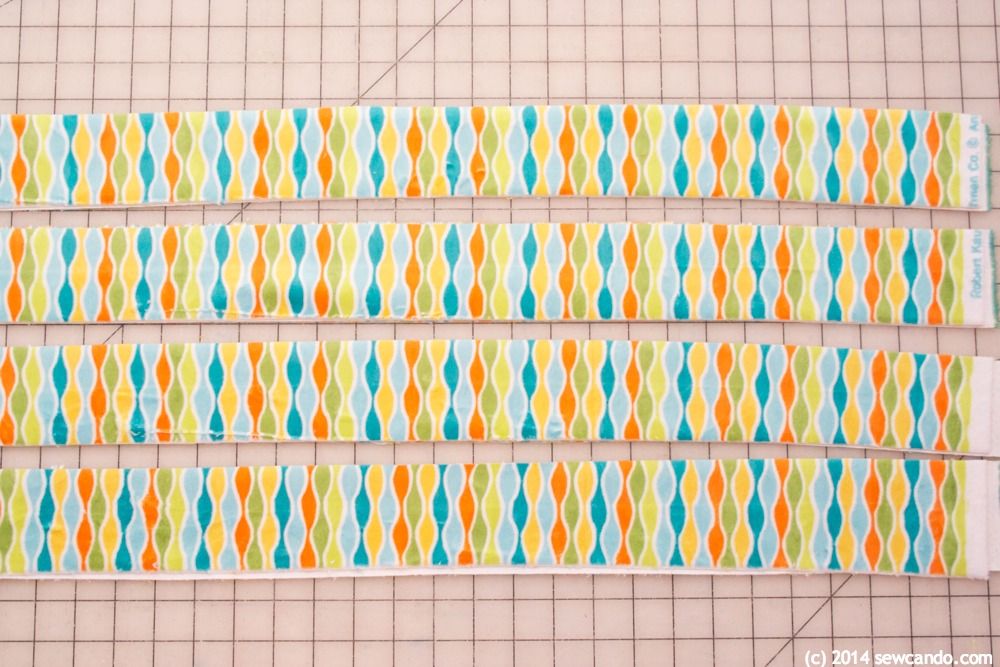
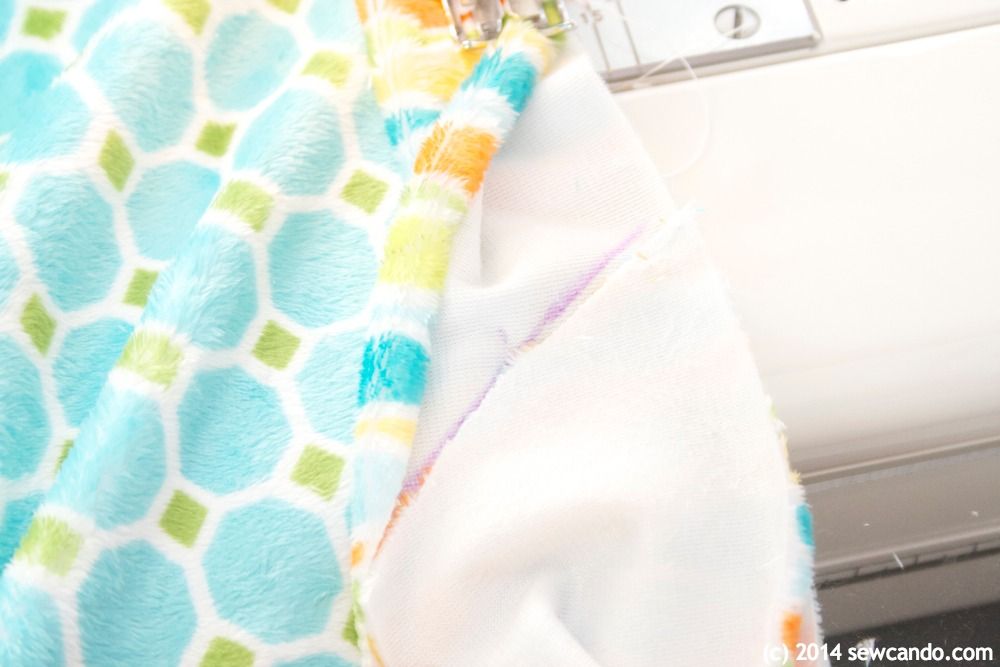
Fold the giant binding strip with wrong sides together and place on top of the quilt front, matching up the raw edges. Baste together using a .5 inch seam allowance.

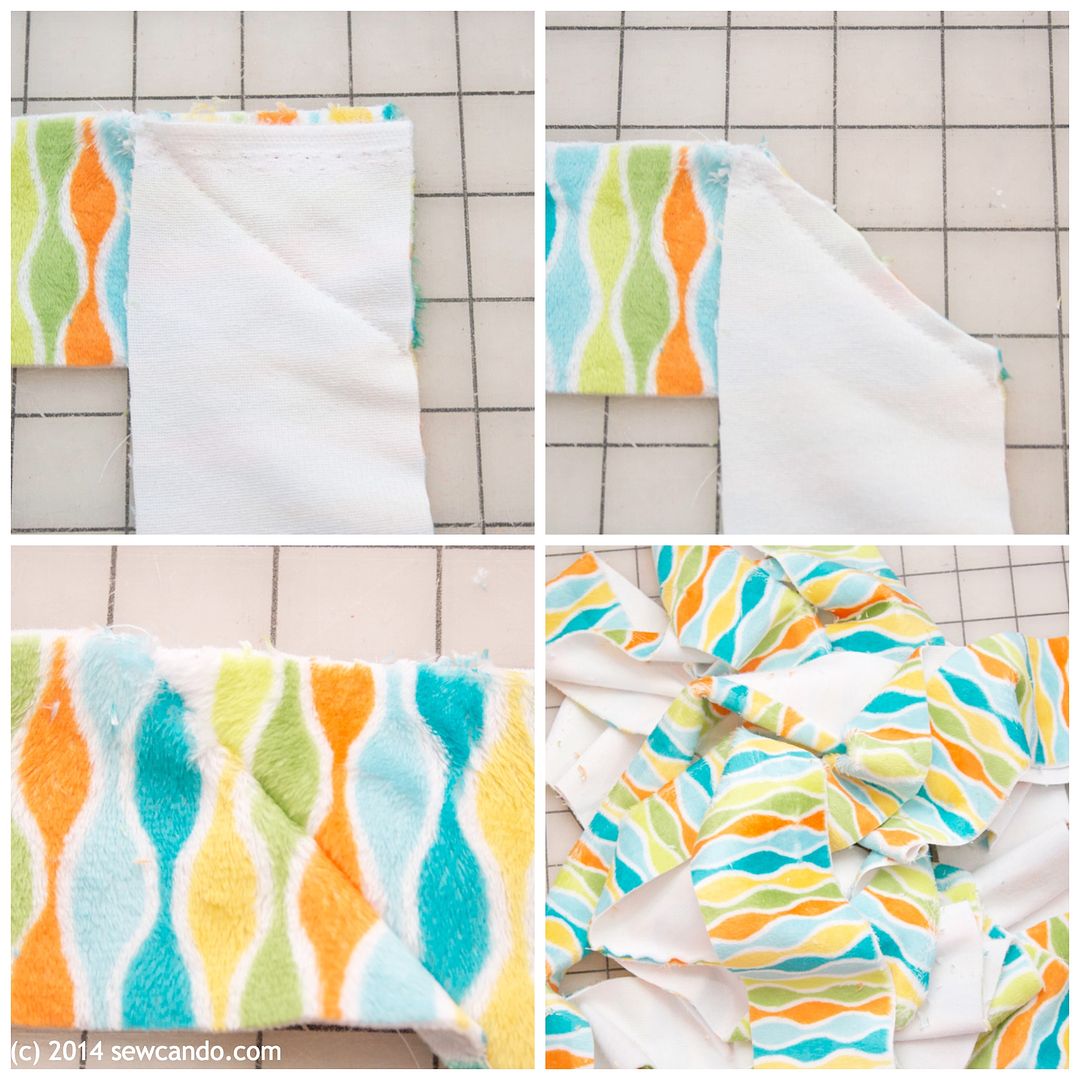
Now open and cut the starting edge of the binding on the diagonal:
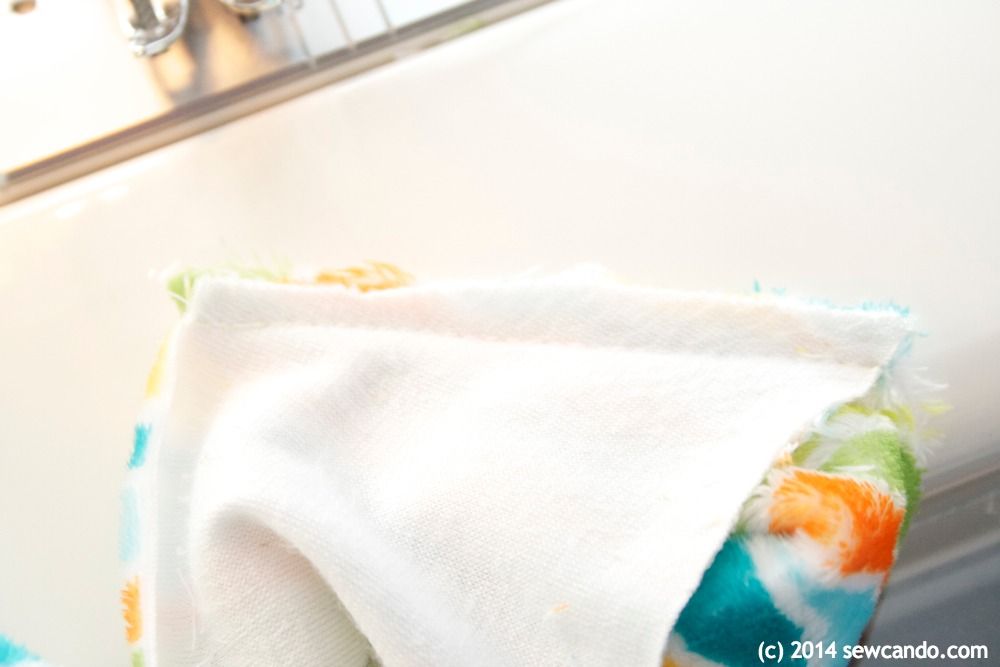
Lay the tail of the binding against the quilt and open. Place starting edge on top of the tail and trace a line on the tail along the starting edge.
Draw a second line .25 inch above the first - this will be the sewing line to stitch them together. Cut along the lower line.

Place the binding ends together, right sides facing and stitch together with a .25 inch seam allowance and trim.
It will end up looking like this:

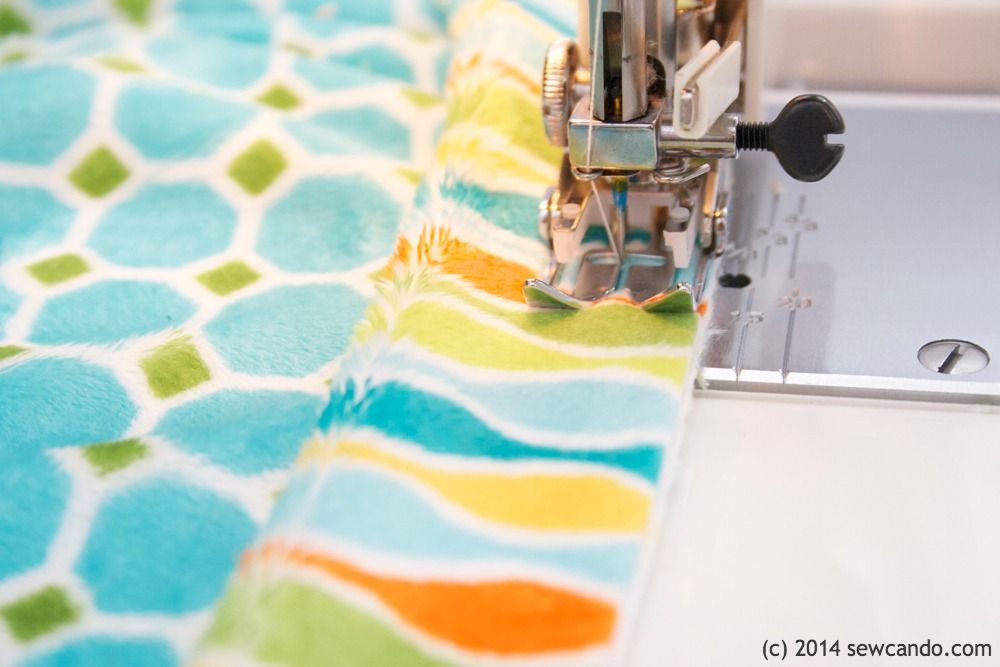
Fold binding and baste into place along quilt edge to finish.

Place the quilt top over the backing, right sides facing, pin all around. Sew together, stitching over the basting with a stitch width of 2.5. Leave a 4-5 inch gap at the bottom for turning. Pull right side out and hand stitch gap closed.

And my faux binding looks nice & even without me even breaking a sweat:

I'm also sharing this project with my FAVE LINK PARTIES.
Click HERE to check them out!
I received the quilt kits pictured from Shannon Fabrics to use as I desired, with no financial compensation. The opinions are completely my own based on my experiences.
I pinned this because I fantasize in the future that I will have time to quilt. :)
ReplyDeleteMadonna
MakeMineLemon
Hey it's Deonna from the Child at Heart blog. I LOVE this and would love for you to link up at our link party this week! I also have a super great spring necklace to give away so come on over :)
ReplyDeletehttp://www.thechildatheartblog.com/2014/04/link-party-with-morganize-with-me.html
Thanks Deonna - I missed linking up, but would be happy to link it to another week. I entered the giveaway:)
DeletePretty quilts and bindings. Thanks for the useful tips!
ReplyDeleteNice, I will need to try this! I've only made two quilts before and had trouble with using bias tape to bind the last one (http://www.hardlyhousewives.com/2014/03/a-handmade-baby-quilt.html). Also my son LOVES lions so I need to attempt a quilt like yours!
ReplyDeleteThis is so much easier & looks really nice when done. This kit comes with the lion pattern pieces - the shag cuddle is perfect for a fluffy mane!
DeleteLove it! Pinned!!
ReplyDeleteSuch a great tutorial. Pinned it!
ReplyDeleteSuch fun quilts and blankets. This tutorial is fantastic! Pinning!
ReplyDeleteWhat is the fabric used for backing?
ReplyDeleteThe backing is a large piece of solid cuddle fabric.
DeleteI'm making Leo right now. Any tips on working with the furry mane? Can I use lite fusible webbing to applique it or is it best to use a spray adhesive? I'm a bit intimidated with the fur - even hesitant to cut it! Any tips would be greatly appreciated. Yours looks awesome!
ReplyDeleteSpray adhesive is probably best - you don't want to iron fur. It sheds A LOT when cut and puts a lot of fluff into the air, so I like to vacuum around the edges of each piece as soon as I cut it and then shake them out over a big trash can or outside to get rid of any loose bits and then start working with it. Hope this helps. And thanks for the sweet compliment on mine!
DeleteThank you so much for your quick reply and helpful hints. Guess I just take a big breath and go for it!
DeleteThis adds a cute detail for juvenile quilts. :) Thanks!
ReplyDeleteDo you think it would turn out as well for a quilt that is traditional pieced cotton top to be backed with a cuddle fabric?
ReplyDeleteIn general, I wouldn't recommend it Lori. I used to try to mix woven with stretch fabrics when I first started sewing and it was almost always a problem. Cuddle is very stretchy and woven cotton is not so it would be difficult to sew them together without the cuddle stretching out despite them being cut at the same size.
DeleteI want to bind a cuddle top with woven fabric and have two questions! First, will that work given that there are two types of fabric. Also, do you cut the strips on the bias or not?
ReplyDeleteIt might be a little tricky since the woven won't have much stretch & the cuddle will, but cutting the woven on the bias should help. When I did the binding using cuddle I cut perpendicular to the selvage, not on the bias, so it wouldn't be a lot stretchier than the main pieces.
DeleteI think I will cut the woven on the bias and see what happens! I will let you know!
DeleteGreat work! thanks for sharing it.
ReplyDeleteSuch a fine piece of work! Specially the Embroidery Designs are looking great.
ReplyDelete