Sunday, December 29, 2013

It's The Last Craftastic Monday Link Party of 2013!


Can you believe it's the last link party of 2013?  Boy, has this year flown by!!  We've seen an amazing array of projects linked this year and despite other parties coming & going, I'm so proud Craftastic Monday is still going strong!

I hope everyone who celebrated had a lovely Christmas.  We did, despite my car deciding to take an expensive "vacation" to the mechanic & some other last minute challenges.  But we also had some wonderful crafty surprises, which I'll be sharing soon;)

And as much as I love my craft-related work & this blog, it's been nice having a break to spend time with family and get to things that always get put on the back burner.  I've been thinking about what I want to do in 2014 and will be sharing some of those hopes & ideas in the coming weeks.  

Now let's see some Craftastic picks..

Check out this delicious Caramel Apple Spiced Cider over at Scattered Thoughts of A Crafty Mom:


How cute are these fairy light fingerprint cards from Lovely and Loving?  Definitely going to do some of these next year:


The DIY Dreamer shared this fun & easy how-to for no-sew elf boot ornaments.  I love the candy print felt!


Kims Kandy Kreations showed how to make these minty hot chocolate gingerbread men using just two ingredients:


And Craft Dictator shared a good recipe for gingerbread butterscotch cookies to branch outside of the usual flavor:


If you're one of this week's features, be sure to grab my Featured On button over on the sidebar to let everyone know.  I also feature these projects & more party favorites on the Sew Can Do's Craftastic Picks board on Pinterest AND I share each of them on Twitter too Follow me there to see more great projects (and see if yours is one of them)!   
  
Follow Me on Pinterest


Ready to link up your crafty creations?

 
Party rules are simple:
  • As long as it's crafty, and made by you, it's Craftastic (no links to giveaways, shops, link parties or other people's work).  Add the link to your specific post (not the main page of your blog).
  • Grab my party button & put it on your post or blog somewhere.  The code's on the sidebar -> 
  • Check out some of the other fabulous links and share some crafty comment love.  We all love getting comments!!

Have A Very Safe & Happy New Year Everyone!


Sunday, December 22, 2013

A Christmas Craftastic Monday Link Party & Giveaway Winner News


Christmas is coming up fast - are you ready?  Now's your chance to share all the seasonal crafty goodies you've been working on.  I hope everyone who celebrates it has a wonderful Christmas.  As long as we don't have a repeat of last year's Norovirus holiday, I will be happy!

And it's time to announce the winner of the Shannon Fabrics Cuddle Fabric Giveaway:


Congratulations Christie!  I hope you enjoy this fabulously soft fabric and a big thank you to Shannon Fabrics for providing this great prize.

Now let's see some Craftastic picks..

Semi-Sweet Designs rocked it again.  This time it's a really great tutorial for stamped chalkboard cookies.  Love this idea:


Twigg Studios shared this recipe for cranberry orange winter cooler popsicles:


Wesens-Arts showed this cool project - a reindeer wine glass lampshade:


Check out these adorable and fun to make seasonal t-shirts, using bleach & markers, from Two Many:


Check out this awesome chevron knitting from Moois Van M(i)e.  There's even a handy tutorial so you can too:


If you're one of this week's features, be sure to grab my Featured On button over on the sidebar to let everyone know.  I also feature these projects & more party favorites on the Sew Can Do's Craftastic Picks board on Pinterest AND I share each of them on Twitter too Follow me there to see more great projects (and see if yours is one of them)!   
  
Follow Me on Pinterest


Ready to link up your crafty creations?

 
Party rules are simple:
  • As long as it's crafty, and made by you, it's Craftastic (no links to giveaways, shops, link parties or other people's work).  Add the link to your specific post (not the main page of your blog).
  • Grab my party button & put it on your post or blog somewhere.  The code's on the sidebar -> 
  • Check out some of the other fabulous links and share some crafty comment love.  We all love getting comments!!

Have A Very Merry Christmas Everyone!


Friday, December 20, 2013

Sharing Some LUV: Our Ambassador Announcement!


If you follow Sew Can Do on Twitter you may have seen some tweets with shoe pics & references to LUV and wondered what it was about.  Today's the day to share it: my daughter & I are now LUV Ambassadors!


So what the heck am I talking about?

Back in the summer I saw a review on another blog for some toddler shoes from LUV Footwear. The colorful prints caught my eye, as did the cute slip-on flat style.  That blogger mentioned how comfy & durable they were, so I checked out their site.  That's when I saw they made Dream Flats for girls AND women.  I decided to order some for myself & my daughter.  They. Were. Fabulous!

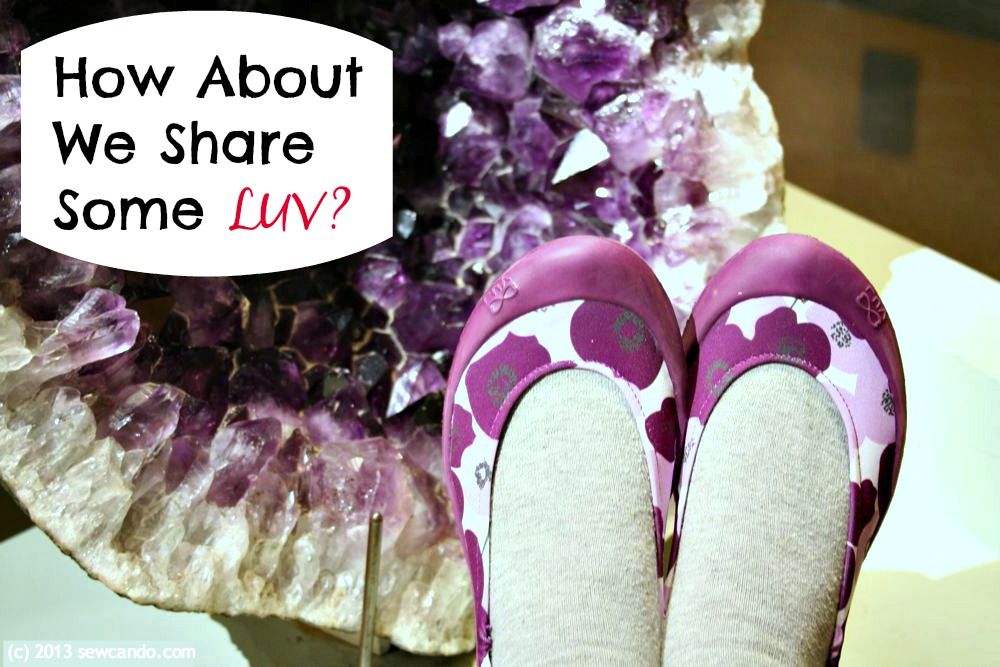
Me in my Poppy Purple LUVs

They take the comfort & ease of slippers and cross it with all the durability of a sporty shoe and the creative prints & textures of a gorgeous fabric stash.  I ordered a few more and found myself choosing outfits based on being able to wear our LUVs with them.  I was hooked.  I've since bought pairs to give as Christmas gifts for all the girls & ladies on our list too.  

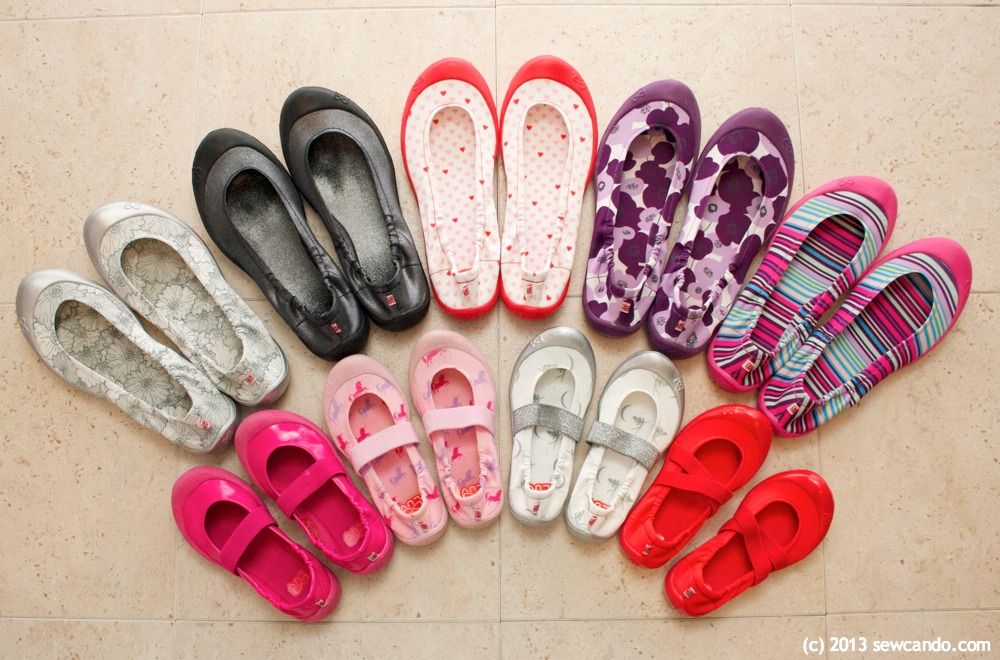
Our growing LUV collection

I've worn them running around with the kids, while working out, poolside - I even sew with them on (they are ideal with working a foot pedal).  They've become my go-to footwear in & out of the house and let me show my love of fun fabrics too.  

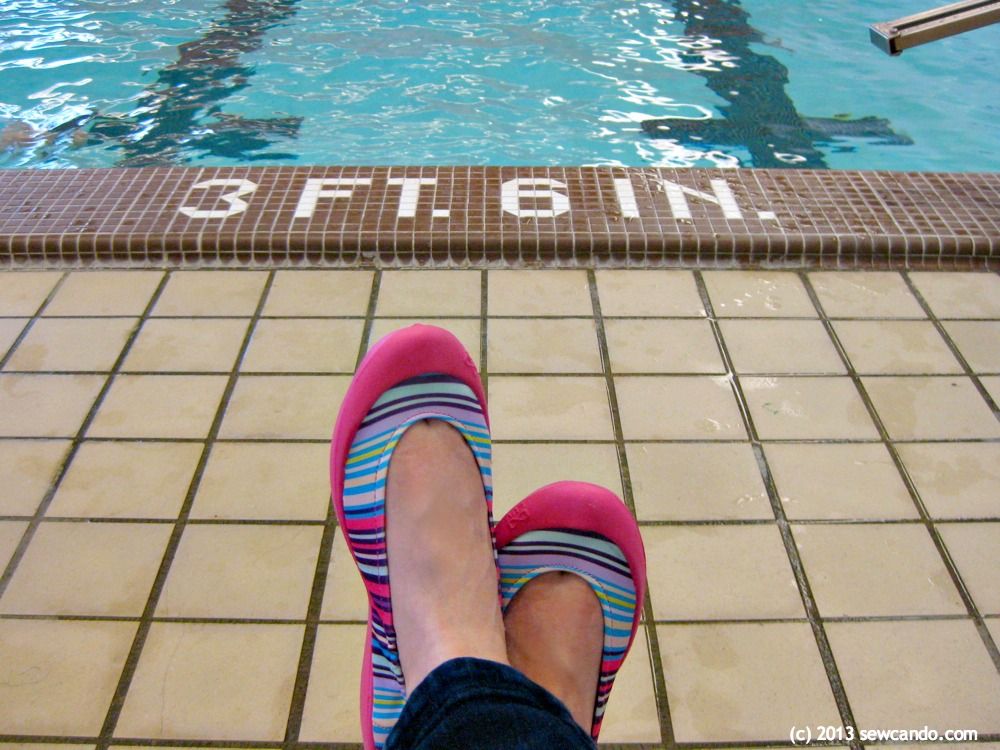
At the pool in my Fiesta Pink LUVs.

My daughter loves wearing them because she can get them on & off by herself and she can run, jump and climb in them.  I love that they look just as good with skirts as they do with pants.  Plus, despite several months of regular wear, they all still look practically new.  They can even be tossed them in the washing machine!
Serena in her Metallic Criss Cross Reds

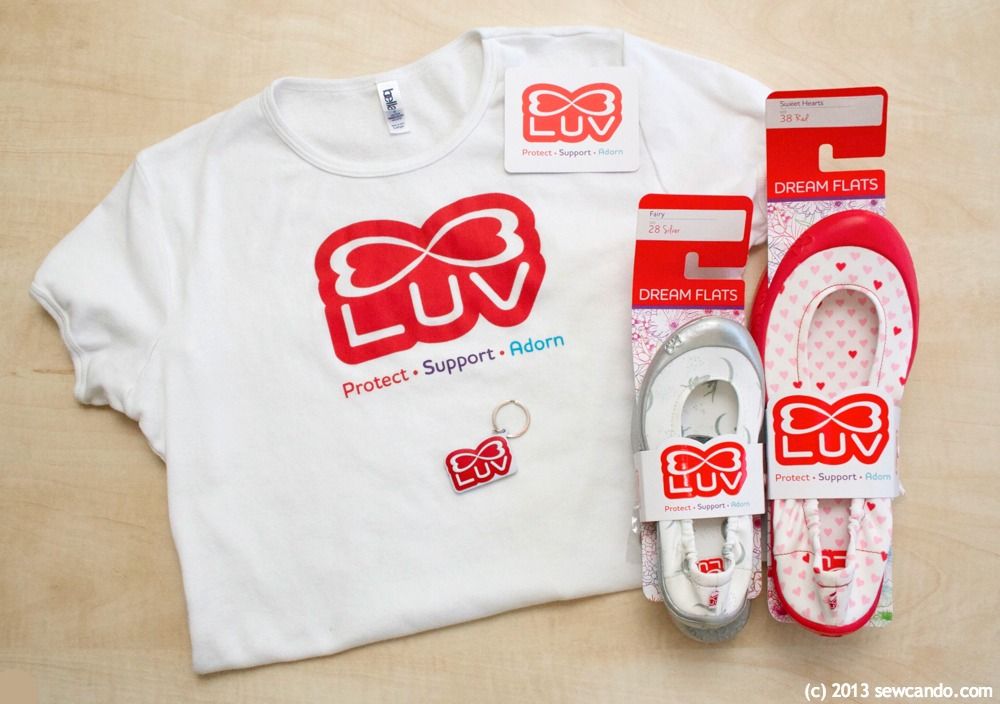
I wanted to shout out my fabulous find from the rooftops and now that the Little Miss & I are LUV Ambassadors I really can!  You can check out our Ambassador profile HERE (look under "C" or just click on Michigan).  We get to share our LUV experiences and inspire creativity in the community with some help from LUV Footwear:)

Rocking our LUVs together

Why is this good for Sew Can Do Readers?  

Random Acts of LUV - I can now gift FREE shoes and other LUV goodies to people who inspire me.  I meet a lot of inspiring people thanks to the comments you make here at Sew Can Do, on my social media, and via the projects you share with me at the Craftastic Monday link party, so keep it up! You might find yourself bestowed with a Random Act of LUV!


Special Discount Code - You can use my code for a discount on any LUV Footwear purchase.  And until 12/25, as a special holiday treat, 


My code: CBLUV20, is good for 50% OFF Your Entire Order!!


Designing Opportunities - I'll also be on the voting panel for the LUV Open Call Design Competition.  This program allows creative designers & artists to submit their ideas for a chance to commercialize their designs into new LUV Footwear styles.  Seeing your own design made into a shoe - how cool is that?!?  I'll share more details when the 2014 call is ready.


Community Involvement - LUV also does some great charity work to benefit the community. They gave out free shoes in exchange for donations to Make-A-Wish San Francisco at the now famous Batkid event.  They even let him drive the LUV bus!


There are lots of great things about sharing LUV Footwear.  I'm so happy to be able to take part as an Ambassador & share some LUV with you:)  You can check out more at LUV Footwear and follow on Facebook, Pinterest & Twitter.


I was not financially compensated for this post.  I am an ambassador for LUV Footwear.  I share LUV with the community and they share great shoes with me & those I know.  The opinions are completely my own based on my experience.  For my complete disclosure policy, click here. 

Wednesday, December 18, 2013

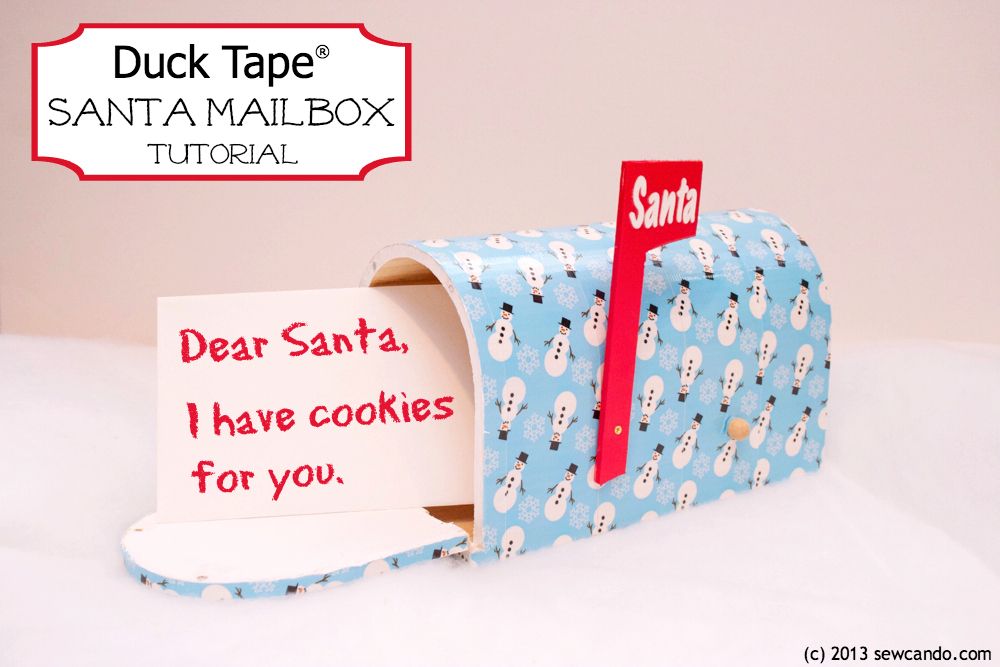
Make A Duck Tape® Mailbox for Santa

This is a Sponsored post written by me on behalf of Duck Brand provided by ShurTech Brands, LLC. All opinions are 100% mine.


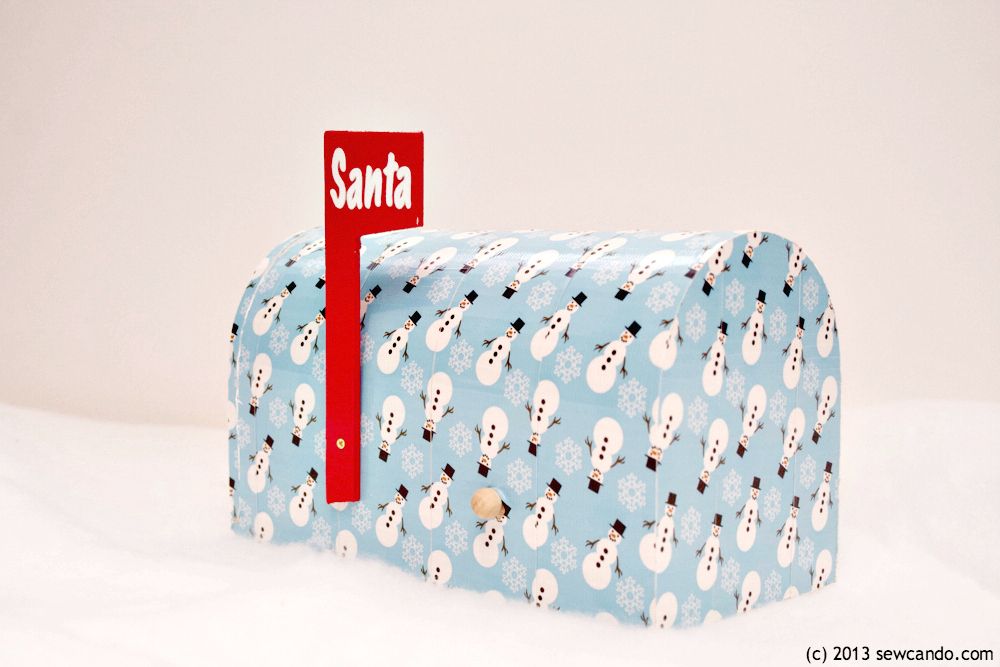
Looking for a fun & quick holiday project? Duck the Halls by using some Holiday Duck Tape® to make a sweet mailbox for Santa.  The kids can mail their letters "North Pole First Class" - minutes after you make it!
This was my first Duck Tape® project and I was really surprised at how fun & easy it was to use.  The Duck Brand® Holiday designs come in great seasonal prints like Snowman, Seasonal Sweets, Holiday Bows & Penguin. These are ideal for holiday projects like frames, stockings, coasters - even gift wrapping.

Now come see how easy it is to make one of these for yourself:


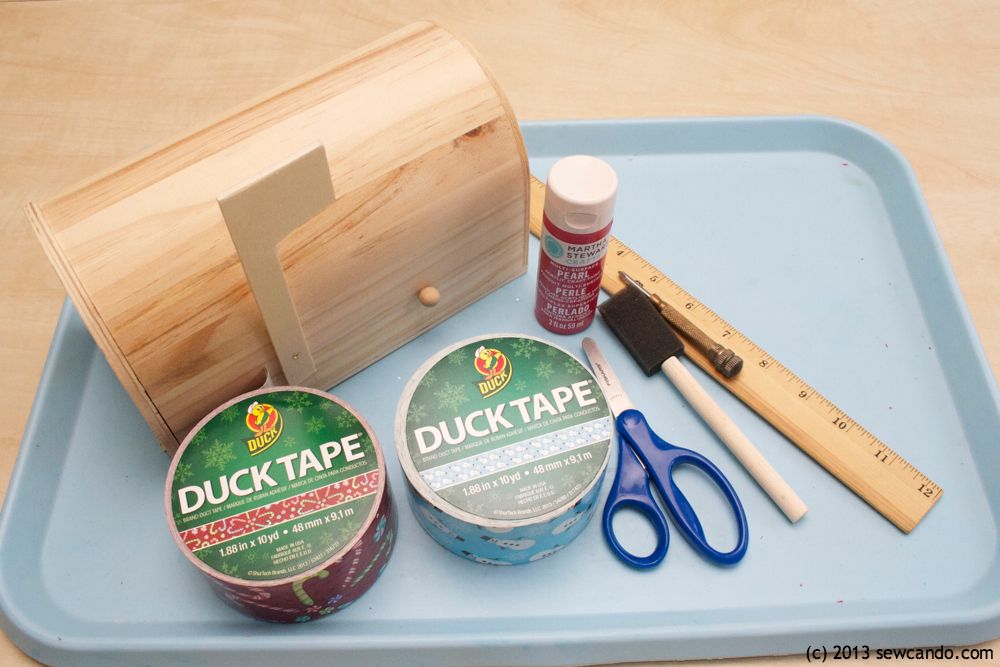
Materials:
- Duck Brand® Holiday Tape
- Unfinished wood mailbox (available at most craft stores)
- Utility knife & cutting board
- Acrylic Paint & paintbrush
- Cardstock
- Mod Podge
- Ruler
- Scissors

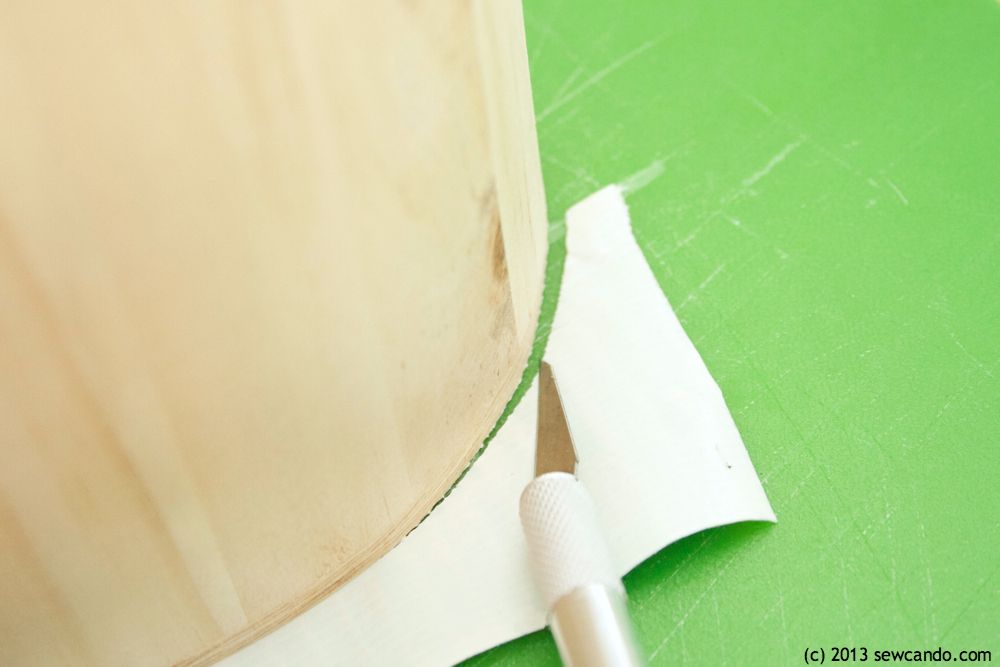
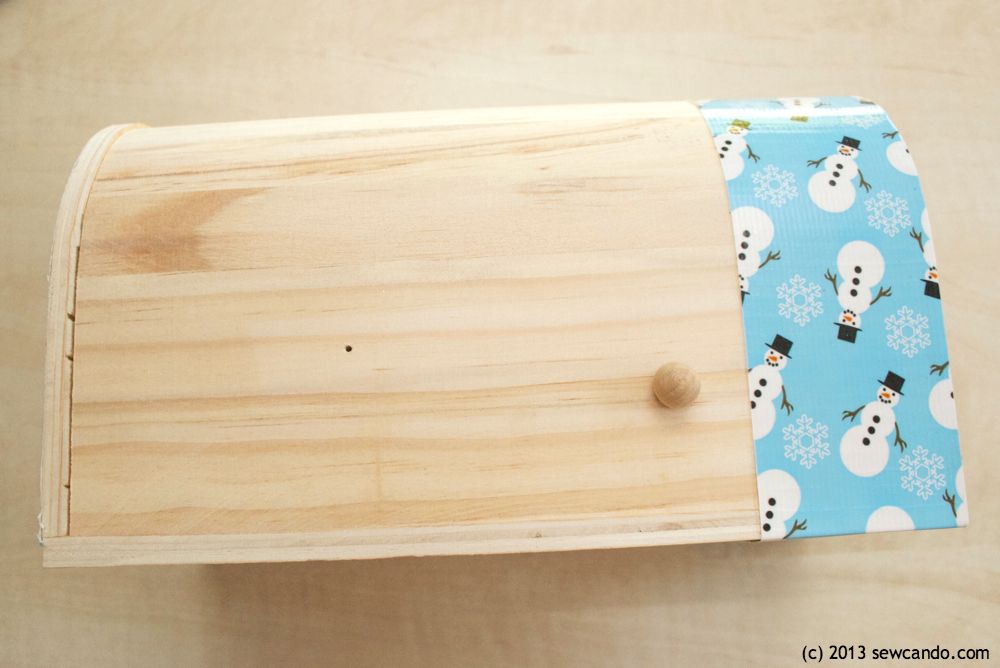
Start by temporarily removing the flag.  Mine was screwed on, so it was easy to remove.  Set aside.  Begin at back side of mailbox and lay strips of Duck Tape®, lining up design of strips (if possible).  Make sure strips are slightly longer than mailbox so there is overhang to cut away.


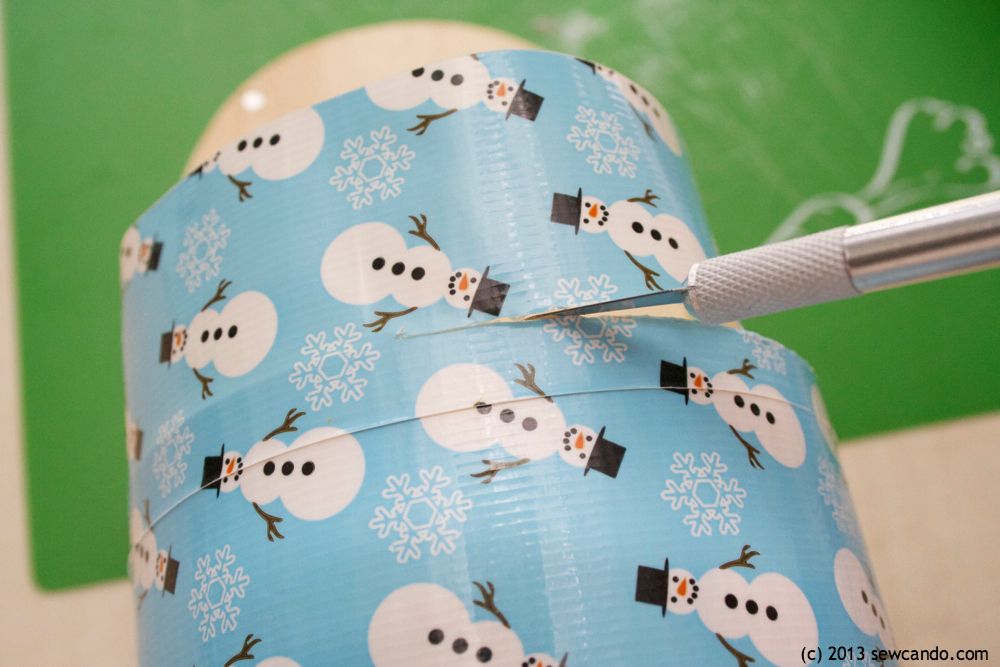
Flip upside down and use utility night to trim away excess:


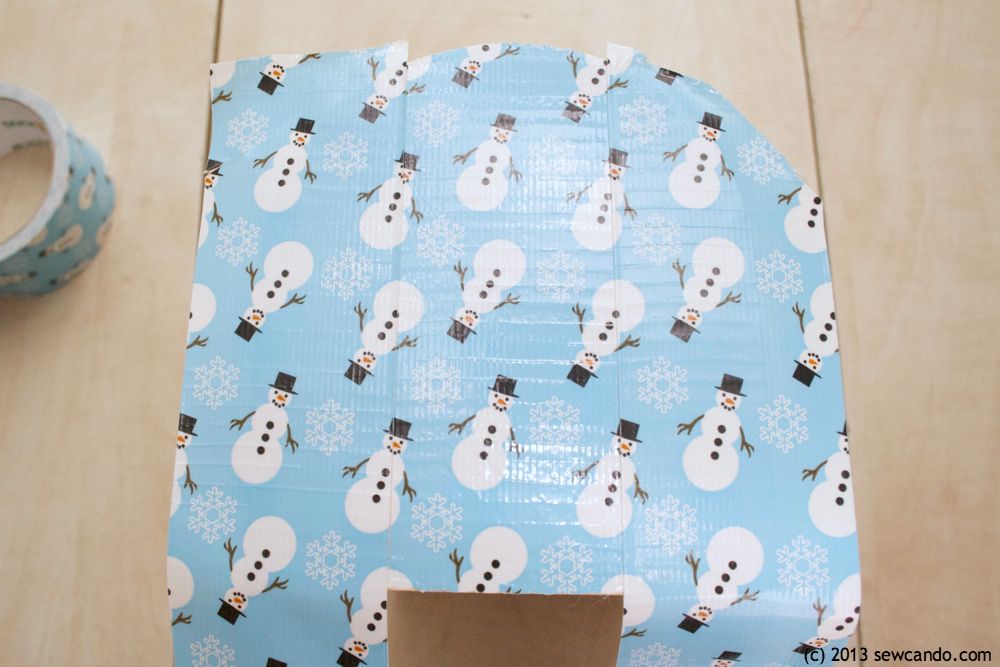
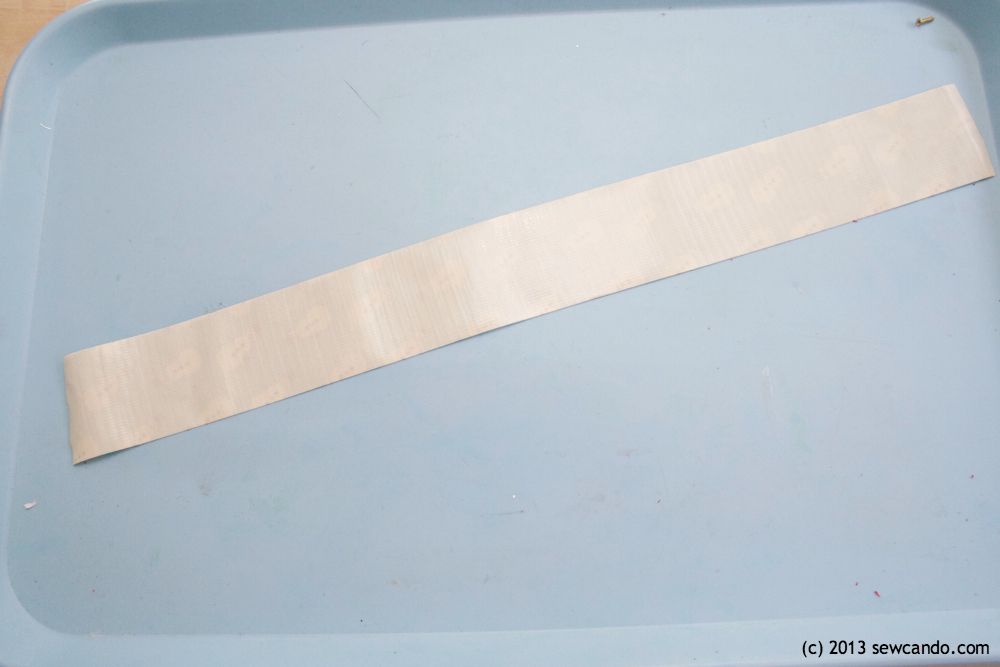
Next, to cover the body, measure around from one side to the other and cut a strip of tape to that length.


Begin at the back end and wrap tape around from one side to the other, smoothing into place:


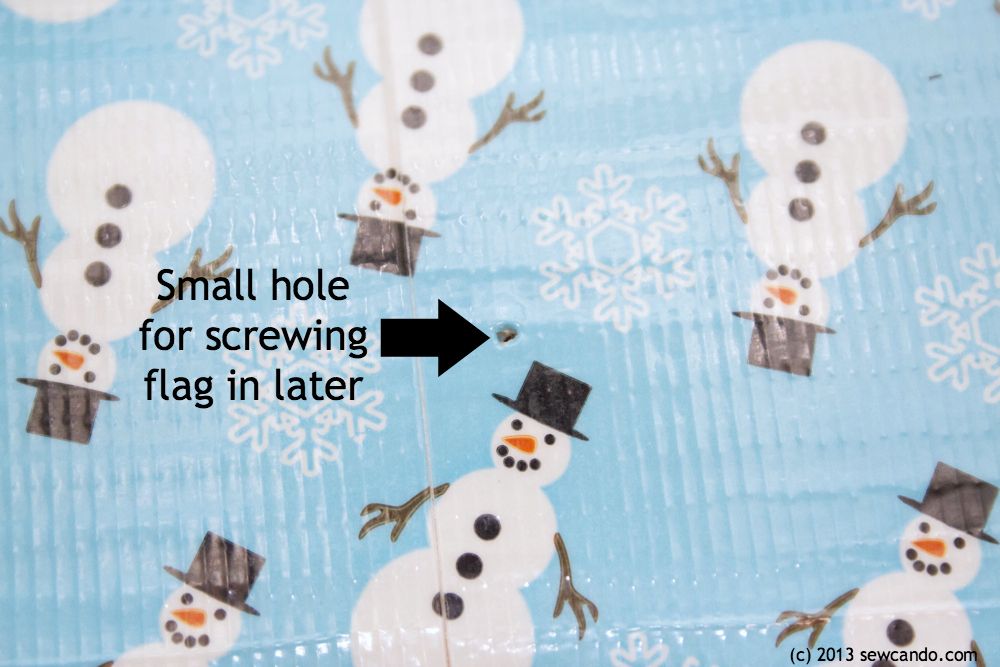
Continue laying strips side by side.  I cut a small notch to press the flag stop knob through and a small hole for the flag screw:


With the door open, trim the last piece's overhang over the front.  


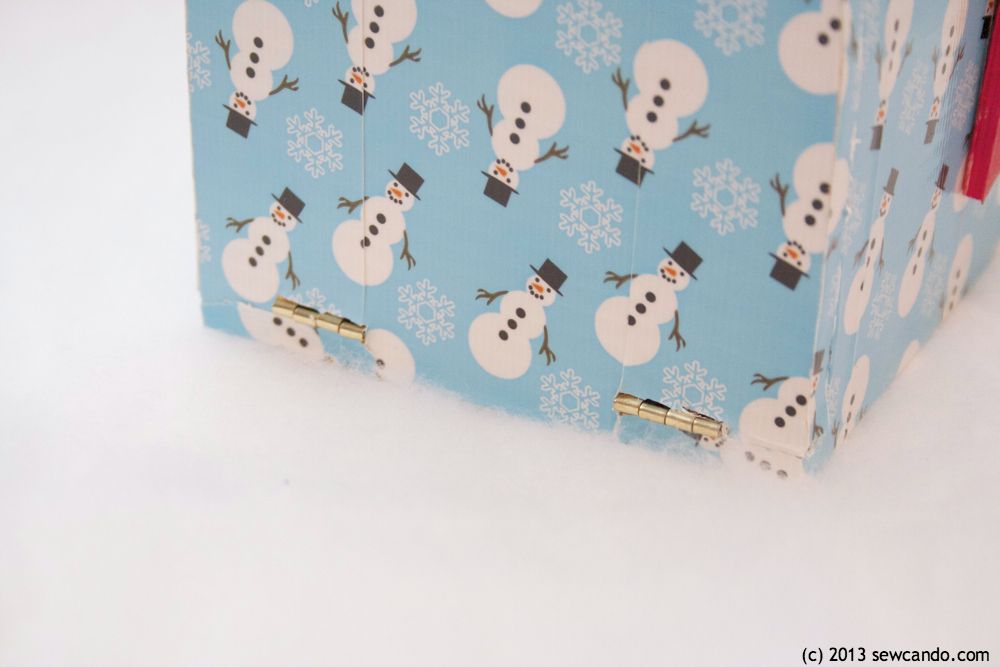
Cover the front door as the back side, trimming around the hinges:


Wrap the door edge with another strip and trim as done previously.  Paint inside of door and rim with acrylic paint.


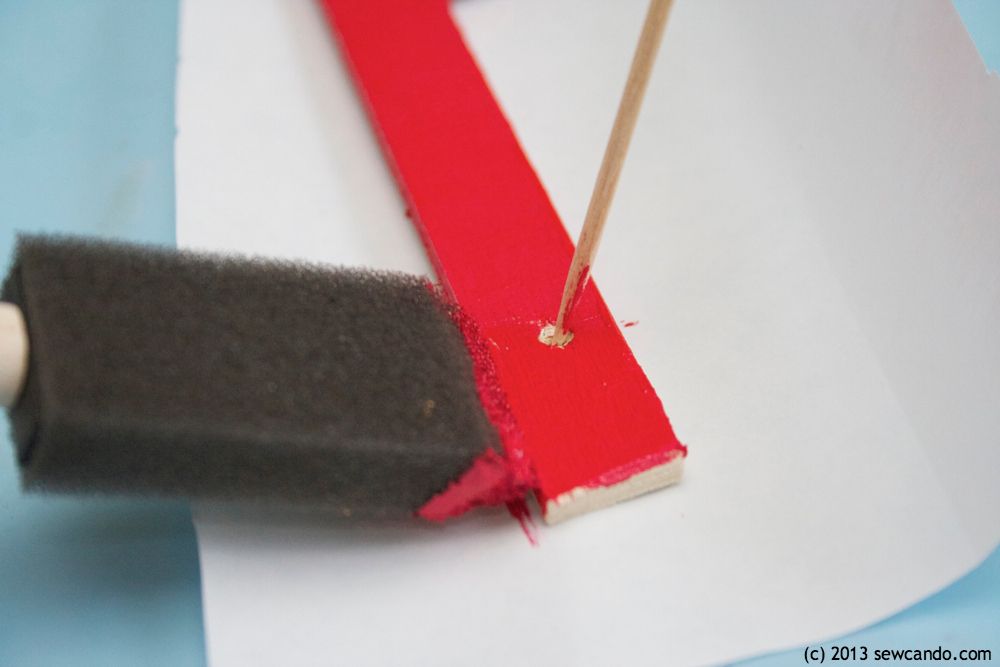
Now take the flag and paint with the acrylic.  I found it easy to hold it in place with a toothpick in the hole.  Do two coats on all sides.


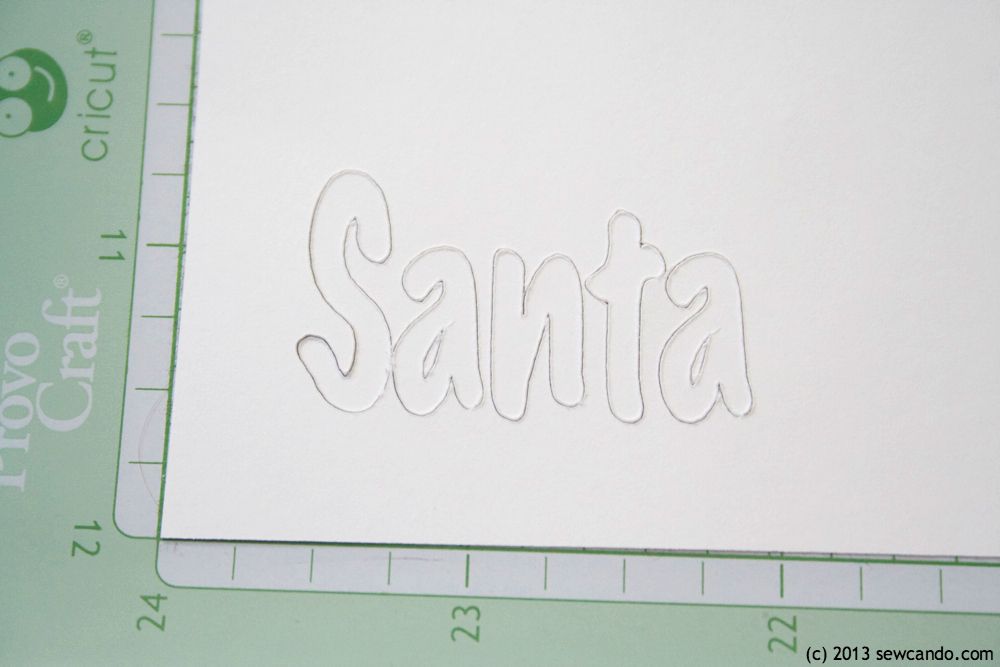
Next cut out card stock lettering using utility knife or cutting machine:


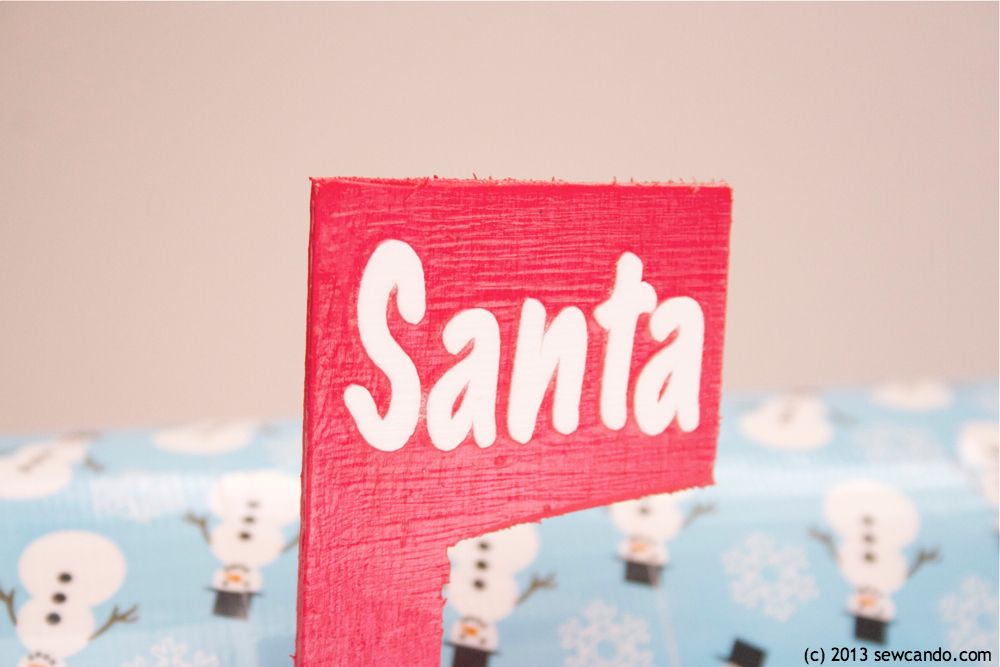
Add a thin coat of Mod Podge to flag front, place lettering on top and seal with a further two coats of Mod Podge on top.  


When dry, screw into mailbox.


Now the mailbox is ready for letters and the big guy in red can find out what's on everyone's wish list.


Follow Duck Brand® on Twitter @TheDuckBrand for more fun project ideas and share your own on Twitter & Pinterest with #DuckTheHalls hashtag!

I'm also sharing this project with my FAVE LINK PARTIES.
Click HERE to check them out!

Visit Sponsor's Site

LinkWithin

Related Posts with Thumbnails