Wednesday, May 31, 2017

Dear Stella Multi-Yard Knit Fabric Giveaway!


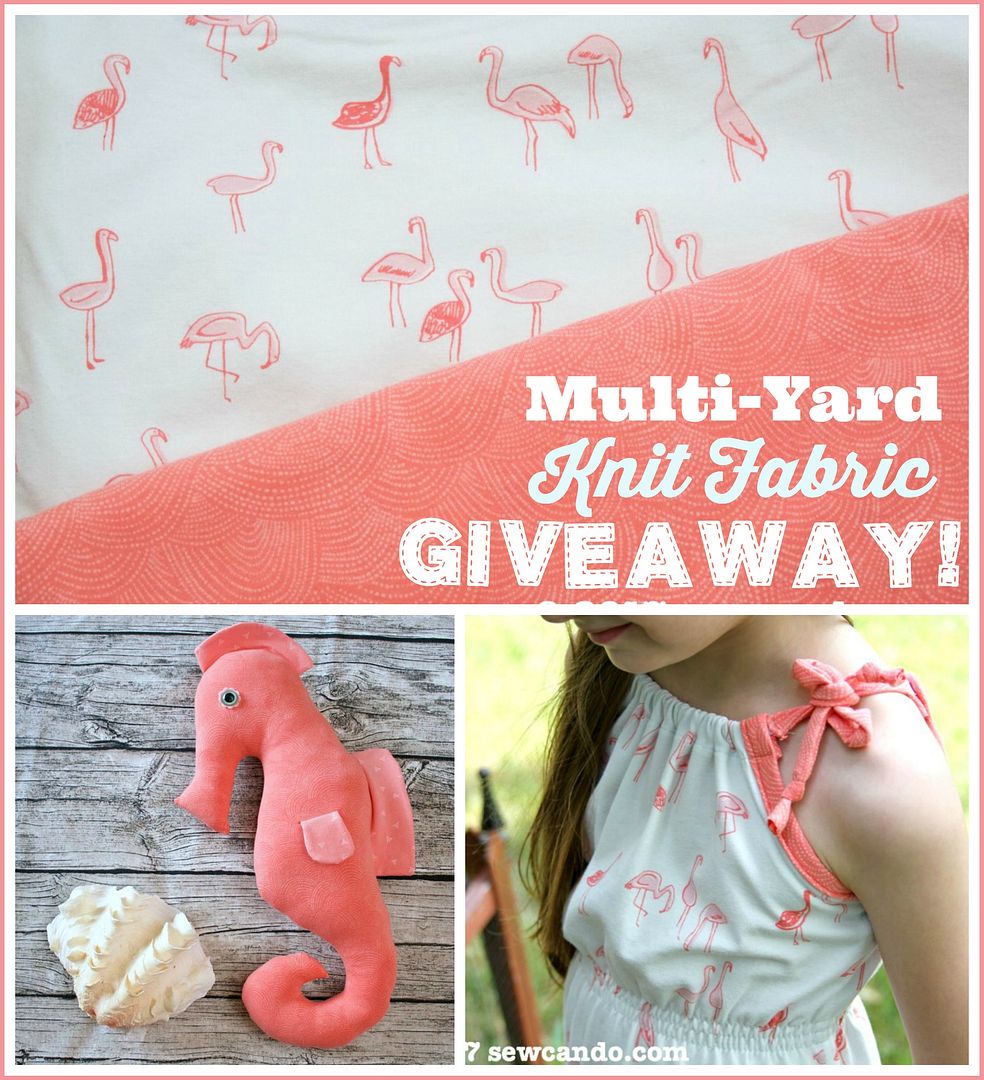
Fabric Lovers, have I got a fabric giveaway for you!  How about some serious yardage of brand new knit fabrics?  As in TWO 2 yard cuts of coordinating knit fabrics?!?

Last month I shared the news that Dear Stella (sister company of Timeless Treasures) had released a brand new collection of knit fabrics:


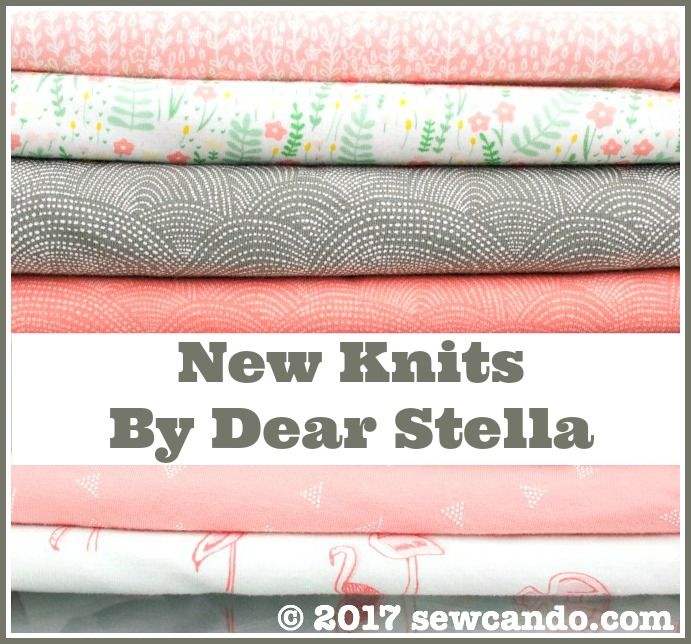
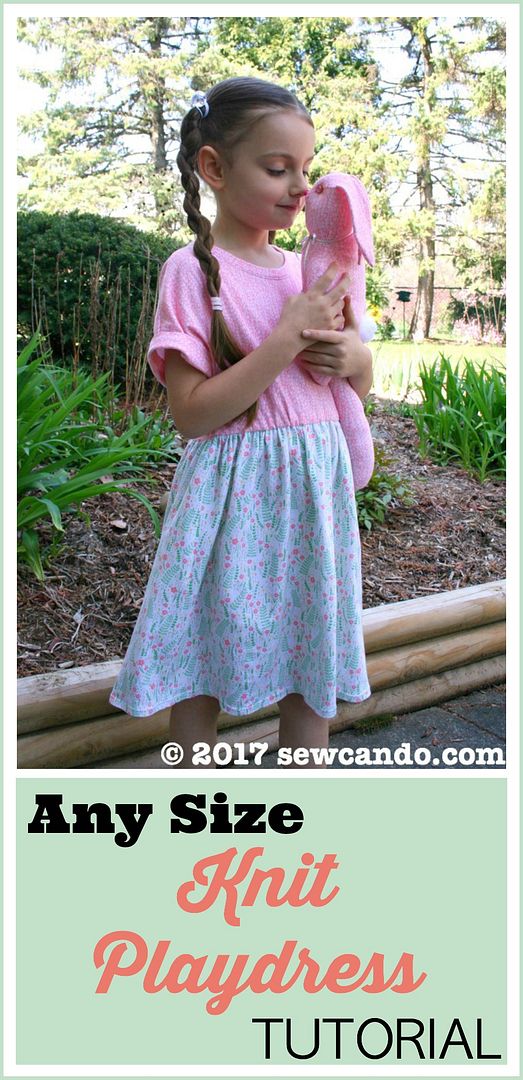
and I shared a tutorial for my Any Size Knit Play Dress using their Fresh Dew prints:


Today I'm kicking off a celebration of sewing with knits by giving away a set of 2 yard cuts of both Flamingoes Bay and Scallop Dot Guava cotton knit fabric, courtesy of Dear Stella.


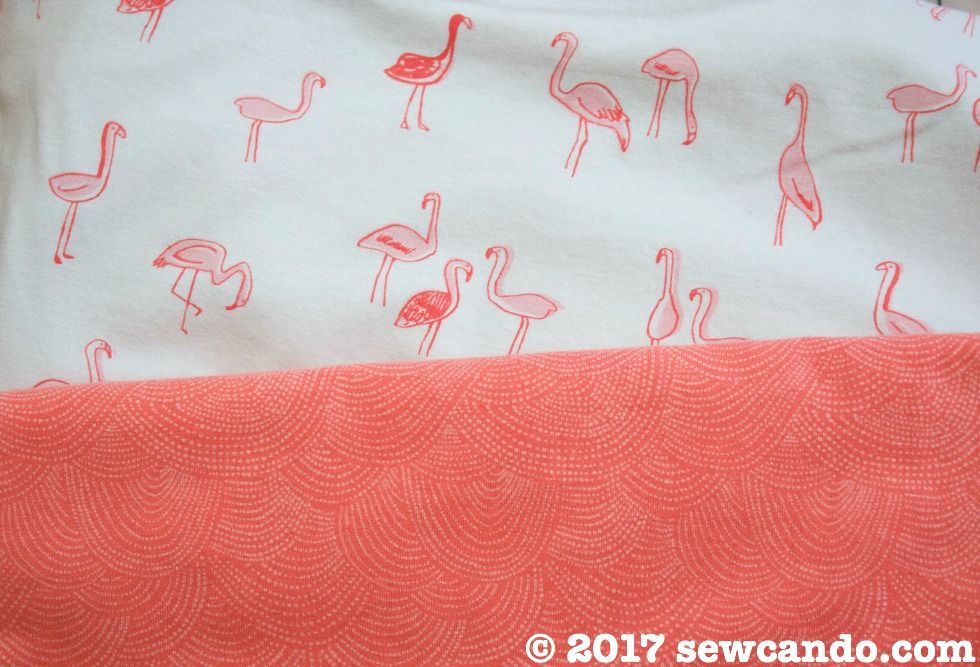
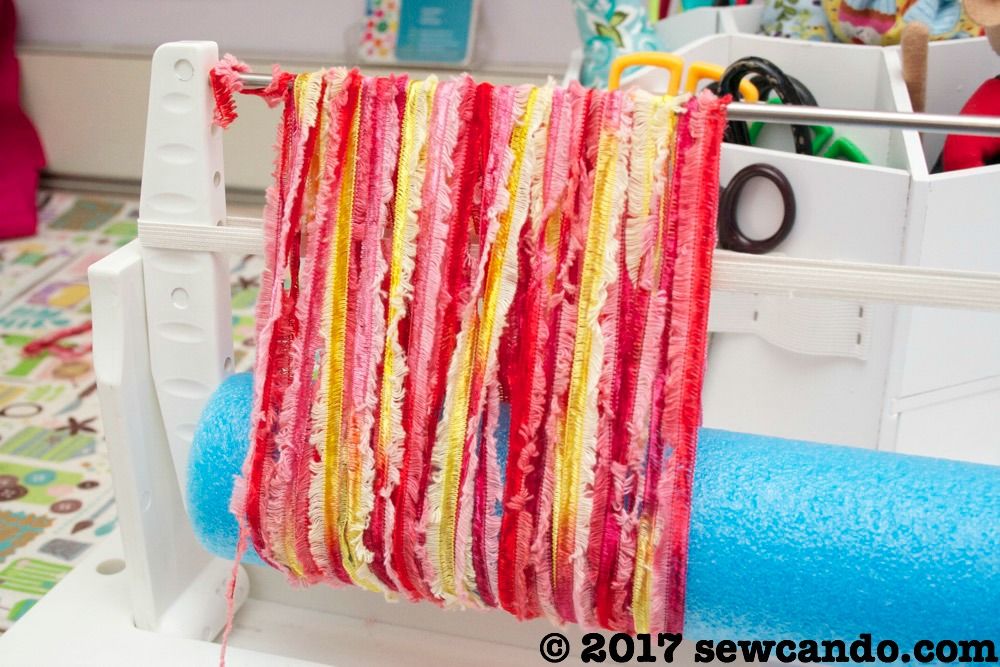
These knits are medium weight 95% cotton + 5% spandex with a 50%, 4 way stretch.  At 58 inches wide they give maximum width options.  And if you're new to knits or don't have a serger, don't worry!  This giveaway is kicking off my new series of Sewing with Knits on a sewing machine. From tips & techniques, to knit project tutorials and recommendations, I've got you covered when it comes to sewing knits!


The project possibilities with generous 2 yard cuts are endless.  Loads of options for adults, as well as kids, like tops, leggings, pillowcases, baby clothes, headbands and blankets, just to name a few.

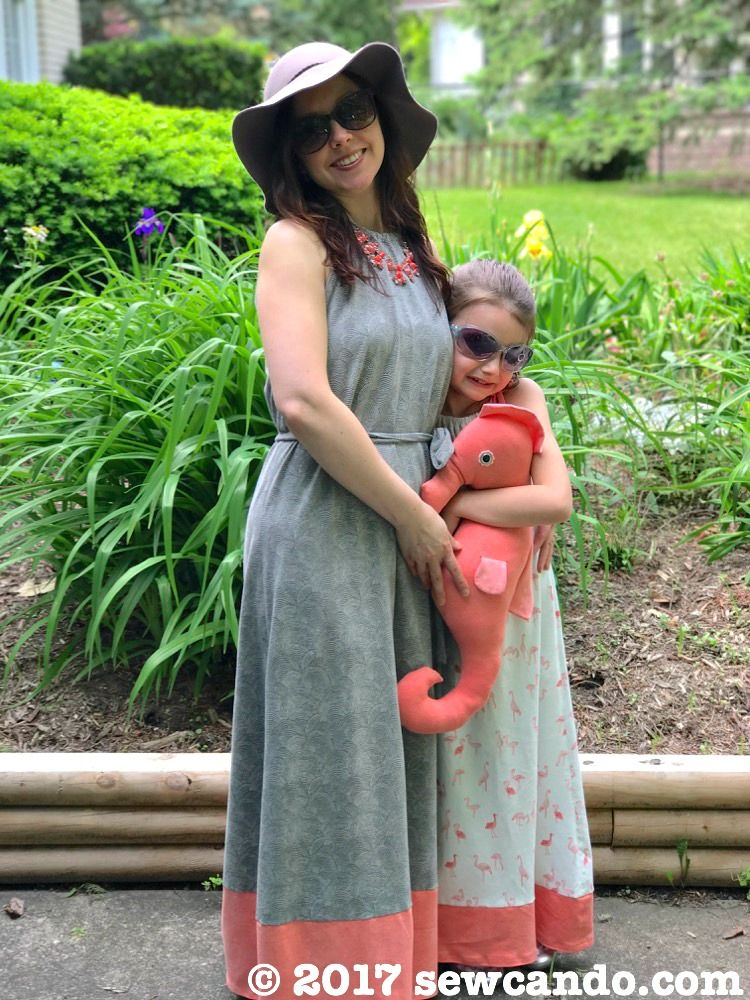
I can speak from experience that this much fabric makes a comfy, easy to sew, ladies maxi dress, like this one I've recently sewed up with the Scallop Guava & Fossil:


As well as a fabulous kid-sized maxi dress (easy-sew tutorial coming soon):


With 4 yards total up for grabs - it's perfect to make a Mommy & Me outfit combination:


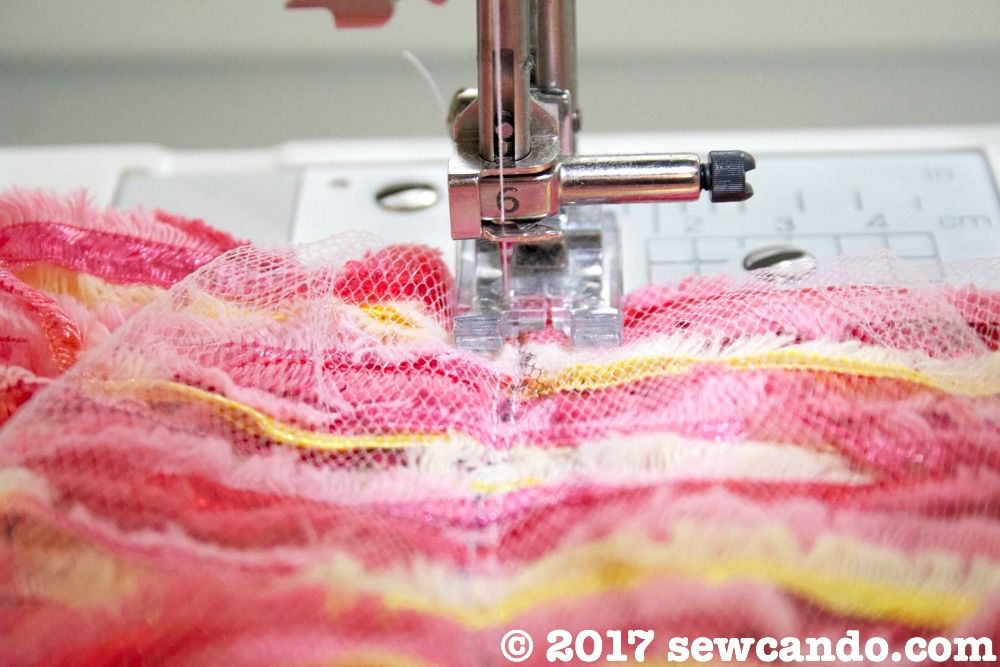
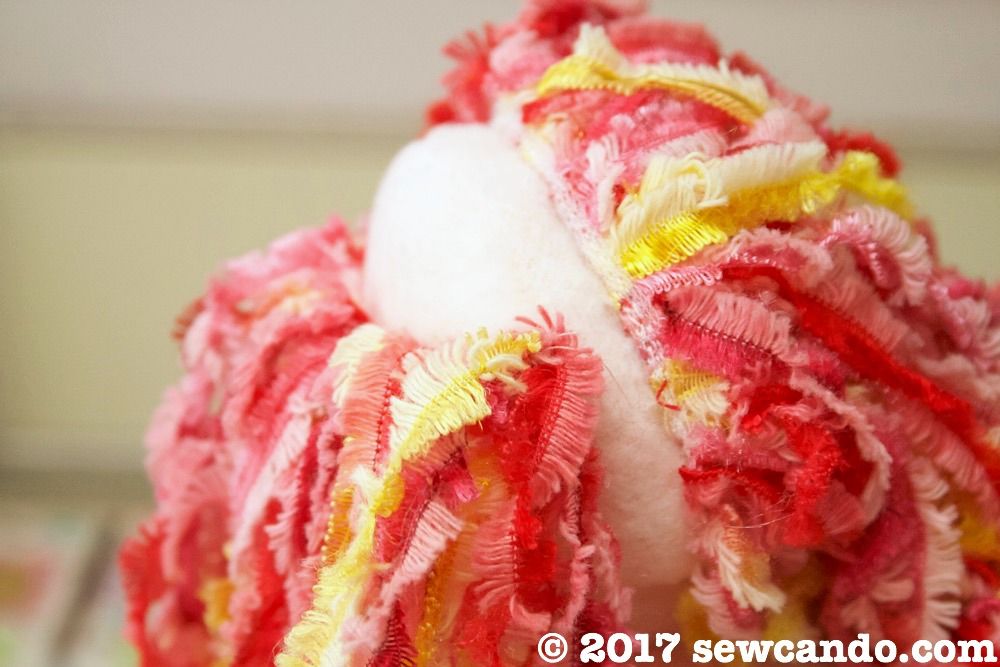
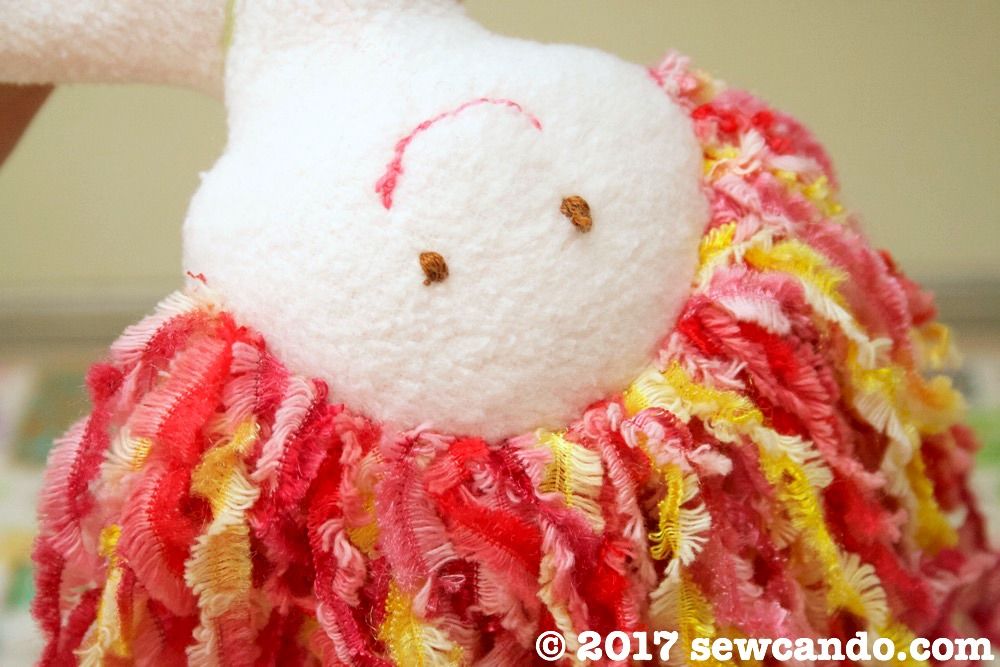
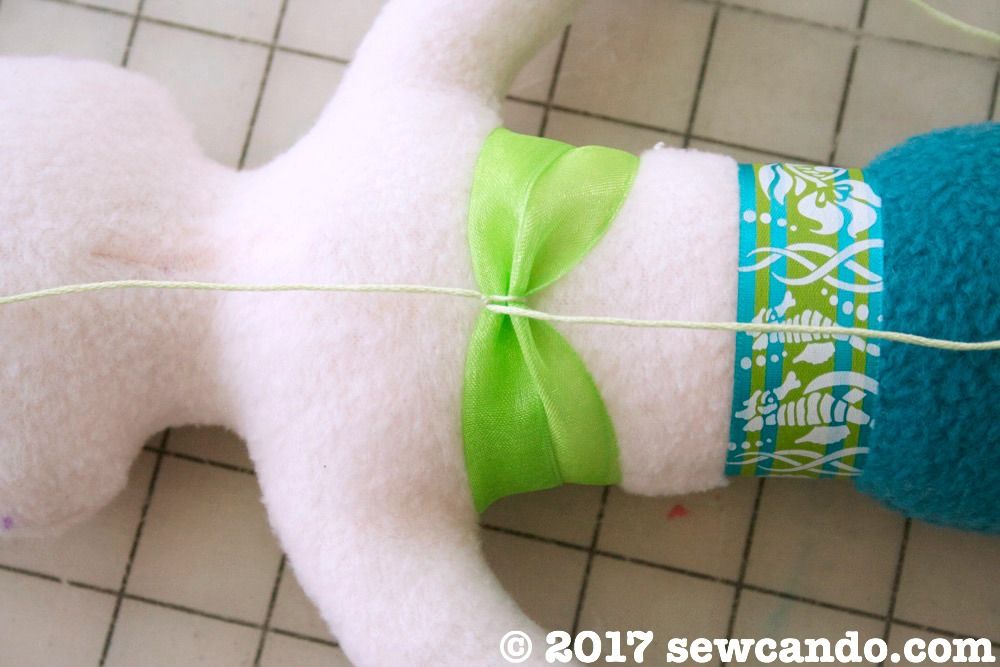
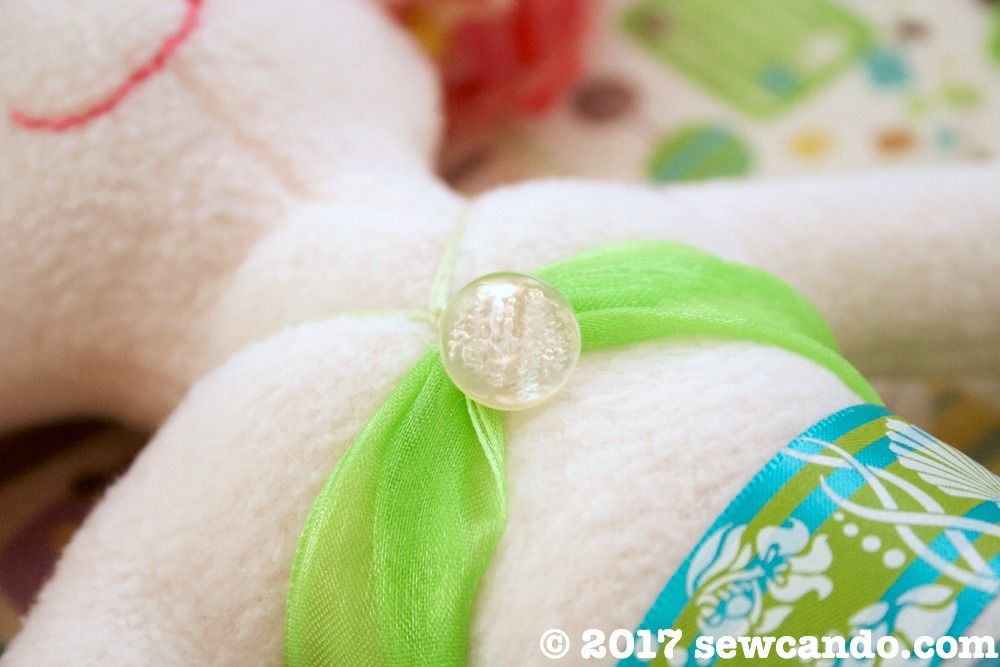
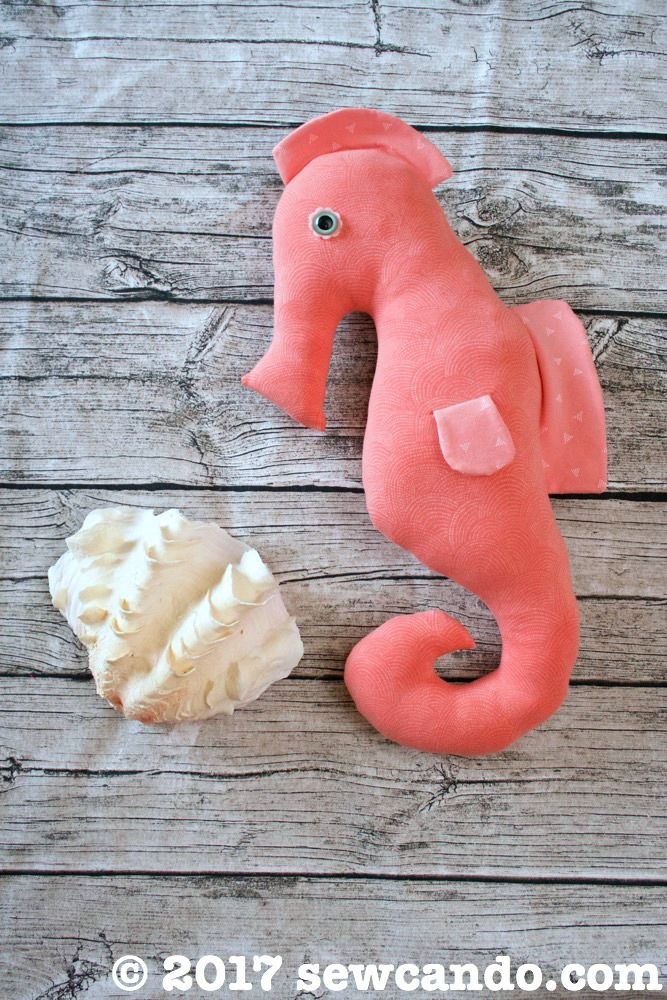
Even cuddly soft toys like my Seahorse Plushie (pattern also coming soon) are fun & easy using these fabulous knit fabrics: 


Now, time for you to enter for a chance to win this fabulous multi-yard knit fabric duo:


a Rafflecopter giveaway

Sunday, May 28, 2017

Craftastic Monday Link Party


As it's Monday, it's time to party crafty friends!  Share your creativity this week & link up your projects below.

Last week I was busy sewing up a storm, so I didn't have time to blog.  The good news is that starting this week, and for the rest of June, I've got lots of goodies - including a FABULOUS fabric giveaway.  This one is big, so be sure to be back on Wednesday for the big reveal!

~~~~~~~~~~~~~~~~~~~
Now let's see the new Craftastic Picks!!

Craft Klatch created a video tutorial for making these cool resin geode coasters:


Low Carb Delish offered up a creamy asparagus cauliflower rice recipe:


Made by Chrissie D showed this adorable hedgehog foundation paper pieced quilting:


Howling At The Moon created this fun wave pattern crochet bag:


If you're one of this week's features, be sure to grab my Featured On button over on my Buttons Page to share the good news. 

 
Want a Chance to 
Be Featured Next Week?  

Link back to the party somewhere on your blog.
I can't feature your post if you don't share the party.  
  
I also feature these projects on Sew Can Do's Craftastic Picks Pinterest board 
AND share each of them on Twitter too for even MORE exposure for YOUR blog!

Follow me there to see more great projects (and see if yours is one of them)!   
Ready to link up your crafty creations?
 
Party rules are simple: 
  • As long as it's crafty, and made by you, it's Craftastic (no links to giveaways, shops, link parties or other people's work).  Add the link to your specific post. Product reviews, plagiarized or sponsored posts for random items will be immediately deleted.  
  • Grab my party button & put it on your post, party page or blog somewhere.  If you want the chance to be featured, this is key.  The button code can be found HERE.
  • Check out some of the other fabulous links and share some crafty comment love.  We all love getting comments!!


    An InLinkz Link-up
   

Sunday, May 21, 2017

Craftastic Monday Link Party


It's time to share your creativity at this week's Craftastic Link Party.  Link up your projects & find new inspiration too.  This week's got some fabulous features, so be sure to check them out!

Last week I shared the soft mermaid doll I made:


and a glimpse of the lovely sites from my trip to Italy:


It's finally time to announce the winner of my 13 piece Fat Quarter Mega Fabric Bundle Giveaway:

~~~ Kristen C. ~~~

Congratulations Kristen and a big thank you to Timeless Treasures for providing this terrific fabric prize!
~~~~~~~~~~~~~~~~~~~
Now let's see the new Craftastic Picks!!

Knitting and So On created a free pattern for these fun citrus potholders:


The Kittchen offered up a delicious 10 minute sun dried tomato & roasted red pepper sauce:


The Dedicated House showed this gorgeous breakfast nook transformation.  


Bombshell Bling had this yummy recipe for frozen amores


Duct Tape and Denim turned an old metal measuring cup into a cute pin cushion:


Simply Darrling showed how to make this jaunty upcycled nautical tray:


If you're one of this week's features, be sure to grab my Featured On button over on my Buttons Page to share the good news. 

 
Want a Chance to 
Be Featured Next Week?  

Link back to the party somewhere on your blog.
I can't feature your post if you don't share the party.  
  
I also feature these projects on Sew Can Do's Craftastic Picks Pinterest board 
AND share each of them on Twitter too for even MORE exposure for YOUR blog!

Follow me there to see more great projects (and see if yours is one of them)!   
Ready to link up your crafty creations?
 
Party rules are simple: 
  • As long as it's crafty, and made by you, it's Craftastic (no links to giveaways, shops, link parties or other people's work).  Add the link to your specific post. Product reviews, plagiarized or sponsored posts for random items will be immediately deleted.  
  • Grab my party button & put it on your post, party page or blog somewhere.  If you want the chance to be featured, this is key.  The button code can be found HERE.
  • Check out some of the other fabulous links and share some crafty comment love.  We all love getting comments!!


    An InLinkz Link-up
   

SaveSaveSaveSaveSaveSaveSaveSave

Wednesday, May 17, 2017

Easy Mermaid Doll Making


This softie mermaid was a present for my daughter.  She'd been asking for a mermaid doll for quite a while.  I wanted it to be a simple sew I could do in an afternoon, but she still had to have fun features:


Flowing, full, style-able hair was a definite must:


I was inspired with the general look of the mermaid from the book Fleece Dolls by Fiona Goble, but I actually ignored the book's instructions and made it my own way.  The book has a couple of cute soft doll designs, but most of them are variations on the same general design and I hated that they all involved some teeny tiny line drawings instead of actual patterns you can use.  In the end I freehand drew out my own pattern rather than trying to wrestle with scaling up her tiny line drawings with a printer just to cut them out at a reasonable size.


I drew a basic doll head and torso piece and used my French Curve ruler to help draw a decent mermaid tail for the lower half.  I had just enough peach colored scrap fleece left to cut out the body.  Oddly, that color isn't sold in stores and nearly impossible to find online anymore.  Ivory or light pink seem to be the only options these days or using super pricey doll-making jersey, which just isn't the same.  I can't be the only person in the universe that wants it.  Bring back the peach fleece someone!!  I cut the tail from some teal fleece and then got sewing.


On the body piece that will be the front I marked a elongated diamond shape right at the neck:


I folded it in half, lining up the dots and stitched from the top dot, to the middle dot and then to the lower dot to add some dimension at the neck.  


Then I stitched together the body pieces, right sides facing and did the same with the tail pieces and trimmed down the edges:


I turned the tail right side out and then matched up the top edge with one side of the body (right sides facing), like this:


It seems crazy, but hear me out because this is way easier than having to hand stitch it all together.  With the body bit facing down, pin and stitch together. Turn the body right side out and then all that's needed is to stuff and then slip stitch one side of the waist closed.


To do the thick, flowing, textured hair, I used some ribbony yarn and a tool called My Own Fringemaker.  I did a review of it here.  This made it super easy to get the hair thick enough and perfectly even in width and length.  I measured the dolls head from "ear to ear" along the top and around the back.  


I wound my yarn around the tool to be the same width as each of my measurements.  


Then I slid a piece of tulle underneath one of the rods and wrapped it over.


I cut the loop at the bottom rod (it's cover with a pool noodle to get extra inches of length):


Then spread it out and stitched down the tulle several times to attach the yarn strands.  


I carefully cut away the tulle and now I had some lovely rows of hair.  I folded each along the stitching and hand stitched the first row onto the head horizontally.  


Then I pinned and hand stitched the other piece from where an ear would be, over the top to the other side.  By slipstitching, the hair was solidly attached, but impossible to see the stitching.  


With the hair being so nice and thick and how it's positioned, there aren't any massive bald spots that will peek through.


I had some sea-themed ribbon that I used to make a belt.  I cut a piece just larger than the waist and flipped it wrong side out.  Carefully pinching back the waist fabric, I stitched the ribbon ends together, trimmed and then flipped it right side out.  


I did the same for the bikini top, except used a wider organza ribbon.  I tied it at the center with some embroidery floss and then tied it around her neck.  


I hand stitched a mother of pearl button onto the center.


I hand stitched eyes and a mouth with embroidery floss.  That's always the part I like the least because I'm semi-terrible at it, but it wasn't the worst stitch job I've done.

It was such a nice feeling being able to make what my daughter wanted with just materials I had in my stash.  It might not be perfect, but this new little friend sleeps in her bed every night and is one of her favorite dolls, so it's a success to me.      


SaveSaveSaveSave

LinkWithin

Related Posts with Thumbnails